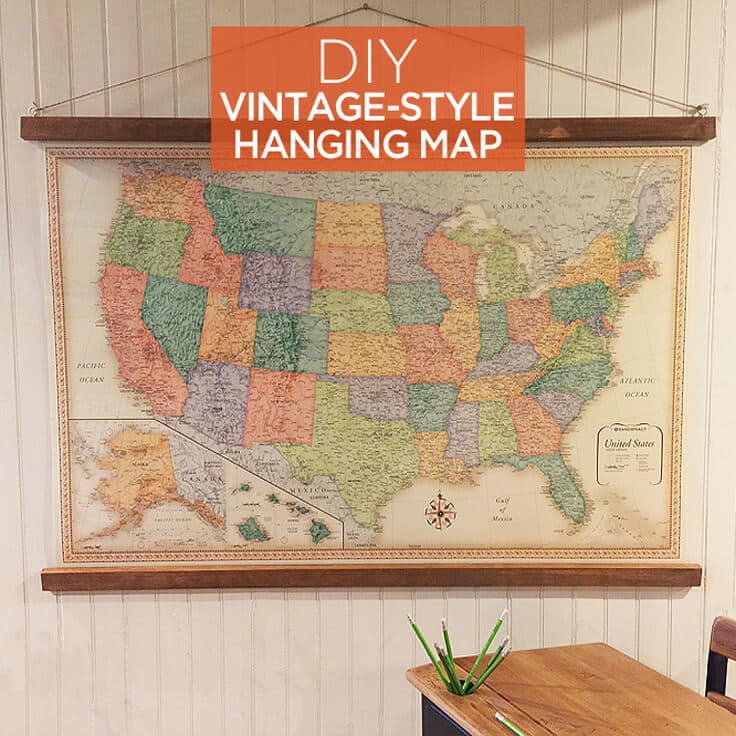
DIY Vintage-Style Hanging Map
THIS POST MAY CONTAIN AFFILIATE LINKS. PLEASE SEE OUR FULL DISCLOSURE POLICY FOR DETAILS.
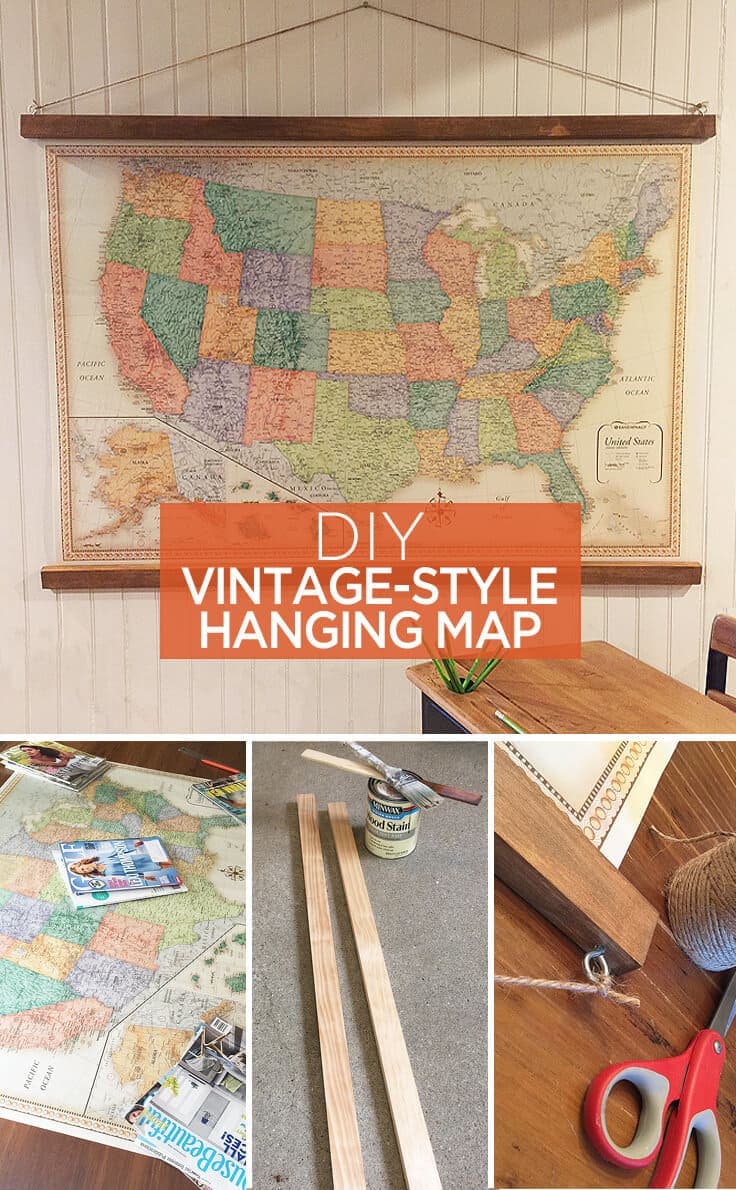
A vintage-style hanging map is an inexpensive DIY project that’s colorful, educational and can have sentimental value, making a big impact in your home.
Hi everyone – It’s Lori from Greco Design Company and I’m here today to show you how to make a vintage-style hanging map. Maps are a fun solution for adding art to your walls because they’re graphic, colorful and can have a lot of sentimental value. Plus they’re educational!!
This project is inexpensive to make but it will add a big impact to your home. Maps look great in a home office, a kids play area, bedrooms, or in an entryway as a place to document travel experiences. This one will hang in a teenagers’ play area that I’m in the process of redesigning for friends. I think they’ll love it!
Disclosure: This blog post contains affiliate links for products or services we think you’ll like. This means if you make a purchase from one of these links, we’ll make a small commission at no additional cost to you so we can keep the great ideas for the home coming your way. All opinions expressed are our own, derived from our personal experience.
materials:
- An oversized map – I bought my map at a Staples store for $8.99. Or you could order it online here from All Posters. I love the large size – 50″ x 32″ and it’s colorful without being too childish.
- White poster board, enough pieces to use as backing. I used 3 pieces of 20″ x 30″ poster board.
- Two wood pieces, 1″ x 2″, and the length of each should be 3″ longer than the length of your map – I had our home improvement store cut the pieces down for me.
- Two eye bolts
- Twine
- Wood stain
- Spray adhesive, hot glue, drill, pencil, ruler or tape measure, and duct tape
Instructions
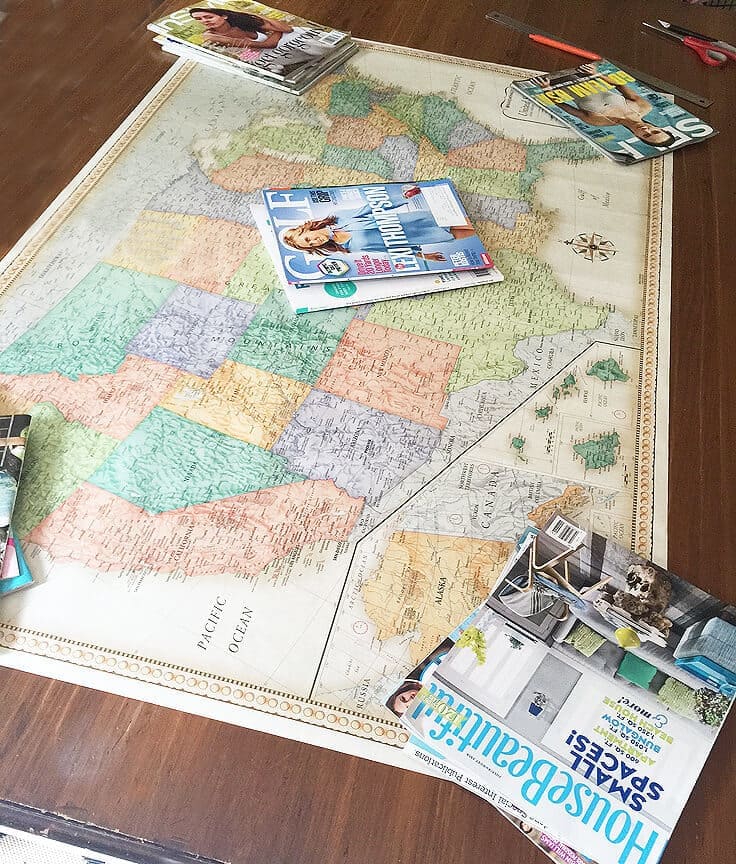
First, since I bought this map rolled, I needed to unroll it and flatten it out a bit. I just placed it on my dining room table and put heavy magazines and books on top. I thought it would take a while for the paper to lay flat but it flattened out pretty easily.
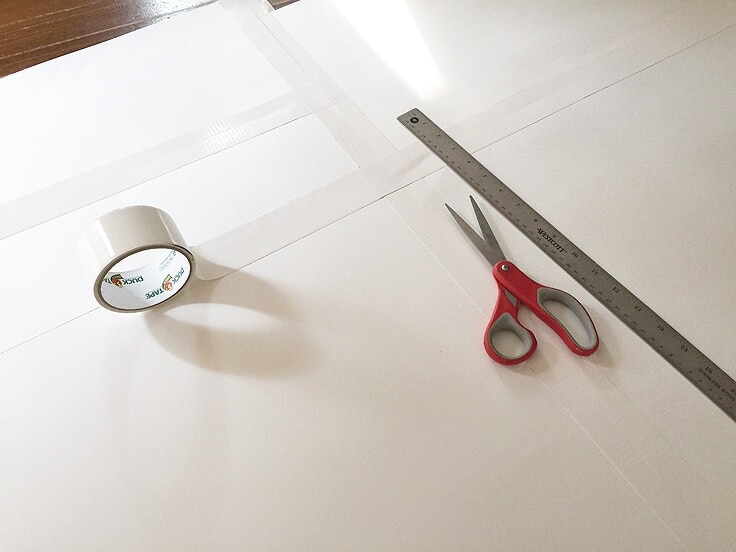
Next, I added a backing to the map to make it more sturdy and durable. I found the best option was to buy 3 sheets of white poster board, tape them together with white duct tape so they were large enough to fit the map. I liked the poster board because it wasn’t too thick and the map still looks like it’s on paper. Once the poster board was taped together, I used a spray adhesive to attach the map to the poster boards. Then I trimmed off any excess poster board, leaving a little extra at the top and bottom for attaching the wood pieces.
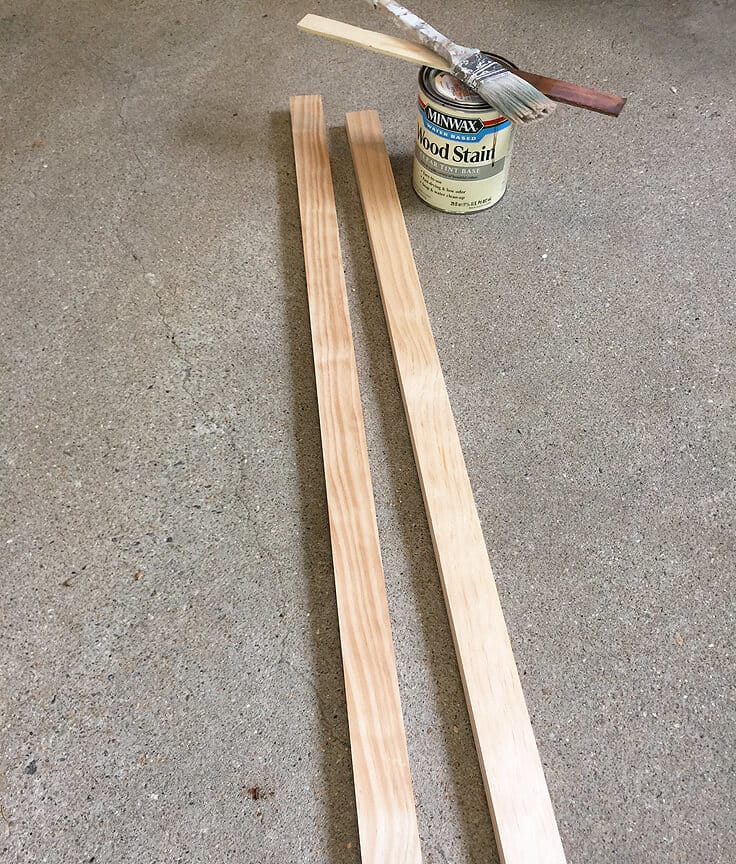
Next, stain the pieces of wood your desired color. I used a pecan stain I had leftover from a previous project. Let them dry completely.
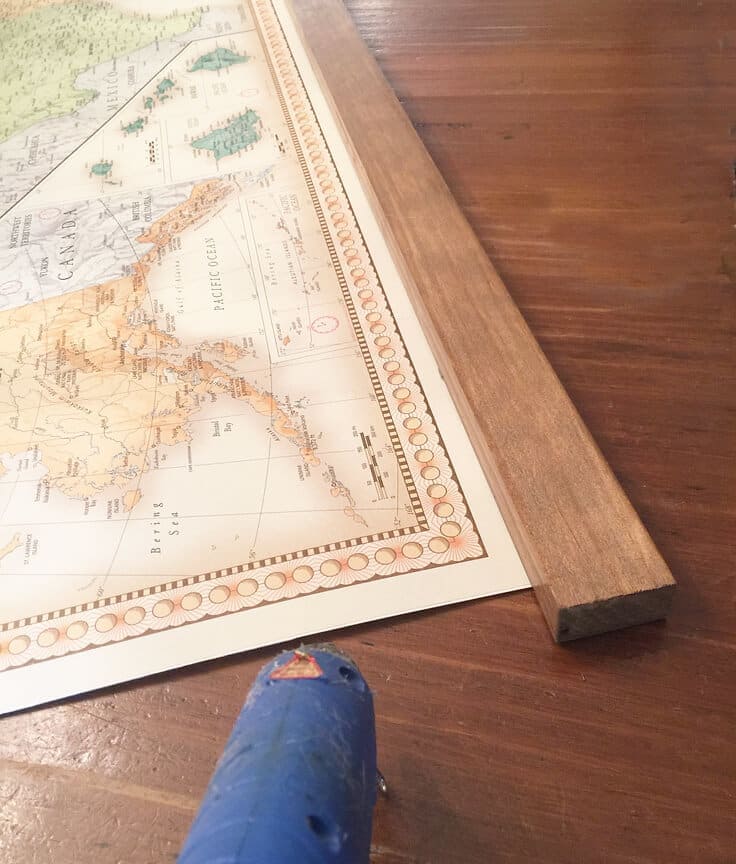
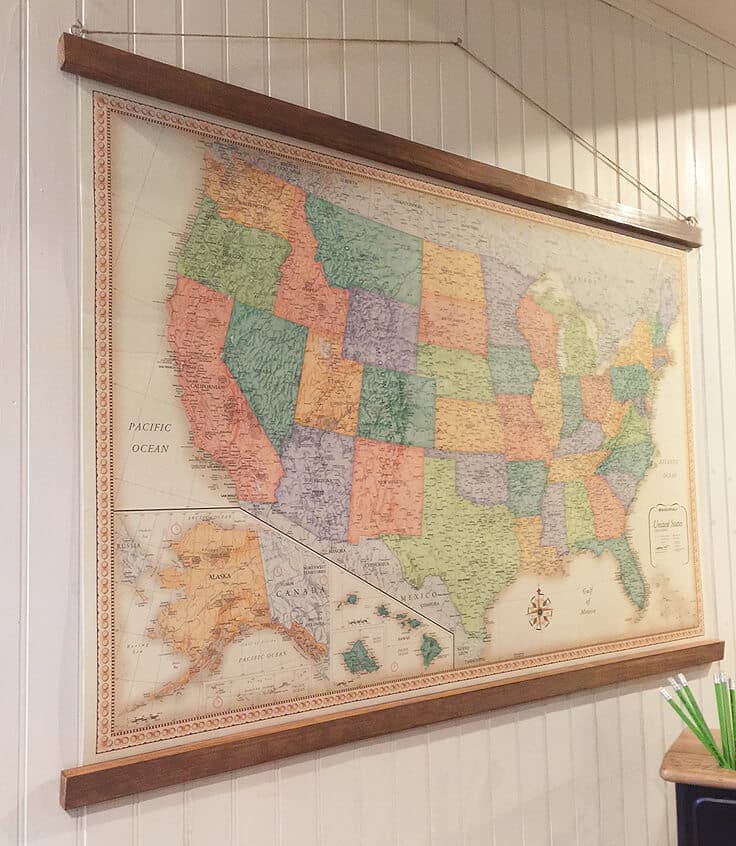
Using your hot glue, attach the wood pieces to the map – one on the top and one on the bottom. I loved the border on my map and wanted it to show so I kept the wood just off the border design. I also left a little over 1″ of the wood longer on each edge of the map. This adds to the vintage hanging style.
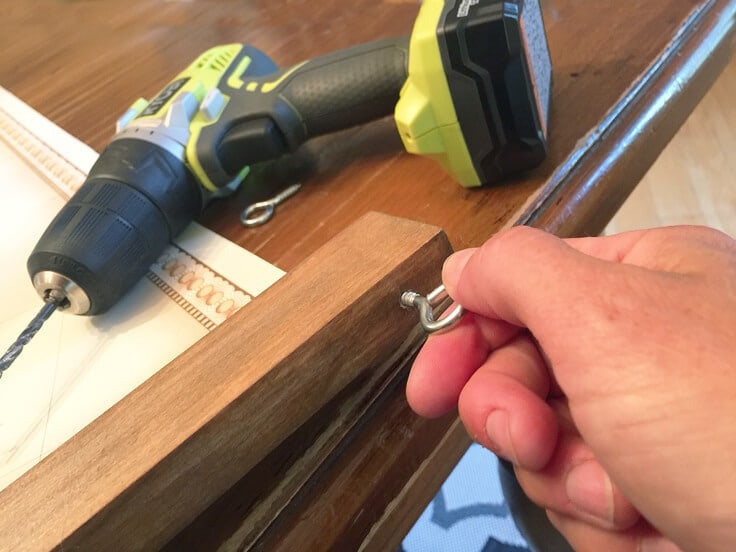
Now you’ll need to attach the eye bolts into the top of the map for hanging – one on each end. I used my drill to start a hole and then screwed the eye bolts each in by hand. I used pliers towards the end to secure tightly.
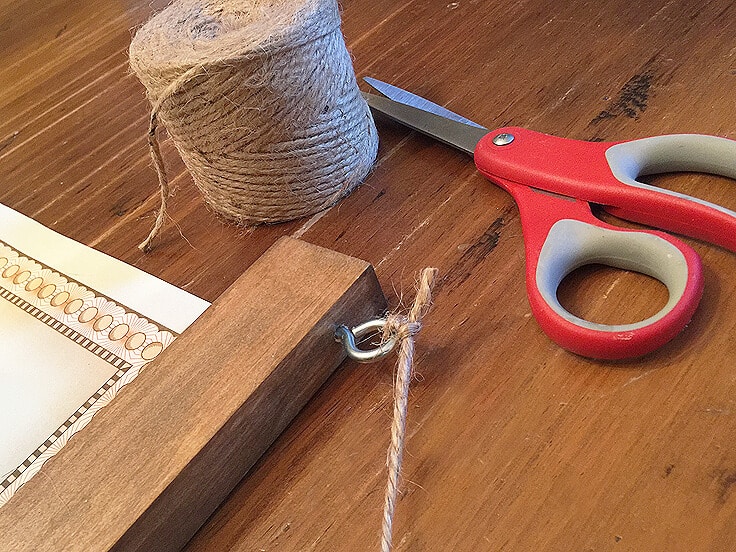
Tie your twine into each eyelet and hang!
I love the fact that this piece has such a strong presence in the room. And it cost under $15 – bonus!
Looking for more ideas on what you can do with maps? Check out this tutorial on how to add a map to an old tray! It’s a great way to repurpose something that you were going to throw away.
If you like this post, check out these related posts:
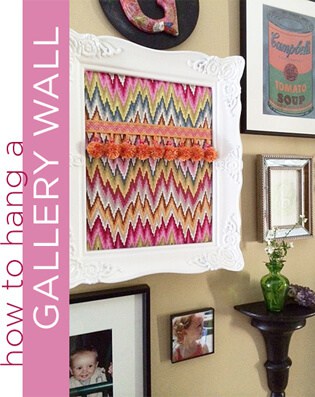
DIY Artwork – How to Hang a Gallery Wall
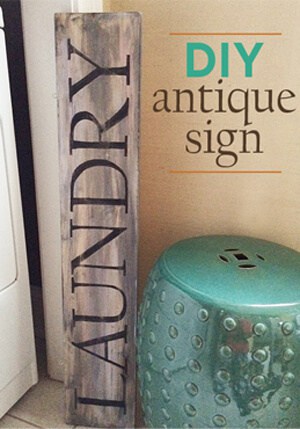
DIY Antique Style Laundry Sign
Love the ideas you see here on Ideas for the Home by Kenarry®? Subscribe today to get our weekly Ideas in Your Inbox newsletter plus other exclusive gifts and offers — all for FREE!
What’s Next?
While you’re here be sure to check out other home decor ideas on Ideas for the Home by Kenarry® –

Do you have to use spray adhesive to adhere the map to the poster board or could you use hot glue or even glue stick? Also, is the hot glue strong enough to hold the wood to the map? I feel like the wood on the bottom would be too heavy and would rip or pull the map off the top piece of wood. Thanks for any help!
Hi Gretchen,
Great questions! You don’t have to use spray adhesive but it will give the most consistent adhesion between the map and the poster board so that the two parts almost become one. If you use a glue stick or hot glue, it might cause the map to wrinkle or bubble in parts.
The hot glue will work to adhere the wood to the map so long as you’ve affixed the map to the poster board first to stiffen and strengthen it.
Let us know how your project turns out! We’d love to see photos.
Best wishes,
Carrie
Ideas for the Home by Kenarry