Scrapbook Paper And Washi Tape Envelopes
THIS POST MAY CONTAIN AFFILIATE LINKS. PLEASE SEE OUR FULL DISCLOSURE POLICY FOR DETAILS.
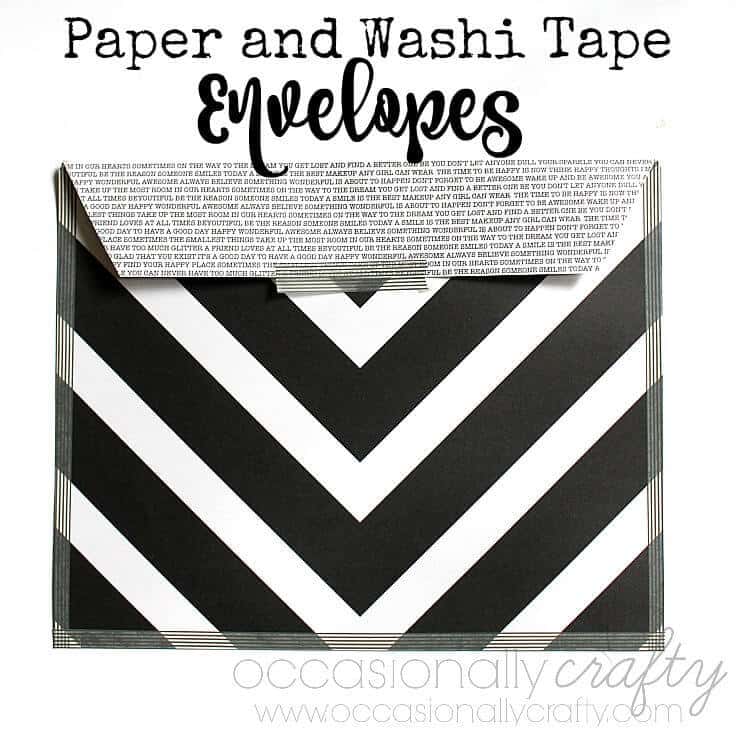
These large scrapbook paper and washi tape envelopes are perfect for giving photos or prints as a gift to friends and family! Learn how to make your own.
Hi Kenarry readers! It’s Valerie from Occasionally Crafty, visiting today with a fun paper crafting tutorial for you.
A few weeks ago, I directed three performances of the play Esther and the King. It was a lot of fun, but so much work directing a cast of 40 and working with a large crew of people. We had amazing people in charge of costumes, hair and makeup, set design and construction, props, choreography, and more.
I wanted to give them something special, so I had a print made with a scripture from the Book of Esther in the Bible (since that was our play!) and wrote thank you notes. But then I was stuck.
There’s no way I could afford frames for the many people I wanted to thank. How could I present the gift in a nice way without breaking the bank?
I decided to make my own “envelopes” out of scrapbook paper and washi tape- things I always have on hand!
How to Make Your DIY Envelopes
Here’s how I did it:
Materials needed:
- 2 sheets of coordinating 12×12 inch scrapbook paper
- Washi tape
- Scissors
- Pencil
- Ruler
Directions
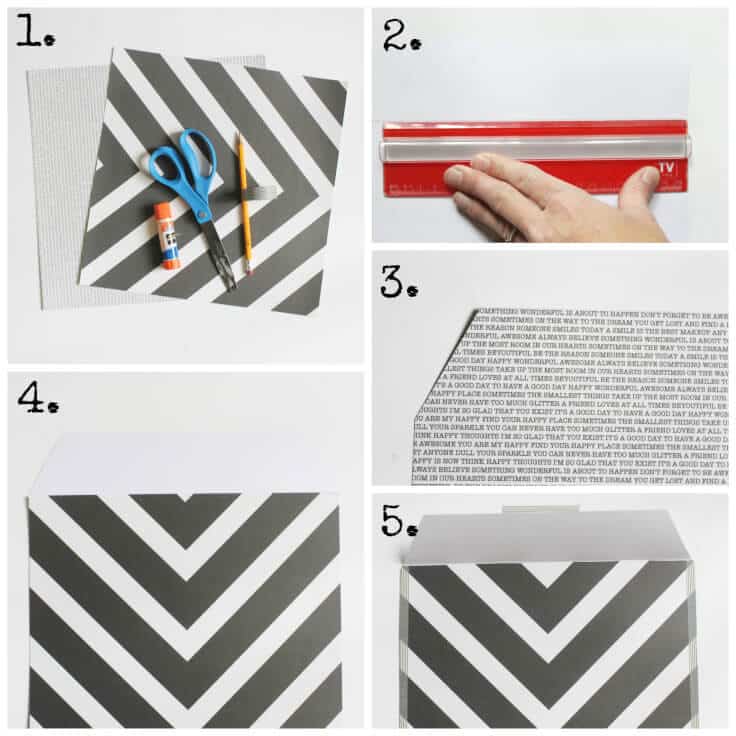
1.) Measure and cut a line on the scrapbook paper
Measure 1 3/4 inches down from the top of one of your scrapbook papers. Use your ruler and pencil to draw a line all the way across. Cut this strip of paper off.
2.) Cut off triangles for your envelope top
Using your other piece of paper, measure over 1 3/4 inches and down 2 3/4 inches, then draw a line connecting the two points. Cut off these triangles to make your envelope top.
3.) Put the 2 pieces of paper together
Place your first piece of paper that you cut in the first step on top of the second, patterned sides facing out.
4.) Use the washi tape to seal them together
Use your washi tape around the two long sides and one short side to tape your papers together and form your envelope. Leave the top part open as this is where you will put your photo or print. Fold the envelope lip from the back paper down over the front paper, creasing firmly.
5.) Seal with more washi tape
After you fill your envelope, seal your envelope with a strip of washi tape.
What to do if you don’t have washi tape
You could also just use glue or a tape runner, but I liked the contrasting look of the tape with the patterned paper envelopes.
What size envelope does this make?
This size for envelopes is perfect for 8×10 prints and would be a wonderful way to present prints from a photographer or a special gift like I did.

Thanks for checking out my project today.
More DIY Home Projects
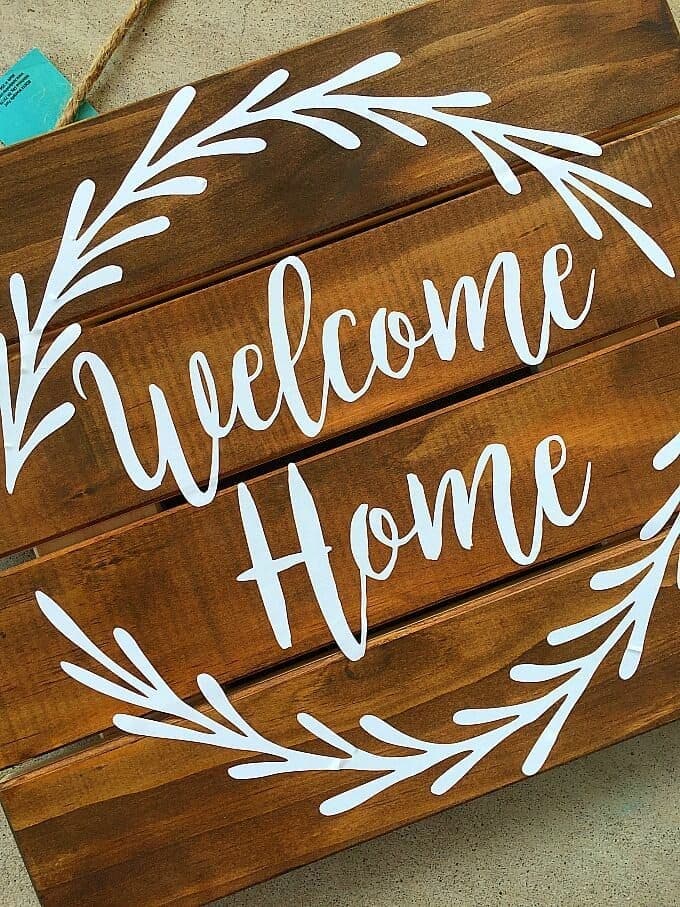
I’d love it if you hopped over to my blog to see what I’ve been up to there, like this Vinyl Pallet Sign:
and my Skinny Baked Mac ‘n’ Cheese.

See you next time!
Love the ideas you see here on Ideas for the Home by Kenarry®? Subscribe today to get our weekly Ideas in Your Inbox newsletter plus other exclusive gifts and offers — all for FREE!
What’s Next?
While you’re here, be sure to check out other craft projects on Ideas for the Home by Kenarry® –
- Paper Crafts with Printables: Free Download
- DIY Custom Notebook with Mod Podge
- Washi Tape Ideas: Thanksgiving Vase Craft + More
Originally published March 2016. Updated March 2018.