Quick And Easy Dollar Store Glass Gem Coasters
THIS POST MAY CONTAIN AFFILIATE LINKS. PLEASE SEE OUR FULL DISCLOSURE POLICY FOR DETAILS.
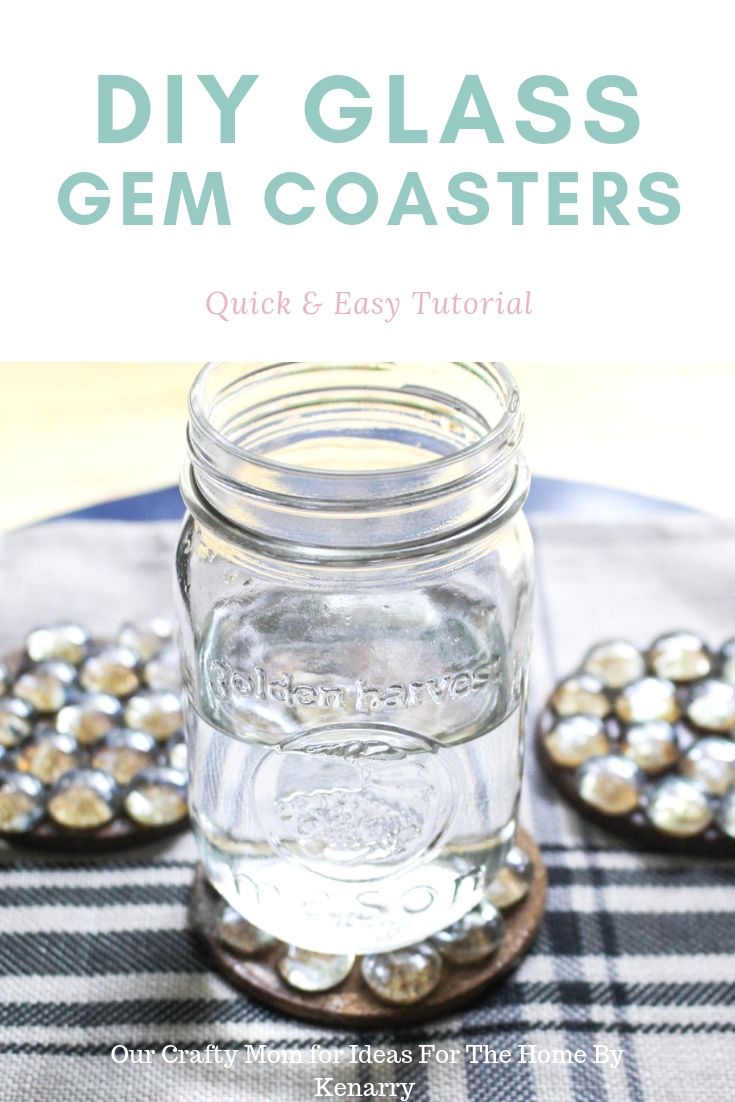
Today we will show you how to make quick and easy glass gem coasters with dollar store supplies. These would also make a great gift idea.
Hello friends! Michelle back from Our Crafty Mom sharing a quick and easy Dollar Store craft. These glass gem coasters would be a fun craft to make with the kids too. You can find these glass gems in several different colors as well.

How to Make Glass Gem Coasters
I’m always looking for easy gift giving ideas, especially something that is useful like these coasters. These are super affordable with supplies from the dollar store and they look country chic.
You can give them as graduation gifts to someone going off on their own for the first time, wedding gifts, or they make a low-cost hostess gift for parties.
I’ll show you step-by-step how to make these shiny and impressive little coasters.
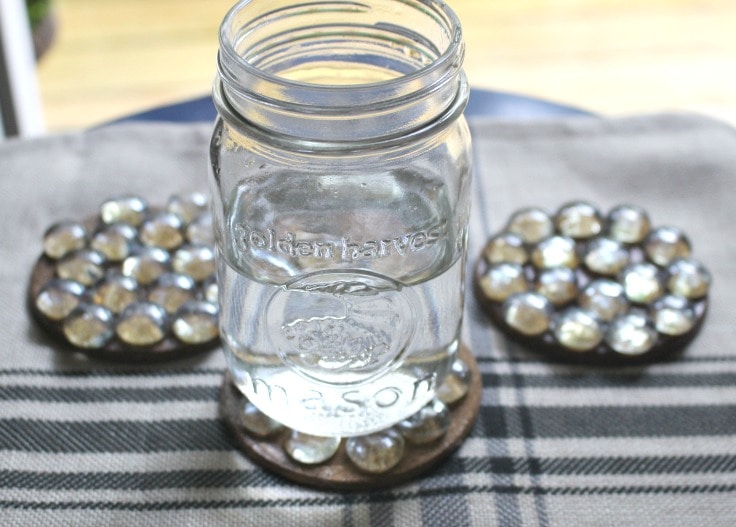
What you need:
Want more ideas like this? Subscribe today to get our weekly Ideas in Your Inbox newsletter plus other exclusive gifts and offers — all for FREE!
Kitchen or Craft/DIY Tools Needed:
Supplies or Ingredients Needed:
Instructions:
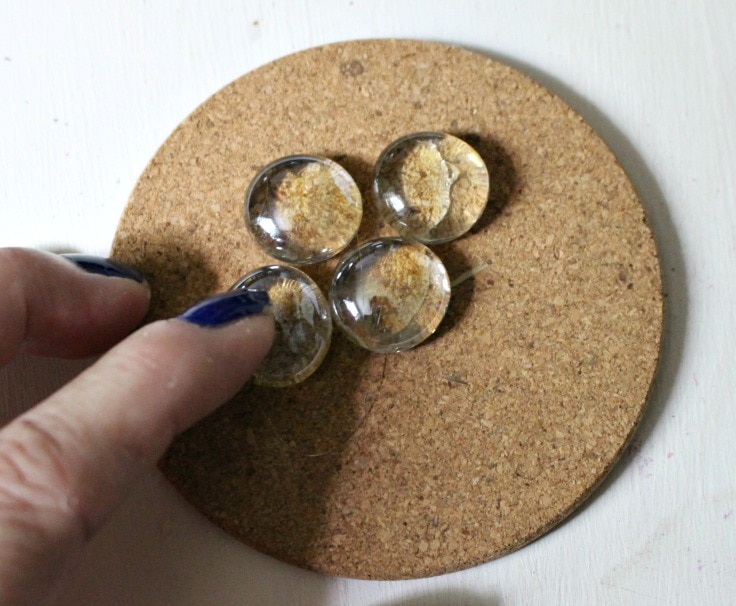
1. Lay the gems on the cork for placement
First, it’s best to start by placing the gems on the cork for placement prior to hot gluing them. Otherwise, you might not get even placement. Ask me how I know!
2. Hot glue the glass gems
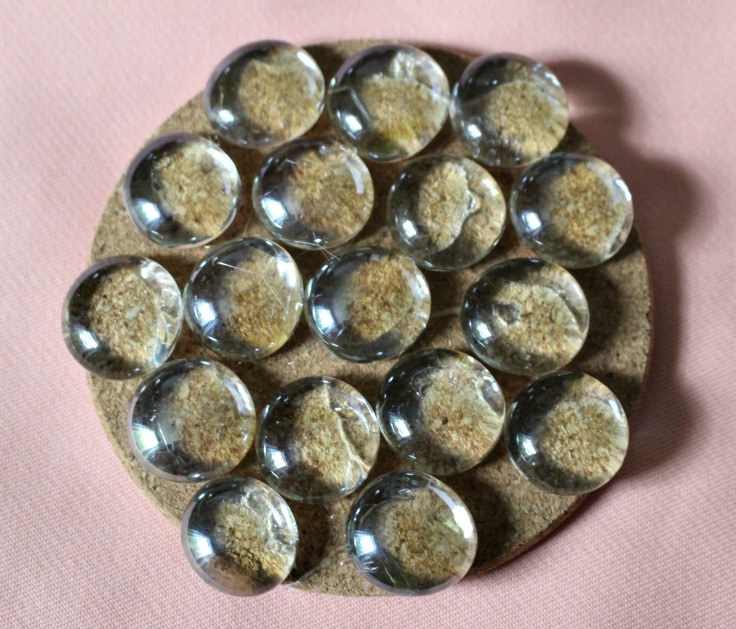
Use the hot glue gun to glue each glass gem to the cork coaster. It’s best to place the hot glue on the gem, but watch your fingers!
step 3. add the triple thick glaze
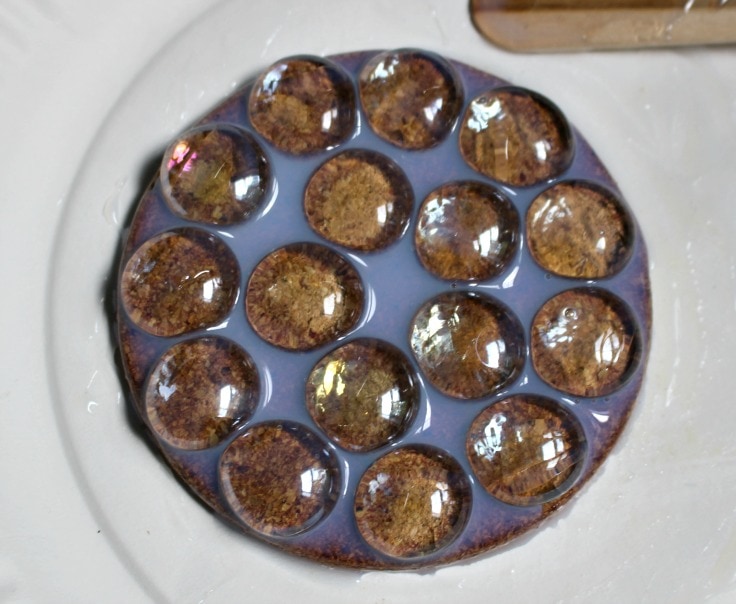
The triple thick glaze gives the cork extra protection from liquids and will make them last longer. It gives them a nice finish too!
Step 4. let dry overnight
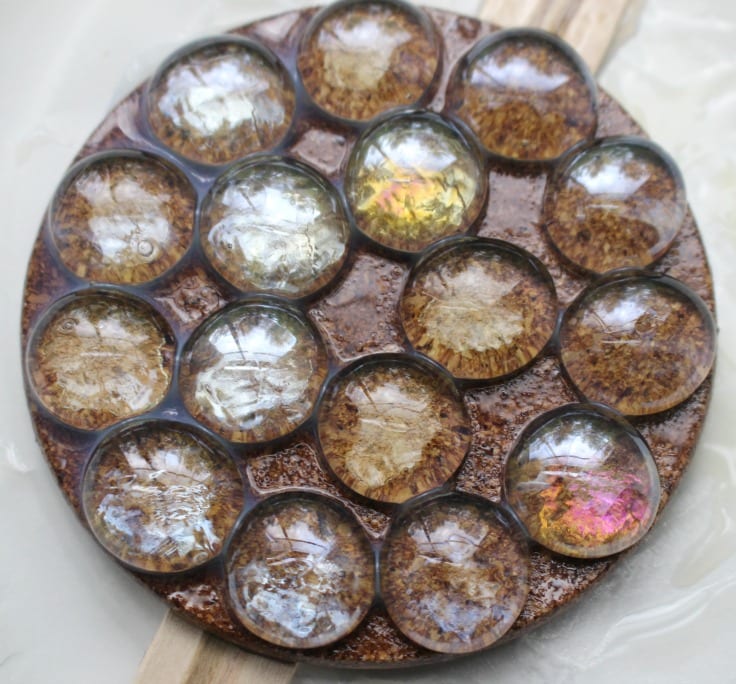
Let the coasters dry overnight and then the glass gem coasters are ready to use! You can layer them together and tie a pretty ribbon around them for gift giving, or use them in your own home.
How to personalize the glass gem coasters
While the simple clear glass gems and cork board are cute and go in almost any decor, you might want to personalize them before giving them as a gift.
Personalizing the coasters will make the gift stand out. It’ll tell the person how much you care and how much thought you put into them.
Try one of these creative ideas:
- Add a photo before gluing the glass gems. You could hot glue a picture to the cork board before gluing the gems. Then you’ll be able to see the picture through the gems.
- Use colored gems. Find some different-colored gems – like maybe colors from their school or favorite sports team.
- Add a monogram beneath the gems. If you have a vinyl printer (like a Cricut) you can add a monogram to the cork board before gluing the gems.
Love the ideas you see here on Ideas for the Home by Kenarry®? Subscribe today to get our weekly Ideas in Your Inbox newsletter plus other exclusive gifts and offers — all for FREE!
What’s Next?
If you enjoyed these glass gem coasters, you may also like these ideas too.
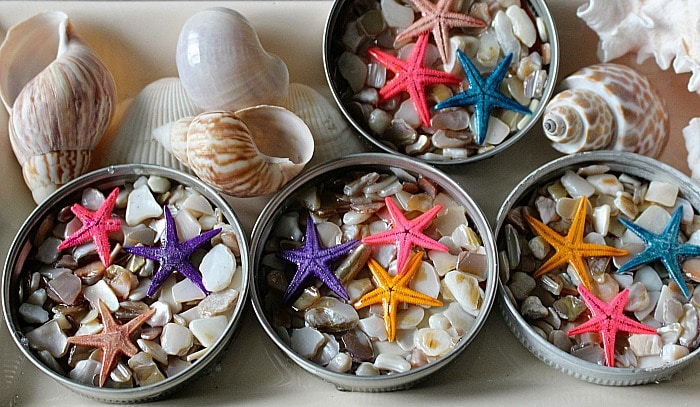
Beach Themed Mason Jar Lid Coasters
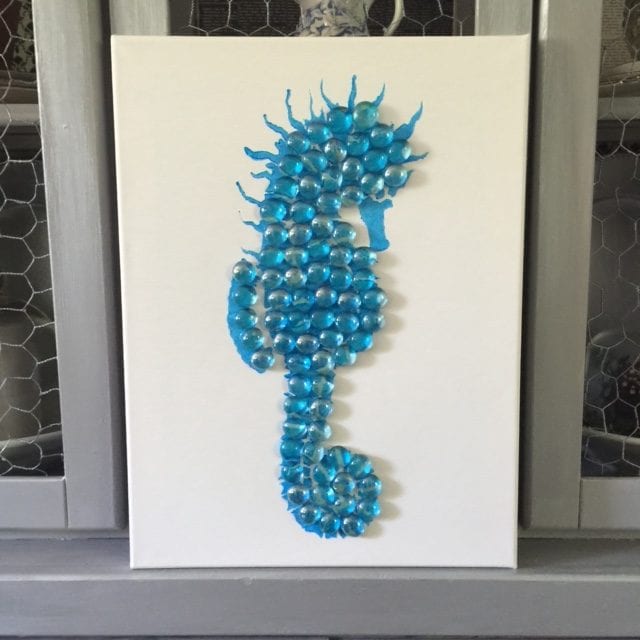
Sea Horse Canvas With Dollar Store Gems
You may also enjoy these coaster ideas on Kenarry:

I wanted to know if you pour the triple thick on the gems or use a brush to apply the triple thick on the gems?
Hi Denise. I poured the triple thick glaze on and then went back and brushed some on the gems too. It is a little messy, so be sure to put something down under the coasters first. Hope that helps. 🙂