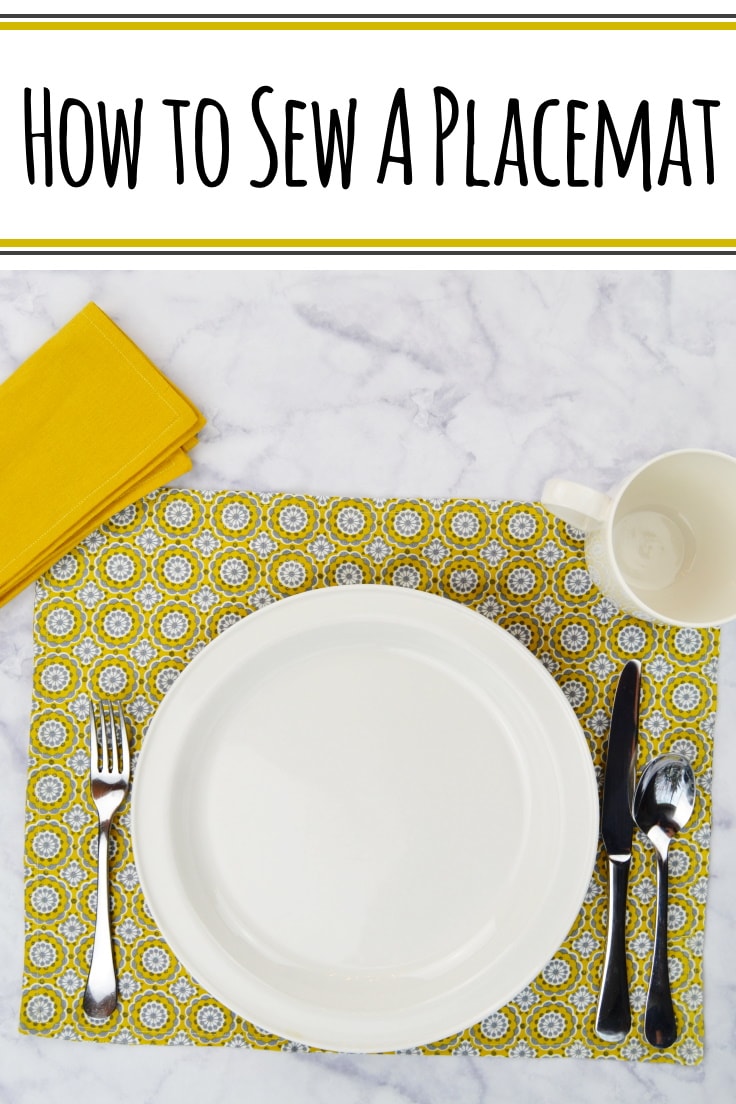
How to Sew a Placemat in 5 Simple Steps
THIS POST MAY CONTAIN AFFILIATE LINKS. PLEASE SEE OUR FULL DISCLOSURE POLICY FOR DETAILS.
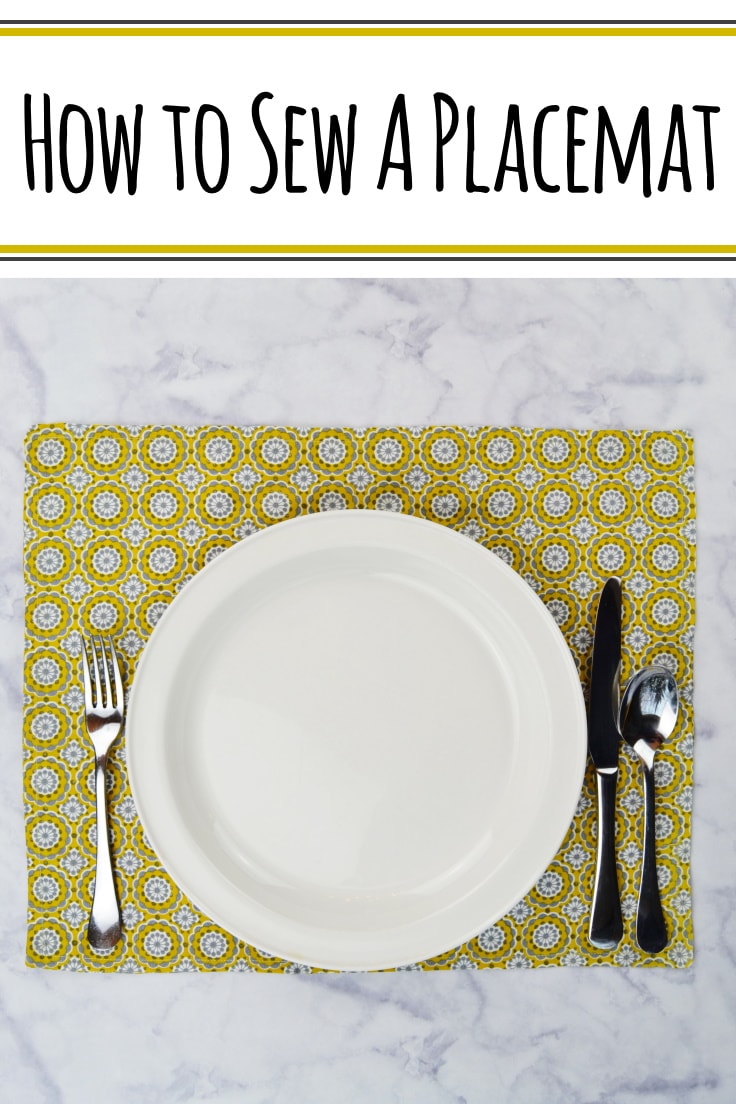
Refresh the look of your dining room table with some new placemats. You can learn how to sew a placemat in just 5 easy steps in this tutorial.
Hey y’all, it’s Cat from Mary Martha Mama. I’m back today with a really simple sewing tutorial that can make a huge impact: how to sew a placemat. You can quickly and easily change up your dining room table decor by whipping up some new placemats and I’m gonna show you how right now.
Now some of you might be a little intimidated by sewing and some of you might have just gotten a sewing machine for Christmas and are unsure of what to make first. This tutorial is for you! It’s a very easy project that anyone can tackle.
How to Sew a Placemat
I’ll be giving instructions for how to sew a placemat and you can just adjust the materials and repeat the process for the number of placemats that you need to make.
What you need:
Want more ideas like this? Subscribe today to get our weekly Ideas in Your Inbox newsletter plus other exclusive gifts and offers — all for FREE!
Craft Tools Needed:
Supplies Needed:
- Fabric (2 rectangles of 15 inches X 18 inches for each placemat)
- Fusible Interfacing (1 rectangle of 15 inches X 18 inches for each placemat)
- Coordinating Thread
Instructions:
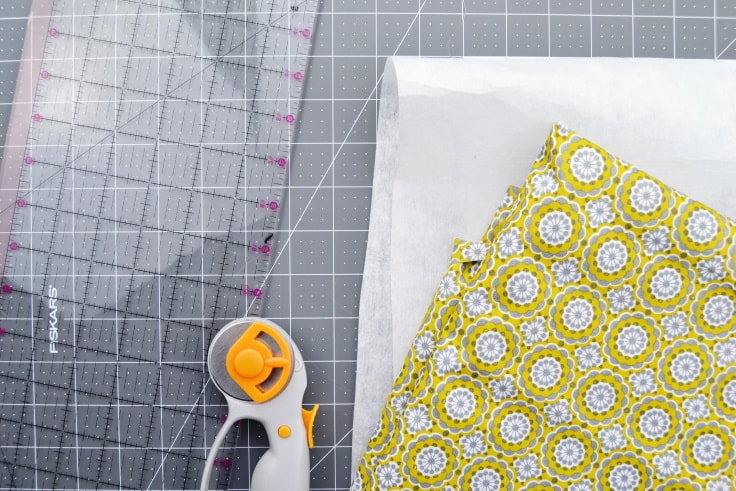
1. Prepare Your Fabrics.
Wash, dry, and iron your fabric. Then cut your 2 15 X 18-inch rectangles from the fabric.

Cut one 15 X 18-inch rectangle from the interfacing.
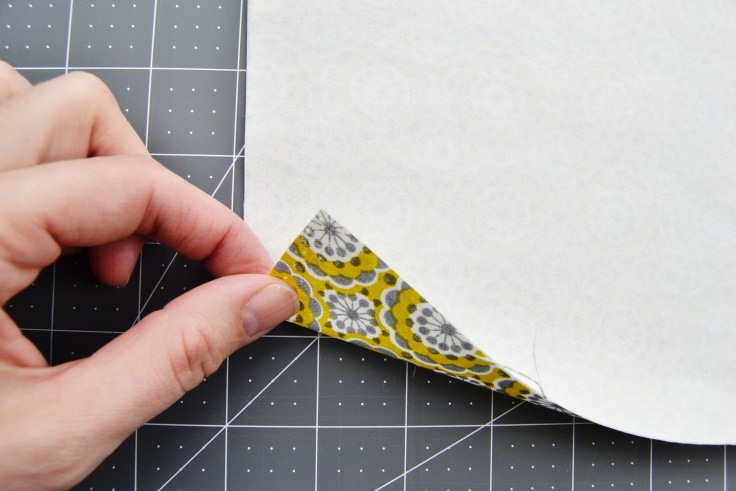
Place the fusible interfacing on the wrong side of one of your rectangles of fabric. Follow the instructions on your interfacing package to iron the interfacing onto the back of the rectangle of fabric.
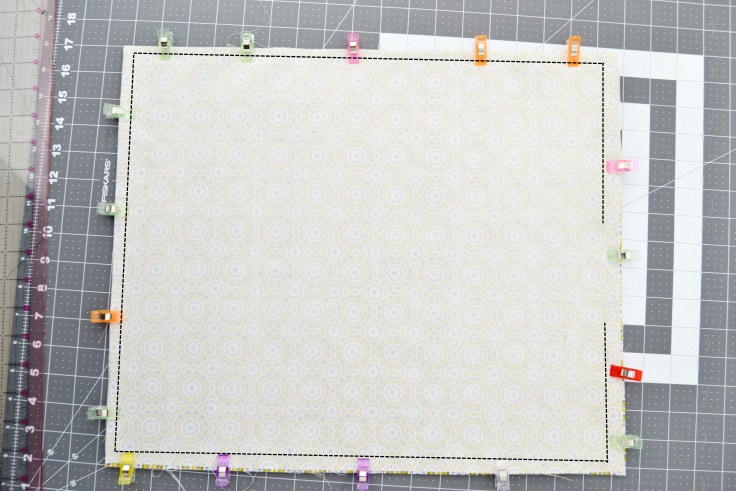
2. Clip And SeW.
Lay one of your fabric rectangles down with the right side facing up. Then lay the other fabric rectangle on top of the interfacing with the right side down.
Clip or pin the layers together. Then sew most of the way around the outside edge, sewing 1/2 inch from the edge but leave the last few inches unsewn like in the picture below. Make sure you leave these few inches unsewn in the middle of a side and not in a corner.
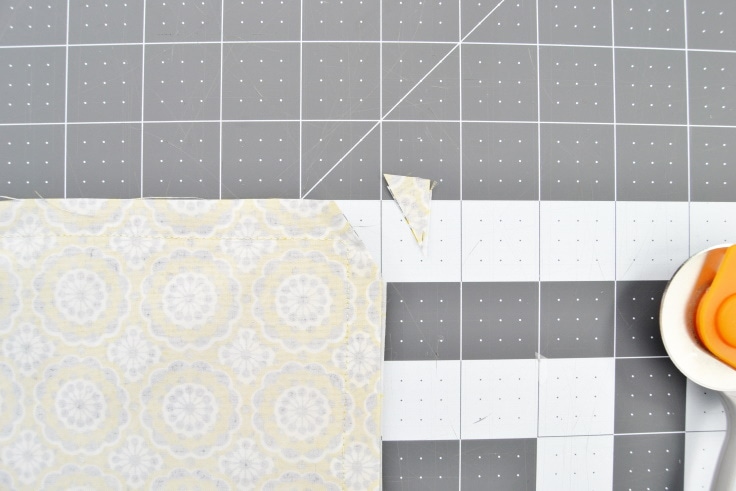
3. Clip the Corners.
Use your scissors or rotary cutter and clip the triangles off of each of the corners. Doing this will make your corners lay nicely.
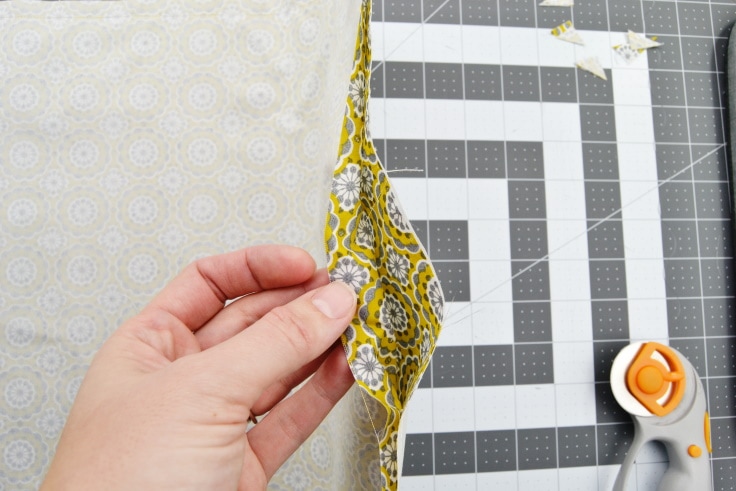
4. Turn Right Side Out.
Turn your placemat right side out by reaching in the hole you left in one side and pulling it through. Give your placemat a good pressing with the iron.
5. Topstitch.
Sew all the way around the outside edge of the placemat, sewing about 1/4 inch from the edge. This will help the placemat to lay nicely and will close up the hole you left in one of the sides.
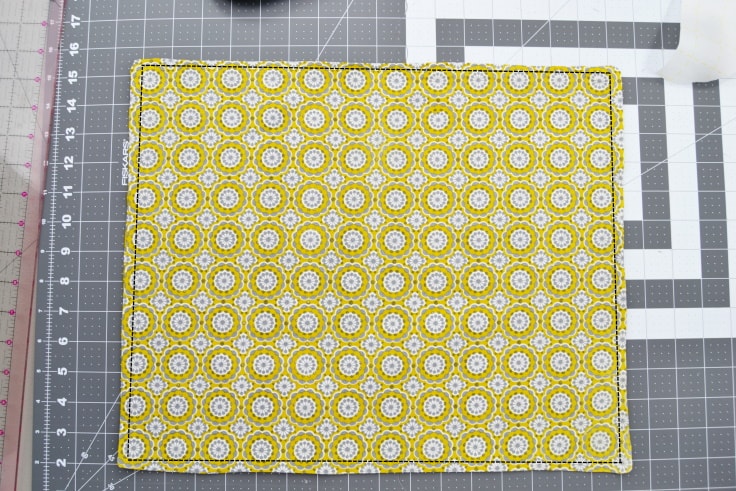
Trim your thread, give it all a good pressing, and you’re done!

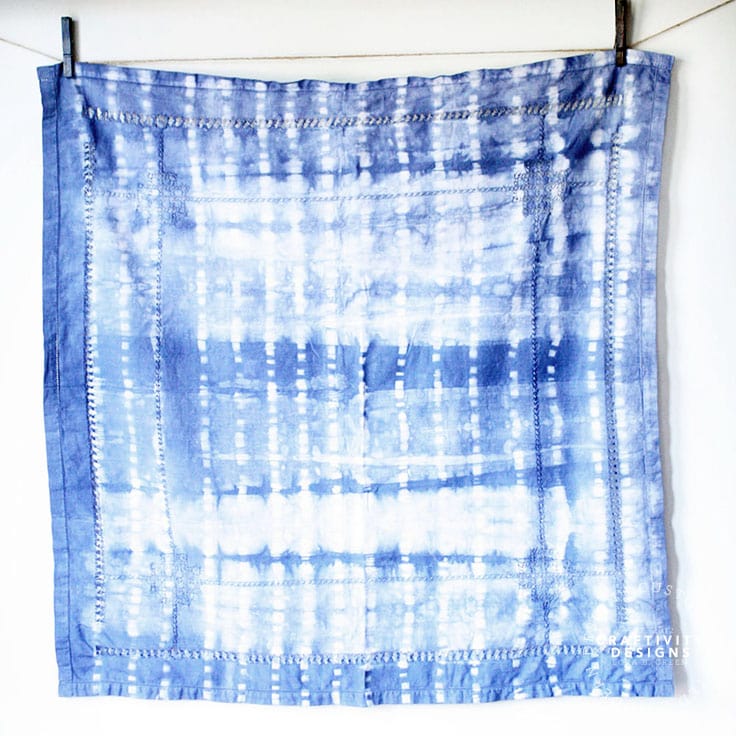
To help finish off your dining room table, try these easy to sew fabric napkins!
What’s Next?
If you enjoyed this tutorial for how to sew a placemat then you’ll enjoy these sewing tutorials too.
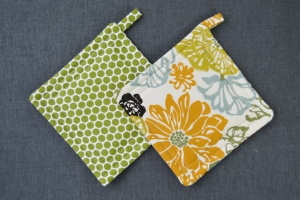
Potholder Tutorial That’s Easy for Beginners
You may also enjoy these placemat ideas on Ideas for the Home by Kenarry® –