DIY Fall Wreath That’s Easy And Inexpensive To Make
THIS POST MAY CONTAIN AFFILIATE LINKS. PLEASE SEE OUR FULL DISCLOSURE POLICY FOR DETAILS.
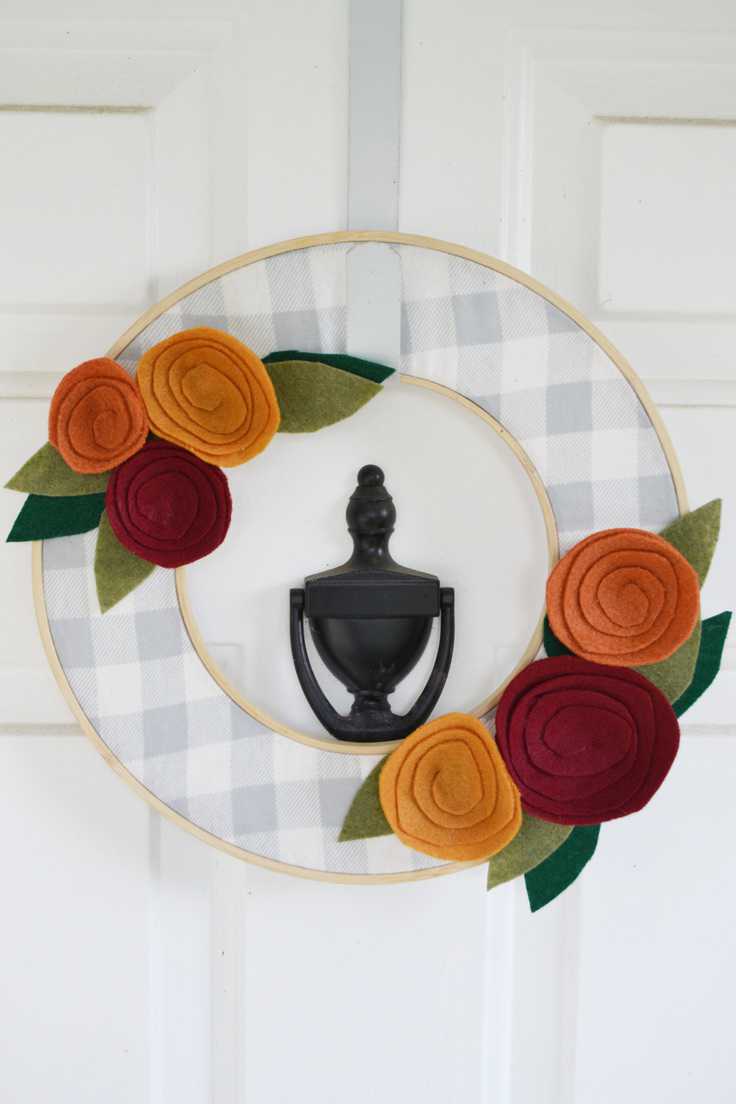
Want an easy DIY fall wreath idea? Make this simple fall wreath using some fabric, felt, embroidery hoops, and a little hot glue.
Hey y’all, it’s Cat from Mary Martha Mama. Fall is in full swing here and I have been working on adding a few seasonal touches to our porch. The first thing I wanted to make is something to decorate our door and today I’m sharing with you the super easy DIY fall wreath that I whipped up.
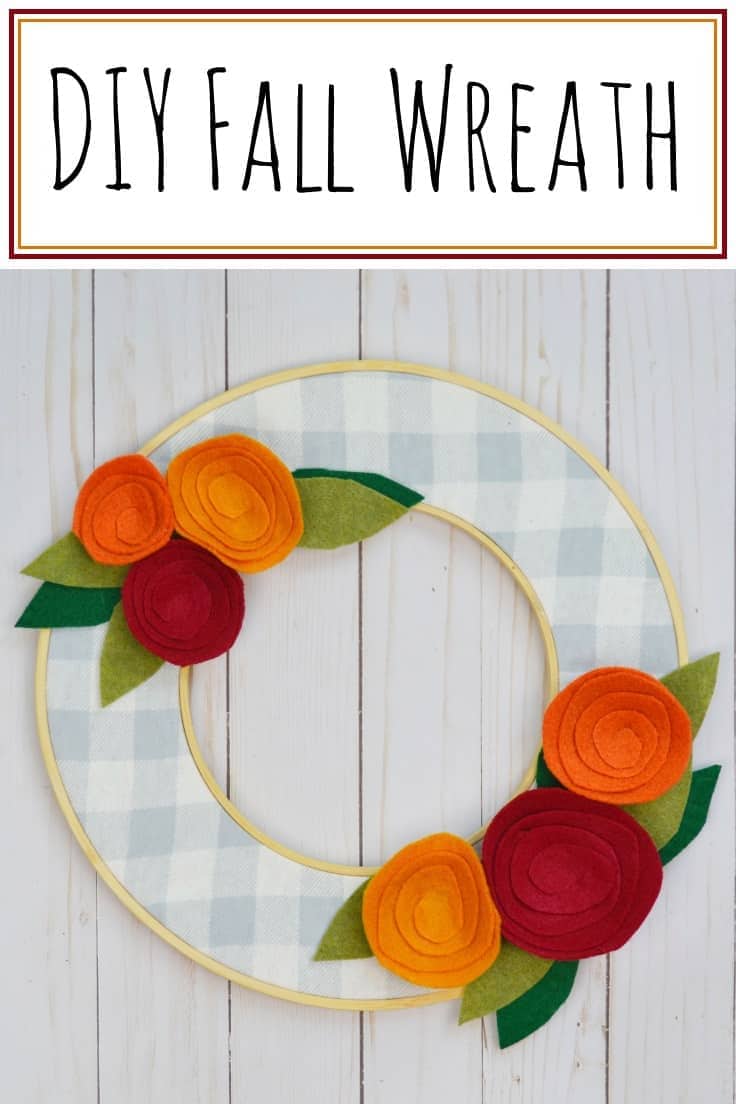
I love that this double embroidery hoop wreath enables me to showcase some pretty fabric on my front door. You can apply this technique to making a wreath for other seasons by utilizing different fabrics and colors.
How to Make a DIY Fall Wreath
The awesome thing about this project is that you don’t need too many materials to make it so it’s an inexpensive project.
What you need:
Want more ideas like this? Subscribe today to get our weekly Ideas in Your Inbox newsletter plus other exclusive gifts and offers — all for FREE!
Craft Tools Needed:
Supplies Needed:
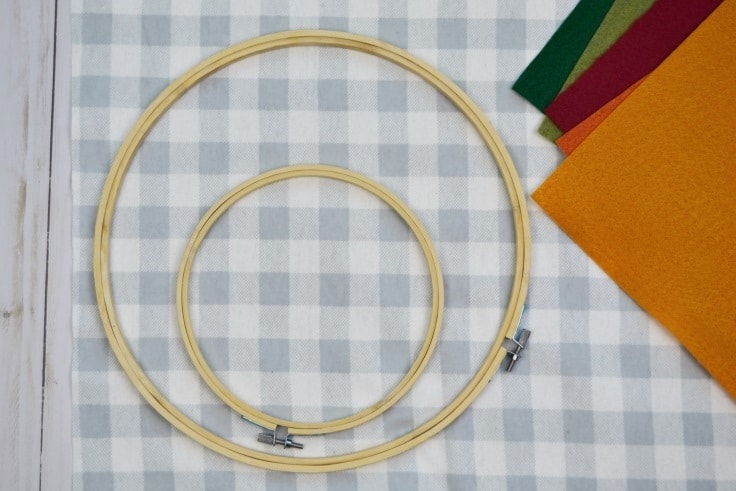
- 12 inch embroidery hoop
- 7 inch embroidery hoop
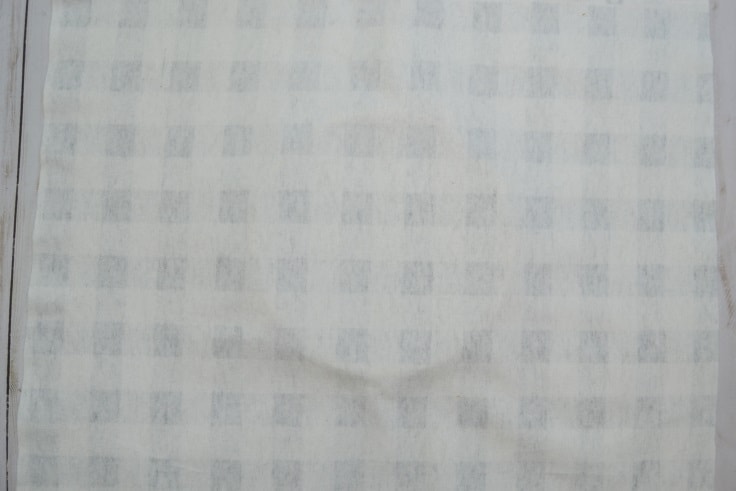
- 1/2 yard of fabric or a fat quarter
- sheets of felt in coordinating colors
Instructions:
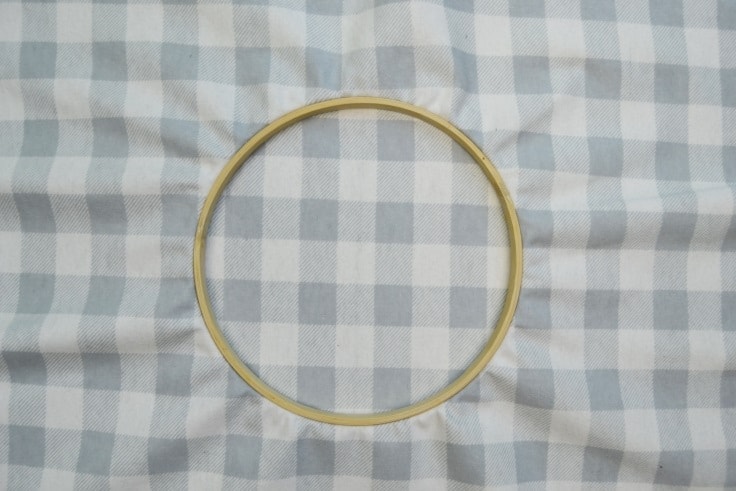
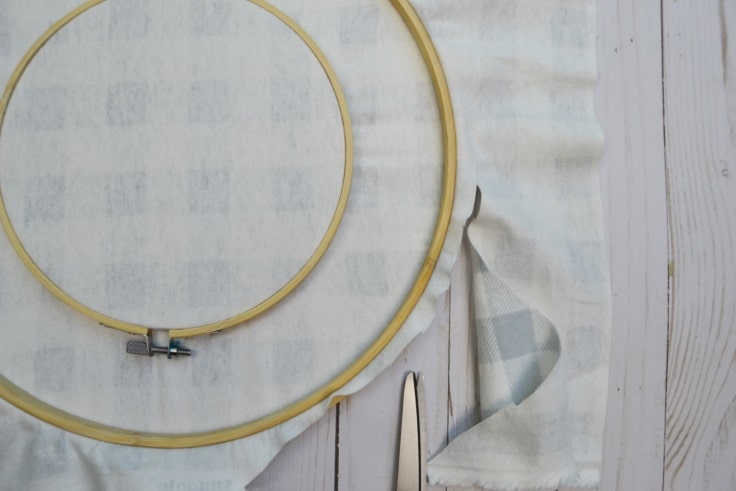
1. Prepare your hoops
I chose to leave my embroidery hoops as they are and use their natural finish but depending on the look that you’re going for then you may want to paint or even stain your hoops. You will also want to look at the tightening mechanism on your hoop and if it has a clear layer protecting it then you will want to peel that off.
2. Insert the fabric into the smaller hoop
Lay your fabric down with the right side down. Loosen the metal mechanism on the smaller embroidery hoop so that the outer hoop separates from the inner hoop.
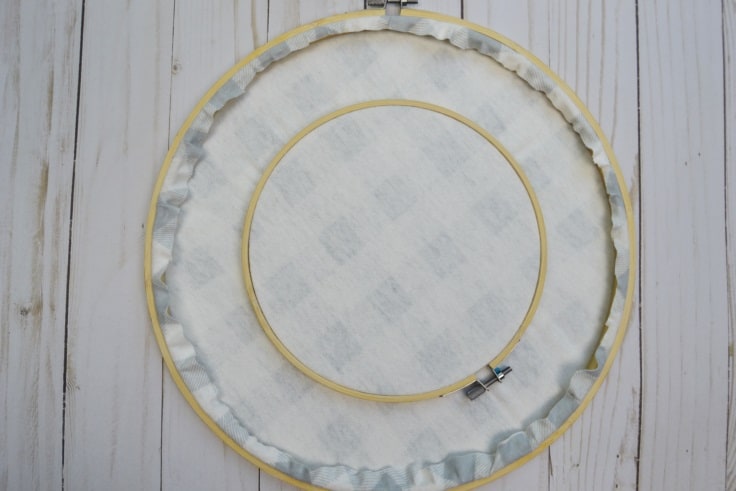
Slide the inner hoop under your fabric and try to center the pattern of the fabric (if it has a pattern. Then push the outer hoop onto the inner hoop that is covered by the fabric. If your outer hoop won’t fit on then loosen it so that it’s wide enough to fit.
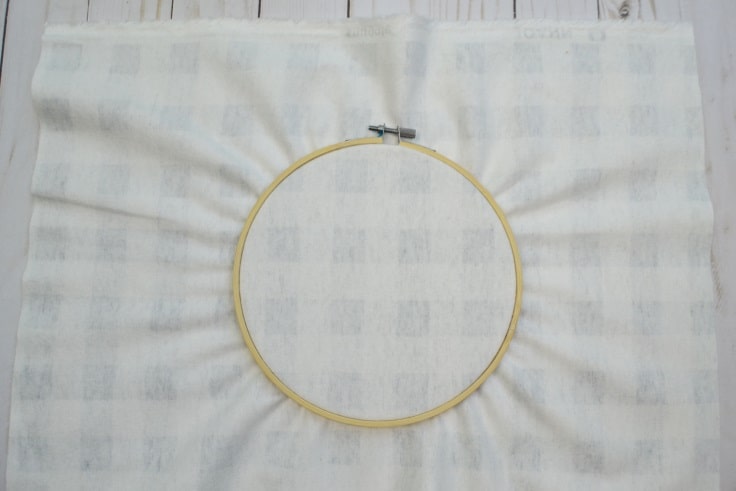
Once you have it on tighten it just a little bit. Smooth the fabric out a little and tighten some more until it is nice and secure. This is what it looks like once you flip it over:
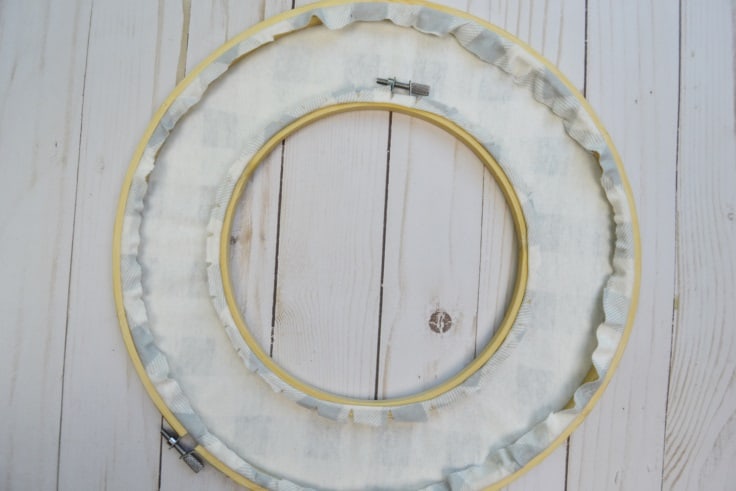
3. Add the second hoop
Loosen the metal tightening mechanism on your larger embroidery hoop and separate the inner and outer hoops. Slip the inner hoop under your fabric and try to get the 7 inch hoop centered inside it.
Then loosen the outer hoop of your 12 inch hoop enough so that you can slide it down around the inner hoop and press it down around it.
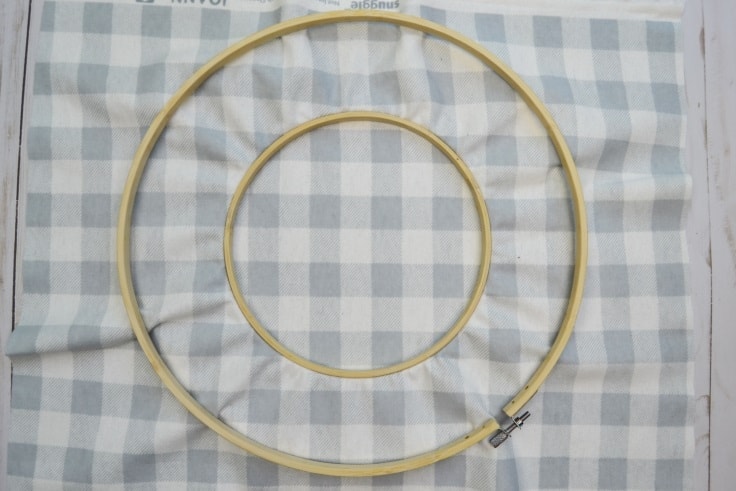
Smooth your fabric out as much as you can and then tighten the outer hoop of the 12 inch hoop a little bit. Keep smoothing the fabric and tightening until it lays nice and flat.
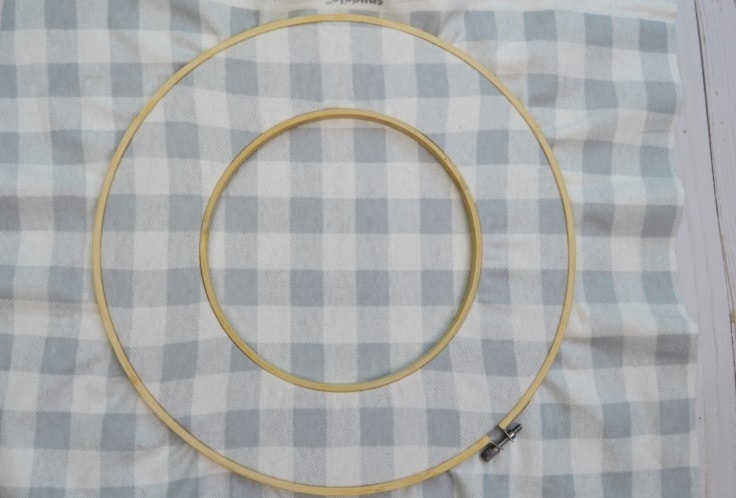
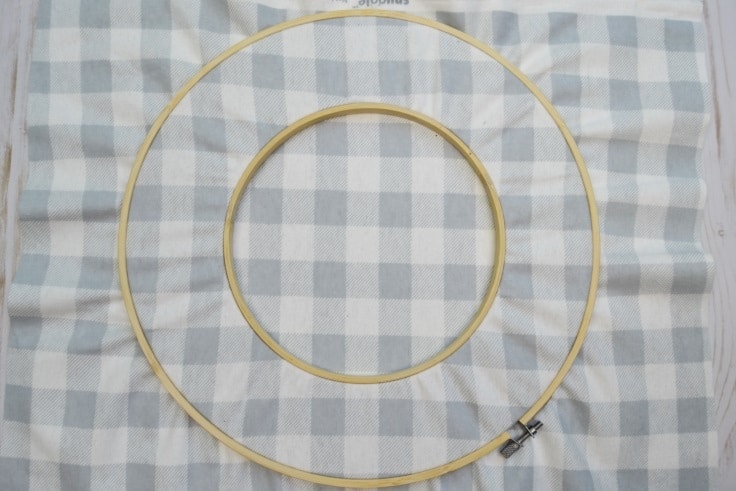
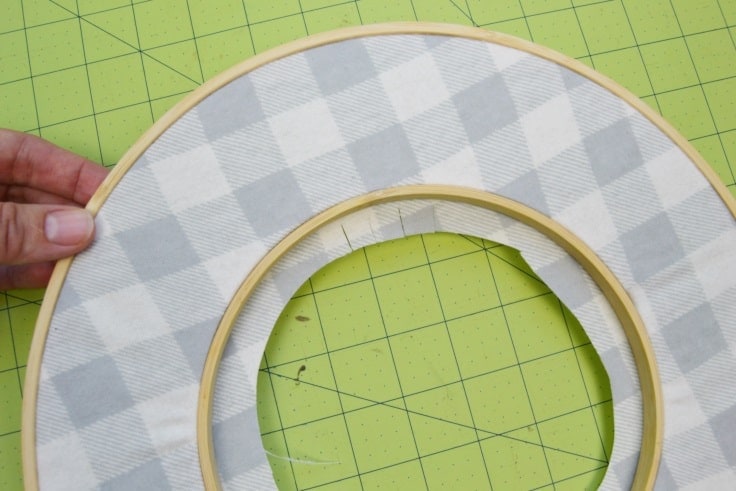
4. Trim the excess fabric
Flip your DIY fall wreath over and trim the excess fabric from around the outside, cutting about 1/2 inch from where your fabric comes out of the big hoop. Then glue the 1/2 inch down onto the back of the hoop using your hot glue gun.
Now you need to trim the extra fabric from the middle. Flip it over so that you’re seeing the right side and use your rotary cutter or an Xacto knife to cut out the fabric from the middle. Leave 1/2 inch of fabric going all the way around. Then cut notches into the fabric so that you can fold it over and glue it down onto the back of the embroidery hoop.

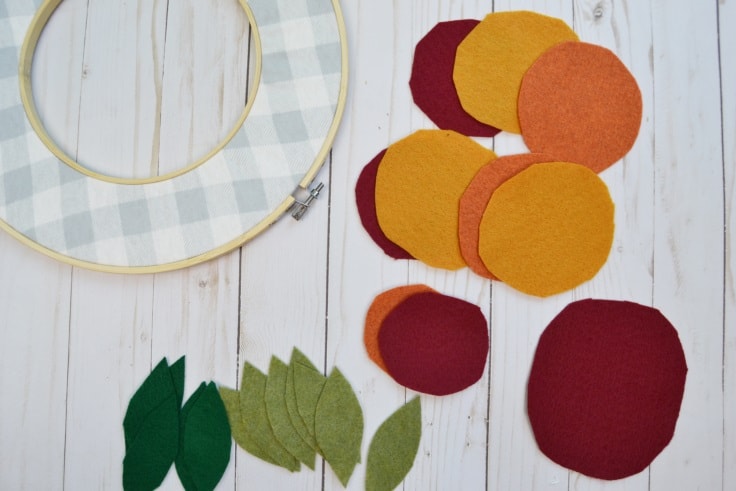
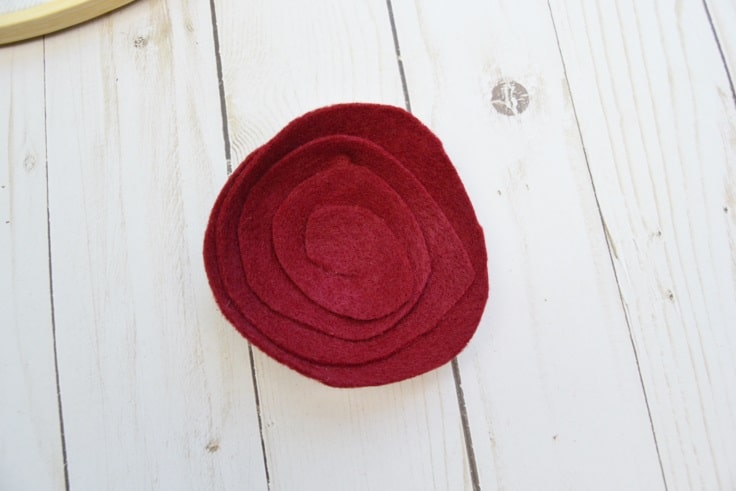
5. Make some embellishments from felt
Cut out some leaf shapes and some circles to make flowers out of the felt. I cut out circles that were 3, 4, and 5 inches in diameter. Do not worry about making these perfect!
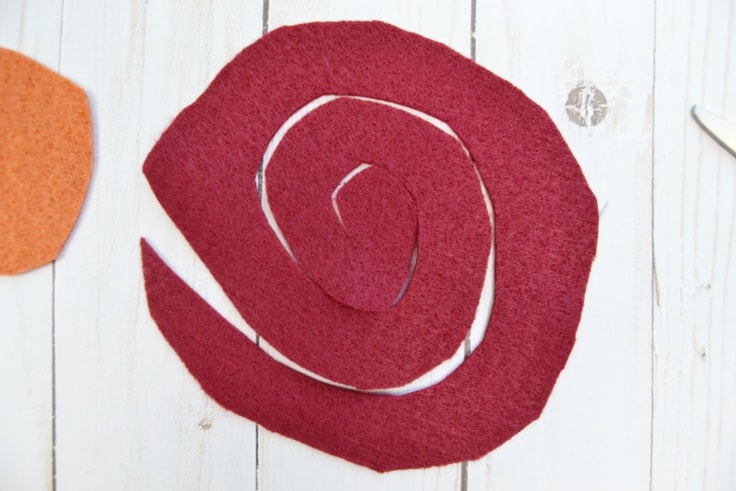
Take your circles and cut them into spirals.
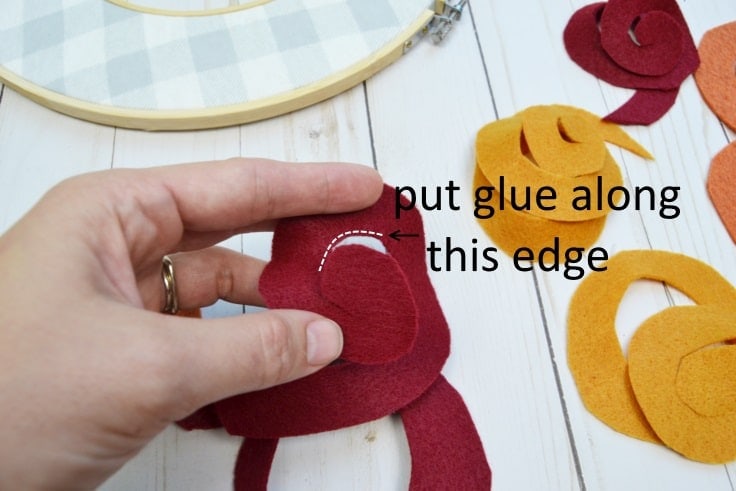
Then put some hot glue along the inner edge of the spiral and turn and press that edge into the back of the previous spiral. Keep going until you have what looks like a flower.
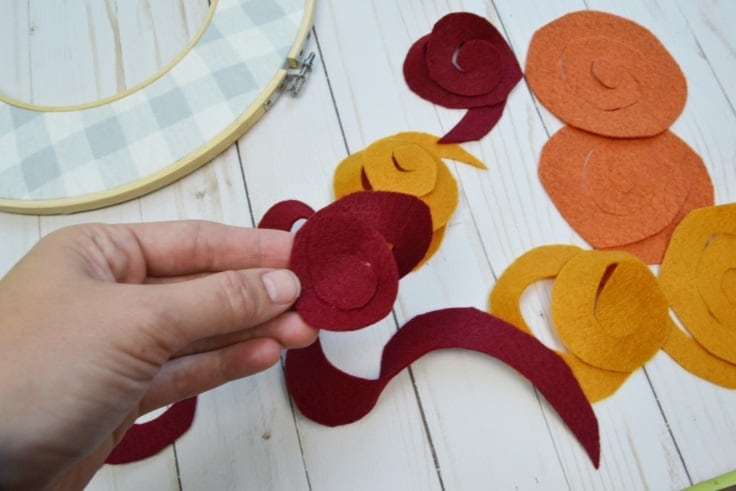
Arrange the leaves and flowers onto your wreath however you like them. Then hot glue them into place.
Now go hang up your DIY fall wreath! You can hang it using the natural little ledge that the outer embroidery hoop provides or you can attach a ribbon to the back of the metal tightening mechanism if you leave it at the top of your outer hoop.
If you’re in love with this buffalo check pattern fabric as much as we are, check out all of our favorite DIY buffalo check fall decor.
More Fall Decor Ideas


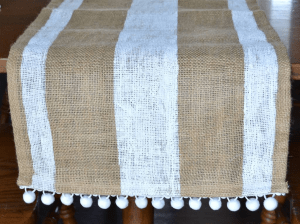
Burlap Table Runner with Pom Poms
Love the ideas you see here on Ideas for the Home by Kenarry®? Subscribe today to get our weekly Ideas in Your Inbox newsletter plus other exclusive gifts and offers — all for FREE!
You may also enjoy these DIY Fall Wreath ideas on Ideas for the Home by Kenarry® –

Wonderful idea and the wreath looks awesome. Thank you for sharing this post!