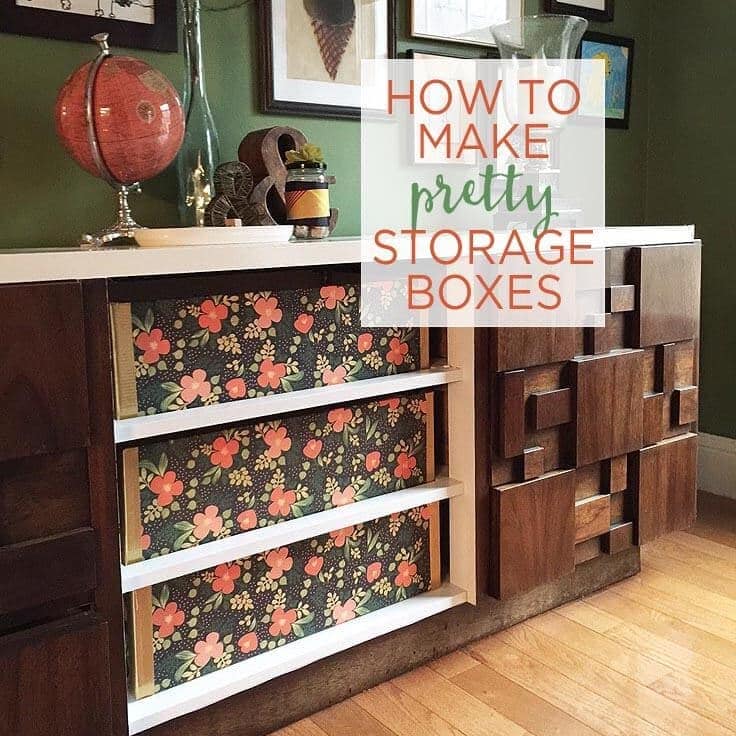
How To Make Pretty Storage Boxes
THIS POST MAY CONTAIN AFFILIATE LINKS. PLEASE SEE OUR FULL DISCLOSURE POLICY FOR DETAILS.
See how easy it is to make your own pretty storage boxes that are unique and can be made to fit in any space in your home.
Hi everyone, it’s Lori from Greco Design Company here to share a fun and easy storage solution that’s also so pretty that you’ll want to show it off!
Add Storage To Your Home Office
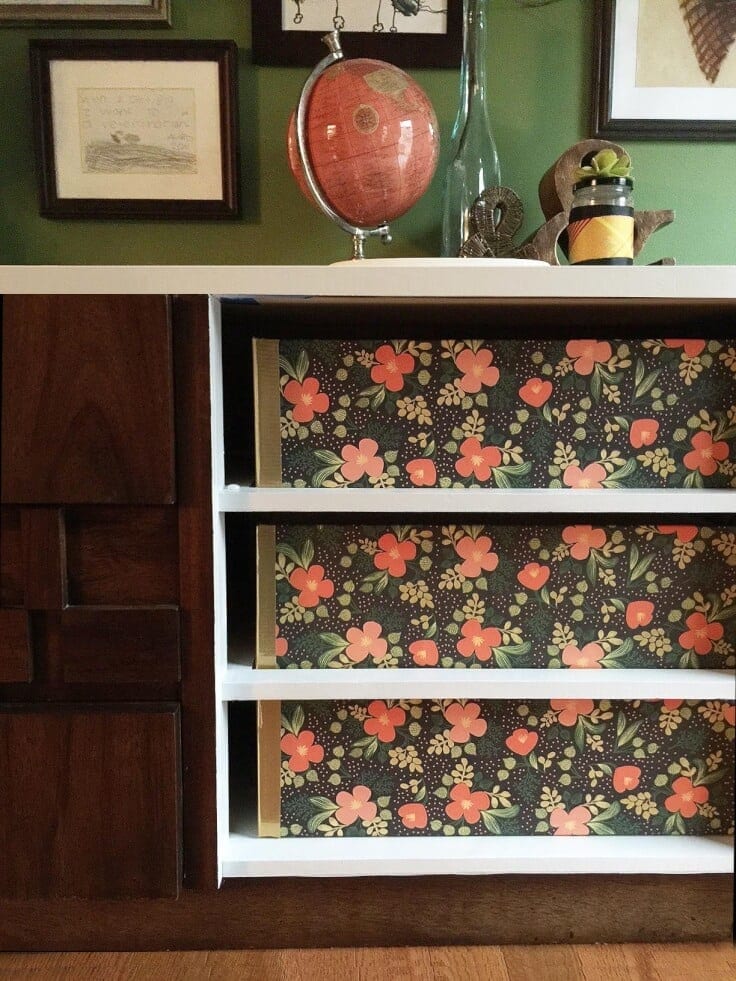
I refinished this mid-century dresser over a year ago and I loved how it came out. Click here to check out that post. It sits in my home office and it’s a much-needed storage piece but it also looks pretty and is a big focal point in the room. I wanted to make the piece look less like a dresser so I removed the middle drawers and wanted to replace them with some open storage.
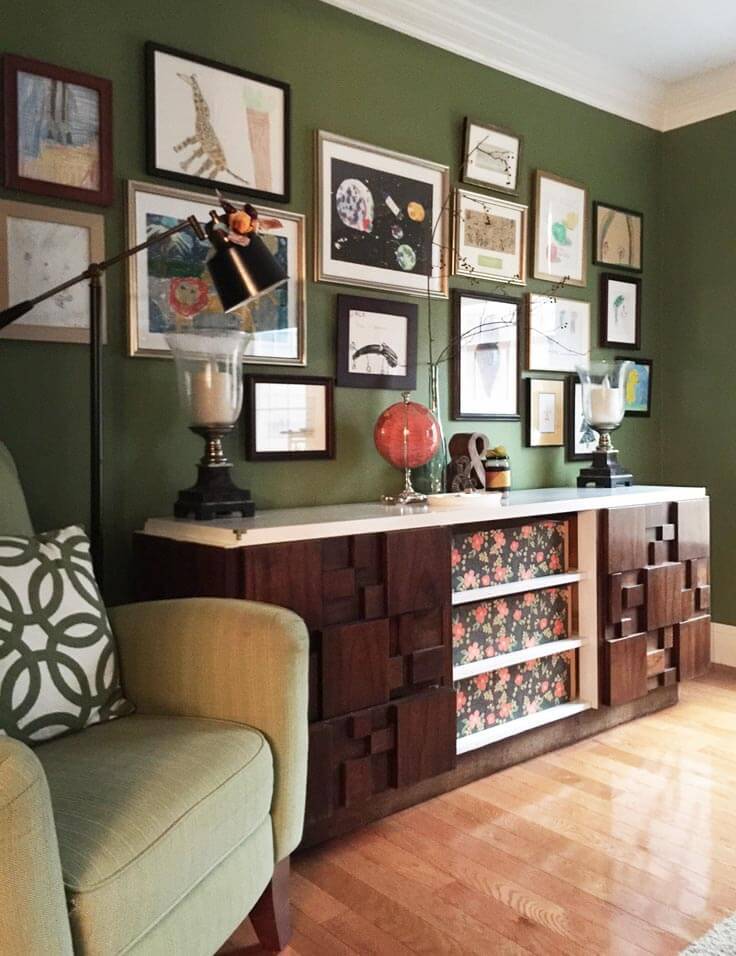
But, I looked everywhere for something to fill these three open shelves and I couldn’t find the right solution. They’re very shallow openings and the top 2 shelves have notches where the baskets or bins would sit. It’s a great feature but this made my options even more limiting.
In addition, I didn’t want to compromise the mid-century style of the piece. I couldn’t use many baskets because they looked too rustic and country. And plasitc bins looked too contemporary. So I decided to make my own storage box. And over a year later, they have held up so well and still look super pretty!
Disclosure: This blog post contains affiliate links for products or services we think you’ll like. This means if you make a purchase from one of these links, Ideas for the Home by Kenarry® will make a small commission at no additional cost to you so we can keep the great ideas for the home coming your way. All opinions expressed are derived from personal experience.
How To Make DIY Storage Boxes
Here are the instructions if you want – or need – to make your own storage boxes.
Supplies
You’ll need the following materials:
- Foam core – my piece was 35″ x 26″ flat. The size of your foam core will depend on your final box dimensions. See below. I got my foam core board at Staples.
- Decorative paper – I used 4 sheets of this specialty paper from Paper Source but you could also use heavy duty wrapping paper or even adhesive contact paper.
- Spray Mount Adhesive (unless you’re using adhesive contact paper)
- White duck tape, along with another color for decorative purposes. I used metallic gold.
- X-acto knife, ruler
Directions
1. Determine your dimensions
You first need to figure your dimensions: Since my boxes are going inside the dresser openings, I need to be very specific with my dimensions. So I need to make all 3 of my boxes fit inside the recessed area.
I love these notched areas, they keep my boxes secure and not move around too much. My final box dimensions are 22” wide x 13” deep x 6.5” high. This is slightly smaller than the dresser openings.
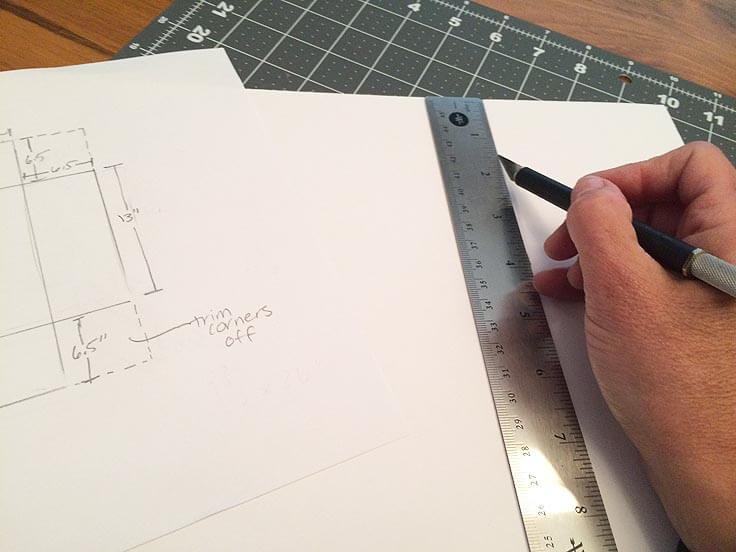
2. Cut Out the foam core
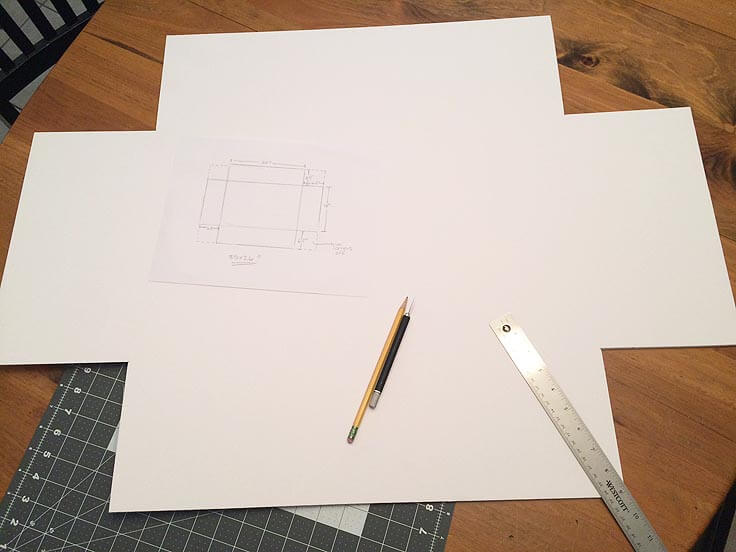
Cut out this final dimension from your foam core. I drew a diagram so it made sense to me and how to trim my foam core board.
The top and bottom dimensions are the length of the box. The left and right dimensions are the depth of the box and the notches that are cut out of each corner are the dimensions of the box height.
I find it’s best to use a sharp X-acto utility knife and ruler to cut the foam core.
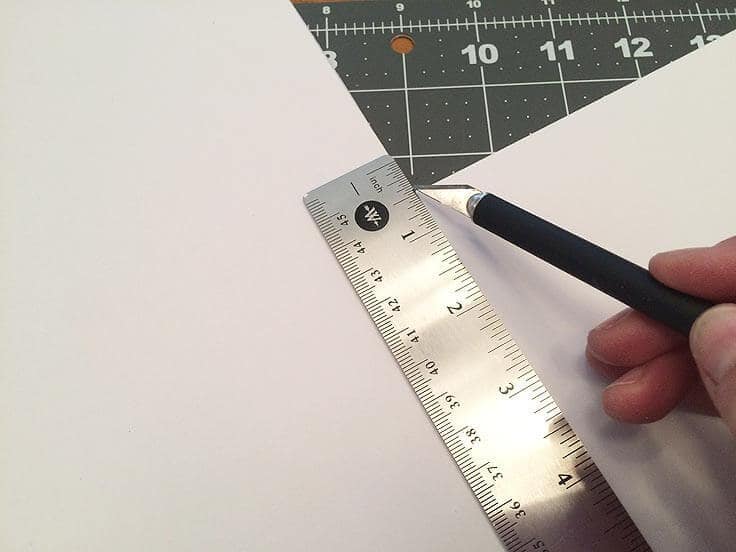
3. Score the edges of the foam core
Next, with the BACK of your X-acto blade, score the bottom edges of your foam core board. To score the board means you are creating a light notch in it so that it folds easily, but you are not cutting all the way through it.
This will allow you to fold the sides up without ruining the board. I use the BACK of the X-acto blade because this is still sharp enough to make a mark but not too sharp to cut through the board.
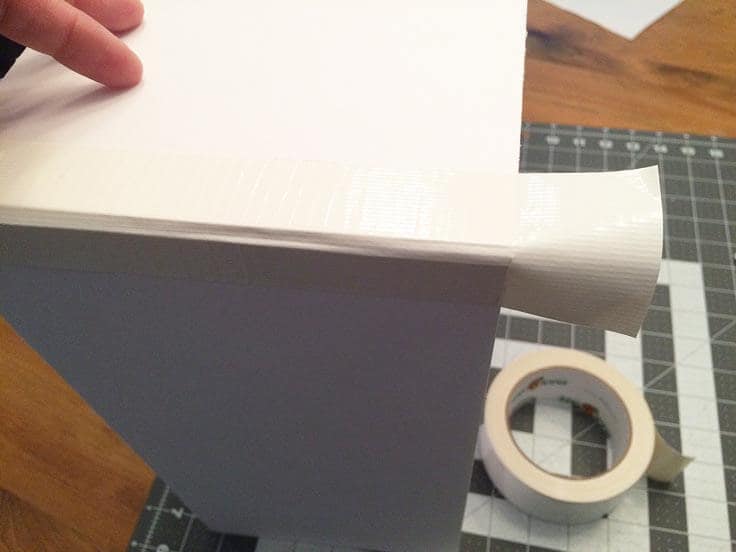
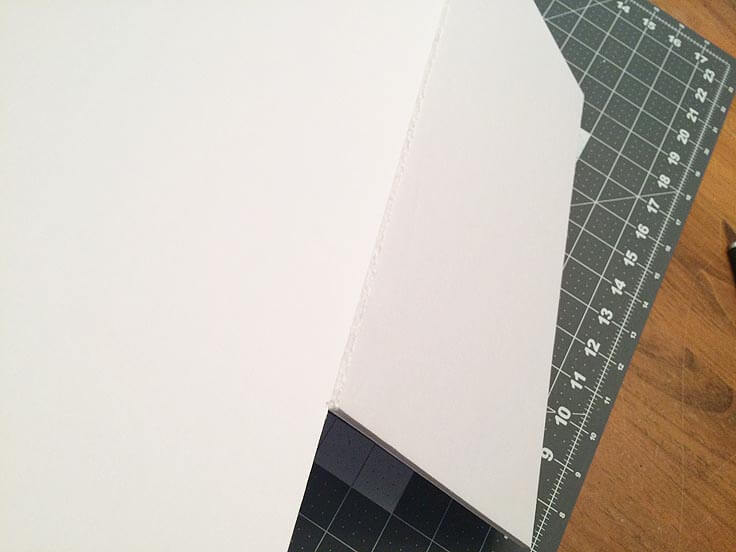
4. Fold the edges of your board
Now fold up the edges of your box and tape the corners together with the white duck tape. You can wrap it onto the inside for a little extra support.
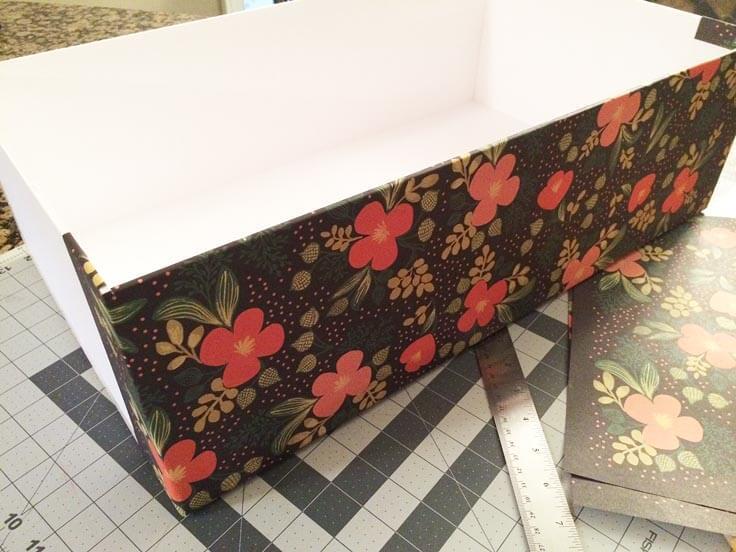
5. Decorate your DIY Storage Boxes
I used this specialty paper from Paper Source. It’s slightly heavier than regular wrapping paper and it’s just so, so pretty.
I’ve been working with self-adhesive contact paper lately and I think that would be a good option too.
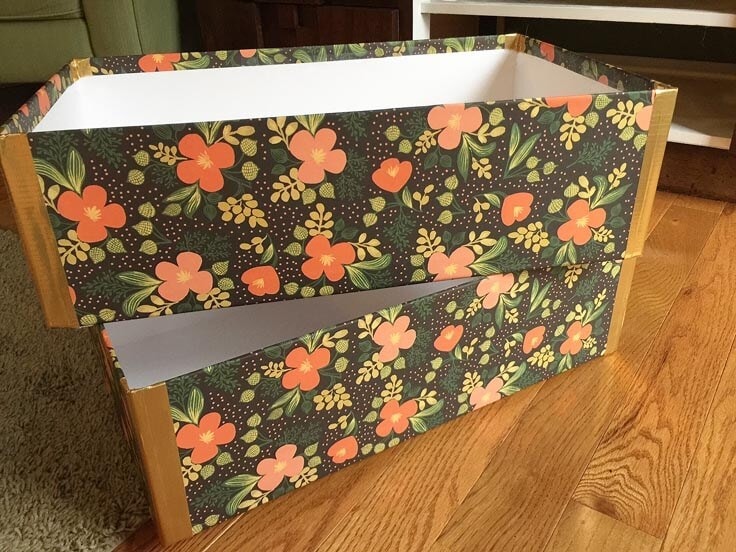
If you’re using paper without an adhesive on it, you’ll just need to trim pieces to the size of your box sides and attach them with the spray adhesive. I cut my sheets slightly larger than the sides of my box so that I could wrap them around the sides a bit and into the inside to give the boxes a more finished look. Don’t worry too much about the corners, we’ll be addressing that in the next step.
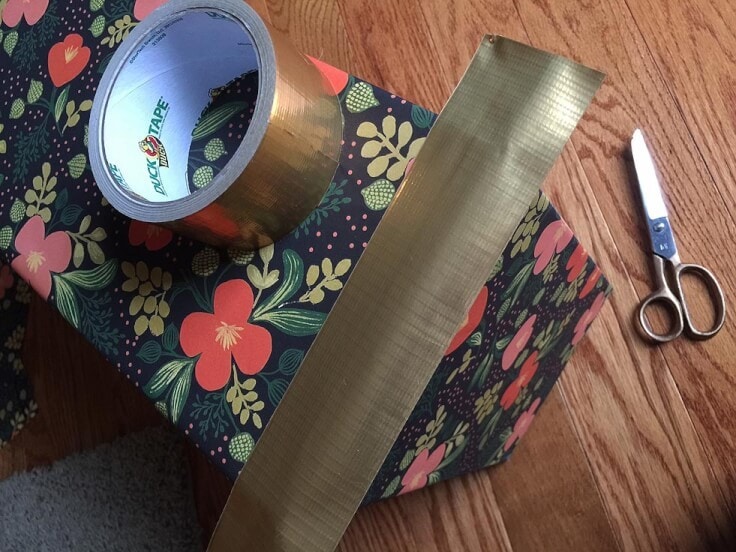
6. Add Duck Tape to the corners
After your box is covered, add a strip of your decorative duck tape to the corners. Originally, I used washi tape but it was too thin and didn’t adhere as well. Ideally you’ll want your duck tape to go vertically so that it’s centered on the corners. This adds a nice finishing touch and keeps the decorative paper in place. You can extend the tape around to the insides too.
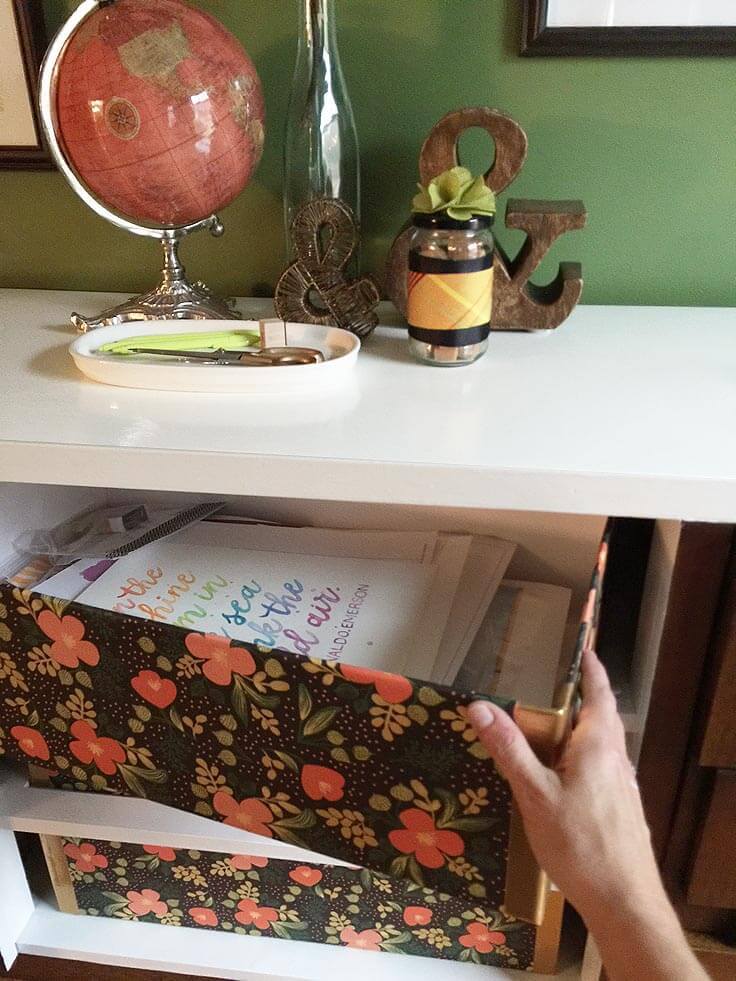
Now you have your own custom-made storage boxes that are also very pretty. I use mine to hold artwork and supplies in my office and they’ve held up really well.
This is a great solution when you can’t find that perfect piece in the store. Or if you just want to custom make your own to add a unique touch to your home.
Don’t miss our post on Kitchen Organizing Ideas with Photo Boxes if you’re looking for ways to organize your new boxes.

I hope you enjoyed this post and be sure to check out these following related posts for additional storage and decorating ideas.

Love the ideas you see here on Ideas for the Home by Kenarry®? Subscribe today to get our weekly Ideas in Your Inbox newsletter plus other exclusive gifts and offers — all for FREE!
What’s Next?
While you’re here, be sure to check out other cleaning and organizing projects on Ideas for the Home by Kenarry® –
- DIY Mason Jar Pencil Holder
- DIY Jewelry Box: Turn A Book Into A Jewelry Box
- DIY Jewelry Organizer: 16 Brilliant Storage Ideas
- How to Build a Strong DIY Blanket Ladder
Updated March 2020.
This is really amazing and looks perfect. Many thanks for sharing all the details.
You’re so welcome, Amy!
Amazing storage boxes and very detailed instruction on how to make it. Often times I also create storage boxes using recyclable materials at home.
That’s a great idea to recycle materials you already have!