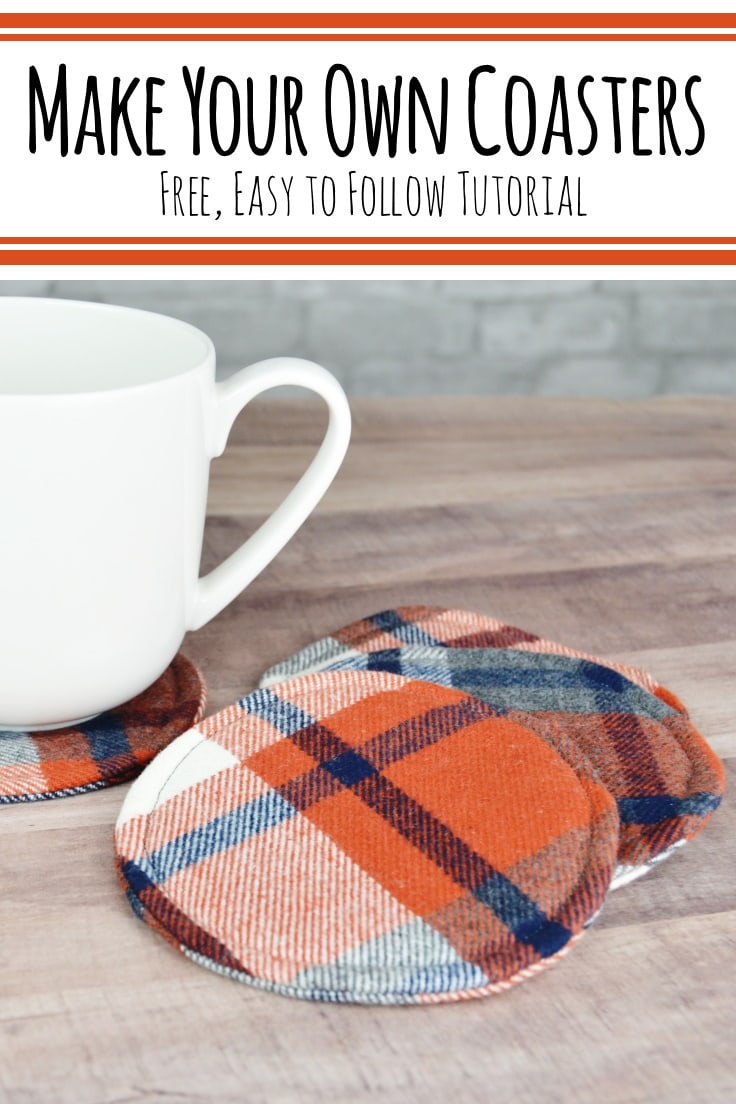
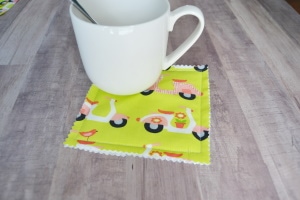
Make Your Own Coasters Easily: Free Tutorial
THIS POST MAY CONTAIN AFFILIATE LINKS. PLEASE SEE OUR FULL DISCLOSURE POLICY FOR DETAILS.
You can make your own coasters in no time at all by following this super simple free tutorial. Perfect for using up fabric scraps!
Hey y’all, it’s Cat from Mary Martha Mama. I’m back today with a fun fall sewing craft. I don’t know about you but for me, there’s nothing quite like cuddling up with a nice warm drink in the fall. Today I’m going to share with you how you can make your own coasters so you have a place to put down those mugs of hot chocolate and tea.
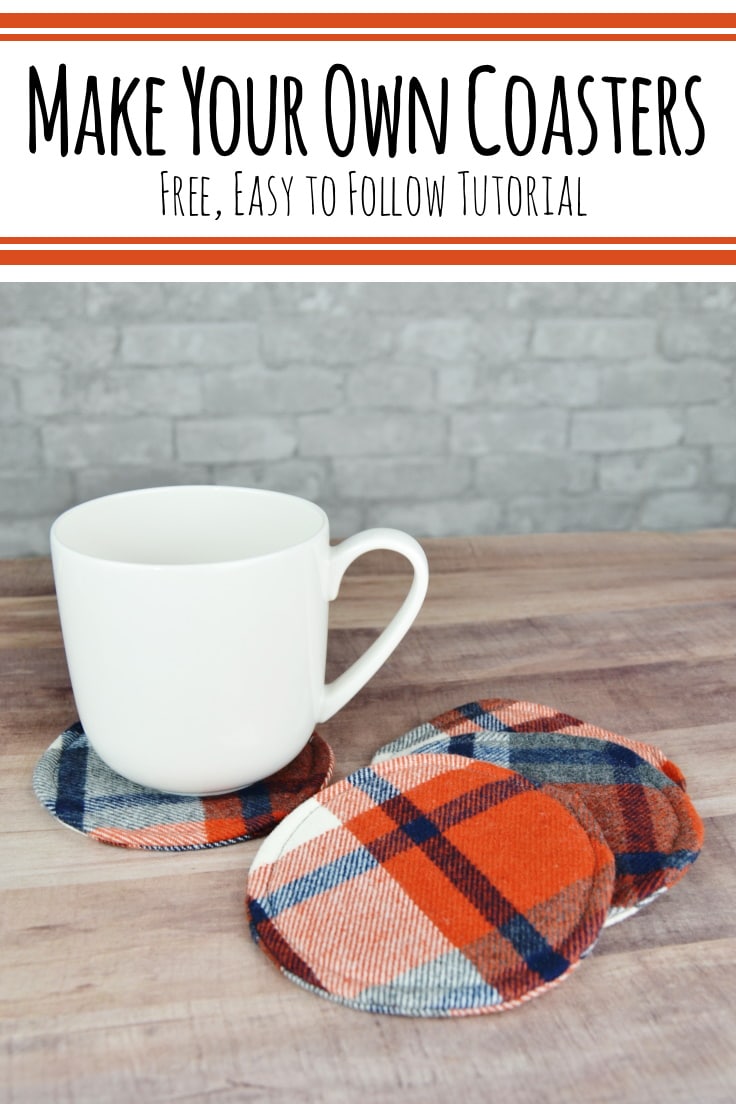
Since it’s fall I chose some cozy fabrics out of my scrap collection but you can completely change the look of the coasters depending on the fabrics you use.
How to Make Your Own Coasters
You can also change the size of your coasters according to your preferences but still apply the sewing process from the tutorial.
What you need:
Want more ideas like this? Subscribe today to get our weekly Ideas in Your Inbox newsletter plus other exclusive gifts and offers — all for FREE!
CrafT Tools Needed:
Supplies Needed:
- fabric scraps (you need 2 pieces of fabric of that measure 5 inch square for each coaster)
- insulated batting (you need 1 piece of insulated batting that measures 5 inch square for each coaster)
- coordinating thread
Instructions:
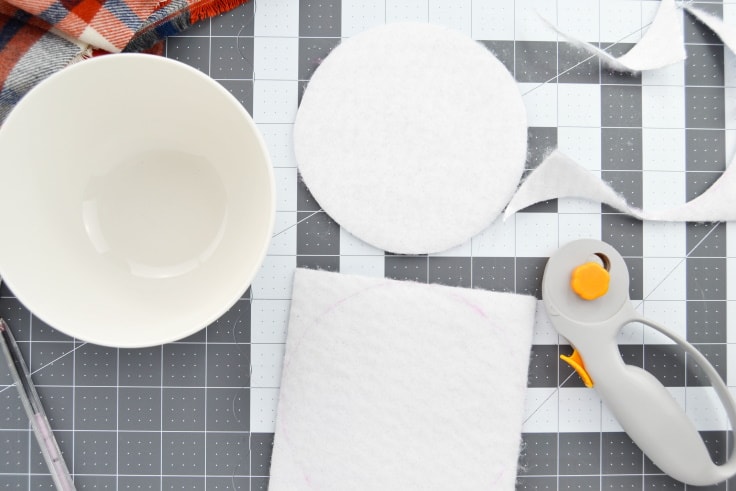
1. Prepare and Cut Your Fabrics
Wash and dry your fabric for the outside of the coasters. The awesome part about using scraps for sewing is that you already washed them when you originally used them in another project so you get to skip this step!
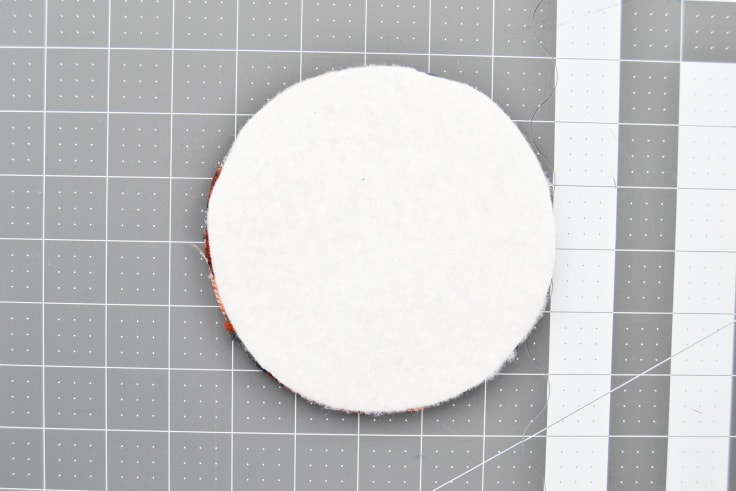
Then cut out two 5 inch circles out of the outer fabric and one 5 inch circle out of the batting. The easiest way to do this is to find something in your house that’s a 5-inch circle (like a small bowl or vase) and trace around it. Then cut along your lines.
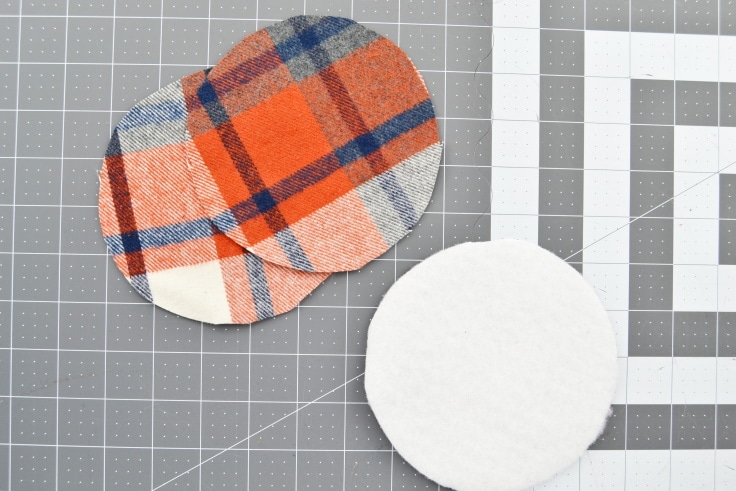
2. Make A Stack
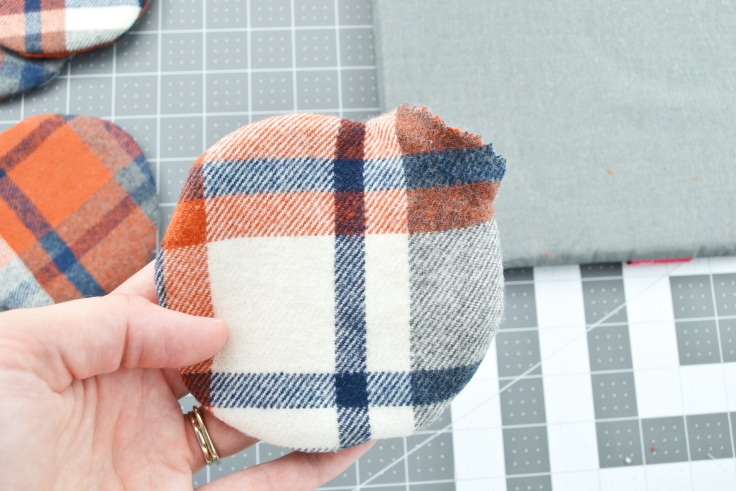
Lay down one of the outside fabric circles with the right side up. Then lay down the second outside fabric circle on top of it with the right side down. Then lay the circle of insulated batting on top of those two. Pin or clip the three layers together before you sew.

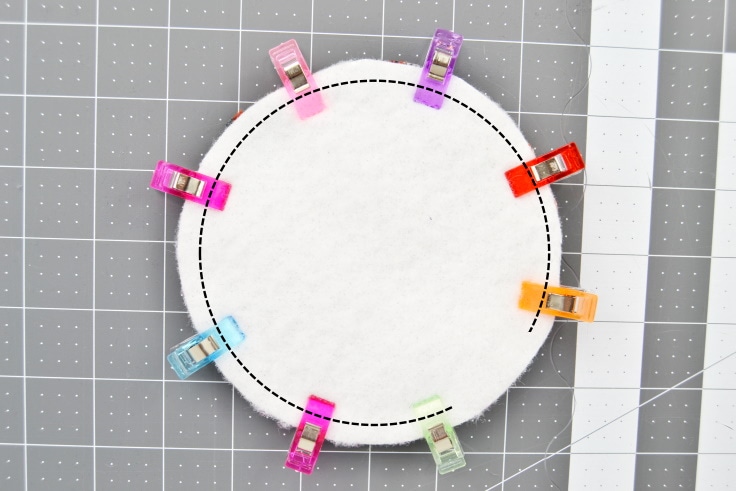
3. Sew Your Stack
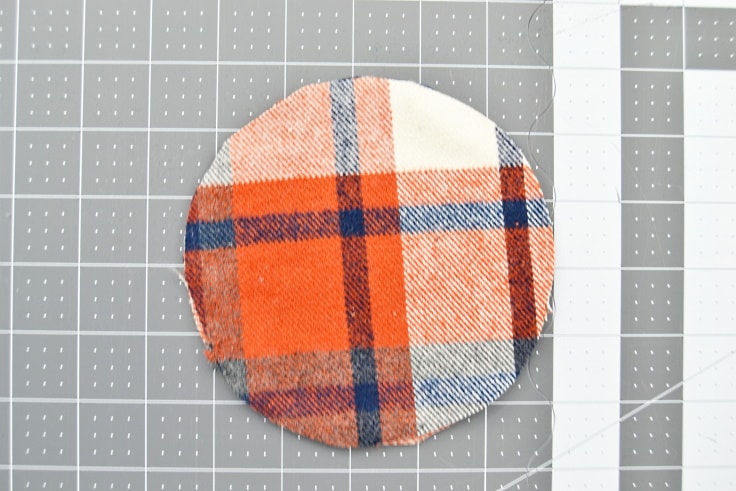
Now you are going to sew almost all the way around the border of the circle, sewing 1/2 inch from the edge. You will not sew all the way around the circle. Leave about 2 inches unsewn. Also, remember to backstitch at the beginning and end of stitching.
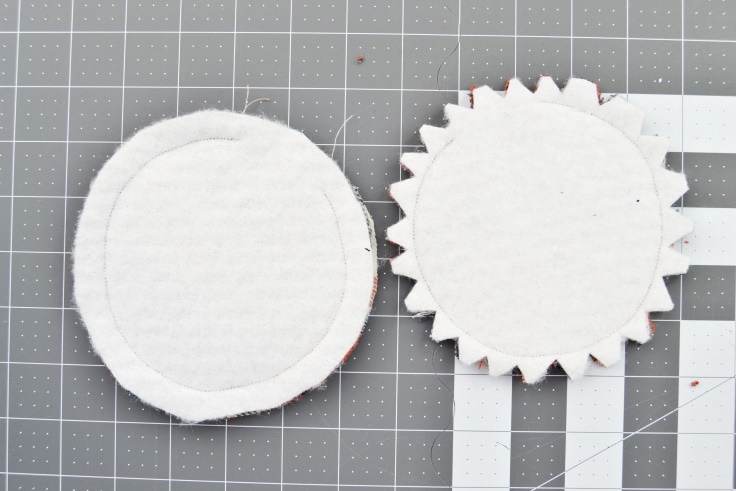
4. Notch It
So we are eventually going to turn the stack right side out but before we do you are going to need to cut some triangular notches around the edges of it. Why? We notch around the edges so that the coaster will lay nice and flat after being turned right side out. Be sure when you are notching that you don’t cut into your thread.
5. Turn It Right Side Out
Turn it right side out by sticking your fingers in between the two outer fabric layers and pulling the insides to the outside through the hole you left in your stitching.
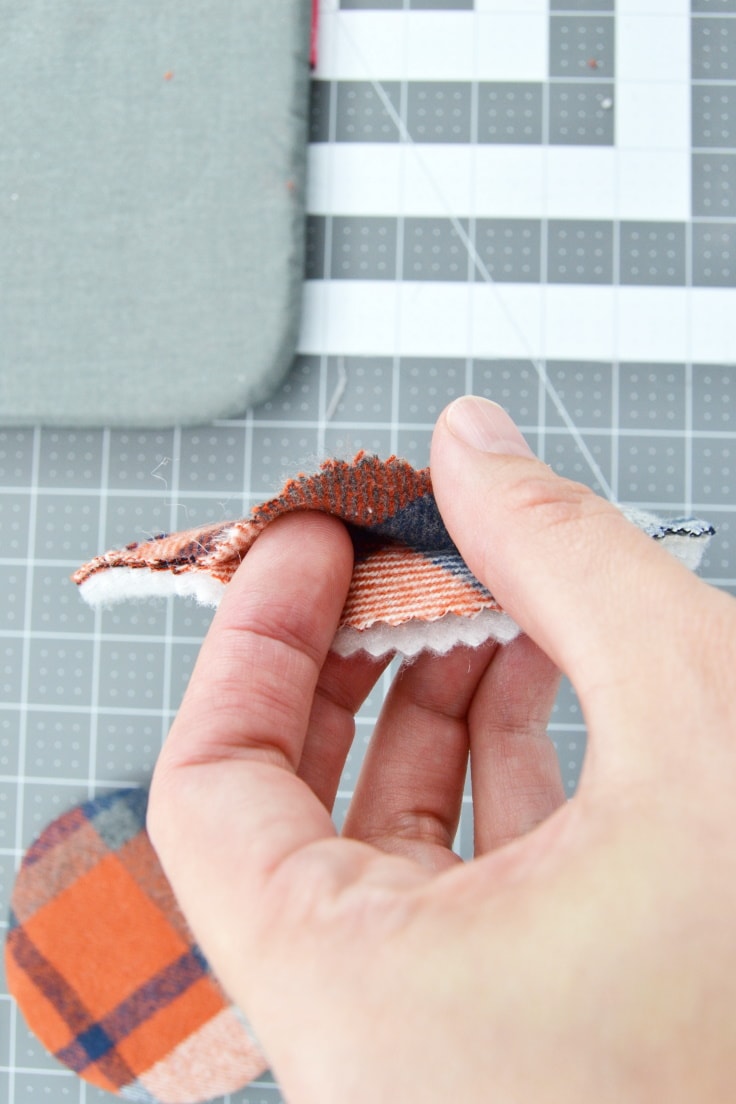
Use a corner turner or the end of a pencil to help with pushing all the edges out.
6. Press It
Give it a good pressing with your iron. Tuck in the bit that sticks out of the opening into the inside and give it a press. You might need to fuss with it a bit since it’s a curve.
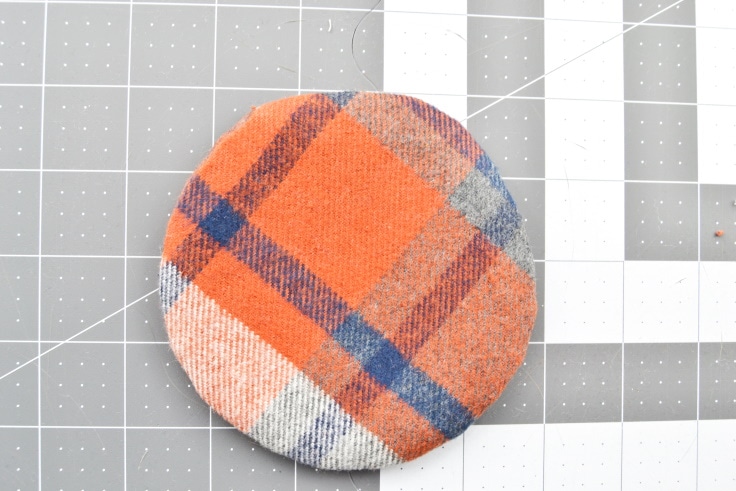
7. TopstitcH IT
Topstich all the way around the edge, sewing 1/4 inch from the edge. Don’t forget to backstitch at the beginning and end of stitching. Clip your threads and you’re all done with this easy sewing project! Go enjoy a warm beverage on your new coasters!

Love the ideas you see here on Ideas for the Home by Kenarry®? Subscribe today to get our weekly Ideas in Your Inbox newsletter plus other exclusive gifts and offers — all for FREE!
What’s Next?
If you enjoyed my tutorial on how to make your own coasters then you’ll enjoy these projects too.
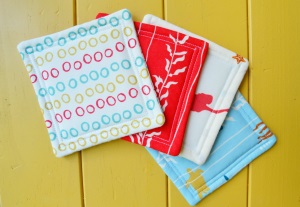
You may also enjoy these make your own coaster ideas on Ideas for the Home by Kenarry® –

Two things I love about this craft. First, you can use up some of your leftover fabric scraps, but you could also use a fabric from an old shirt, or from a piece of clothing that has sentimental value, such as the shirt your grandfather used to wear. Second, I think this type of coaster actually absorbs moisture, unlike so many other types of DIY coasters. I hate it when I pick up my glass and the coaster sticks to the bottom of my glass for a second, but then it drops off and clatters to the ground:)
Hi Seana,
I totally agree. This is a great way to use scraps from sentimental fabric pieces. Glad you enjoyed the tutorial.
Best wishes and happy crafting!
Carrie
Ideas for the Home by Kenarry