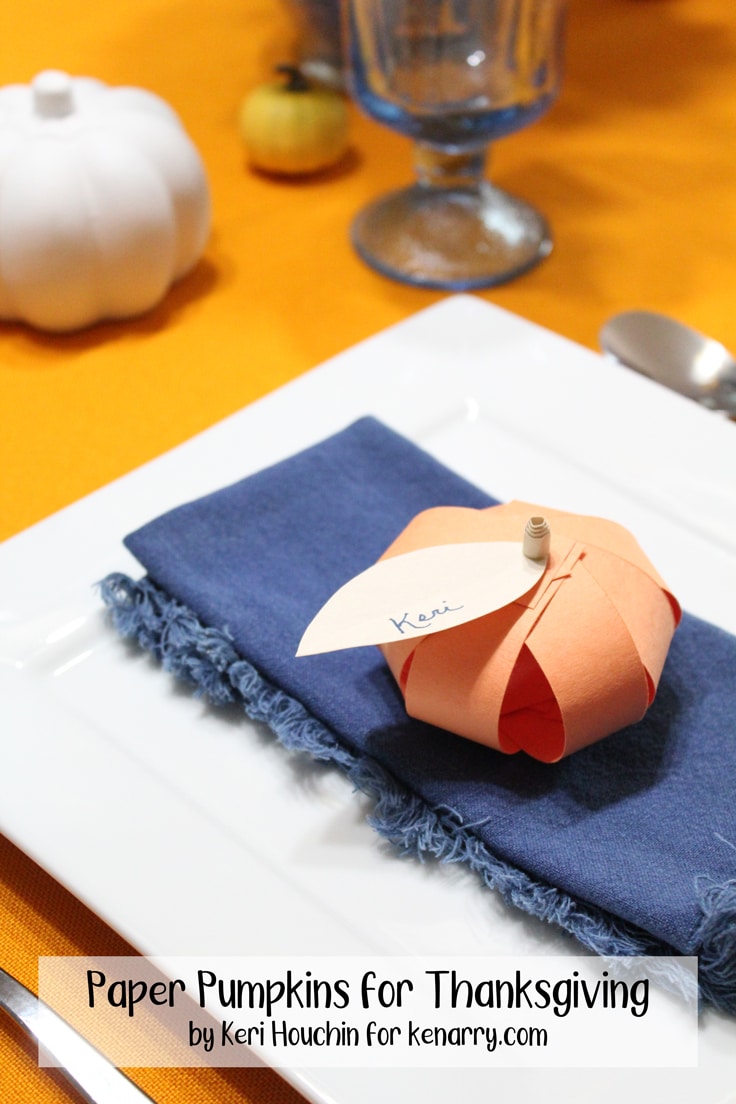
Paper Pumpkins for Thanksgiving Place Cards
THIS POST MAY CONTAIN AFFILIATE LINKS. PLEASE SEE OUR FULL DISCLOSURE POLICY FOR DETAILS.
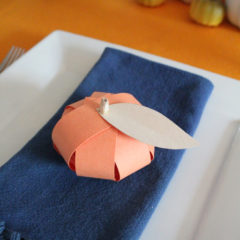
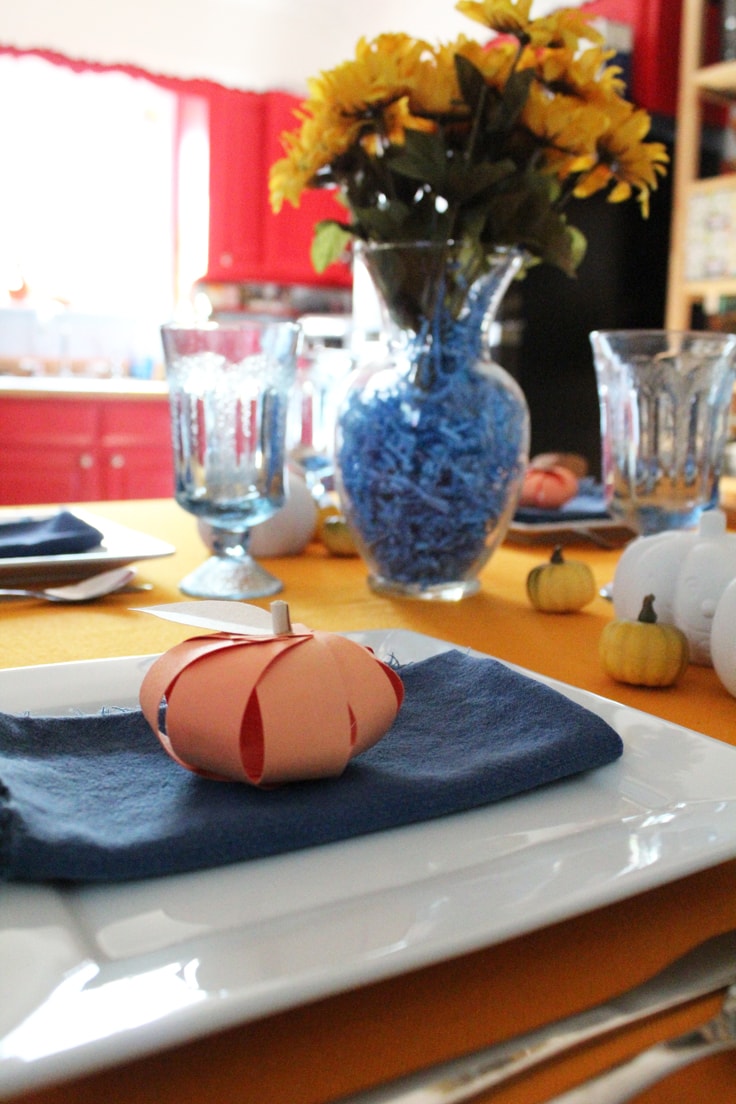
Paper pumpkins make adorable fall decorations and can double as Thanksgiving place cards at the dinner table.
Hello! I’m Keri from One Mama’s Daily Drama, back for another fun craft tutorial for my favorite time of year. These paper pumpkins are so cute and you will love how fast they come together. While I made them with Thanksgiving in mind, you can use them throughout the fall. Find a list of variations at the end of this post.
Thanksgiving is the time that we gather with friends and family to reflect on the good things that have happened this year. I love hosting a crowd, but no matter the size of your dinner gathering these paper pumpkin place cards are a cute addition.
Make them yourself or set up a craft station for the kids to make them while you do other Thanksgiving dinner prep. As a bonus, each guest can take home their pumpkin at the end of the meal.
How to Make paper pumpkins
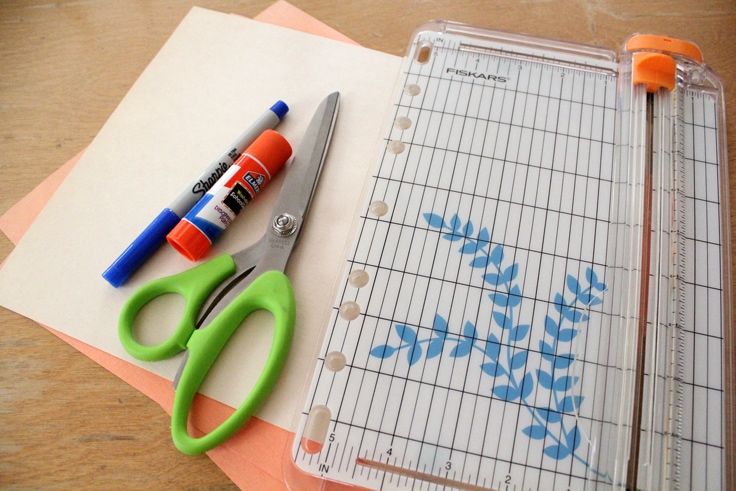
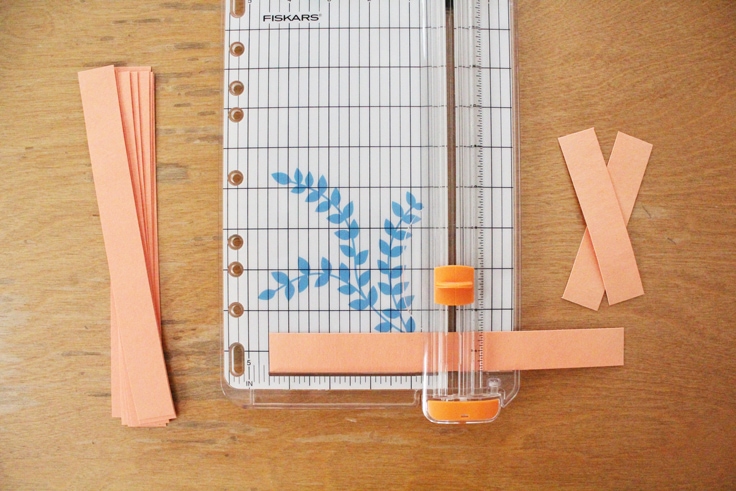
I used a paper trimmer to quickly make paper strips, but if you don’t have one, a ruler and scissors will work instead.
What you need:
Want more ideas like this? Subscribe today to get our weekly Ideas in Your Inbox newsletter plus other exclusive gifts and offers — all for FREE!
Craft/DIY Tools Needed:
Supplies Needed:
- one or more sheets of 9×12-inch orange and manila construction paper
- Sharpie pen
- glue stick
Instructions:
1. Cut paper strips.
Cut the orange construction paper into 1-inch strips. My paper is 9×12 inches, so I got a dozen 9-inch pieces from a single sheet. Then cut each 9-inch strip in half. This will give you a total of 24 pieces that are about 1×4.5 inches.

You need 8 of the small strips per pumpkin, which means you can make 3 pumpkins per sheet of paper. Multiply that up to determine how many you’ll need to make one pumpkin per guest.
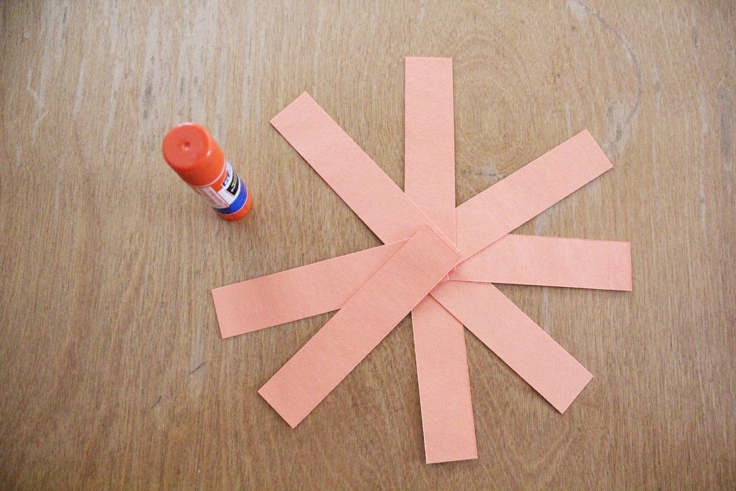
2. Glue the paper pumpkin bottoms.
First, space out 8 strips and glue them together to form the bottom of the pumpkin. I spread mine as evenly as possible, then picked up one at a time to glue it to the one next to it. Let each pumpkin bottom dry while you assemble the next one.
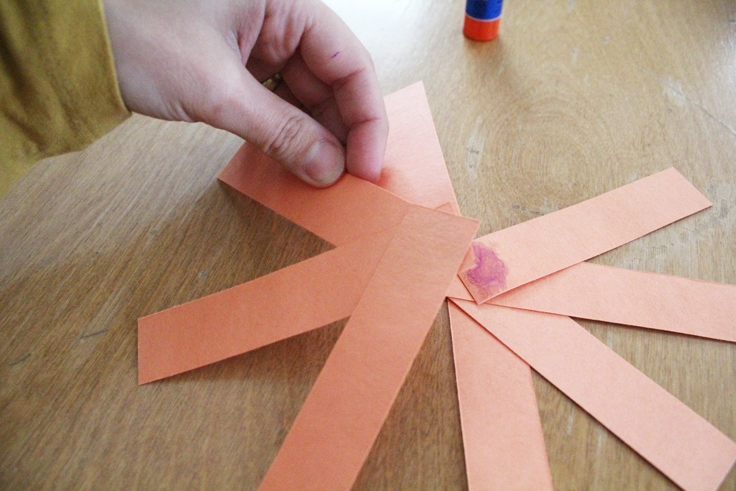
3. Glue the paper pumpkin tops.
If you’re making several pumpkins, the first one should be dry by the time you finish the last one. Repeat the overlapping process to glue the top of the pumpkin strips together. Try to get them fairly even so the pumpkin is nice and round.

You’ll need to hold the strips together as you add and glue each one. I tried following two different patterns (adding each strip over or under the one next to it) and it didn’t make a big difference.

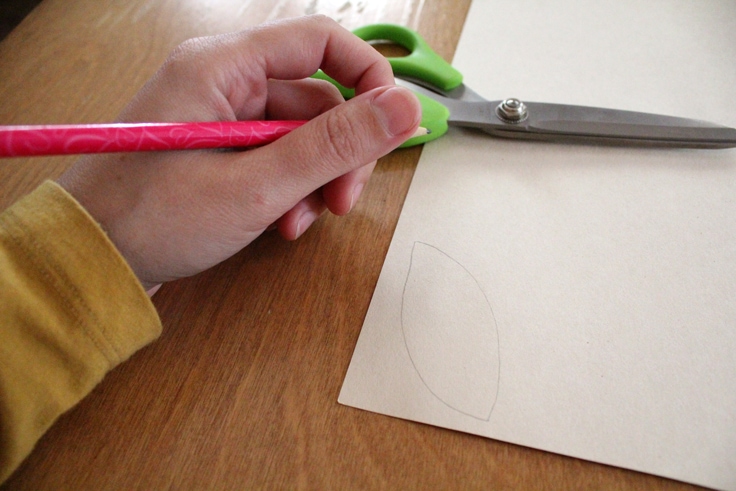
4. Glue the leaves and stems.
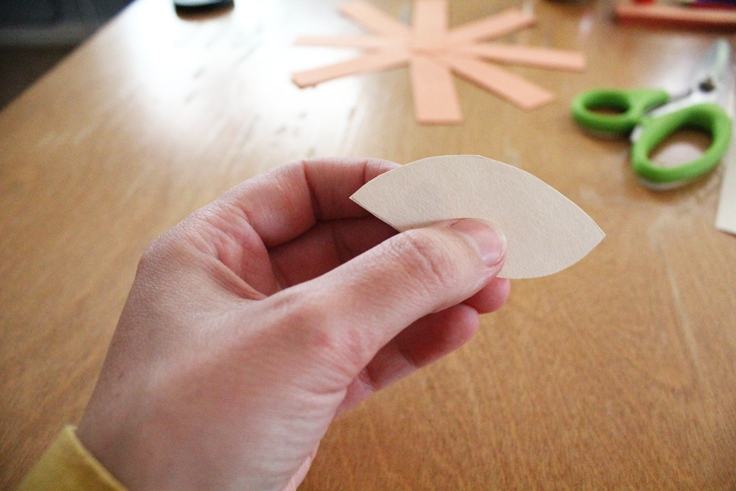
While the pumpkin tops are drying, take the manila paper and cut out a leaf shape and a small rectangle for a stem to go with each pumpkin. I drew the leaf freehand, but you could search online for a template or use one from your backyard as a guide.
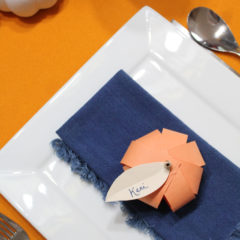
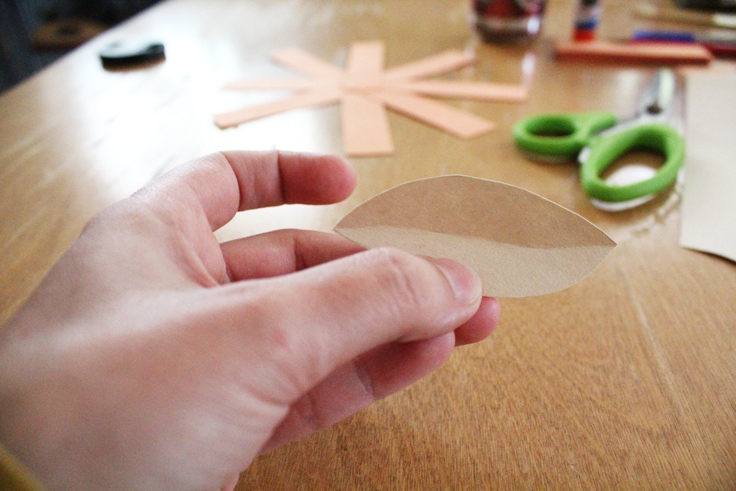
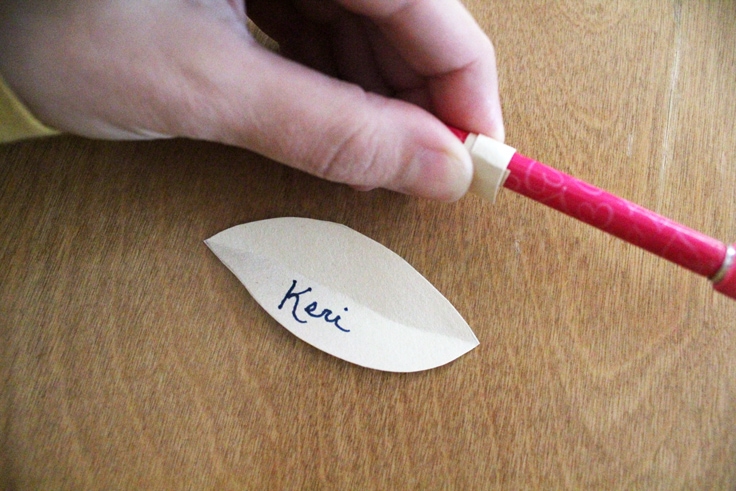
After cutting out the leaves, fold a crease along the center. Write the name of each guest on a leaf.
For the stem, I cut an odd scrap of manila paper that measures roughly 0.5×2 inches. Wrap the stem around a pencil to get it started rolling, then roll it tightly and glue it together.
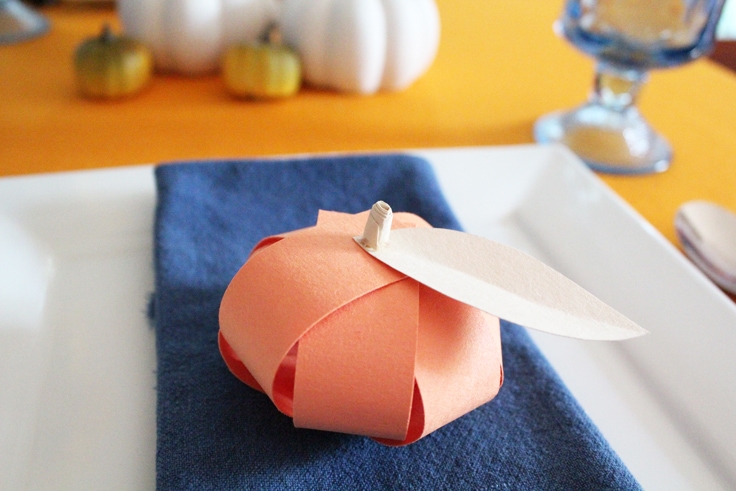
5. Attach the leaves and stems to the paper pumpkins.
Finally, put a dab of glue on each leaf and attach it to the top of a pumpkin. Dot some glue on the bottom of the stem roll and place it on top of the leaf. Hold the pieces in place briefly, then allow them to sit and dry for about 10 minutes.

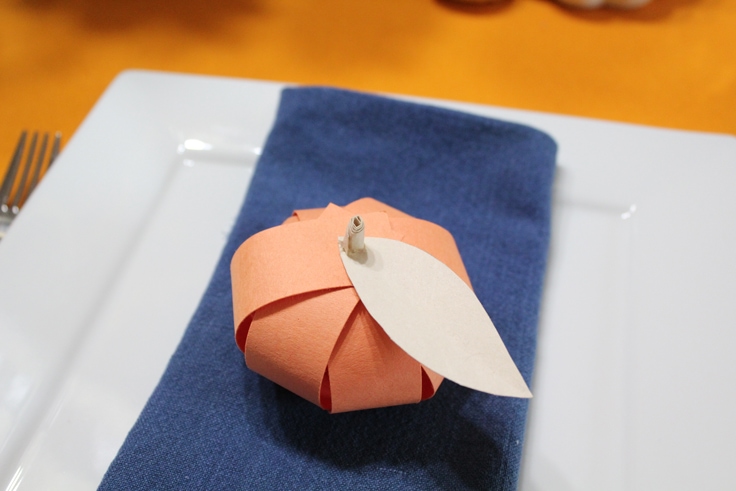
Place a pumpkin at each place setting for a simple but creative variation on Thanksgiving place cards.

Paper pumpkin variations
There are lots of other ways to make and use these paper pumpkins:
- Leave off the names and use them for fall decor around the house.
- Attach a ribbon or cord to the stems to make a garland.
- Use paper in non-traditional colors or to match your own color scheme.
- Set up a craft station and let young guests color and decorate their pumpkins for a fun activity.
If you want to make giant pumpkins for decorating, try these cardboard pumpkin cutouts.
What’s Next?
If you enjoyed these paper pupmkins then you’ll enjoy these other fall crafts and activities too.

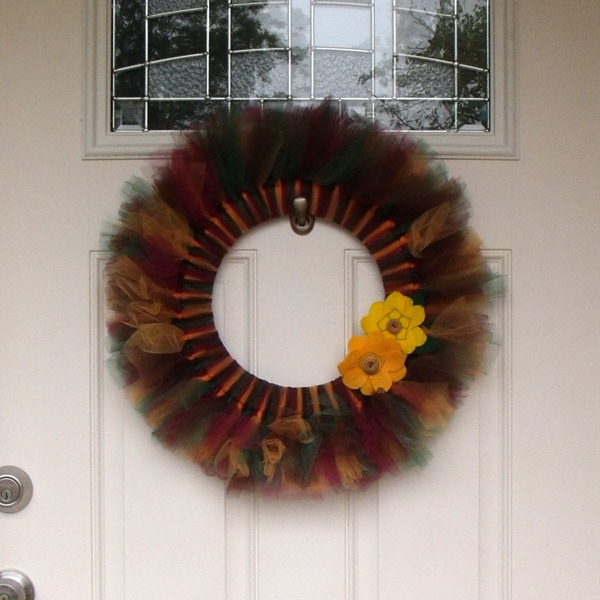
DIY Fall Tulle Wreath Tutorial
20 Printable Thanksgiving Kids Activities

You may also enjoy these Thanksgiving projects on Ideas for the Home by Kenarry® –