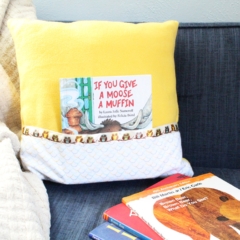
DIY Reading Pillow
Make a DIY reading pillow with a pocket that easily holds books for kids.
Servings 1 pillow
Cost $10
Equipment
- sewing machine or supplies for hand-stitching
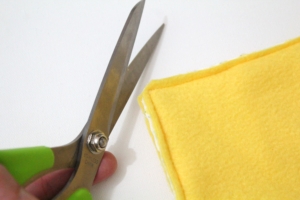
- fabric scissors
- tape measure
- straight pins (optional)
Ingredients
- 1 pillow insert
- 1/2 yard main fabric
- 1/2 yard coordinating pocket fabric
- 1/2 yard ribbon
- thread
Instructions
- Cut the fabric.Start by cutting all the fabric pieces. For the front of the pillow, cut one square that’s half an inch bigger than your pillow on all 4 sides. My pillow is 16x16 inches, so my front panel is 17x17 inches.For the back panels, cut 2 pieces that are the same length and half the width plus 3 inches. For my 16x16 inch pillow, my back pieces are both 17x11 inches.For the pocket, cut 1 piece that is the same width as your front panel and twice whatever measurement you want for the pocket to cover the front panel. I decided I wanted my pocket to come up 6 inches, so I cut a piece that is 17x12.
- Attach the ribbon to the pocket.Fold the pocket fabric in half and iron it to remove any wrinkles and crease the top edge.Cut the ribbon to be the width of the pocket (17 inches for mine). Line it up with the top folded edge of the pocket. Use pins to hold it in place if you need to. Sew the ribbon along both edges to attach it to the pocket. Stitch as close to the edge of the ribbon as possible. This creates a nice finished edge and adds a fun decorative element.
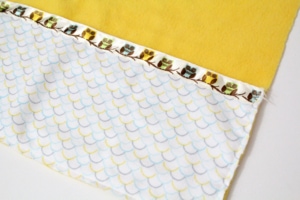
- Attach the pocket to the front panel.Line the pocket up on the front panel and pin it in place if necessary. The pieces should both be facing the right way with cut edges showing. Stitch along 3 sides with a 1/4 inch allowance, leaving the top of the pocket open.
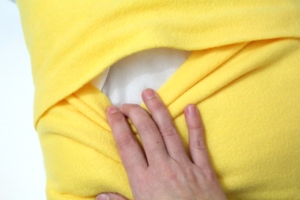
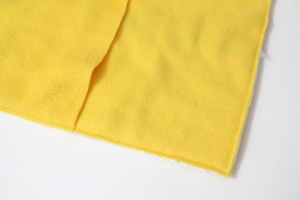
- Attach the front and back panels.I did not hem the edges of the pocket opening in the back because fleece won’t fray. However, if you’re using a fabric that does, fold the edge over 1/4 inch and hem where the sections overlay first.Now with right sides facing, line up the back panels on top of the front panel. There should be a 3 inch overlap in the middle. Pin everything you need to.Stitch around all 4 sides with a 1/4 inch allowance.
- Trim and finish the pillow cover.To finish the pillow cover, trim the ends of any threads. Cut the tip off of each corner, being careful not to cut through any stitches. Turn the pillow right side out, smooth out the edges and shape the corners into points.
- Add the insert.Finally, stuff the pillow insert into the pillow cover. Adjust the corners of the pillow and fluff it into shape.