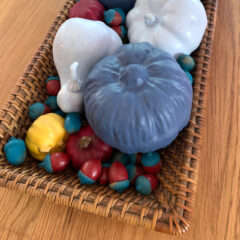
DIY Painted Acorns
Make your own DIY painted acorns using ones you collect from nature for an inexpensive fall home decor craft!
Servings 30 acorns
Cost $5
Equipment
- 1 Baking Sheet
- 1 Hot glue gun and glue stick
Ingredients
- 30 Acorns
- 1 piece Parchment paper
- 2+ cans Spray paint any colors
Instructions
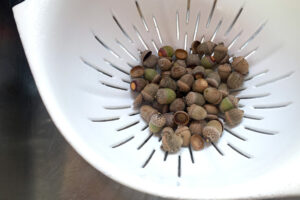
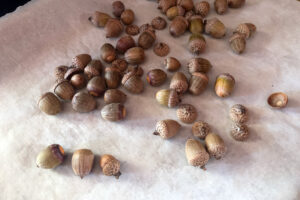
- Clean and dry the acorns.The most important step to painted acorns is to make sure they are clean and free from bugs. Wash them with warm soapy water to remove any dirt and allow them to air dry about 30 minutes. To ensure they are dry through the center and no tiny bugs lurk inside, heat them in the oven. Spread them evenly across a large baking sheet lined with parchment paper. Heat them at 200 degrees Fahrenheit for 30 minutes, checking often to ensure they do not burn.
- Separate acorn nuts and caps (optional).The acorns will probably have separated as you prepared them, but some might not have. You can either leave them whole or separate them to paint. To make them extra durable, you may wish to separate all of them just so you can glue them back on to prevent future separation.
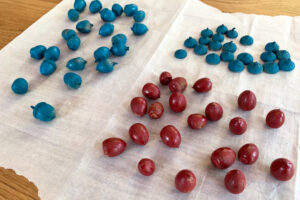
- Apply paint in several layers.Lay out the acorns on a protected workspace, preferably outdoors. Choose your paint colors and spray a thin layer across the acorns. Allow the acorns to dry to the touch. Turn them and repeat the painting process until all sides are fully coated. Allow them to dry completely, about an hour.
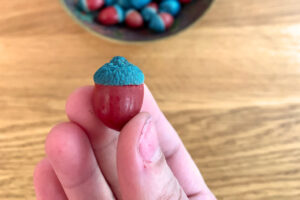
- Glue nuts and caps back together.Reassemble the acorns by using hot glue to attach the caps to the nuts. It’s okay if they don’t exactly match up. Now they’re ready for display or crafting!