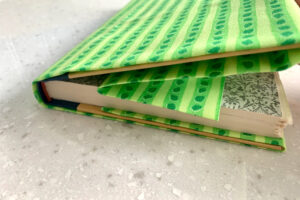
DIY Book Cover
Servings 1 bookcover
Cost $3
Equipment
- 1 Pair of scissors
- 1 iron and ironing board
Ingredients
- 1 piece fabric measurements depend on book size
- 1 can heavy spray starch
- 1 bottle super glue optional
Instructions
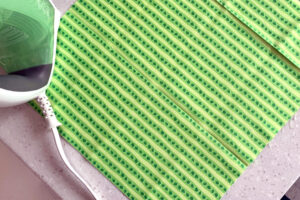
- Select and iron fabric.Start by choosing a fabric that will fit the book. You can eyeball this measurement. Lay the book open with the fabric beneath it. There should be about 2 inches of fabric at the top and bottom and enough fabric on each end to cover half of the front and back covers. Iron the fabric to remove any wrinkles or creases.
- Cut and fold top and bottom edges.With the right side facing down, fold the top edge of the fabric in 2 inches and iron the crease. Line the book up to make sure it will fit inside the top flap, then fold the bottom edge up to cover the bottom of the book. Iron that crease and trim that flap to be about 2 inches.
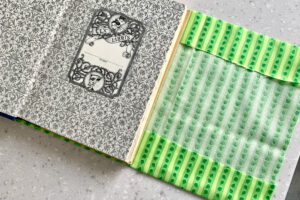
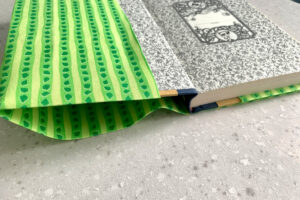
- Cut and fold the back cover.Place the book in the center of the fabric. Fold the fabric inside the back cover, over about half to 2/3 of the book. Close the book on the fabric and move on to the front.
- Cut and fold the front cover.Pull the fabric snug, but not tight and fold the front flap over the front cover. Trim any extra fabric so the front is also covered by the same amount as the back.
- Starch creases.With both covers laying flat and the book open, carefully slide the book out so that the front and back flaps hold their shape. Iron those creases. Spray the entire book cover with a light coat of starch and iron again. Add more starch as needed until the cover holds its shape.

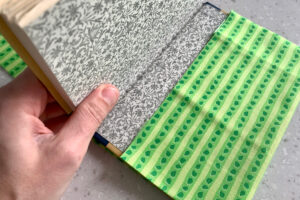
- Reassemble the book with its new cover.When the fabric is completely cool and dry to the touch, slide it onto the book. The front and back covers should fit inside the flaps. Repeat as many times as you like to cover more books!