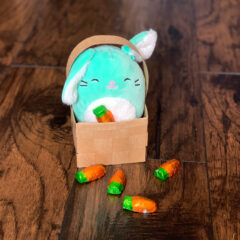
DIY Easter Basket
Servings 1 basket
Cost $1
Equipment
- 1 Pair of scissors
- 1 Ruler
- 1 Pencil
- 8 binder clips or clothespins
Ingredients
- 2 sheets kraft paper 12x12-inches
- 1 stick Elmer's glue or craft glue
Instructions
- Draw and cut out the basket base.Start with a 12x12-inch piece of brown Kraft paper. Measure 4 inches from each end, mark with a pencil, and connect the marks to draw a 4-inch square in each corner. Cut out those squares to create a plus sign-shaped base.
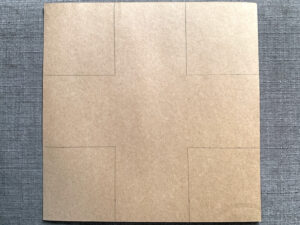
- Cut the basket strips.Next, measure and mark 1-inch intervals along all 4 ends. Draw lines and cut each end into a strip. You should have 4 strips on each leg of the plus sign shape.

- Cut the weaving strips.Take a second piece of 12x12-inch paper and cut it into 1-inch strips. You’ll have a dozen that measure 1x12-inches.

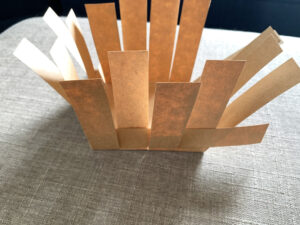
- Crease the basket base and begin weaving.Back at the basket base, fold each of the strips up and crease them. Take one of the 1x12-inch strips and fold it in half. Lining up the corners, begin weaving the long strip between the vertical strips. Repeat with a second strip on the opposite corner, tucking the ends in where they overlap.
- Continue weaving additional rows.Repeat step 4, adding a second and third row of weaving. Be sure to alternate which corners you start as, as well as the direction between the vertical strips.

- Fold and trim the top of the basket.After 3 rows, you’ll have about an inch of each vertical strip sticking up. Fold each tab down, alternating inward or outward, to secure it against the woven basket sides. Trim each tab by approximately half so that the fold is 1/2-inch or smaller.

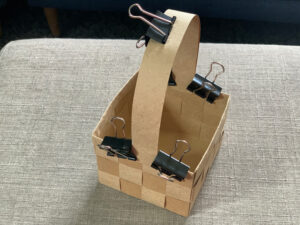
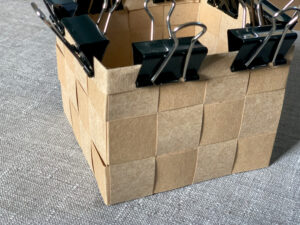
- Add the basket trim.Take 2 more 1x12-inch strips and fold them in half lengthwise and crease them well. Fold them again width wise and slide them over the edge of the basket to cover the folded tabs. Use glue to secure it in place and old it with clothespins or binder clips until it has dried.
- Attach a handle.When the edge has dried, remove the clips. Use 2 more 1x12-inch strips to make the basket handle. Add a dab of glue to the center, then clip it to hold. Add more glue to the ends and position them on either side of the edge. Use more clips to hold them in place until the glue is dry.