DIY Distressed Ombre Magnet Letters
THIS POST MAY CONTAIN AFFILIATE LINKS. PLEASE SEE OUR FULL DISCLOSURE POLICY FOR DETAILS.
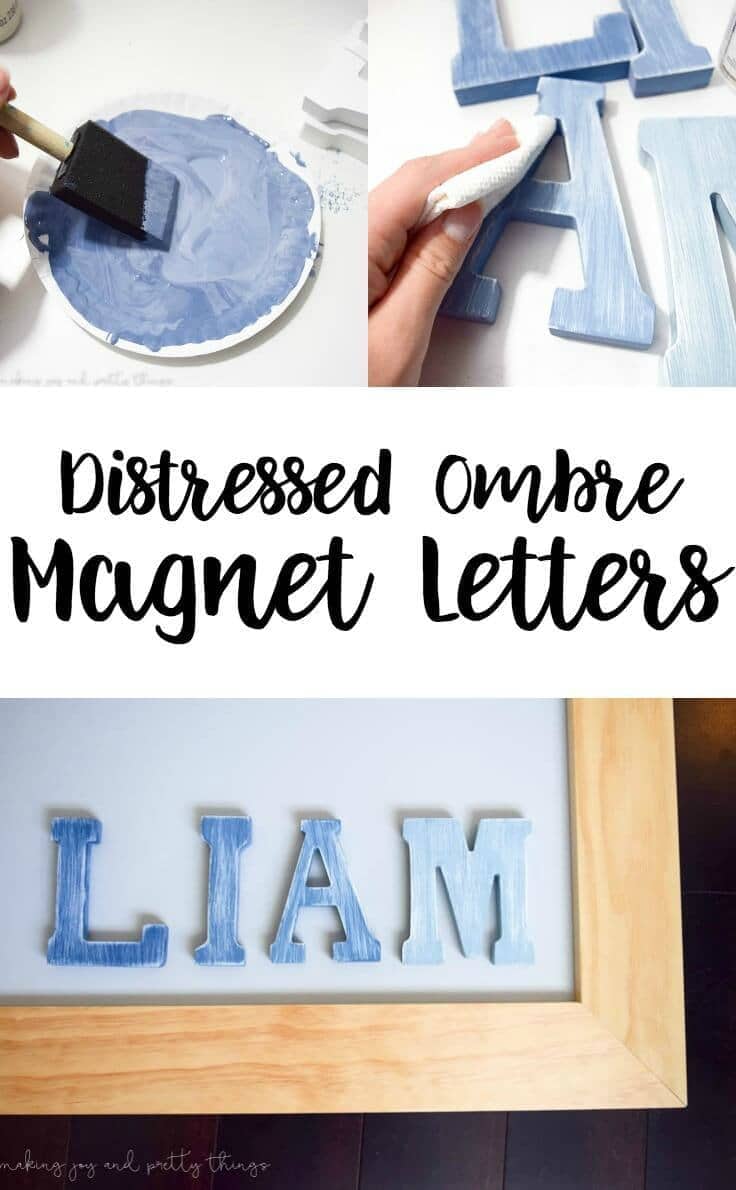
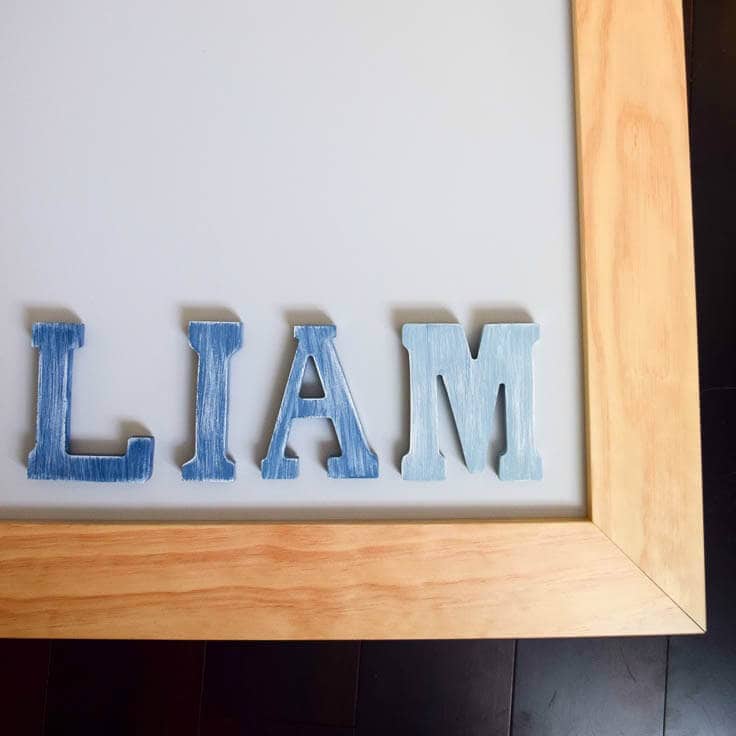
DIY Distressed Ombre Magnet Letters are customizable for your child’s name! They’re also the perfect way to help you child learn the letters of his name plus it’s an easy rustic DIY project.
These DIY distressed ombre magnet letters are so cute and can be customized to your child’s name!
Hello, friends! It’s Sarah from Making Joy and Pretty Things back to share a fun (sort-of) rustic(ish) DIY with y’all today.
You see, we are neck-deep in the One Room Challenge. If you haven’t heard of the challenge, it’s basically where bloggers lose their minds remake an entire room in just 6 weeks.
The room we chose was a shared boys bedroom – a room where our oldest is currently sleeping on his own but will soon be a room for both of the boys.
Now, OF COURSE I want to make this a farmhouse, rustic, fixer-upper style room. But, that’s just not fair because these sweet boys aren’t really into that style (yet – I’m working on them 😉 ).
So, when I popped over last month and promised tons of projects with rustic charm, you guys I’m already breaking that promise (sort of, I mean these letters are distressed, that’s rustic-y!!). I know, I’m a terrible blogger!!
This month, I’m sharing one of the DIYs we are doing in their new bedroom – DIY distressed ombre magnet letters. Because, seriously, I’ve lost my mind with this challenge and can’t do anything else. Send help!
DIY Distressed Ombre Magnet Letters
Disclosure: This blog post contains affiliate links for products or services we think you’ll like. This means if you make a purchase from one of these links, we’ll make a small commission at no additional cost to you so we can keep the great ideas for the home coming your way. All opinions expressed are derived from personal experience.
Supplies:
- Letters
- Foam brush
- FolkArt Milk Paint (I used Sumter Blue)
- FolkArt Milk Paint Finishing Oil
- Martha Stewart Vintage Decor Paint (I used Linen)
- Paper towel or clean cloth
- Sandpaper
- Gorilla Glue
- Magnets
Y’all, I wanted this to be budget friendly! The easier way to ombre would be to buy however many colors you needed to cover each letter. So you could buy 4 colors or for a longer name you may need 8 or 9 colors which would NOT be very budget friendly.
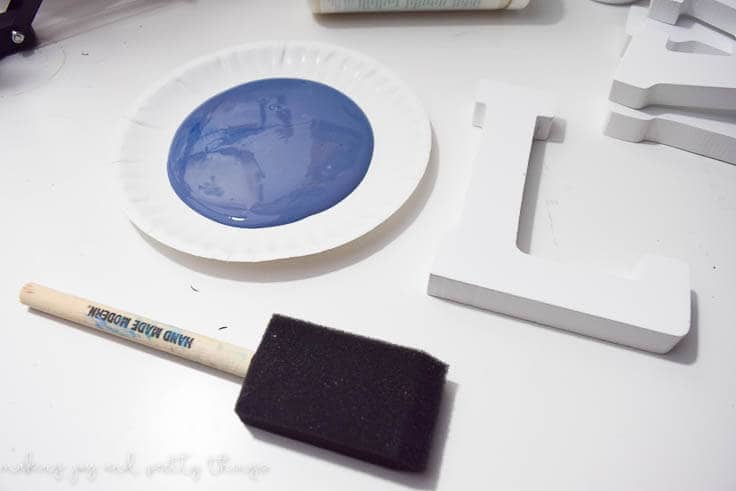
Here’s how I made my own ombre colors: First, I painted the 1st letter “L” using just regular paint and my foam brush.
Then, I started figuring out my own ombre color scheme by diluting the original blue with a glob of the linen paint. And I say “glob” because of course I didn’t measure the exact amount. Just eye ball it.
Make sure you pour out a decent amount of paint at first (see image below).
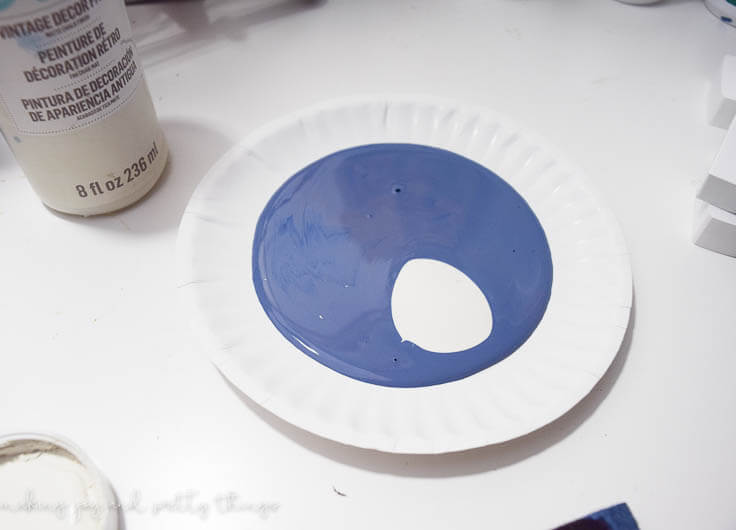
I actually was pretty hesitant to put TOO much linen paint in and wish I would have been a bit more liberal. It’s really a trial and error process but there’s not a right or wrong way – my kinda DIY 🙂
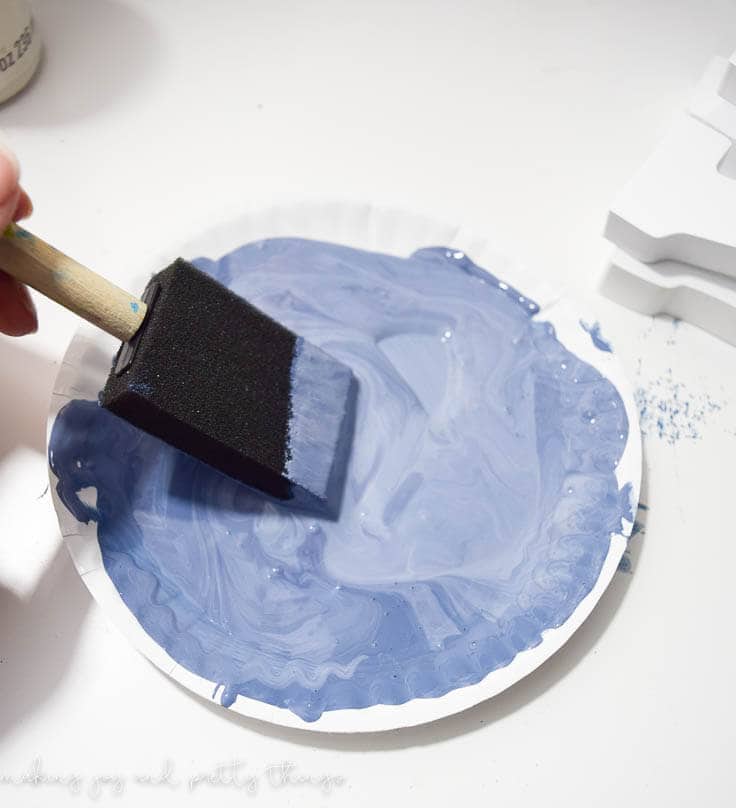
I then painted the 2nd letter with the newly mixed color. Next, I diluted the same already-diluted paint again with linen paint and painted the 3rd letter and did the same process for the 4th letter.
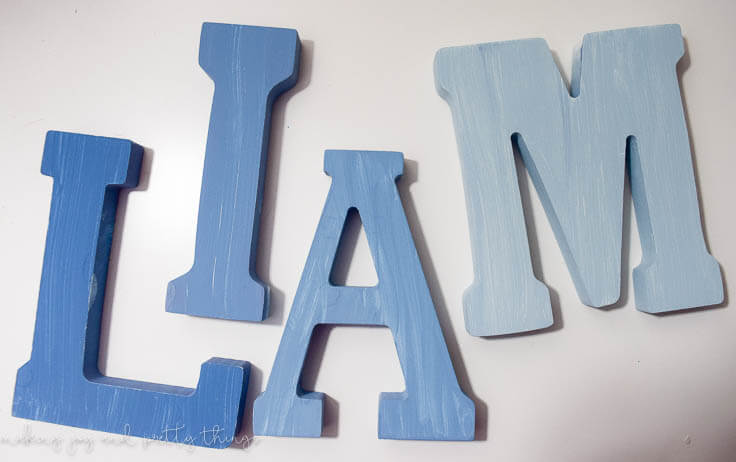
Hey, it’s not perfect! But, definitely ombre 🙂
Next, I grabbed my sandpaper and roughed up the top of these letters.
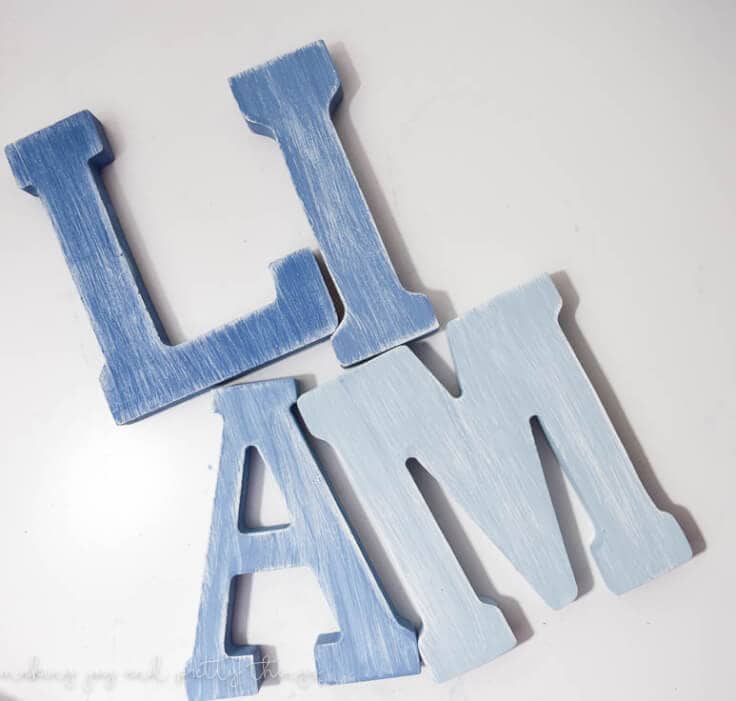
I used a paper towel to rub on the finishing oil which really brings out the lovely blue color and also gives the letters a nice sheen.
Lastly, I used gorilla glue to stick two magnets to the back of each letter. These babies are pretty big and I didn’t want them sliding down the magnet board.
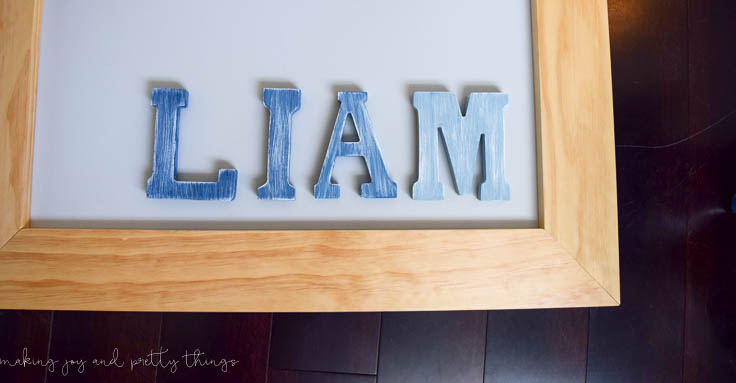
(The magnet board is a DIY you’re seeing first here!! The full tutorial will be shared on my blog sometime soon)
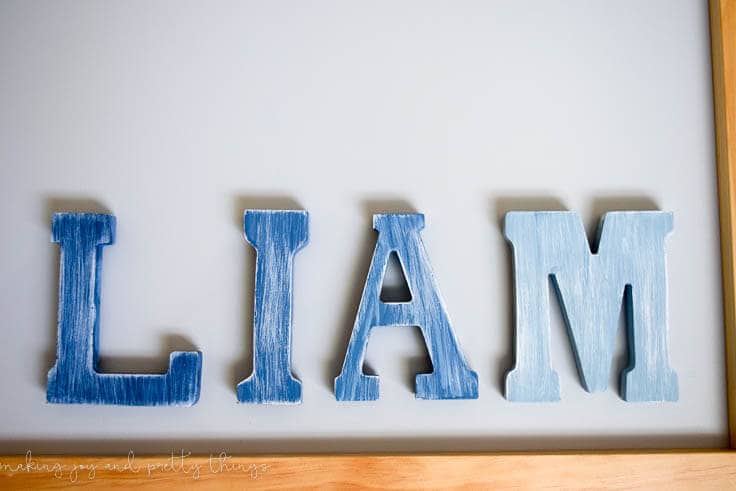
I really do love how they turned out. The distressing just gives them a little extra *something* that makes them stand out.
Well, I hope you love them as much as I do!!
And if you’re curious about this One Room Challenge nonsense, be sure to check out all the progress we have made so far! The big reveal is just a few days away!

ORC Week 2: Shared Boys Bedroom Inspiration & Design Plan
Until next month…
Wishing you a joyful day!
What’s Next?
While you’re here, be sure to check out other decor ideas on Ideas for the Home by Kenarry® –
One Comment