How To Make A Magnetic Chalkboard Wall For A Family Command Center
THIS POST MAY CONTAIN AFFILIATE LINKS. PLEASE SEE OUR FULL DISCLOSURE POLICY FOR DETAILS.
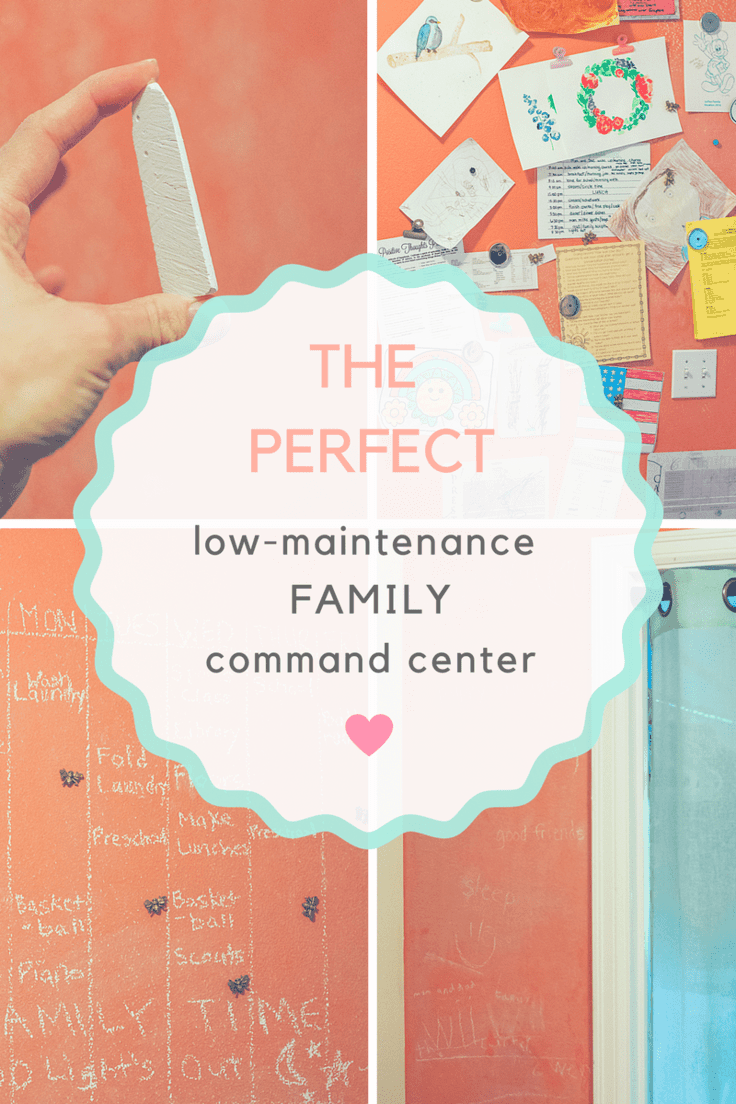
Today we’ll show you how to create the perfect low-maintenance family command center. Learn how to make a custom magnetic chalkboard wall in just a few simple steps.
Finally! The perfect low-maintenance family command center and a custom magnetic chalkboard wall all rolled into one. Now, that’s something you don’t see every day unless you have one in your house. Here are a few simple steps to making that a possibility!
When you build this command center, use the Clutter Keeper Undated Yearly planner to track your family’s schedules.
This is Alycia from Our Homestead Where My Heart Is. Hello again! When we moved into our homestead two years ago I was so excited to finally have a space for a family command center. I searched Pinterest over and over again and saw so many amazing ideas. But I just couldn’t find exactly what I was looking for. There were a lot of ideas that were magnetic, and a lot that were chalkboards.
I decided it would be so much MORE effective if I could combine the two. I just had to figure out how to do it. That is how the custom magnetic chalkboard wall was created.
Our custom magnetic chalkboard wall was one of the very first projects I attempted right after we moved in, and I wish I had taken more pictures throughout the chaos! I will give you step by step instructions, but only have pictures of the last few steps. The good news is that, although it takes some time, it is simple. You can make a magnetic chalkboard wall with nothing but paint and a roller or two!
How to Make a Custom Magnetic Chalkboard Family Command Center
Disclosure: This blog post contains affiliate links for products or services we think you’ll like. This means if you make a purchase from one of these links, Ideas for the Home by Kenarry® will make a small commission at no additional cost to you so we can keep the great ideas for the home coming your way. All opinions expressed are derived from personal experience.
Step 1: Gather Supplies
- Magnetic Primer – I used 1 can for this 4ft by 8ft space.
- Small Foam Rollers – You will want to get several because the magnetic paint doesn’t wash out easily.
- Tintable Chalkboard Paint – You aren’t able to have it tinted to any color imaginable, there are limits. I was hoping this would be more coral than orange but I still love it!
- Painter’s Tape and Drop Cloth – Don’t forget this important step, and I’ll show you why!
- Paint and Staining Rags – You don’t need many. These are used to help spread and erase chalk.
- White Sidewalk Chalk – Several pieces, and the bigger the better.
- Heavy Duty Magnets – I heard a lot of reviews that the magnetic wall would only work with extremely strong magnets. I have had some luck with others, but these definitely work the best especially when the papers on the wall get bumped as we walk by.
Step 2: Prepare your wall
Prep your area for paint by taping all edges, especially around moldings.
Step 3: Use Magnetic Paint
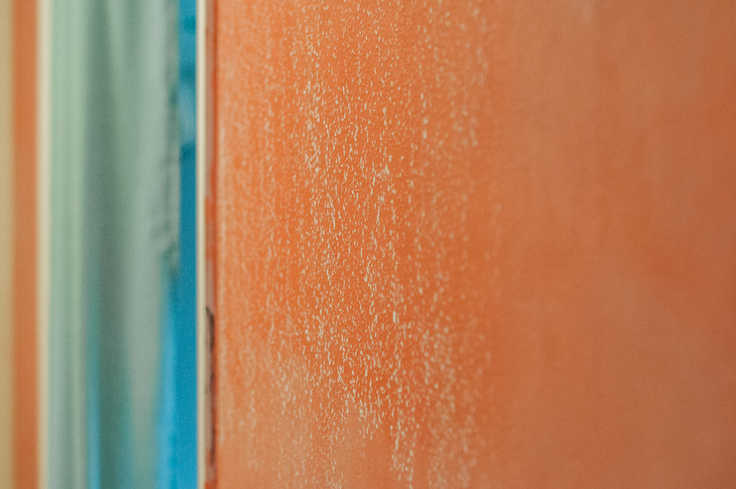
Pull out those painters’ clothes because this magnetic paint can splatter everywhere. Make sure you follow the directions on the back of the can and shake thoroughly. It is best if you can have it shaken in a paint store right before you begin, otherwise, the magnetic particles will settle to the bottom of the pan.
I used an entire can on this small wall which ended up being about three coats. The more coats, the stronger your magnetic connection will be.
Step 4: Add the Chalkboard Paint
Paint a layer of tinted chalkboard paint over the area. This is not to be confused with chalk paint. Chalkboard paint is made specifically to be used as a chalkboard. If you can get away with one coat that is best, but I ended up doing two. The more paint you have over the magnetic layer the less effective it will be supposedly. But with two coats we haven’t had a problem.
Phew, that was hard work! Good job! Now you have something that looks a little bit like this. To tell you the truth my wall was a jumble of paintings and important papers for several months before I made it to the next step. But life is about progress, not perfection. Right?
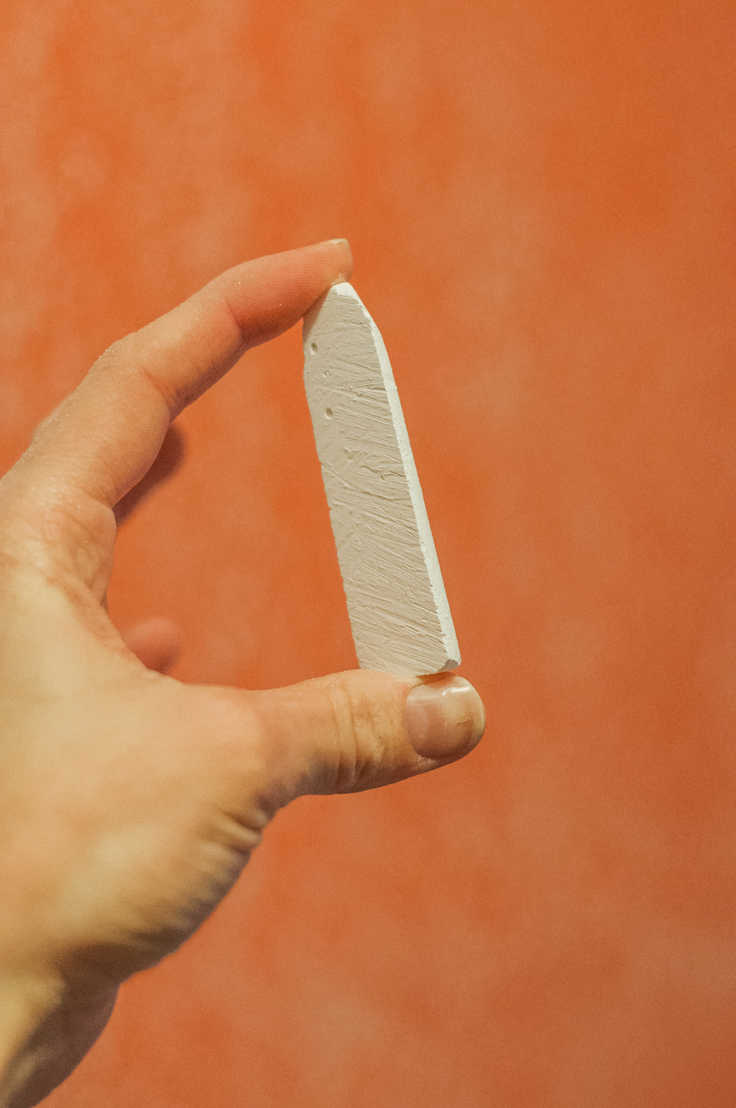
Step 5: Cure the Chalkboard Paint
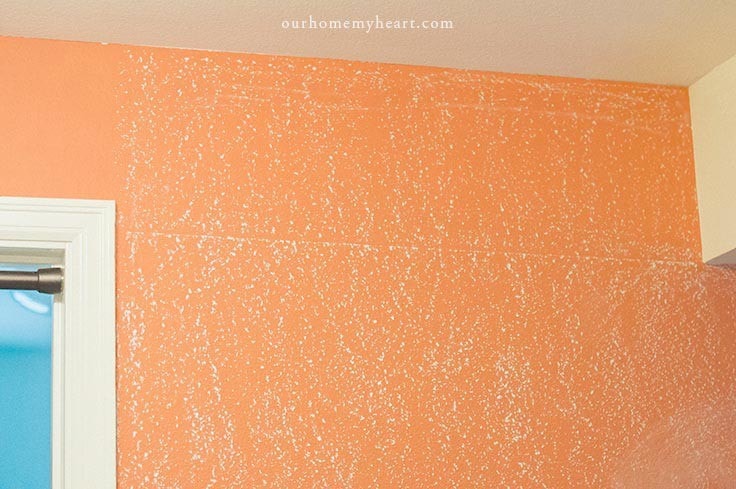
Pull out your sidewalk chalk lay it flat against the wall. Move it up and down until the entire wall is covered. This cures the chalkboard paint and gets it ready for your artwork. Our eggshell wall finish tore up the chalk faster than I imagined, so make sure you have an ample amount for your area.
You can see here where I stopped my magnetic paint before I got to the top. I didn’t think I would use that section for hanging things and focused instead on the section I knew I would use. Once I spread out the chalk it was no longer as obvious. Speaking of… on to the next step!
Step 6: Spread the Chalk
Use your soft rag to spread the chalk over the entire surface of the wall. Try to get into every crevice. Here you can see why I mentioned how important it is to use tape. I was in too much of a hurry and now I get to go back and repaint my trim as well.
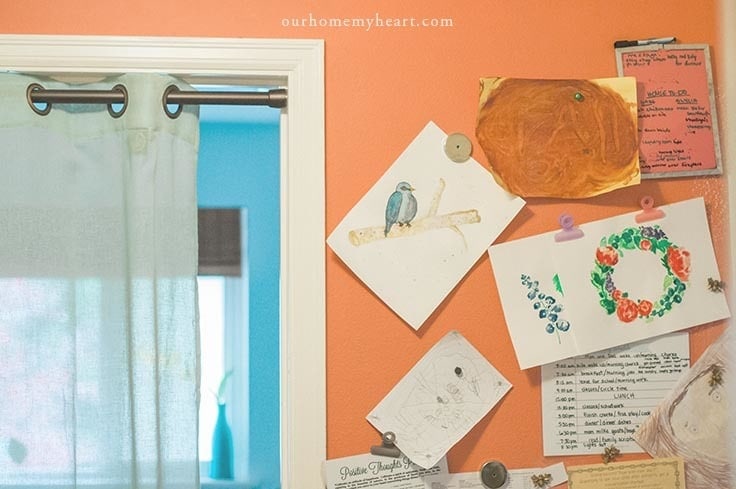
Step 7: Start Using Your New Family Command Center
Decorate your wall anyway you want and hang your important papers too!
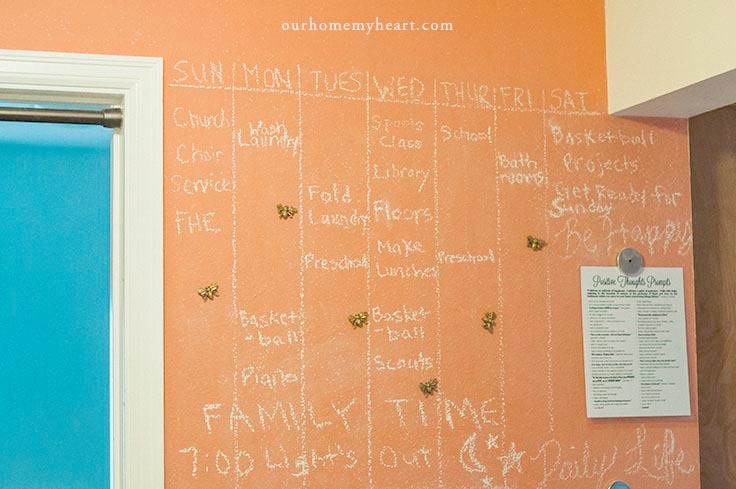
I just LOVE the freedom that I have to make a change to my wall any time I like without having to do something permanent like drilling holes. I have since added a menu, a to-do list, and a designated space for each child to share their artwork. How would you style your wall? Want to learn more about my style? I would love to have you visit my blog and do just that!
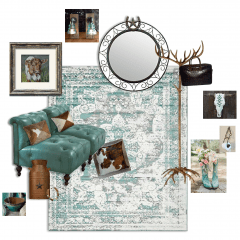
Western Farmhouse Design

Simple Homestead-Made Potting Soil

SERVICE = LOVE
Love the ideas you see here on Ideas for the Home by Kenarry®? Subscribe today to get our FREE DIY & Craft Planning Calendar, plus our weekly Ideas in Your Inbox newsletter filled with creative tips and exclusive offers!
While you’re here, be sure to check out these other DIY projects from Ideas for the Home by Kenarry® –
One Comment