DIY Tray with Upcycled Jars
THIS POST MAY CONTAIN AFFILIATE LINKS. PLEASE SEE OUR FULL DISCLOSURE POLICY FOR DETAILS.
Use this tutorial to make a beautiful DIY tray to display upcycled jars. You can fill the jars with craft supplies or other items you’d like to organize.
Hi again Kenarry readers! I’m Lori from Greco Design Company and I’m here today to show you how to make a really pretty tray that can be used with upcycled jars for a perfect storage display.

There’s something about a tray that can really transform objects to a different level. They turn individual pieces into a single more dynamic unit. Trays add color, shape and interest to an area. I created this tray to hold my craft supplies. I needed a place to keep all these little items organized. I used glass food jars as the containers and then I made a pretty tray so all these jars had a place to “live” and look like an organized unit. This tray and jar combination is a great solution for lots of things. Besides craft supplies, you can store jewelry, coins, hair accessories, sewing supplies, beads – so many different things. And now that these supplies look so pretty and organized, I feel a bit more inspired now to make some great stuff!
Here’s what I used for the tray:
- a piece of scrap wood, mine was about 22″ x 7″ – big enough to hold about 9 jars
- gold metallic spray paint – or any color you’d like
- a piece of paper – it can be scrapbook paper, wrapping paper – anything will work
- decoupage glue
- 4 drawer knobs with a flat surface (I used gold)
- screwdriver/drill
- scissors or X-acto knife
Here are the instructions:
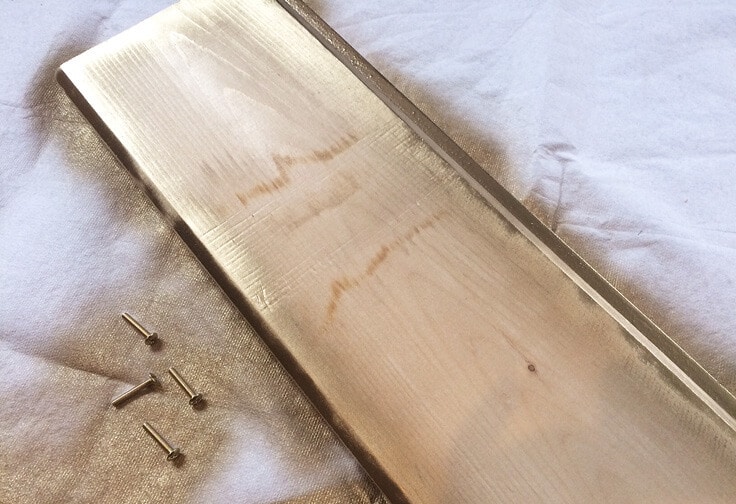
I sanded my piece of scrap wood down a bit and then sprayed the edges with the gold metallic spray paint. If you don’t have scrap wood laying around, most home supply stores like Home Depot have them in a remnants section. They’re usually marked down and they’ll even cut a piece to size for you. I love how my piece of wood has different beveled edges. I think it’s actually a piece of trim which makes it a little more interesting.

I let the spray paint dry then cut a piece of my scrap paper to fit on the top of the wood. I used a scrap of this wrapping paper from Paper Source – I love the print!

Using the decoupage glue, I attached the piece of paper to the wood. Then I poured the glue on top of the wood and, using an old paint brush, I brushed the glue all over the top of the paper. After the first coat of glue dried I applied another coat. Be generous with the decoupage glue – it will dry clear and it works like a protective coating over the paper.
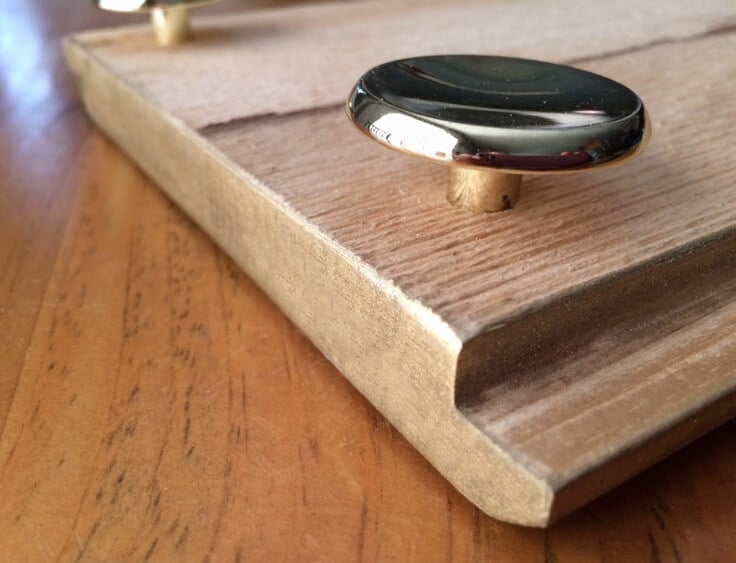
After the glue has completely dried, I turned the wood over and screwed a knob into each of the corners for the tray’s “legs”. I love how these knobs raise the tray up just enough to make it look a little more special. You need the knobs to have a flat edge to them so the tray will be stable. I found mine at Home Depot for $1.29 each. The screws they came with were silver so when I spray painted the wood piece, I also sprayed the screws gold. It usually doesn’t matter what color the screws are for knobs because you don’t see them, but for this project, the screws will be on top of the tray so they need to coordinate and look pretty!
Now my tray is finished! And it has so much potential. I’m using mine to display my craft supplies but it could also be used more decoratively by adding some mini pumpkins and faux leaves for a beautiful fall centerpiece. Or line the tray with a variety of candles and it adds a romantic touch to a dinner table.
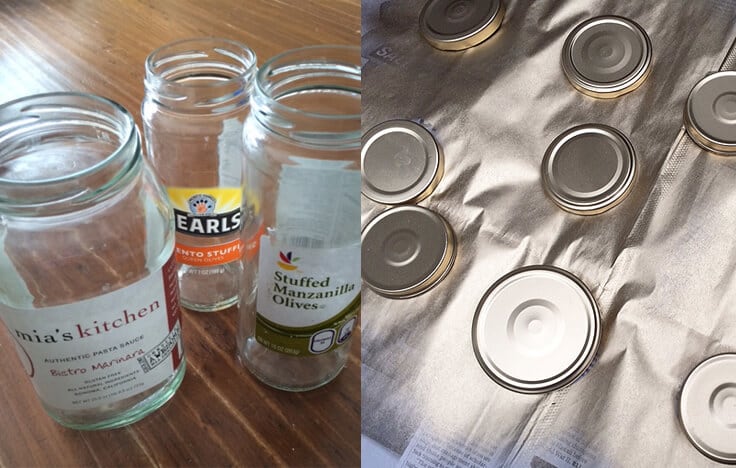
For the upcycled jars, I used old food jars in varying heights and widths. After I cleaned them, I removed the labels and spray painted the covers with the gold metallic spray paint. Now these old jars look like fancy keepsakes.
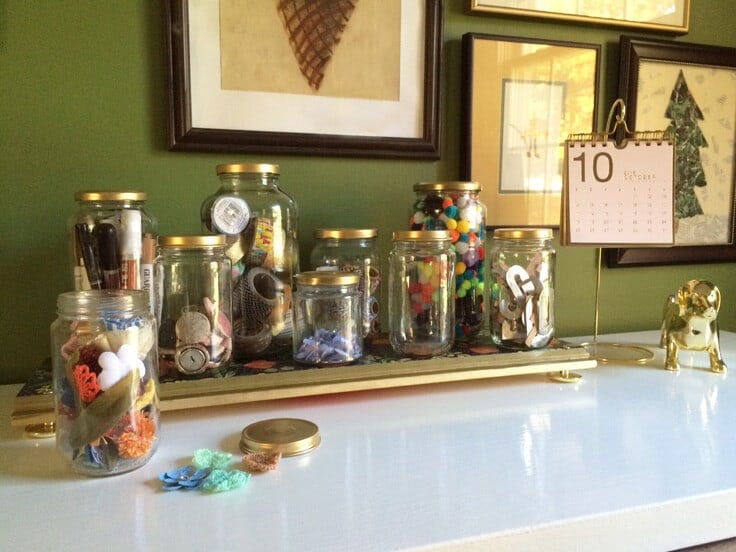
I hope you enjoyed this DIY project and maybe try making one for yourself. Trays are such a great addition to any space. They can be a great solution for displaying storage items or you can use a tray as more of a decorative piece. This tray sits on my desk and it really makes these jars took so pretty and important – and keeps my craft supplies all in one dedicated space. The gold finishes make the pieces work well together but you can use any color you’d like – just be sure to coordinate the colors, paper and the knobs.

Here are a few other related posts if you want more ideas for both trays and glass jars.

DIY Mother’s Day Tray
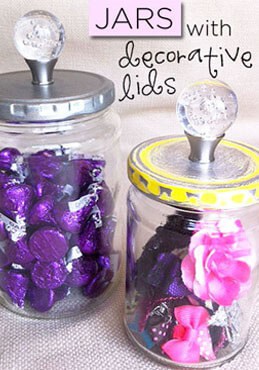
Jars with Decorative Lids
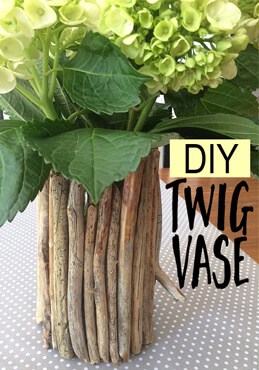
Rustic Twig Vase
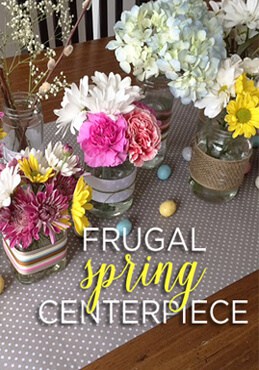
Spring Centerpiece
What’s Next?
While you’re here be sure to check out other cleaning and organizing ideas on Ideas for the Home by Kenarry®. You may especially enjoy: