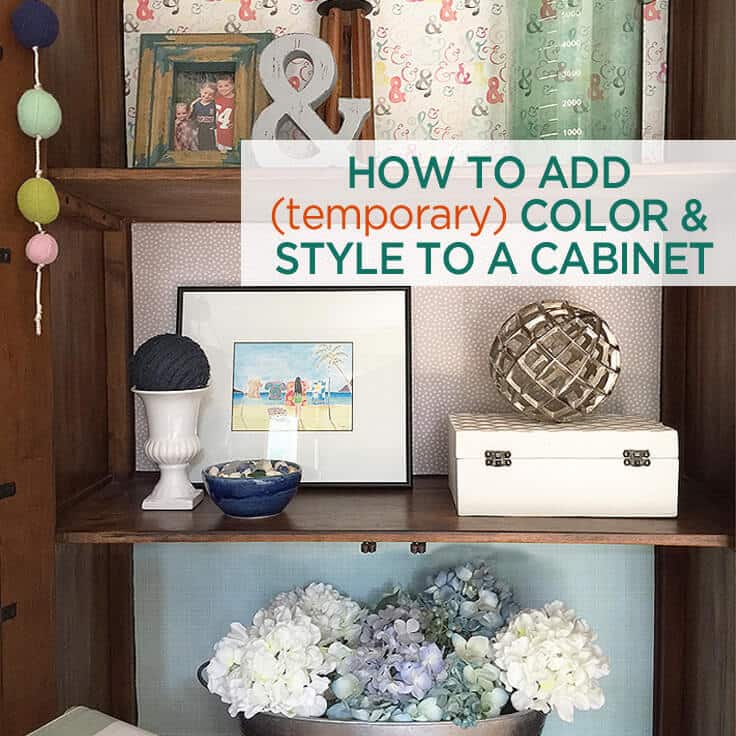
How to Add (Temporary) Color and Style to a Cabinet
THIS POST MAY CONTAIN AFFILIATE LINKS. PLEASE SEE OUR FULL DISCLOSURE POLICY FOR DETAILS.
Learn how to add some (temporary) color and personality to a cabinet or armoire using scrapbook paper, cardbooard and this easy tutorial.
Hi all, it’s Lori from Greco Design Company here today to share a fun project with you if you need to add some (temporary) color and personality to a cabinet or armoire.
This project is a great solution for a variety of pieces including kitchen cabinets, closed hanging shelves, a dining room hutch, or a freestanding cabinet or armoire like ours.
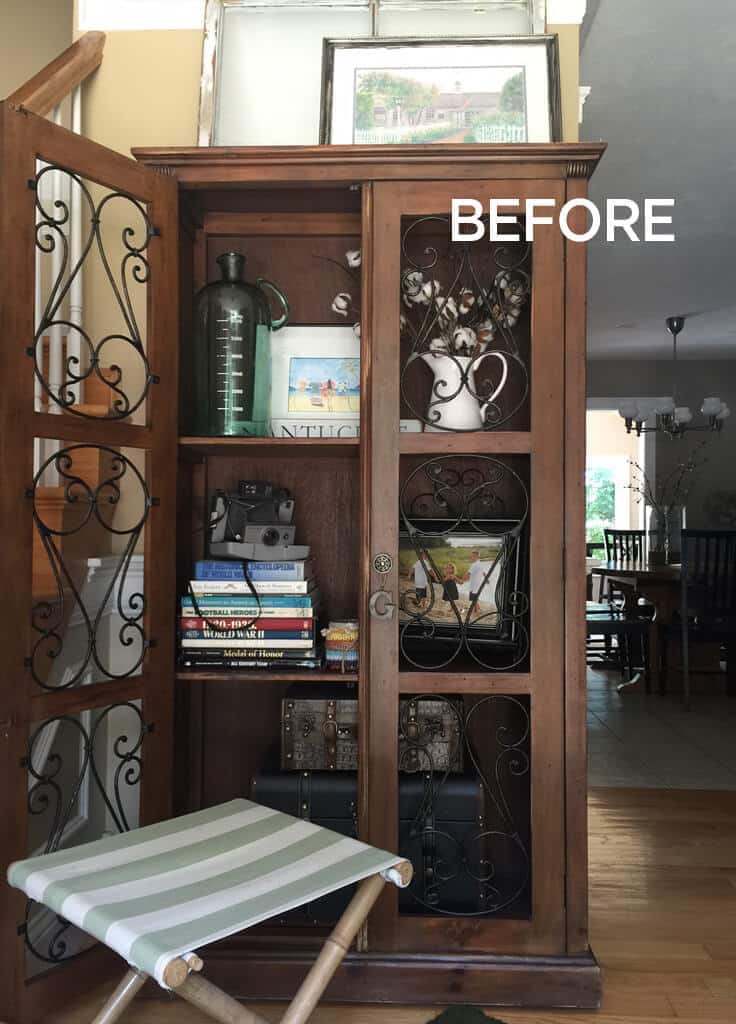
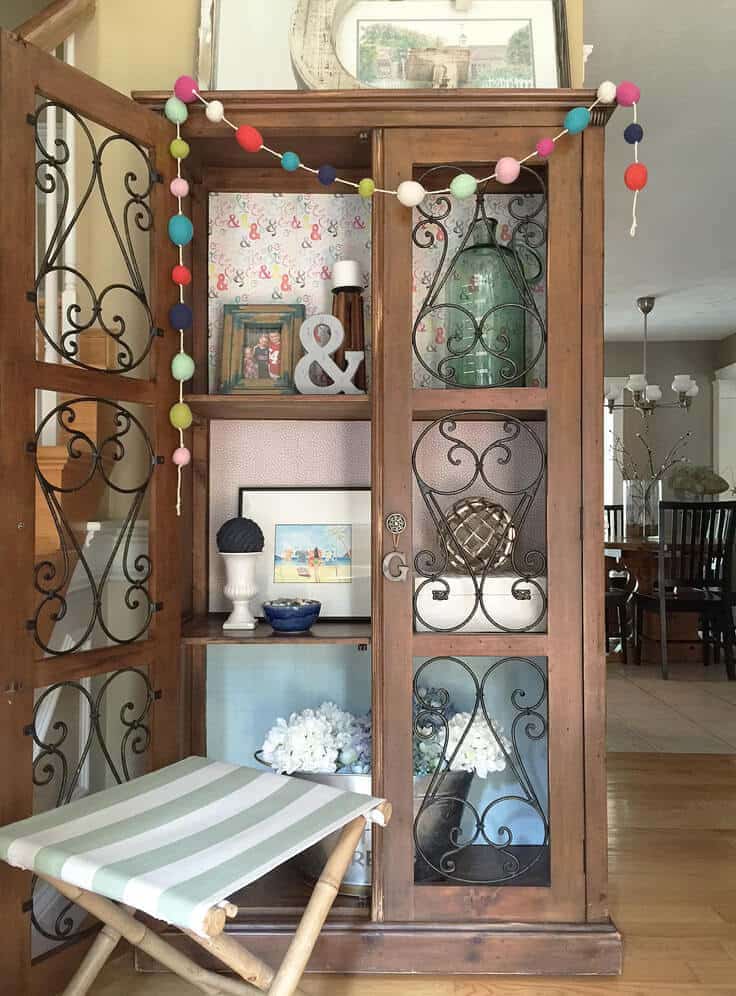
We’ve had this freestanding cabinet/armoire for several years and it’s been in a few different locations in our home. Now it lives in our entryway and I’ve always loved it. It’s pretty with the iron scroll detail and the weathered wood but it always seems to be a little dark and just missing something. I’ve styled it several different ways with all kinds of fun stuff but it was still missing something. So I decided it needed a makeover. But since I change my mind – and my furniture arrangements – so often I didn’t want to do anything too final or permanent.
Disclosure: This blog post contains affiliate links for products or services we think you’ll like. This means if you make a purchase from one of these links, we’ll make a small commission at no additional cost to you so we can keep the great ideas for the home coming your way. All opinions expressed are derived from personal experience.
Here are the materials you’ll need to add (temporary) color and personality to your piece:
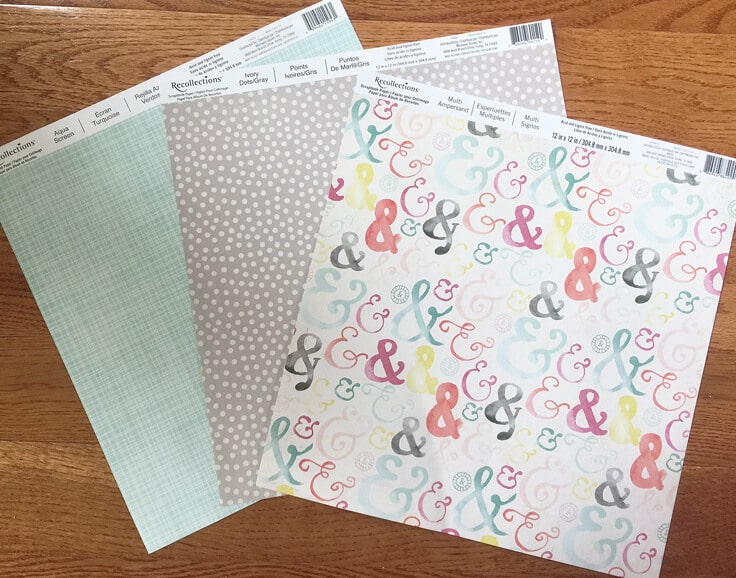
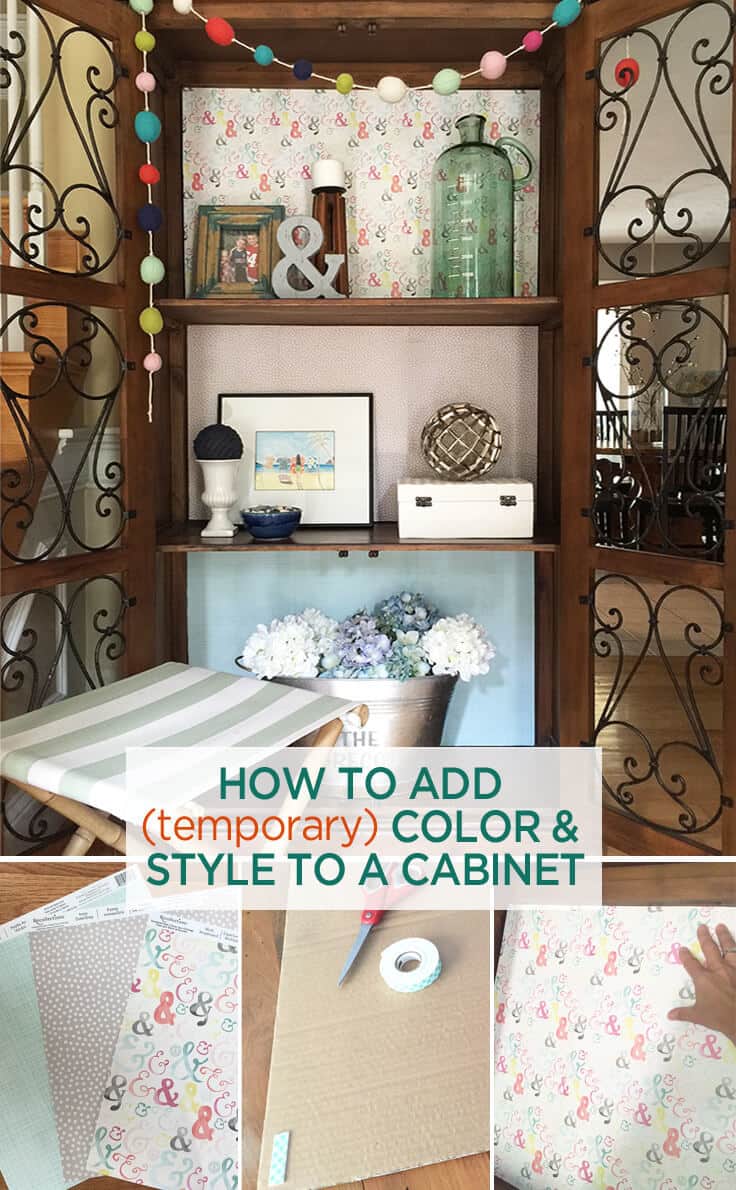
- Scrapbook paper – I used a different pattern of paper for each shelf. I made sure they were colorful and coordinated with the room. For my cabinet dimensions, I needed about 6 pieces per shelf. So a total of 18 sheets. Michael’s is a great place for scrapbook paper and they usually only cost about 50 cents per sheet.
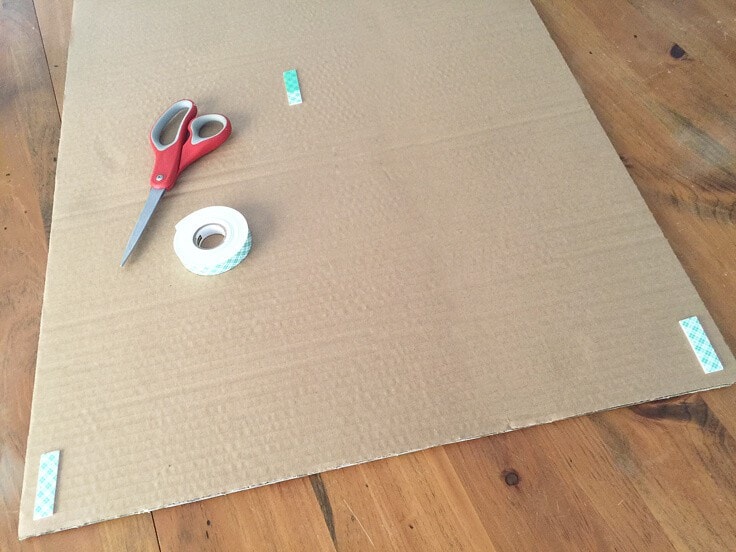
- Scrap cardboard – I had a large box leftover from a desk I had purchased so this worked perfectly. You can also pick up old boxes at most grocery, office or bulk supply stores. Or purchase foam core board at any art supply store.
- Super 77 Spray Adhesive
- Scotch Heavy Duty Mounting Tape
- An X-acto utility knife and ruler
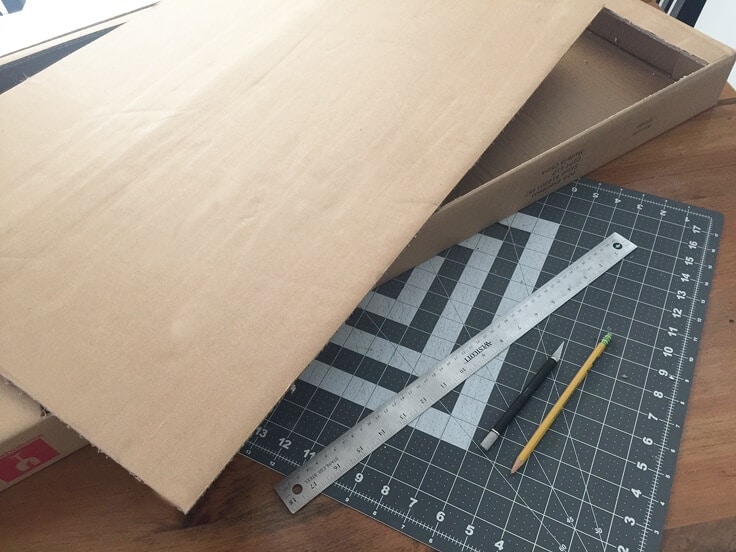
First, you’ll need to measure the back of your closed shelves and cut your cardboard to fit. I cut my cardboard about 1/4″ smaller so it could fit in.

Next, cover your cardboard with the scrapbook paper. Most of them have repeating patterns so try to line them up as close as possible where 2 sheets meet. After you cut your paper to fit, use the Super 77 Adhesive to attach the paper. Follow these directions for your remaining shelf backs until all of them are created.
Using the mounting tape, apply a few pieces to the back of your cardboard and attach it to the back of your cabinet. The tape shouldn’t damage the cabinet.
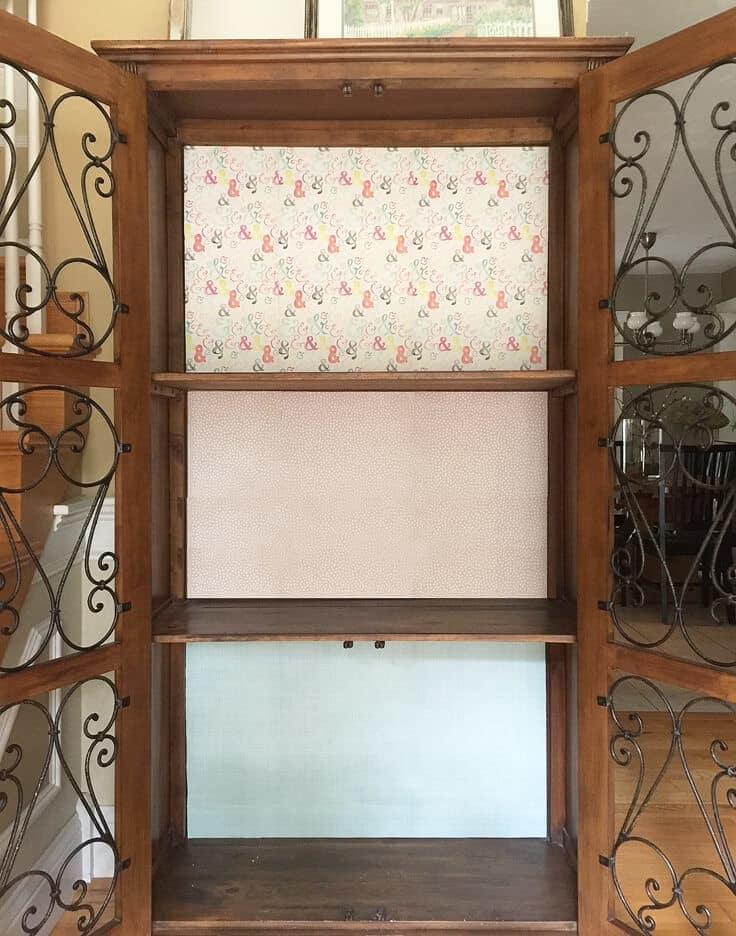
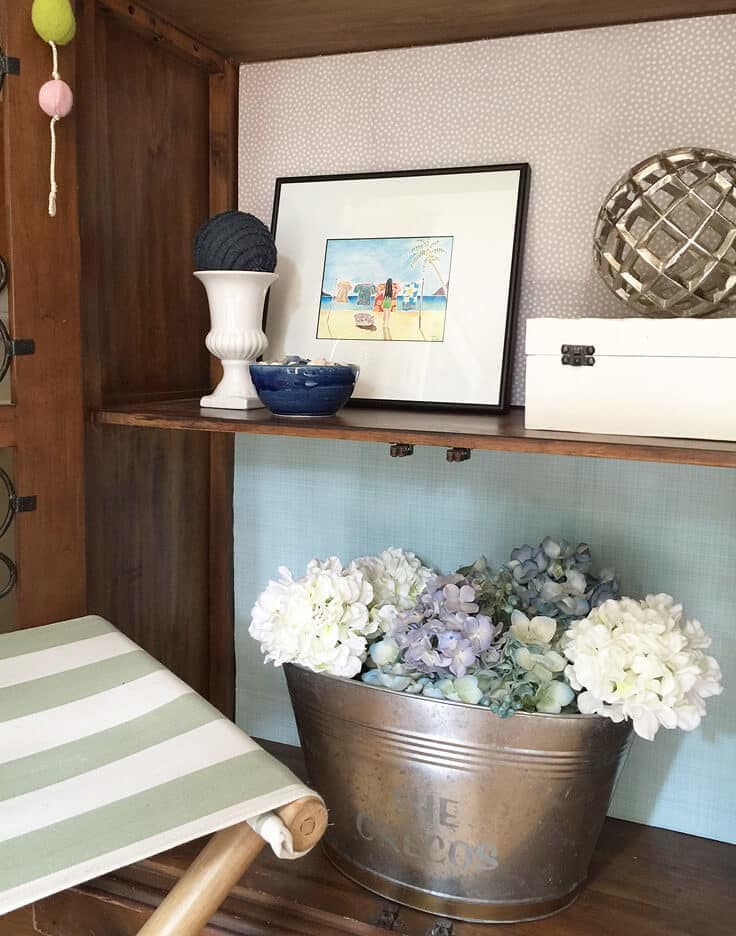
I love how this piece already looks so much brighter and fun. And if I change my mind or move this to a different room, I can remove the cardboard backings and change up the colors.
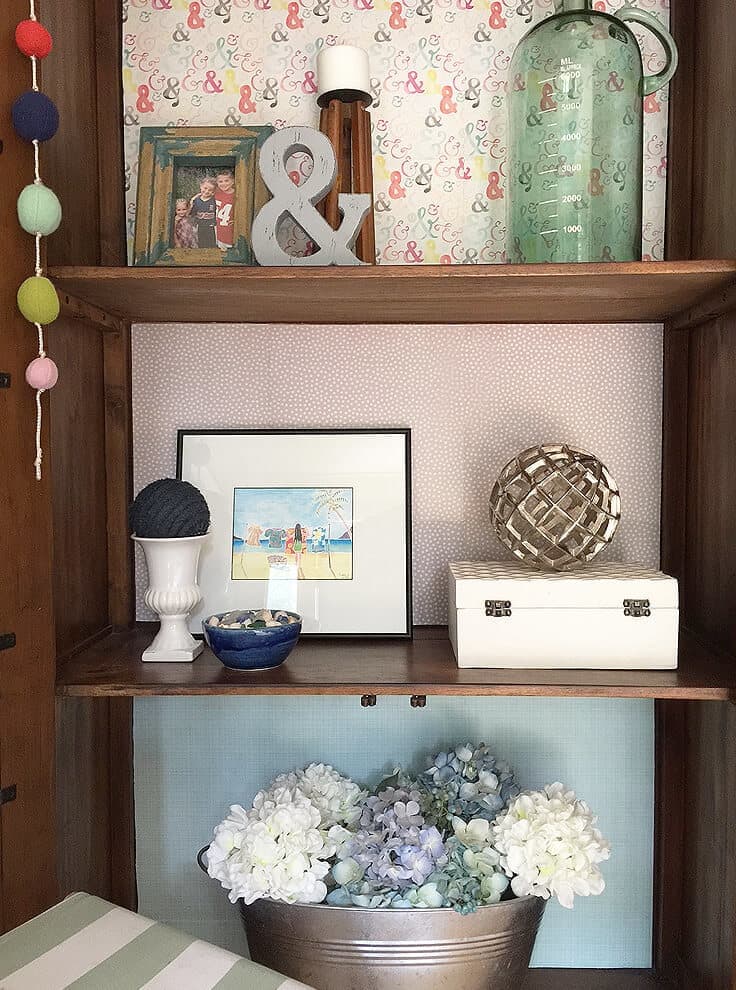
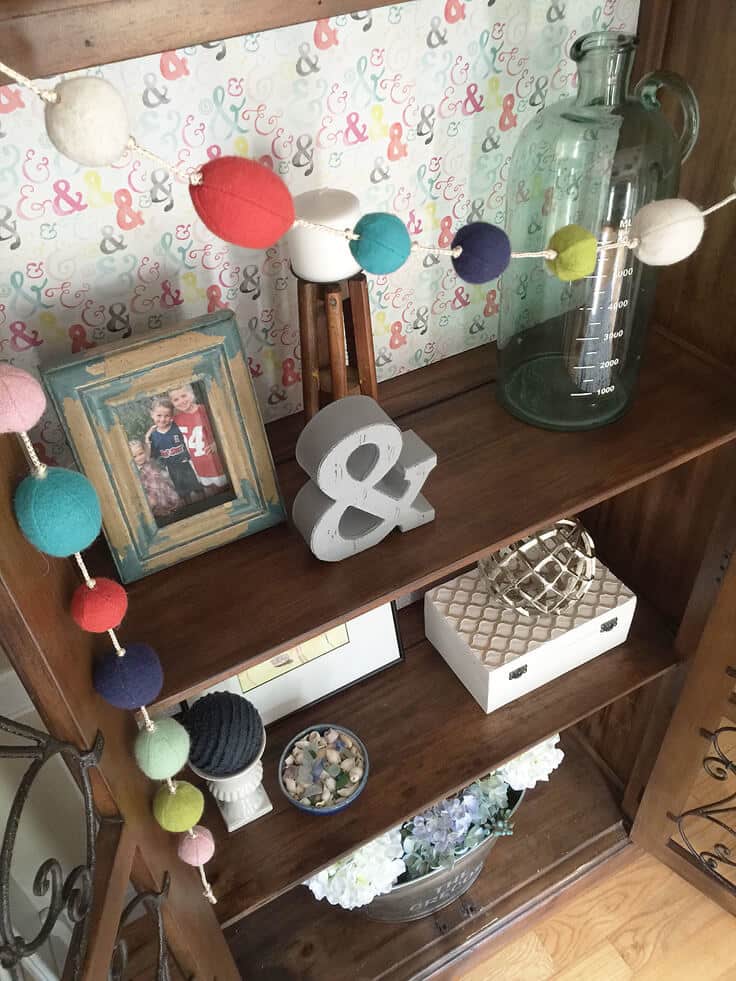
Now style your shelves to match your new more colorful cabinet. Click here to see some of my shelf styling tips I shared on Ideas for the Home by Kenarry® in February.
Here are a few brief tips:
– Size. Start by placing the larger objects first and add in the smaller pieces and pieces with varying heights.
– Color. Be sure that the color of your accessories are placed so that your eye moves around the shelves easily.
– Layer. When objects are layered or placed in front or on top of each other they create a sense of unity.
– Repetition. Use accessories that pick up similar shapes, colors, patterns and finishes. I used a metal ampersand to relate to the corresponding paper. I also repeated the sphere shape in the orb and covered ball on the small urn.
And a pom pom banner is always a good idea!
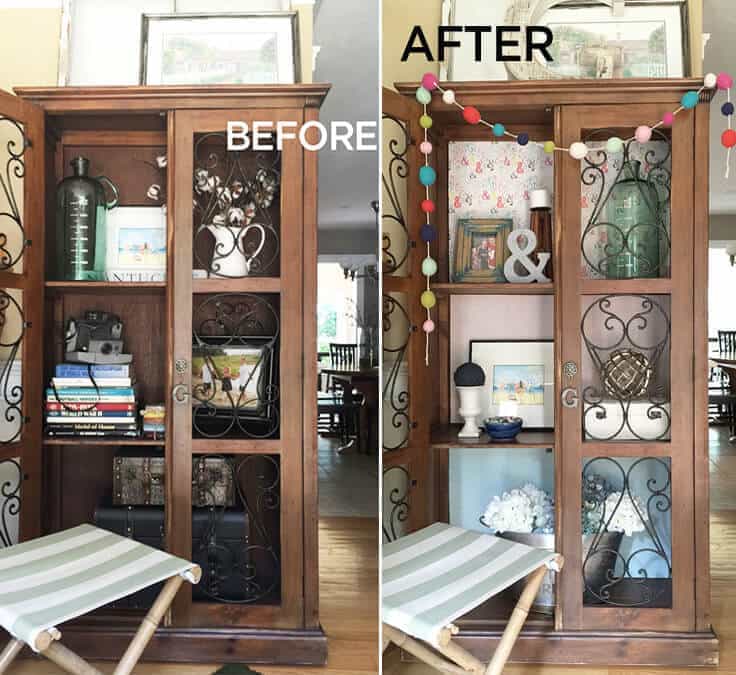
I love how this cabinet now has new life. The punch of color has really transformed it to be such an eye-catching piece in our entryway.
I hope you enjoyed this post and try adding some color and personality to your favorite piece. Also, be sure to check out these related posts:
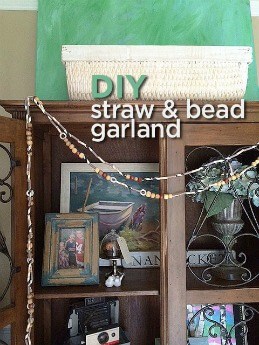
DIY Bead & Straw Garland
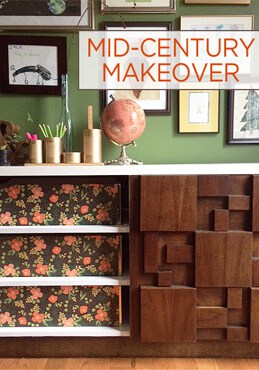
Mid-Century Dresser Makeover
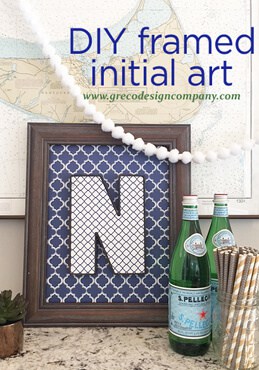
DIY Framed Initial Art
What’s Next?
While you’re here, be sure to check out other home decor ideas on Ideas for the Home by Kenarry® –