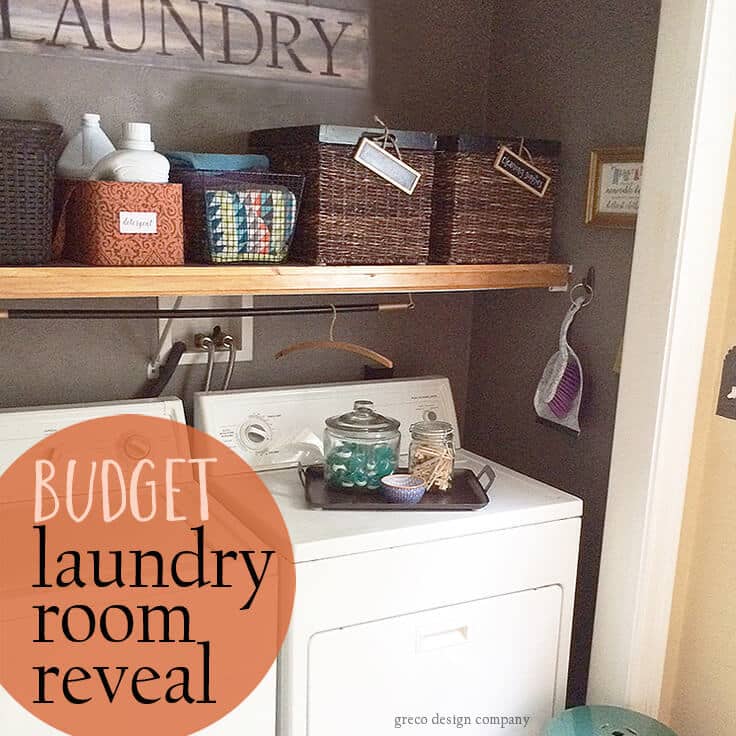
Budget Laundry Room Reveal
THIS POST MAY CONTAIN AFFILIATE LINKS. PLEASE SEE OUR FULL DISCLOSURE POLICY FOR DETAILS.
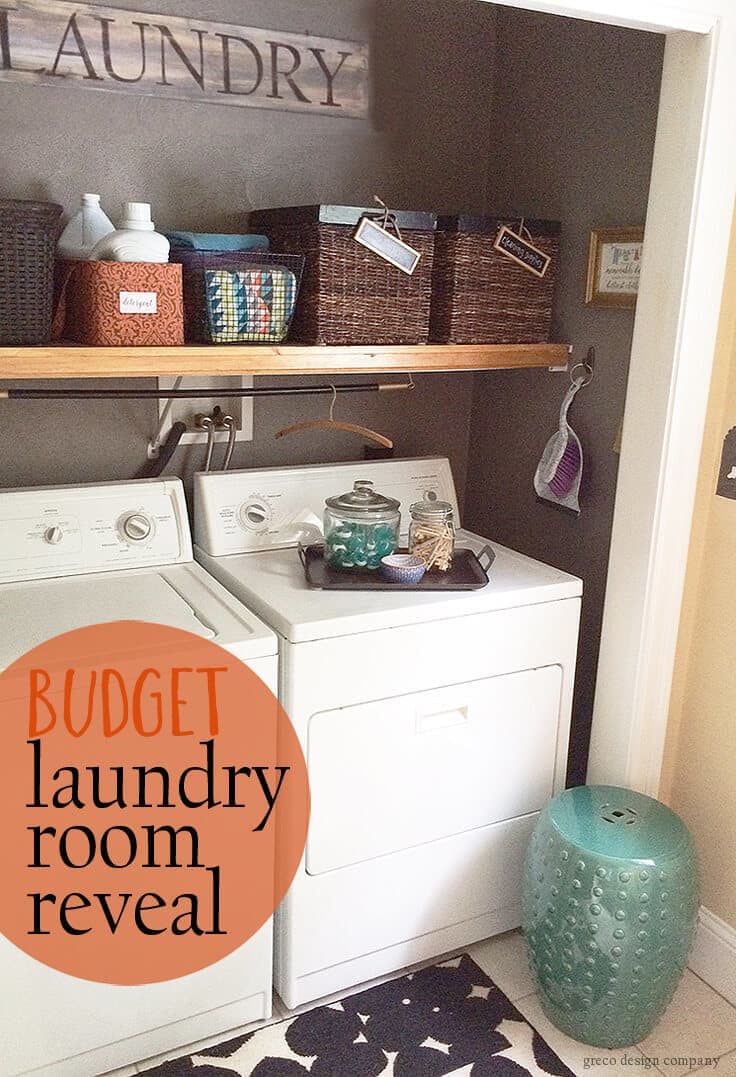
We removed the doors to our laundry room and made this space more organized and so much prettier. It was done on a small budget with lots of DIY projects.
Hello, Ideas for the Home by Kenarry® readers! I’m Lori from Greco Design Company, and I am thrilled to be here today sharing my budget laundry room makeover with you!
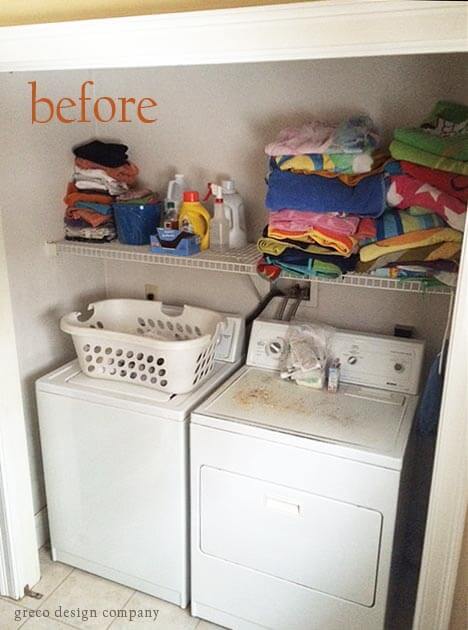
This was a project that wasn’t planned. at. all. Have you ever had home projects like this? Our laundry room {aka closet} is located off our first floor half bathroom. Besides the washer and dryer, our laundry room had a white wire shelf, bifold doors and it wasn’t pretty. But that problem was solved when we closed the doors. kind of. The doors weren’t pretty either plus they made doing the laundry even more of a hassle because they were always in the way. I’ve been wanting to redo this area for almost a year but I was never sure exactly how I wanted it done. So when the not-so-pretty doors fell off their tracks for the 100th time, I decided not to reattach them and to just take them off completely. It was a freeing experience. Now that the doors were off, I had to make this space look nicer and function better. Instant {unplanned} project that has changed my life. kidding. not kidding. Well, it has made the chore of doing laundry a little less tedious and definitely more welcoming. Our budget was low and it was in a high traffic area so time was tight too. But I always say limitations force creativity.
Here’s the laundry room before with doors already removed {yuk!}:
HERE’S WHAT I DID:

1) Painted the laundry walls.
The bathroom has a beautiful grasscloth wallpaper that I put up last year. Those were my pre-blogging days so I don’t have any how-to pictures! But I also refinished the small bathroom vanity with Valspar’s Seine paint color. See that post here. So I thought using the same paint color for the laundry walls would tie the two spaces together and work well with the neutral grasscloth. It was a bonus that I didn’t have to buy paint too. Paint is the easiest and cheapest way to make a big impact in your home.
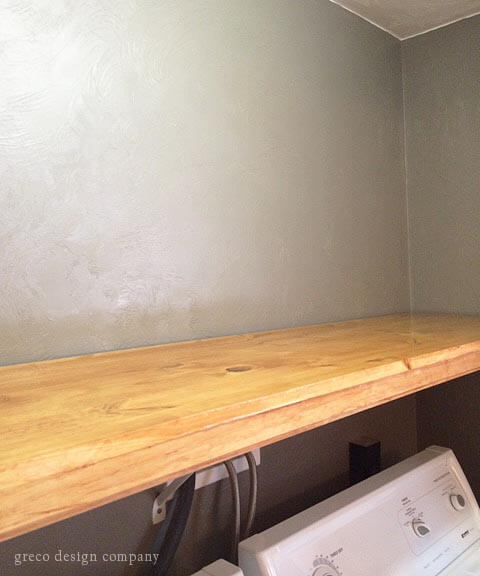
2) Made a wood shelf.
I hated the white wire shelving that was in this laundry room but it was a great size {full length} and it was attached very well. Taking it down would have made a lot of extra work for me. So I decided to make a wood shelf that fit over the existing wire shelf, hiding the ugly wire but keeping the good support and size. This was a fairly easy project to do. I simply measured the existing shelf and the front piece that extended down. My washing machine is a top loader so I couldn’t extend the shelf front lip too far down and obstruct the washing machine door. I bought one long piece of knotty pine and a smaller piece of finished trim at Home Depot – and had them cut both pieces to my desired length. I sanded and stained the two pieces with a pecan colored, oil-based stain and a coat of polyurethane. When dry, I attached the two pieces with wood glue and nails so they made an L shape. Then I just placed the new wood shelf directly over the wire shelf. voila! You can see some of the wire shelf and the support brackets but it looks 100% better.
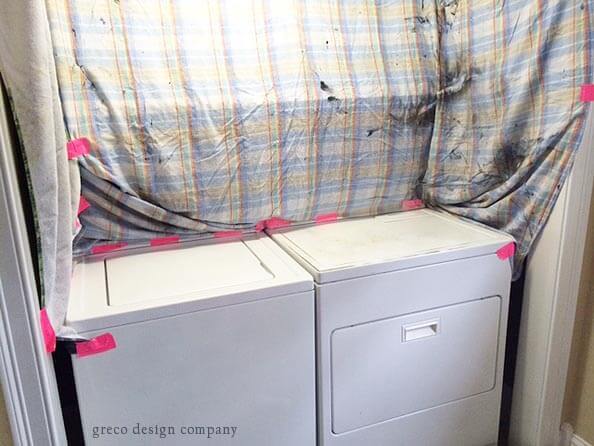
3) Spray painted the existing appliances to look like new!
Our washer and dryer are both very old and I’m waiting for them to kick the bucket. As I’ve said before, a sledgehammer might just have to do the job if they hold on too much longer. No, I would never do that. So in the meantime, a little white spray paint for metal finishes did the trick. Since I just needed to paint the tops of each of the appliances, I left them in the space, making sure to protect my newly painted walls.
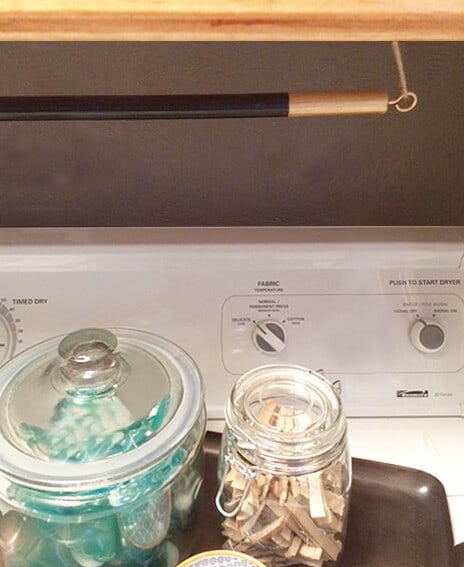
4) Made a hanging rod.
I needed a solution to cover up the ugly box that holds the laundry valves and pipes. I tried a few things but nothing seemed to work. I even sewed a mini curtain to cover it but it just made it stand out even more. The size and location of the box just isn’t ideal. So after a little brainstorming, I thought a hanging rod would not only distract from this eye sore but it would also come in handy for drying clothes. It had to be pretty so I thought I could make the rod look like it had been gold-dipped. I had refinished a small stool in the bathroom the same way so they would work well together. All I needed for this project was a wooden rod, 2 cup hooks and some twine. After painting the rod black and gold, I spray painted the hooks gold, screwed them into the ends of the rod and hung it with twine to the wire shelving under the wood. Now it’s a somewhat distracting, purposeful, hanging rod! I knew that wire shelf would come in handy!
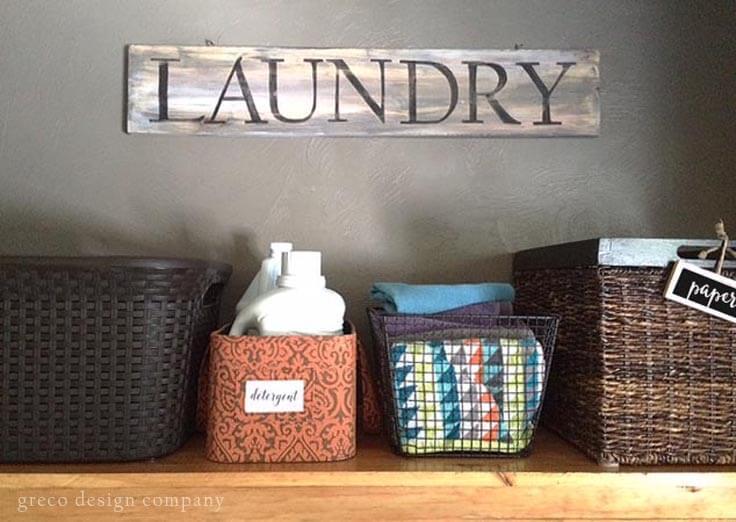
5) Made an antique LAUNDRY sign.
Oh, I love typography signs. And they are fairly easy to make. See my DIY tutorial post here. I think this adds a nice finishing touch to the space.
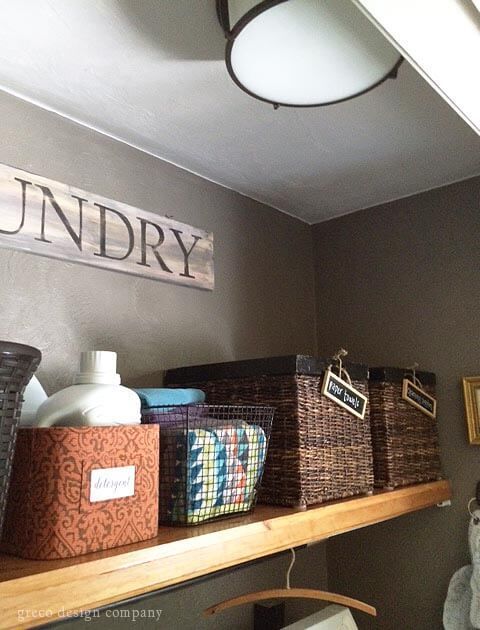
6) Updated the lighting.
We changed out the awful florescent lighting for a more classic copper fixture.
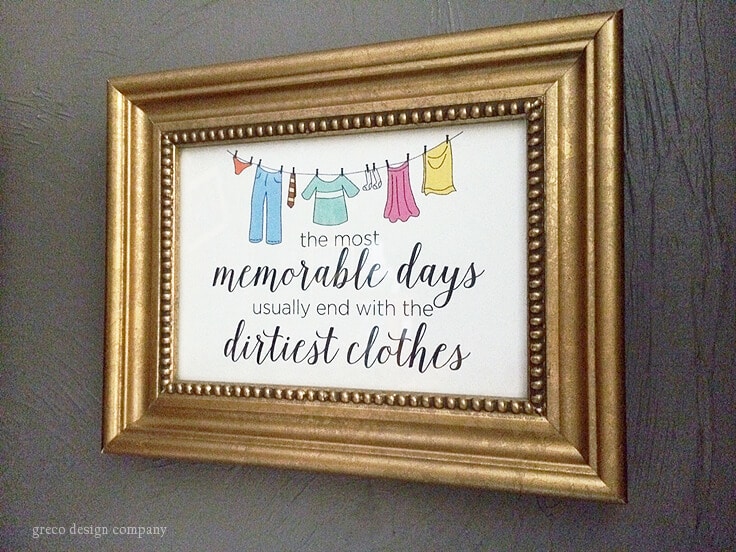
7) Designed a fun laundry art print.
I found a fun saying and designed an art print that would be fun for this space. You can purchase this print as a downloadable file on my Etsy shop here. I added a fun gold frame to tie in with the gold touches.
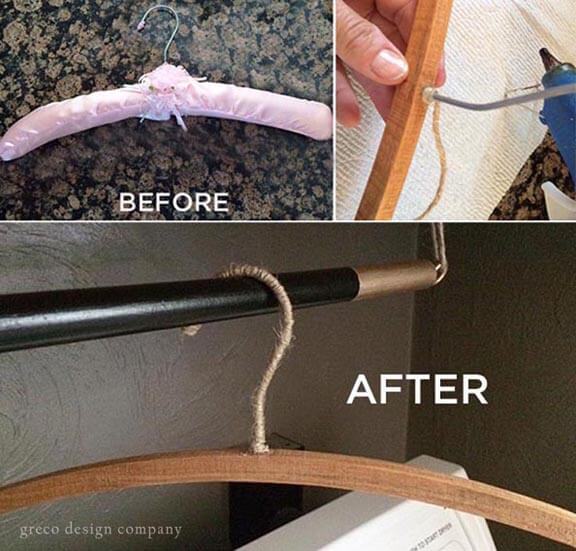
8) Made a cute clothes hanger.
I took apart a kid’s frilly hanger, sanded and painted the wood and wrapped the hook in twine. I loved how it came out so I’ll definitely be making a few more!
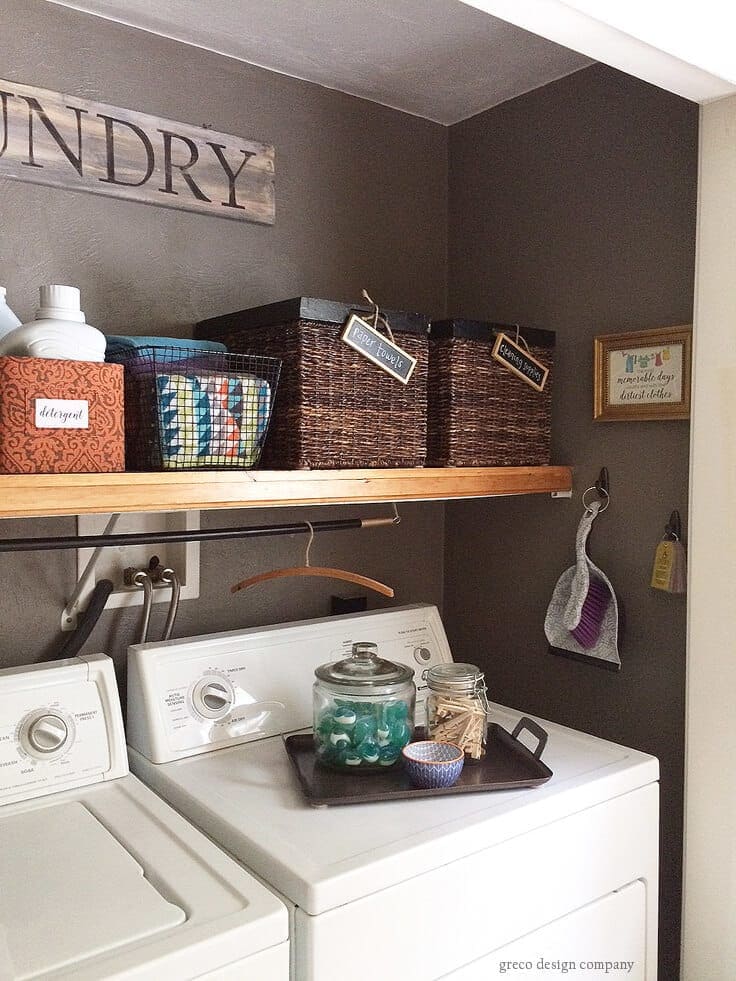
9) Added a variety of pretty storage pieces.
I had some old baskets and storage pieces that weren’t being used and this was the perfect spot for them. I love the different sizes and finishes. I added some cute chalkboard labels to the wicker and wood baskets which work great for hiding cleaning supplies and paper towels. I put furniture pads on the bottom of the baskets too so they don’t scratch the wood shelf.

10) Hung copper colored command hooks.
Cheap {$7 each} and no holes in my freshly painted walls!
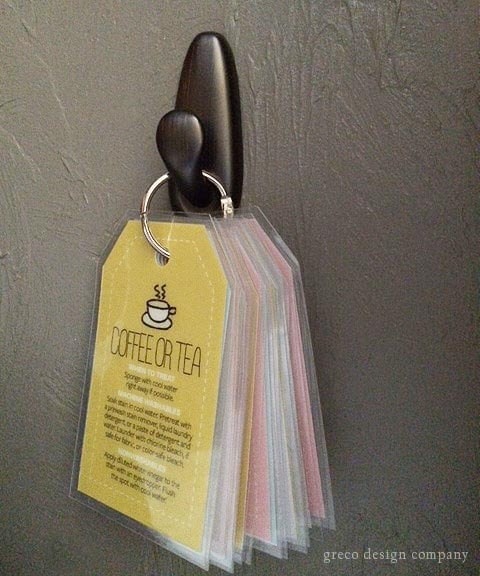
11) Made a laundry reference guide.
I found these free laundry tags at BHG.com. Click here to download and print. I just printed them out, laminated them, added a hole punch and a key ring. So cute – and helpful!
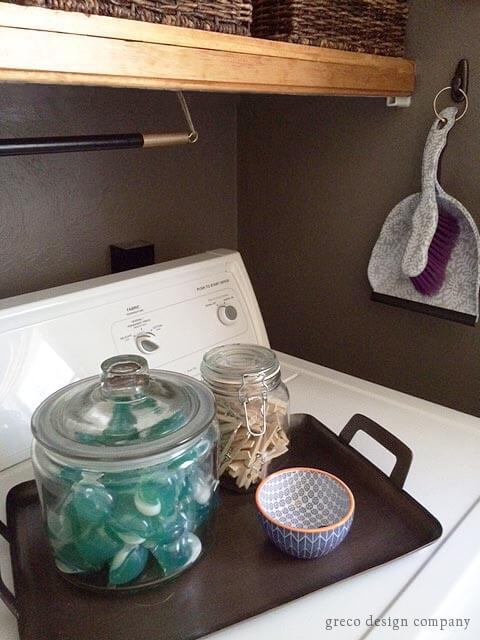
12) Created a catch-all area with a tray and storage containers.
I need the laundry detergent to be easily accessible so I used existing glass jars for the detergent pods and clothes pins. I bought a small colorful dish from Target for all the goodies I find in the laundry. And I had an old copper tray that was the perfect color and size for this spot. I also added furniture pads on the bottom of the tray to prevent it from scratching up my “new” dryer.

It’s not the biggest laundry room or the fanciest. But every square inch is now organized and has a purpose – plus it looks so much prettier. By removing the bifold doors, the entire bathroom/laundry room looks much bigger. And doing the laundry has become so much easier. The total budget for this makeover was under $160. That includes all the projects listed above along with laundry accessories. This makeover is completely do-able by anyone and it can be done in a weekend or two.
Do you love or hate laundry? It’s not my favorite but I’m liking it a bit more now that we have a “new” space. Thank you SO much for having me here to share my budget laundry room reveal with you all – enjoy!
Looking for more laundry room related ideas? Check out some of my posts below!
laundry area inspiration

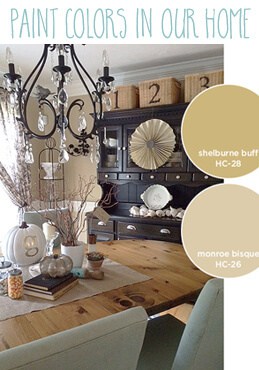
paint colors in our home
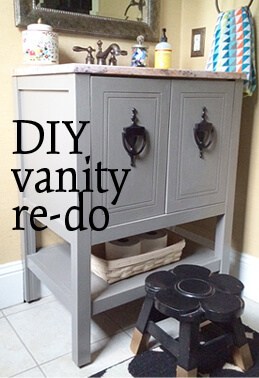
DIY vanity redo
What’s Next?
While you’re here be sure to check out other DIY and decor projects on Ideas for the Home by Kenarry® –
Lori – I love that reference guide that you created! I’ll have to do one for my laundry room too!! I had to pin those photos to my laundry and mudroom board.
Great tips!!
Seng
http://www.sengerson.com
I really like the idea of the slip-on wooden shelf. We have the same wire shelving in our bedroom closet. I like the convenience of the shelving, but not the look. Might have to look into dressing up our closet! Great project inspiration!