Learn to Make Burlap Coasters from Burlap Ribbon
THIS POST MAY CONTAIN AFFILIATE LINKS. PLEASE SEE OUR FULL DISCLOSURE POLICY FOR DETAILS.
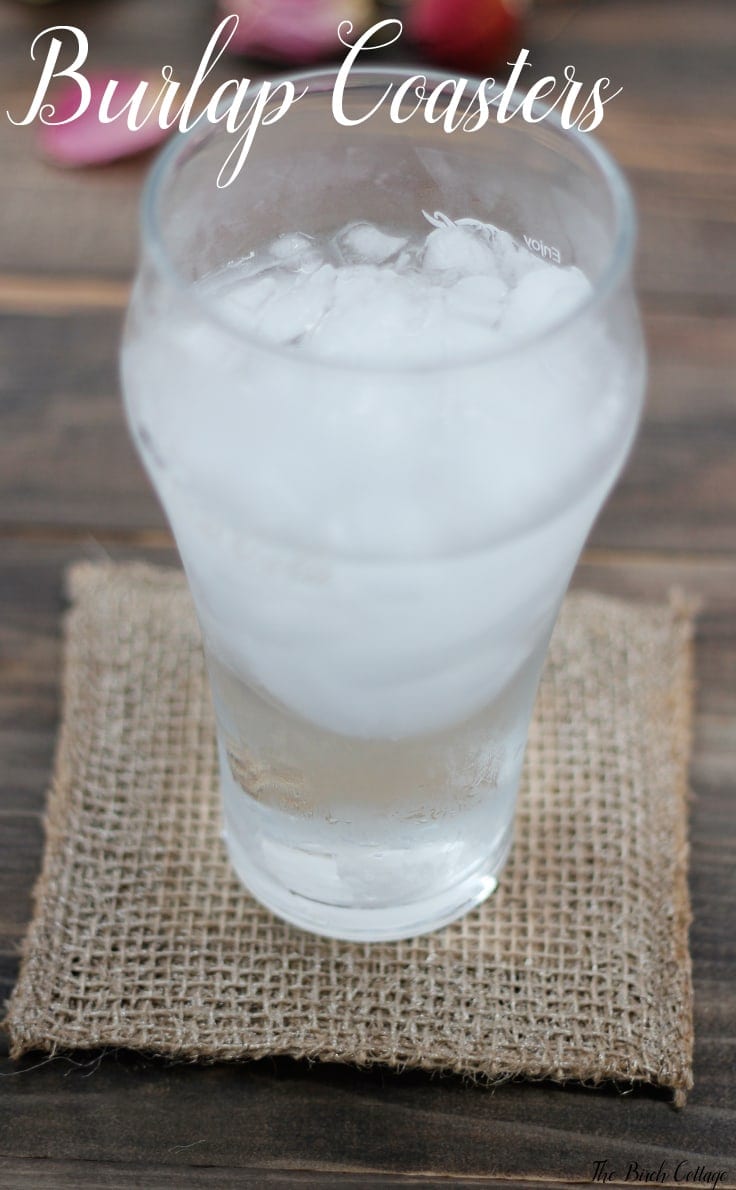
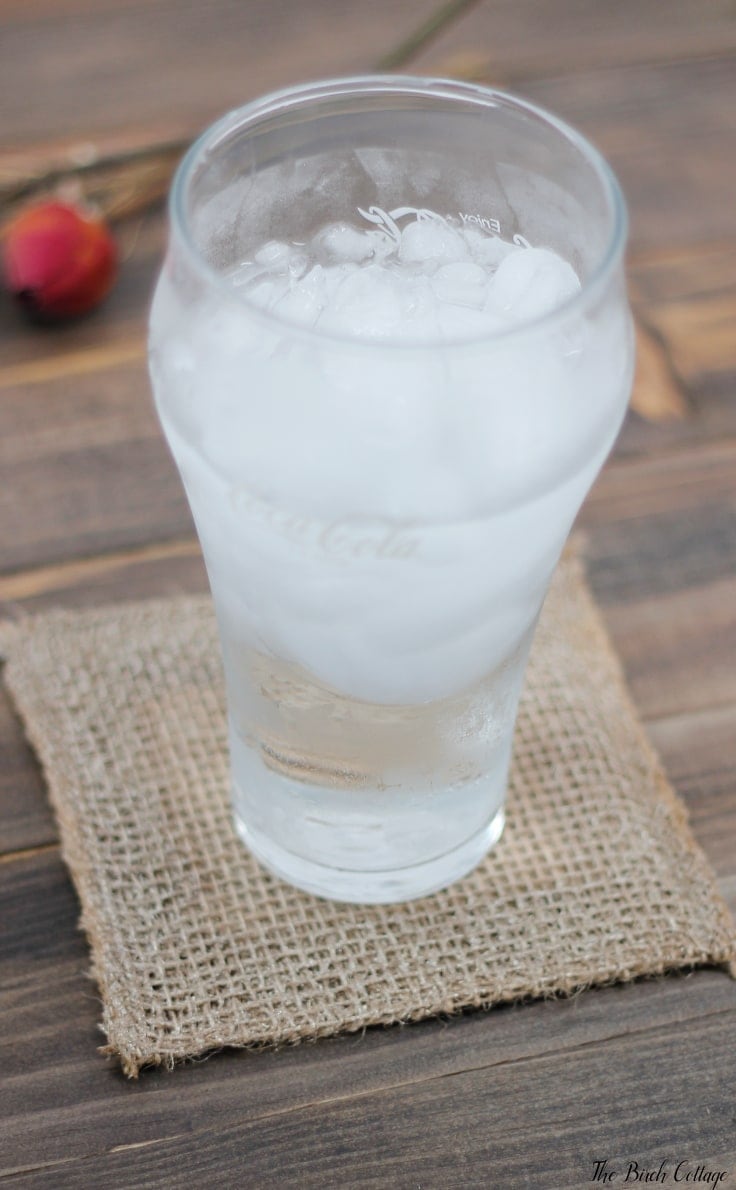
Learn how to make these burlap coasters from The Birch Cottage. These burlap coasters are made from 5″ burlap ribbon and metallic paint.
Make these Burlap Coasters to add a touch of rustic charm to your home decor.
Hello, Ideas for the Home by Kenarry® friends! I’m Pam from The Birch Cottage and I’m back again this month to share yet another DIY burlap ribbon project with you.
I am really excited to be back this month sharing yet another burlap ribbon tutorial with you. I think you’re just gonna love how easy these coasters are to make. There are really only three steps involved: cut, stitch and paint. You could make a set of these burlap coasters and gift them for just about any occasion.
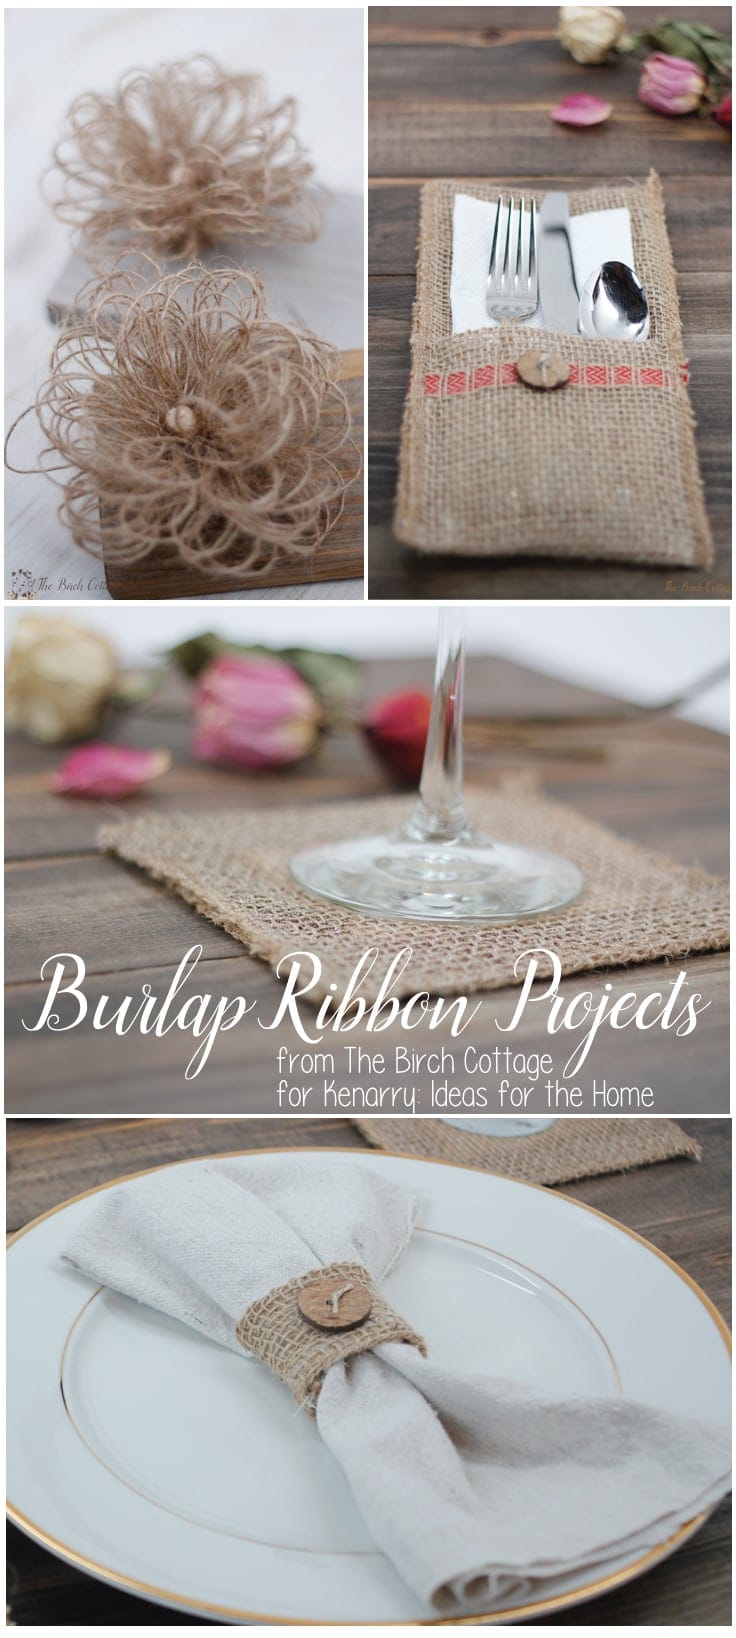
Over the past few months, I’ve had the privilege of sharing three different burlap ribbon tutorials with you. In June, I showed you how to make Loopy Burlap Flowers. You know, I’ve made a lot of these burlap flowers over the years. I’ve glued them on to various projects like wooden signs, picture frames and even adorned my bulletin board at work with them! Besides the Loopy Burlap Flowers, I’ve also showed you how to make Burlap Napkin Rings and these lovely Burlap Utensil Holders.
Get our e-book The Ultimate Guide to Making a Burlap Wreath when you subscribe to be an Idea Insider. It’s totally FREE!
Your privacy is important to us. We promise not to spam you or share your information. You can opt-out at any time. See our privacy policy for more information.
Burlap ribbon is so soft, rustic and versatile, its uses are just about limitless. Once I started making things with the burlap ribbon, I literally just jumped from one idea to the next. That’s how creativity works sometimes. You try something and then that leads to something else and before you know it, you’ve really created something you love.
Case in point, these burlap utensil holders. I actually made a couple of different versions of these burlap utensil holders, but these were my favorite. Except, I also made a set that involved crocheting a scalloped trim and a crocheted ribbon. The results were beautiful, if I do say so myself!
How to Make Burlap Coasters
As with all projects, there are a few supplies you’ll need to get started making burlap coasters.
Burlap Coasters Supplies:
- 5″ x 20″ Burlap Ribbon
- Sewing Machine
- Painters Tape
- Glitter Acrylic Paint
- Paint Brush
- Scissors
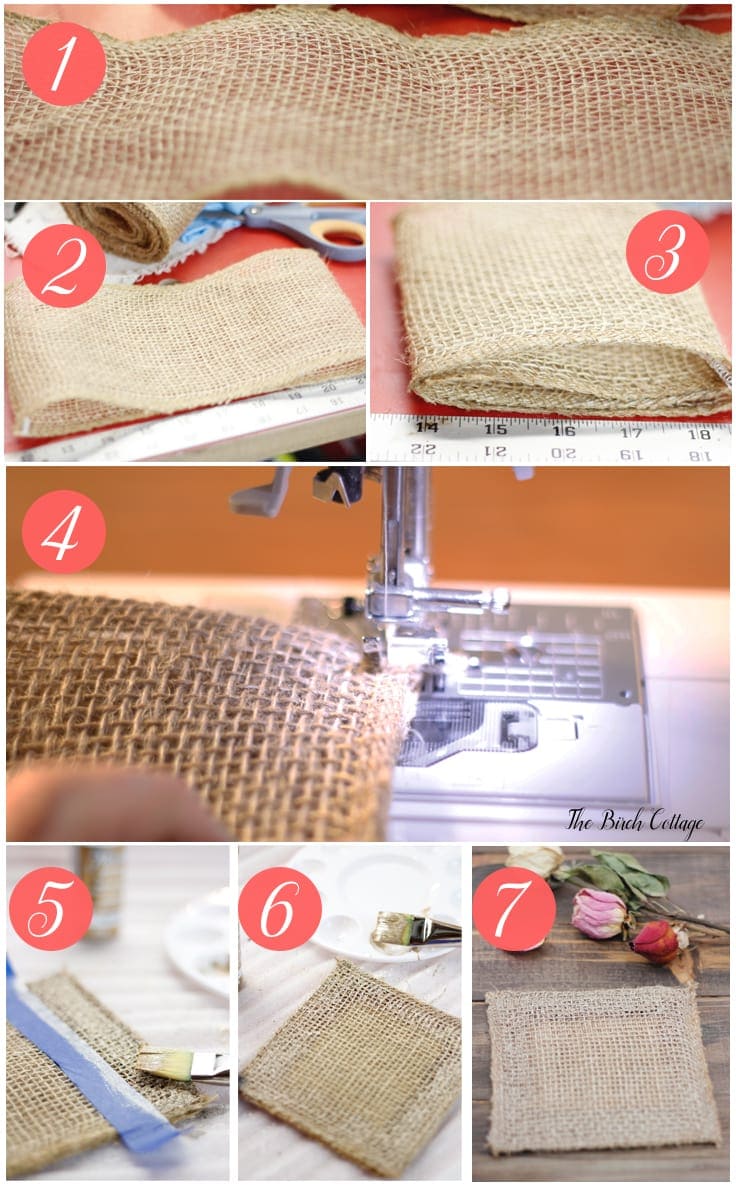
Burlap Coasters Instructions:
I’ve gotta tell you before you even begin this project that it is super easy. Seriously. Easy. So, let’s get started!
- Cut a 20″ length of 5″ wide burlap ribbon.
- Fold the burlap in half, making a crease with your hand. You should use the threads in the weave of the burlap as a guide to keep your fold straight.
- Unfold the burlap and fold each short end in so they meet in the middle at the fold. Fold the burlap in half again along the fold. You should now have a square piece of burlap ribbon that is comprised of four layers of fabric.
- Stitch along all four edges of the burlap. You’ll want to stitch fairly close to the edge, being sure to keep the layers as straight as possible, even along the edges and catching in all four layers when you sew.
- Note: You could also use Tacky Glue to adhere the layers together or sew the seam by hand using a needle and thread.
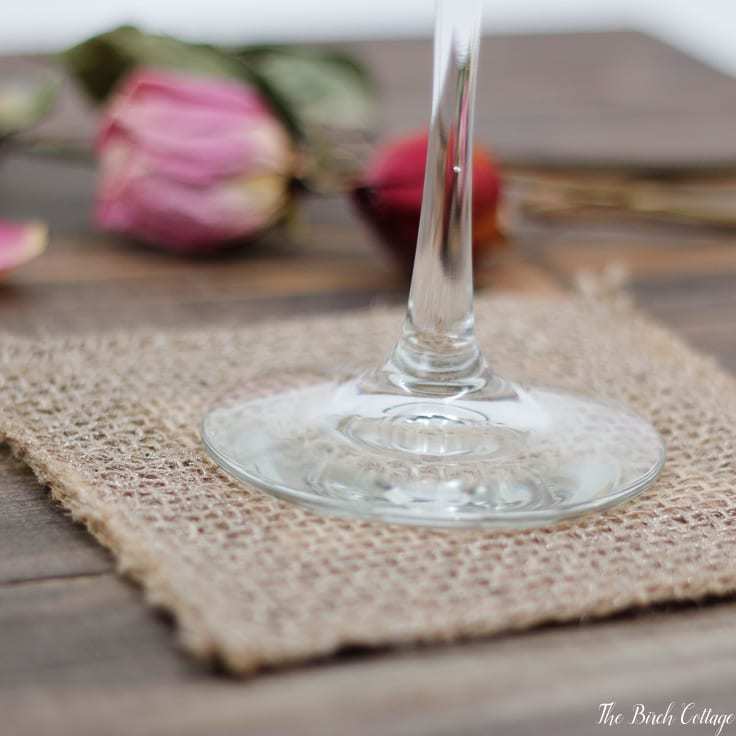
- To paint a straight line, measure off 1″ from the edge of your coaster and place painter’s tape on all four edges of the coaster.
- Apply paint to the edges. Because of the wide weave of the burlap ribbon, I found I had to paint several layers to get the coverage I wanted.
- Allow the paint to dry.
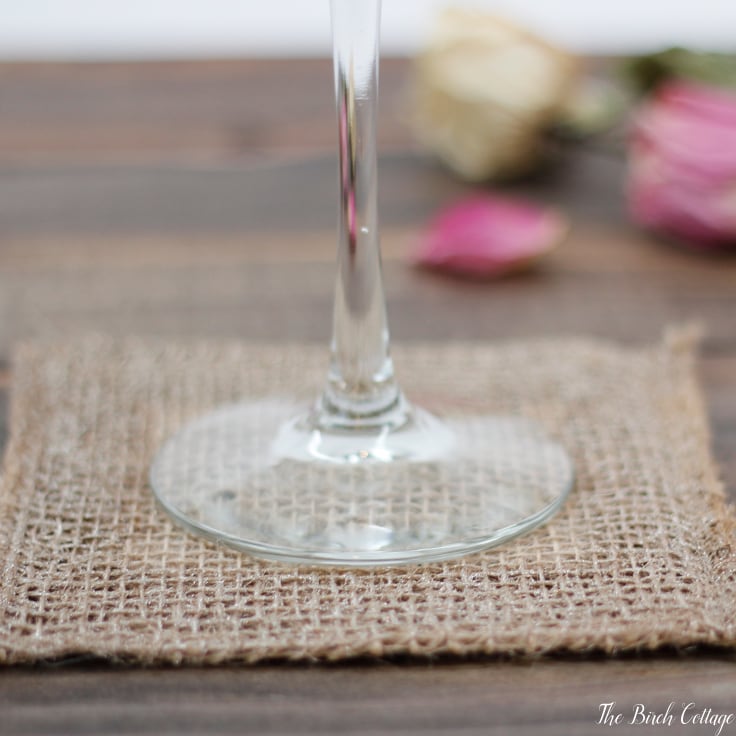
Wouldn’t these coasters make a nice gift? I used gold metallic paint on my coasters, but you could certainly use some other color to coordinate with your decor or preference. Because these burlap coasters are so easy to make, you could have several sets made up in no time and ready for gift giving! Weddings, bridal showers, birthdays, anniversaries, housewarming or even Christmas – these burlap coasters make a really nice handmade gift.
Through the years, my husband and I have really embraced the idea of making handmade gifts for our family and friends. Our children (now adults) have really gotten into the handmade gift giving mindset and they’ve come up with all kinds of creative gifts. Priceless little treasures! I hope that this project encourages you to include handmade gifts in your gift giving.
If you love the idea of making homemade coasters for gifts, check out these modern popsicle stick coasters or these easy no-sew flannel coasters while you’re here.
If you have any questions about this burlap ribbon or this Burlap Coaster project or, better yet, if you happen to make any of these burlap projects, please let me know as I’d absolutely love to hear about it! If you’ve enjoyed this burlap tutorial, you might like to browse some of these other DIY projects that I’ve shared here on Kenarry, like this Easy Sew Burlap Placemat or this tutorial on how to paint terra cotta pots! And, be sure to check out some of my DIY projects on The Birch Cottage blog, like:
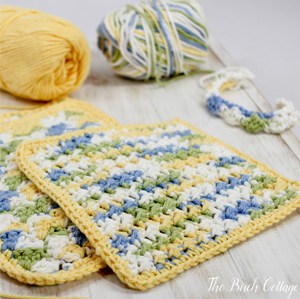
Crunchy Stitch Crochet Dishcloth
What’s Next?
While you’re here, be sure to check out other burlap craft projects on Ideas for the Home by Kenarry® –
2 Comments