Carols of Christmas Window Clings
THIS POST MAY CONTAIN AFFILIATE LINKS. PLEASE SEE OUR FULL DISCLOSURE POLICY FOR DETAILS.
Singing Christmas carols is one of the oldest and most beloved traditions celebrating the holiday. Now you can turn your favorite Christmas songs into adorable puffy paint window clings. These Christmas window clings are not only fun to make, they are also a great teaching opportunity! Find out how to make these puffy paint window clings today!
Hello and (an early) Merry Christmas to all my Kenarry friends! This is Marissa from Squirrels of a Feather and today I am SO EXCITED to share this easy DIY Christmas craft with you — Christmas Carol Window Clings!
These window clings aren’t only for fun; there are also many different ways you can use turn these Christmas carol window clings into learning activities for your children.
We will dive into those ideas at the end, but first let’s get started making these Christmas carol window clings!
How to make Christmas window clings
As I said, these DIY window clings are super duper easy to make. The main ingredient is going to be TIME.
After creating your Christmas window clings, make sure to allow at least 24 hours for the window clings to set completely before handling them. Otherwise you are going to end up with a sticky mess.
YOU HAVE BEEN WARNED. (Cheerful, right? 😉 )
(Make sure and sign up to get your free printable with five beloved Christmas carols that will make creating your window clings a breeze.)
What You Need:
Want more ideas like this? Subscribe today to get our weekly Ideas in Your Inbox newsletter plus other exclusive gifts and offers — all for FREE!
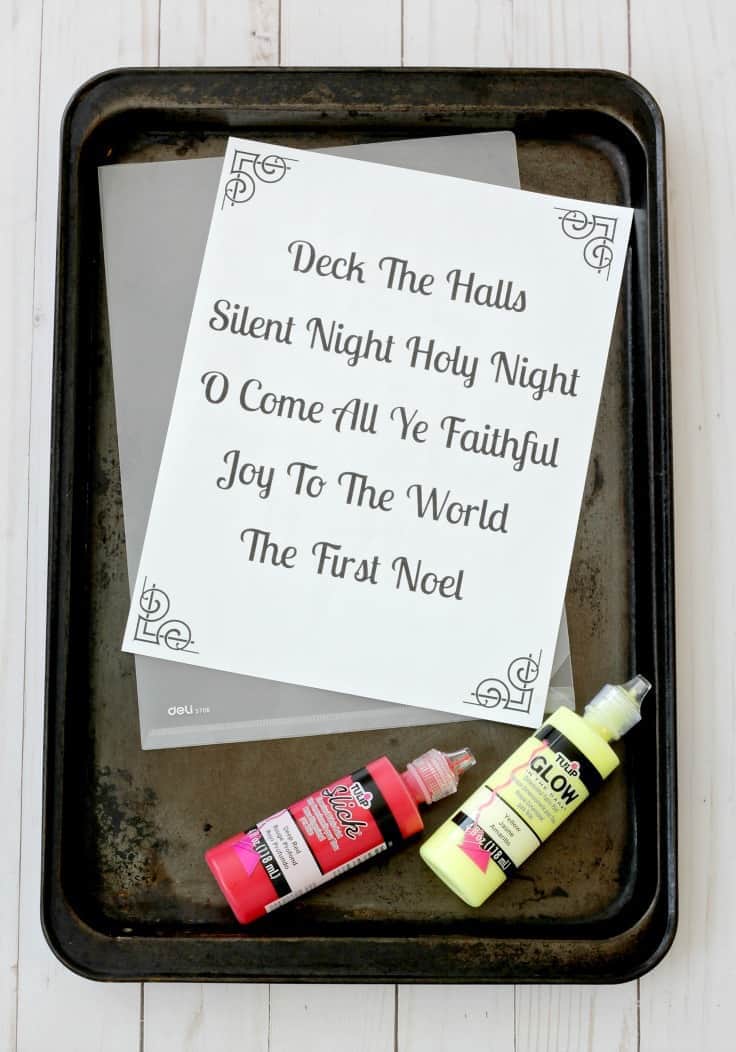
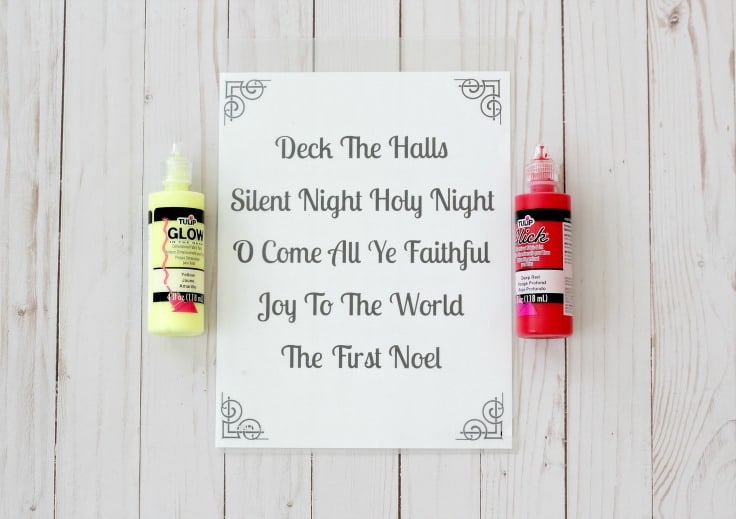
Craft/DIY Tools Needed:
- Free Kenarry Christmas carol printable template
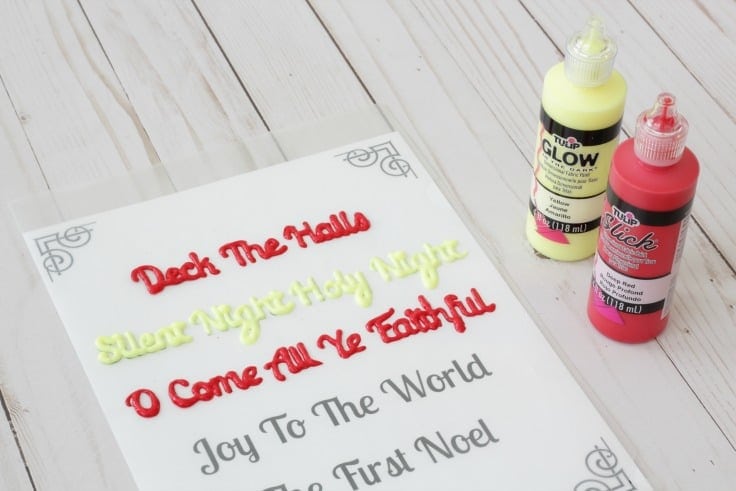
- Tulip brand puff paint in desired color
- Large baking sheet (for drying)
- Clear heavy duty folder sleeve
Listen, this wouldn’t be Marissa from Squirrels of a Feather talking to you if something didn’t go wrong. As usual, I made all the mistakes so you don’t have to!
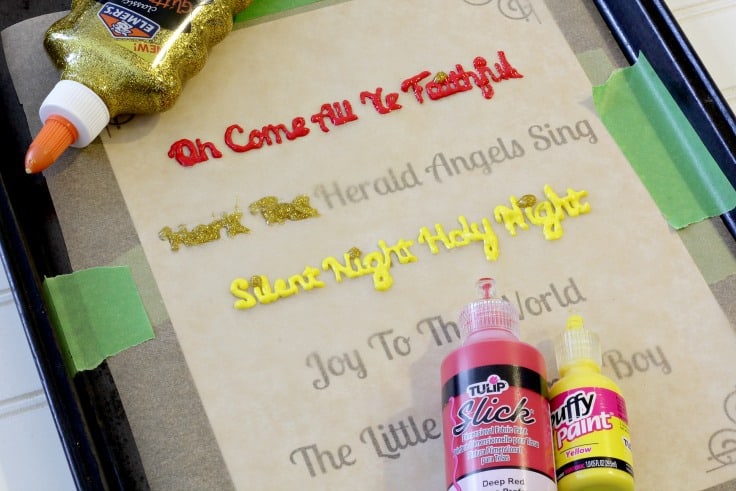
Needless to say, my good pal Murphy showed up again and he wanted me to let you know to make sure and use Tulip brand puff paint (no glue) and also heavy duty plastic sleeves (instead of parchment paper as originally planned). You will see why in a little bit. Listen to Murphy lest something go wrong.
(You can read all about Murphy and how he shows up to all of my crafts in this post and this post. In case you aren’t familiar with this dude, he’s from Murphy’s Law: the rule that anything that can go wrong will go wrong. Sigh.)
Instructions:
1. Get the free printable Christmas carol template
Get the PDF of your free printable template from Kenarry to make things 1000x easier. It’s available in red and black.
Alternatively, you could make your own on your computer or just freehand your Christmas carol window clings. However, I will tell you that I found puff paint a slightly tricky medium to write with — much easier to trace than freehand!
Exclusive for Kenarry subscribers, receive the FREE printable Christmas carol templates I used by signing up below. You’ll get the download link sent directly to your inbox.
Your privacy is important to us. We promise not to spam you or share your information. You can opt-out at any time. See our privacy policy for more information.
All printables from Ideas for the Home by Kenarry® are for your own PERSONAL USE ONLY.
After you’ve signed up, watch for an e-mail to confirm your e-mail address and download the free digital printable. Plus you’ll have the opportunity to get the weekly Kenarry Ideas In Your Inbox newsletter, as well as product discounts, special offers and other content that is EXCLUSIVE for Kenarry subscribers only.
You can also join our Idea Insider VIP Club to get unlimited access to the full vault of unique and beautiful printables we offer to make gift giving, holidays and everyday life more special. A lifetime membership in our Idea Insider VIP Club is a great way to save time and money with easy access to hundreds of printable cards, tags, wall art and more right at your fingertips.
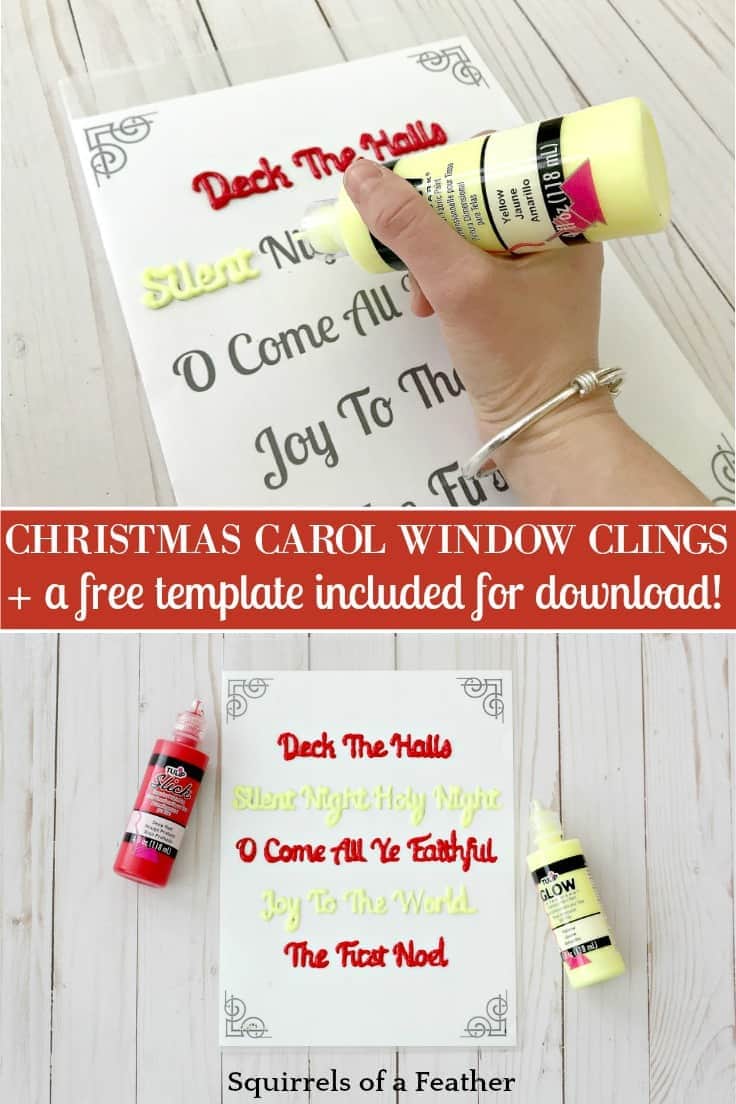
2. Place the template in the clear sleeve
You are going to place the carol template nice and snug inside of the plastic folder sleeve. This is going to allow you to trace the words and the puffy paint will dry nicely on top.
3. Trace the words
Start tracing the words carefully with the puff paint onto the plastic sheet covering the template.
It helps if you tap the puff paint upside down on a paper towel prior to using. This helps make sure the bubbles are out and you don’t get any unwanted POPS of puff paint out!
Use the same paper towel to clean the tip here and there if it starts to get gunky.
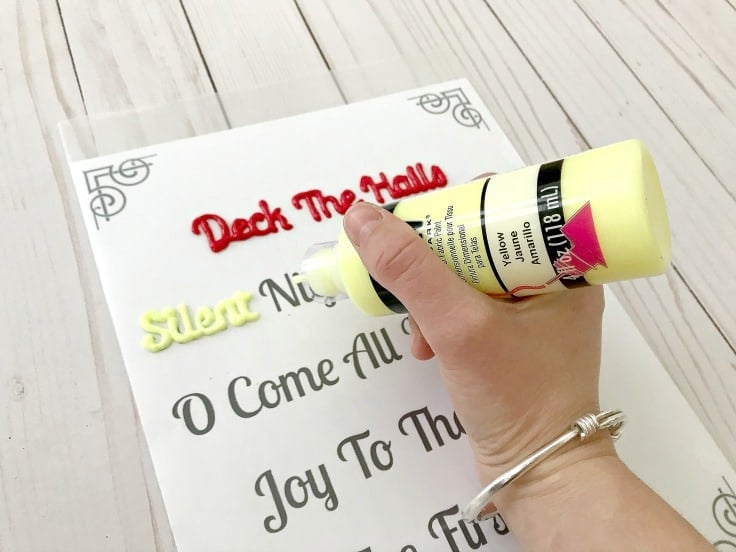
Some tips about writing:
- If the letters are not connected, just connect them with a small line in between at the bottom, just like you would do when writing in cursive. For example, connecting the “J” in “Joy” to the “o”.
- Extend the /f,g,y/ a little farther than the template – looks nicer
*Here is where I am going to admit some mistakes made and lessons learned.
Lesson 1: Don’t use glue for this. The glue just did not work for writing words nicely.
Lesson 2: Don’t use parchment paper. As it dried it wrinkled the letters — that’s why we want to use nice, stiff plastic sleeves instead!
(Aren’t I lucky that Murphy showed up to teach me these lessons? Lucky, lucky me.)
4. Keep going until you have traced everything
Trace all the words until you have everything written out.
Now it’s time to put it on the cookie sheet and place out of the way for drying.
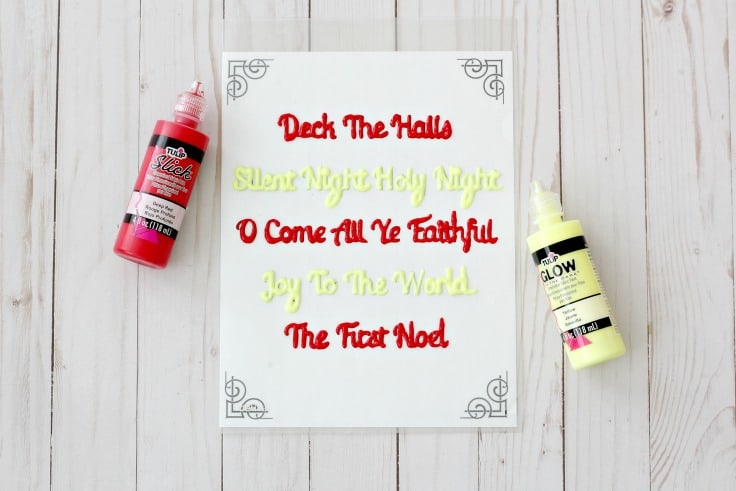
5. Dry for AT LEAST 24 hours
Give your Christmas window clings plenty of time to dry. You can touch them and see if they feel completely hard or not.
If they feel a little squishy you can give them a bit more time. Minimum 24 hours, but more time is better! The last line of mine were still a bit squishy so I had to wait longer.
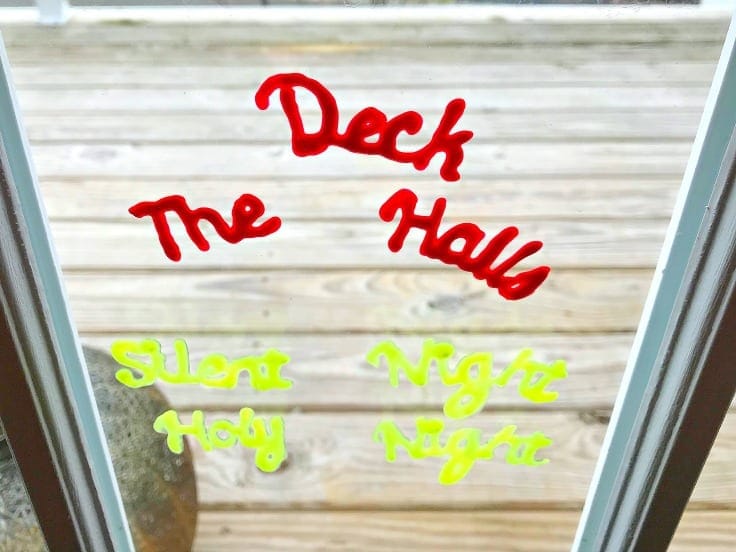
6. Peel and stick on your window!
After 24 hours have passed you can VERY SLOWLY AND GENTLY peel the puff paint window clings from the plastic sleeve and put them on your windows. (Make sure your windows are clean otherwise, they won’t stick well!)
Again, slowly and gently is the key – if you try and just rip them off your window clings are going to come off in pieces! Be especially careful where the clings are only joined by a small line.
Here are some ideas for ways to turn your puff paint window clings into fun, educational games for your children:
- Listen to and sing Christmas carols while decorating your windows (this book has many of the best carols, including all the lines featured in this post)
- Ask your child to identify the first sound in all the words (the /s/ in silent, for example)
- Have your child read the words from the template to work on reading skills
- Practice sequencing the words in the correct order; make it harder by asking them to do it without looking at the template
If you think of any other great ideas on how to use these window clings leave a comment below and let the rest of us know!
Other inspired ideas by Squirrels of a Feather
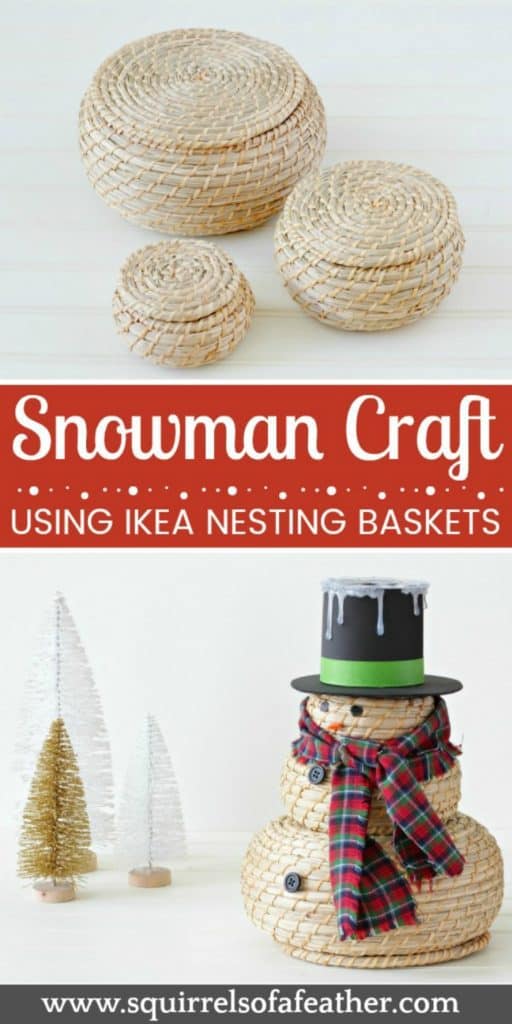
Adorable Snowman Craft Using IKEA Nesting Baskets
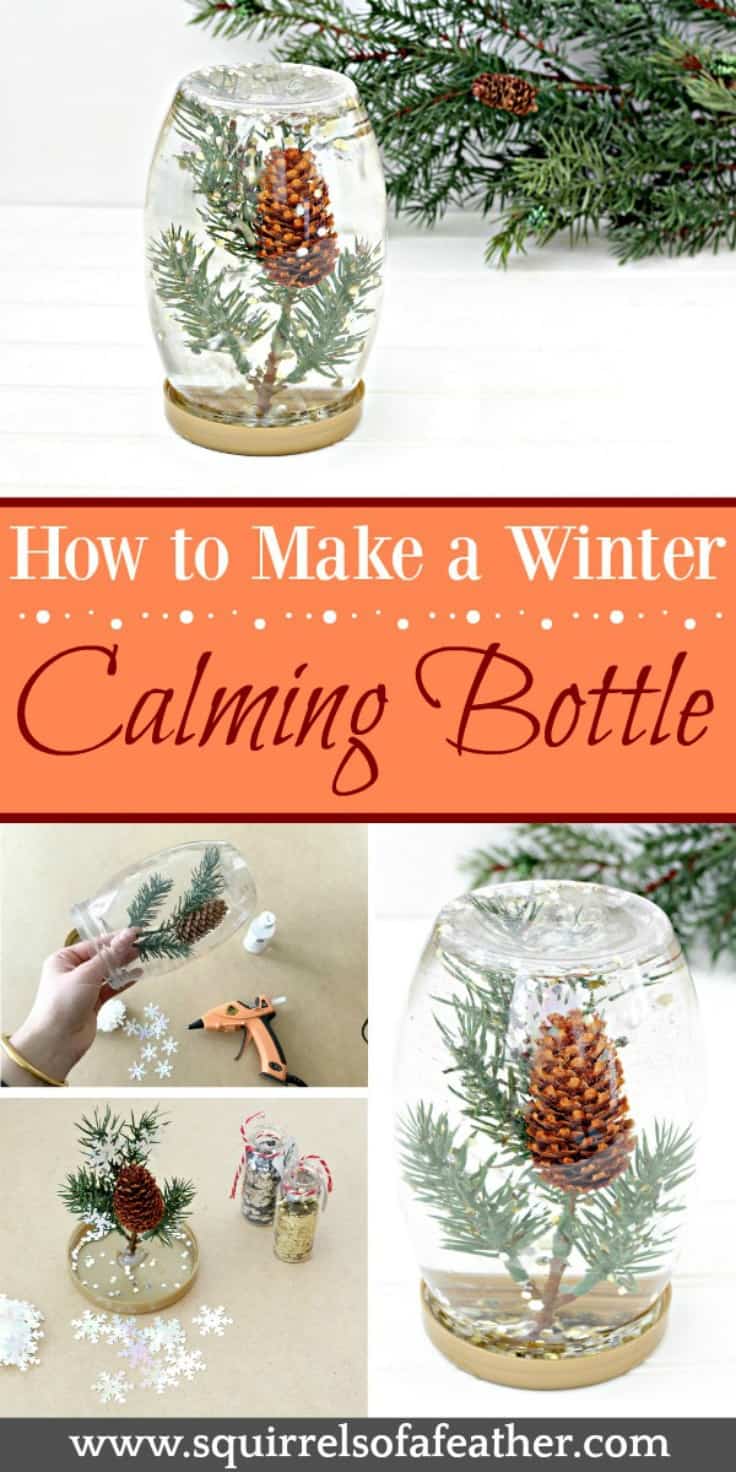
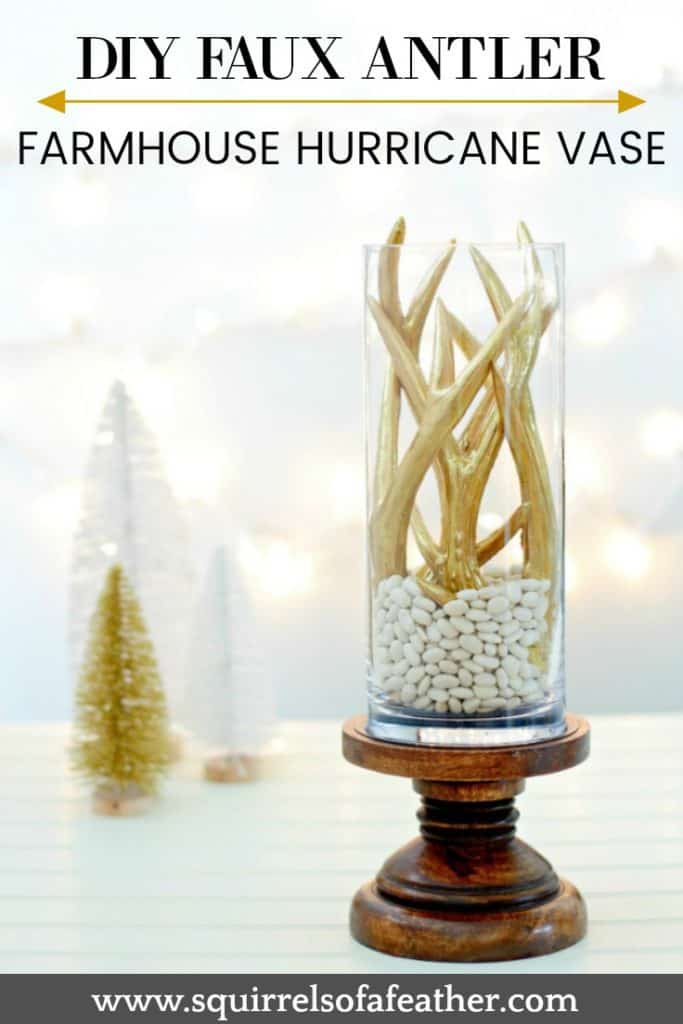
DIY Christmas Hurricane Vase with Gold Faux Antlers
You may also enjoy these Christmas ideas on Ideas for the Home by Kenarry® –