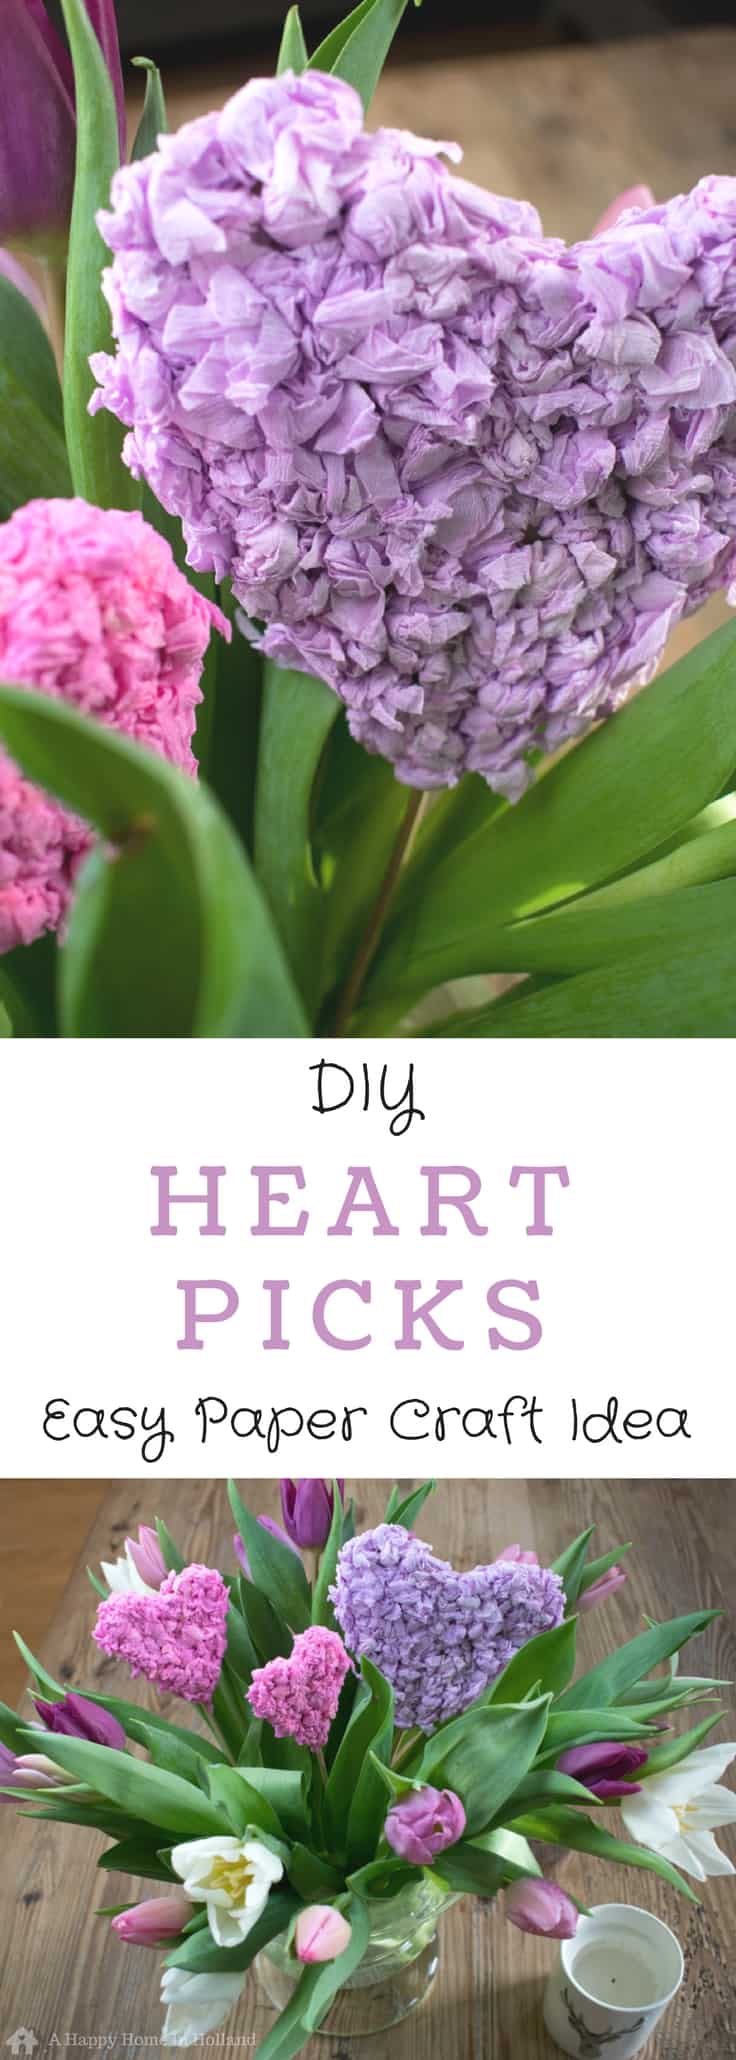
Decorative DIY Heart Picks
THIS POST MAY CONTAIN AFFILIATE LINKS. PLEASE SEE OUR FULL DISCLOSURE POLICY FOR DETAILS.
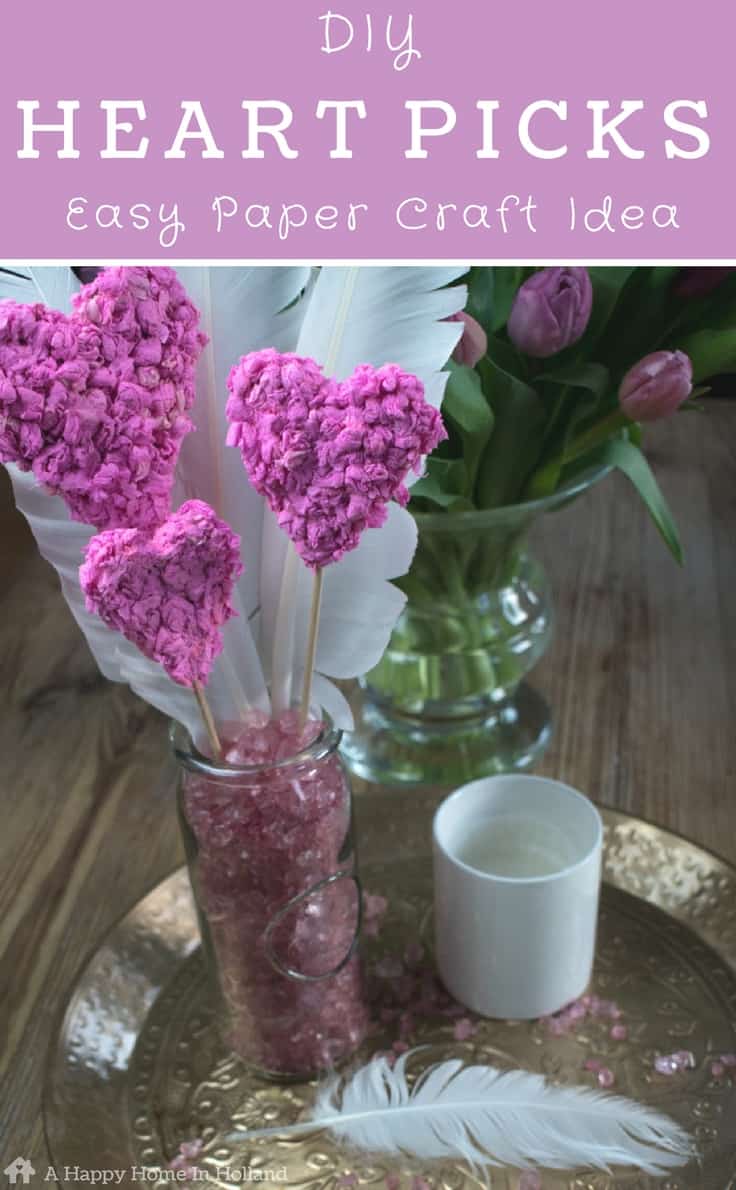
Whether you are decorating for Valentine’s Day or putting the finishing touches on a Mother’s Day gift these pretty paper heart picks are a great place to start.
Hi, it’s Sam here from A Happy Home In Holland back again to share another fun and easy craft idea. They are easy enough to make with the kids and because you only need a few materials to make them they are budget friendly too!
Now, tell me, who has the January blues? I know I do. With all the Christmas decs taken down and packed away our house was looking positively bare and boring.
So, when my girls said they wanted to do something crafty, I thought it was a really good idea to try to make something to brighten it up a little.
We cleared the table, got the craft stuff out and started to have a play around.
Since Valentine’s Day is just around the corner we decided to go with a heart theme and came up with these fun and easy decorative paper heart picks.
They are super simple to make so even younger children can enjoy making these cute little hearts.
How to Make DIY Heart Picks
Disclosure: This blog post contains affiliate links for products or services we think you’ll like. This means if you make a purchase from one of these links, Ideas for the Home by Kenarry® will make a small commission at no additional cost to you so we can keep the great ideas for the home coming your way. All opinions expressed are derived from personal experience.
You’ll Need:
- Crepe paper or tissue paper
- Long wooden bamboo skewers
- Glue
- Scissors
- Thin card
- Bowl
- Plate and toothpick (for the glue)
Instructions
1. Take the card and cut out 2 squares.
2. Place the 2 squares of card together and fold in half.
3. Draw half a heart shape against the fold then cut out.
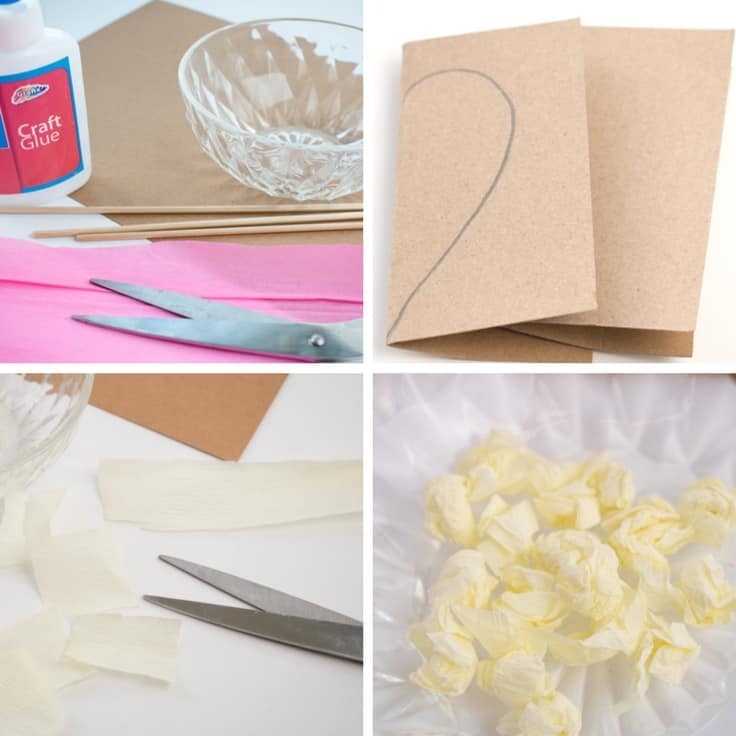
4. Cut or tear the tissue or crepe paper into little squares (about 1″ wide).
5. Now take the little squares simply roll them up into little balls.
6. When you have a big pile of the little balls of paper you can start to glue them to the heart-shaped pieces of card.
7. Start by applying a row around the outside making sure it laps over the edge of the card then fill in the center.
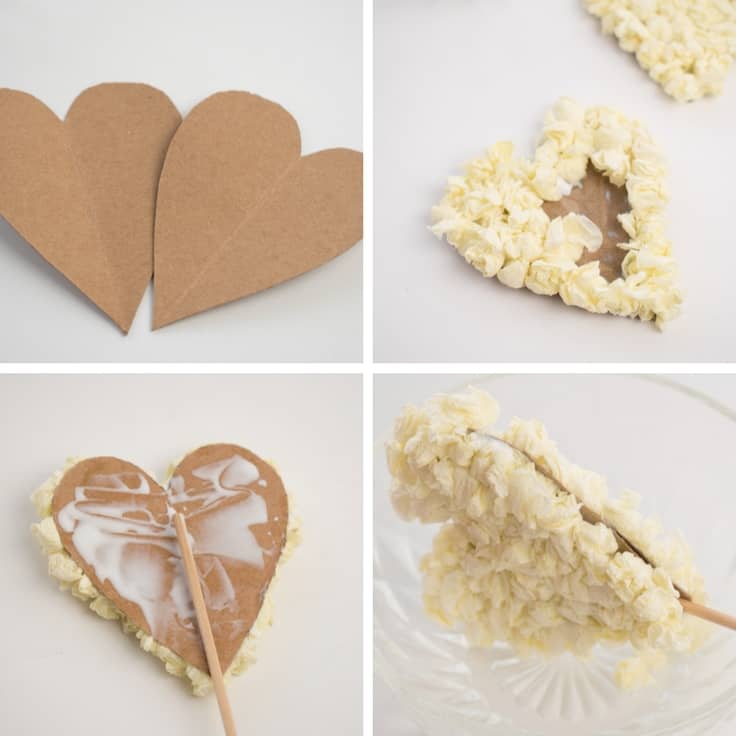
8. When both hearts are complete glue them together with the wooden bamboo skewer in the center.
9. Once you have glued the two together, you will still be able to see the edges of the card, so you will now need to glue another row of the paper balls around the outside edge of the heart.
10. Allow them to dry for a couple of hours then they will be ready to use in your displays and to decorate your gifts.
The kids were really enjoying making these so we made quite a few of them in various colors and sizes.
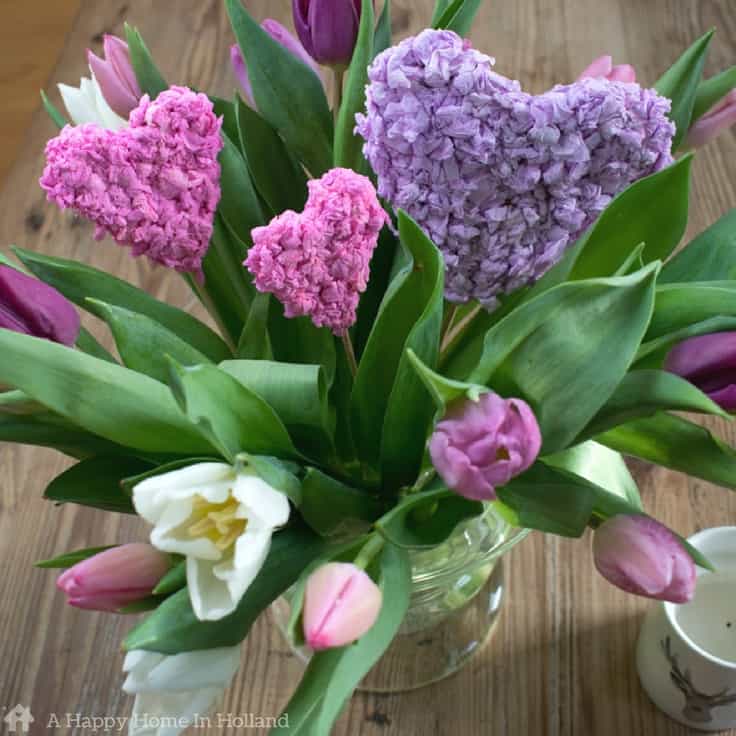
I used some of them to jazz up a big bunch of fresh tulips that I had bought from the supermarket. I put the flowers in a pretty glass vase and added pink and lilac hearts.
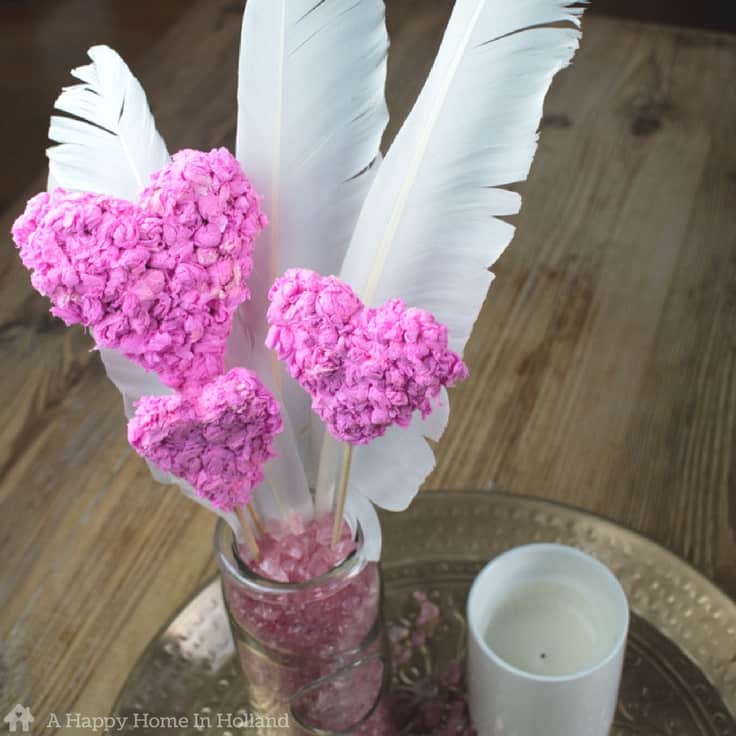
I also popped some in a glass jar that I filled with decorative pink glass chippings (these are similar) and big white feathers that we found by the lake in the summer.
Here are a few more home ideas you may like!
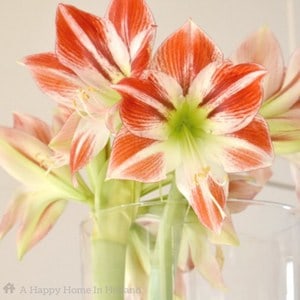
How To Get An Amaryllis Bulb To Flower Again
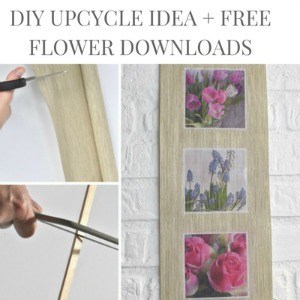
Mod Podge Photo Transfer Project
What’s Next?
While you’re here, be sure to check out other craft projects on Ideas for the Home by Kenarry® –
One Comment