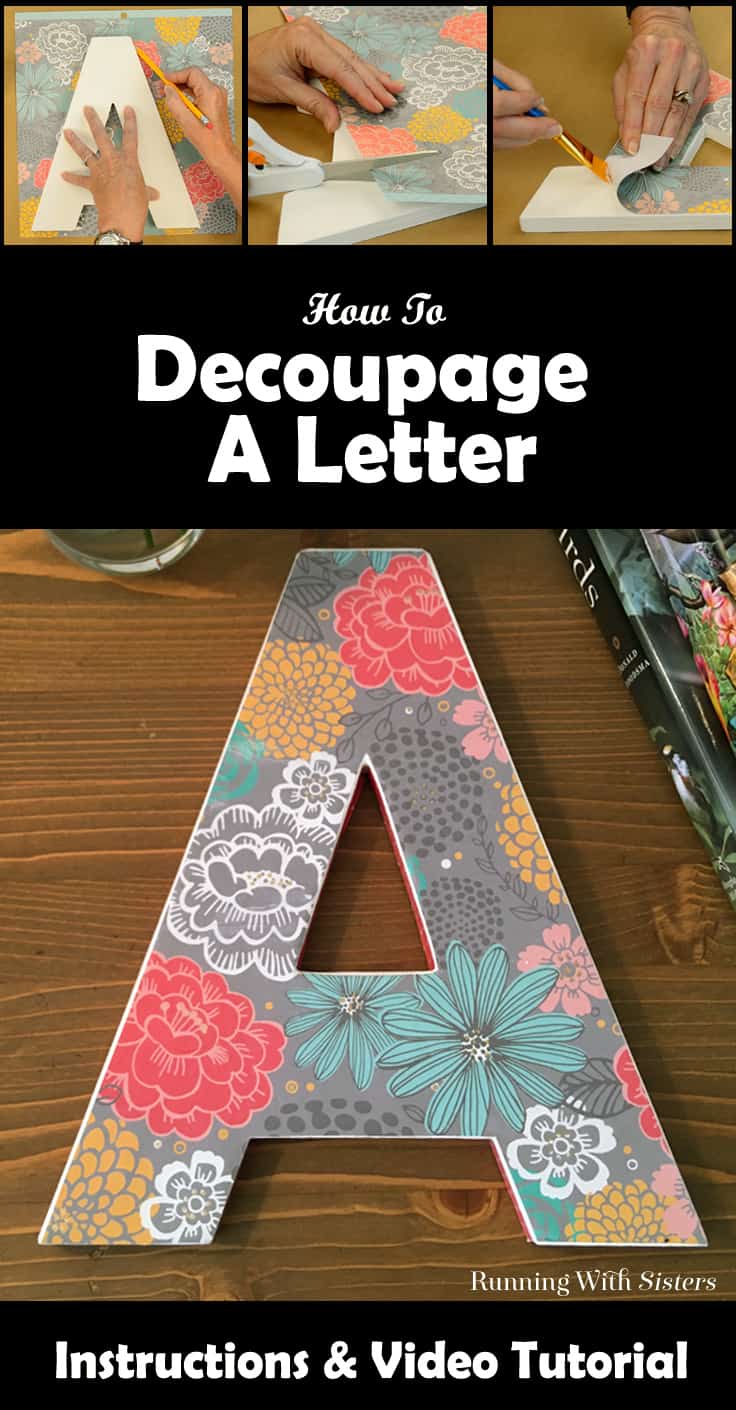
Decorative Letter Gift: How To Decoupage A Letter
THIS POST MAY CONTAIN AFFILIATE LINKS. PLEASE SEE OUR FULL DISCLOSURE POLICY FOR DETAILS.
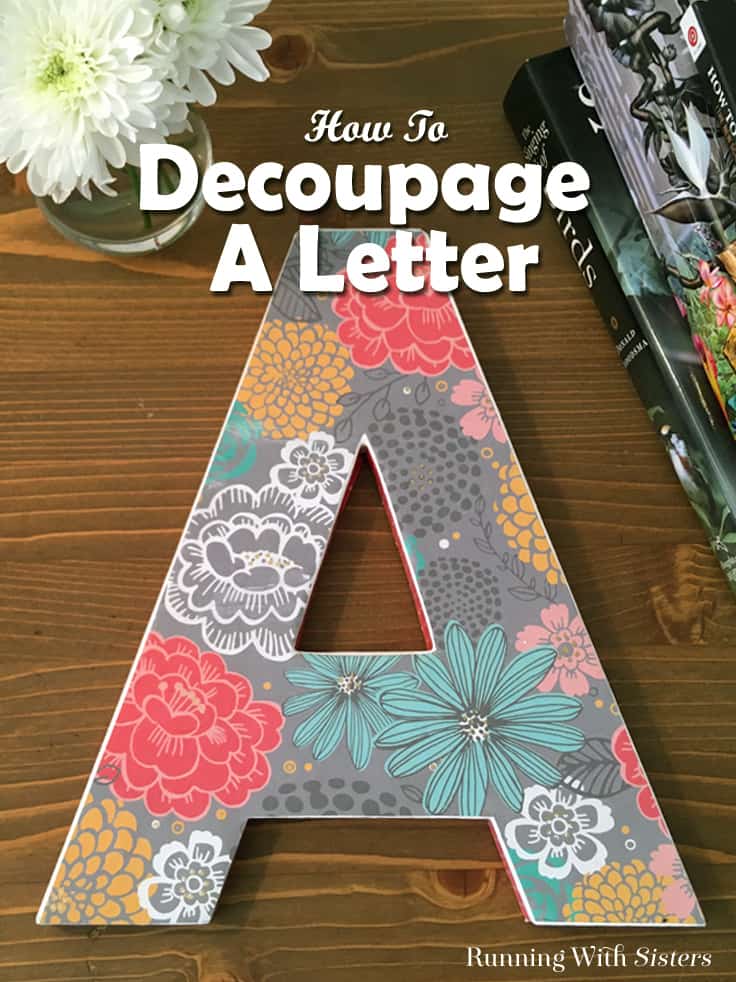
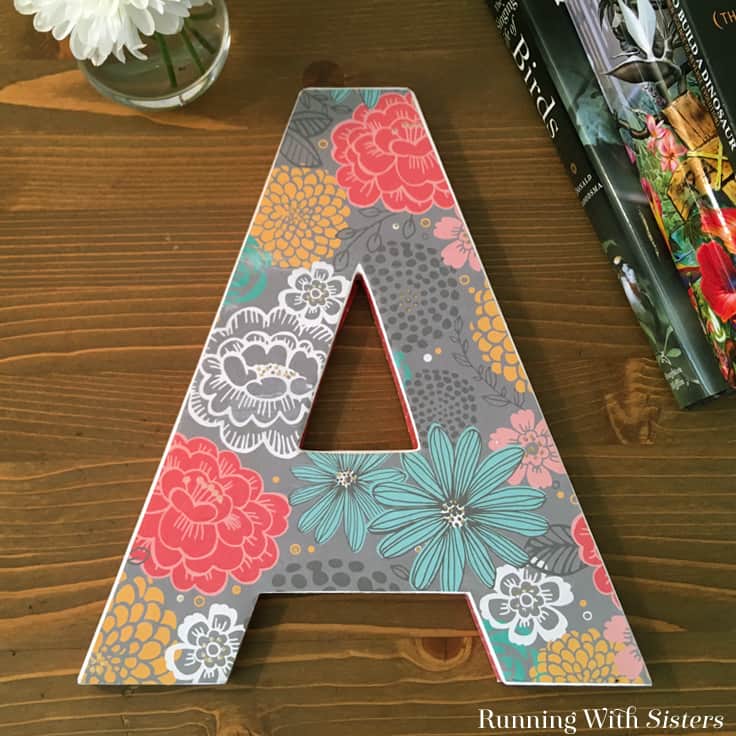
Decoupage a letter to give as a handmade gift! We’ll show you how to decorate a craft store letter with scrapbook paper and Mod Podge.
Hi Kenarry readers! It’s Jennifer and Kitty (the O’Neil Sisters, from RunningWithSisters.com), and we’re super excited to share a pretty DIY project with you: How To Decoupage A Letter! The magic is the Mod Podge – and we have lots of tips and tricks to make this home accent turn out great. We’ll show you how to choose your scrapbook papers and determine your design, then we’ll show you how to decoupage like a pro. It’s easier than you think!
We’re also sharing a video showing what you’ll need to decoupage a letter and how to do it step by step. Follow along with us as we decoupage a trendy floral pattern onto a wooden letter, then use the written steps below to make your own. You can decoupage a letter for a baby’s room, an office or den, and even decorate a whole word like EAT for the kitchen. So much fun!
How To Decoupage A Letter
Disclosure: This blog post contains affiliate links for products or services we think you’ll like. This means if you make a purchase from one of these links, Ideas for the Home by Kenarry® will make a small commission at no additional cost to you so we can keep the great ideas for the home coming your way. All opinions expressed are derived from personal experience.
Materials & Tools
- Wooden letter, 9.25″x10.5″x.75″
- 2 Sheets of scrapbook paper, 12″x12″
- Mod Podge Matte
- Gold paint pen (We used a Krylon 18KT gold leafing pen.)
- Flat craft paintbrush
- Scissors
- Pencil
- Optional: White acrylic craft paint (If your letter is not white, we recommend painting it white with craft paint.)
Steps
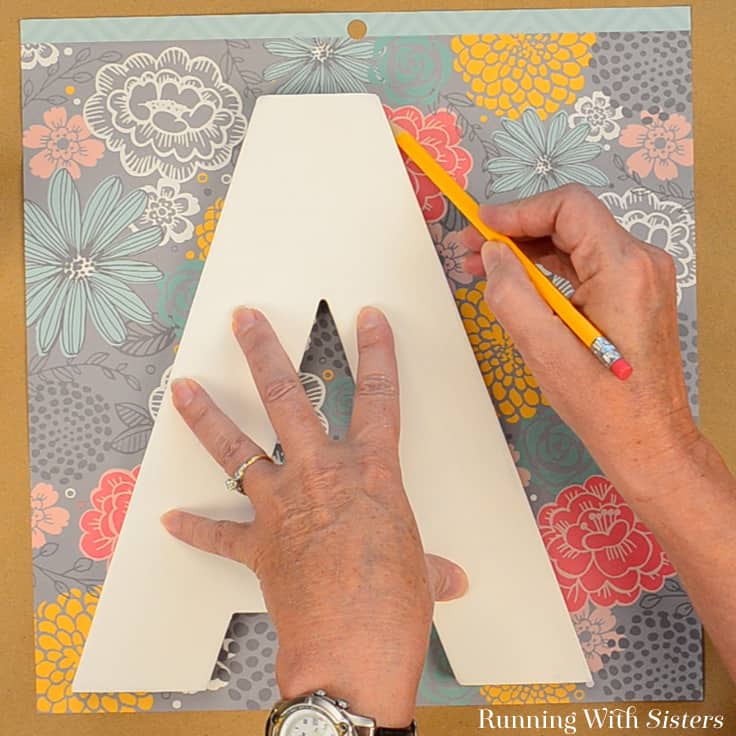
1. Trace The Letter
To get started, lay your featured scrapbook page face up on your work surface. Select the area you’d like on your letter and trace the letter (also face up!) onto the paper. Don’t worry about the pencil marks. They will get cut off in the next step.

2. Cut Out The Letter
Cut out the letter just inside the pencil line. That way your paper will have a little white border when you place it on the letter.
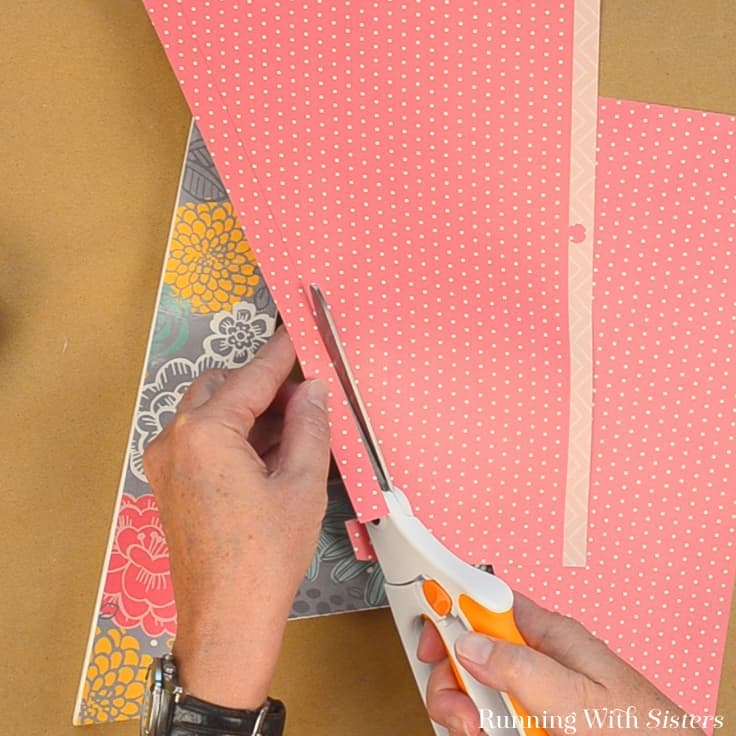
Cut strips out of the accent scrapbook paper for the sides of the letter. To do this, set the letter on its side on the accent paper and trace strips. We cut extra strips for the inside of the “A” and did a little trial and error to cut them to fit.
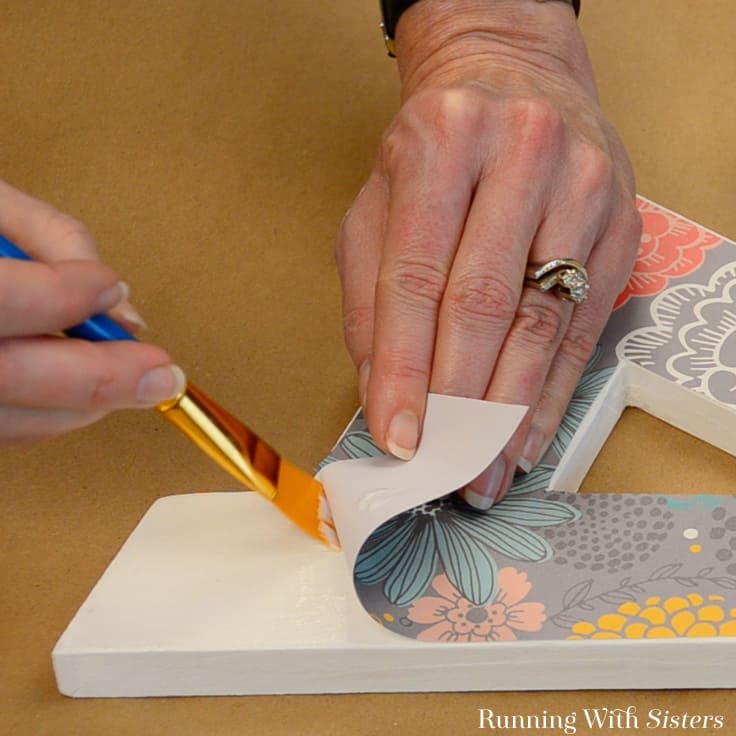
 3. Adhere Paper With Mod Podge
 3. Adhere Paper With Mod Podge
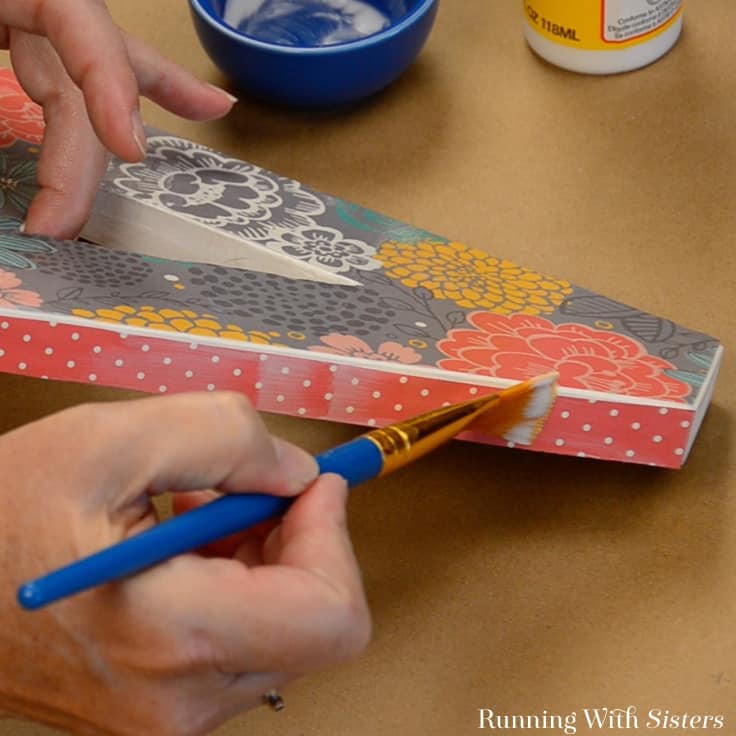
Once all the paper is cut out, it’s time to decoupage. Lay the paper letter on top of the wooden letter so you have an even border on all sides. Trim any edges that need more of a border. Holding the paper in place, lift one corner and paint a layer of Mod Podge onto the letter. Then press and smooth that corner down to adhere the paper to the letter.
Continue decoupaging the paper to the letter working a little at a time until the entire surface of the wooden letter is decoupaged. Smooth out any wrinkles with your finger as you go. (Some types of paper like to wrinkle more than others! If you’re worried about wrinkles or have had trouble with them in the past, let the undercoat of Mod Podge dry before you paint on the topcoat. The wrinkles should flatten out as the paper dries.) Use the same technique to adhere the strips to the sides of the letter.
4. Coat Surface With Mod Podge
Paint a layer of Mod Podge over the top of the paper brushing in all directions. Let dry.
5. Embellish With Paint Pen
 5. Embellish With Paint Pen
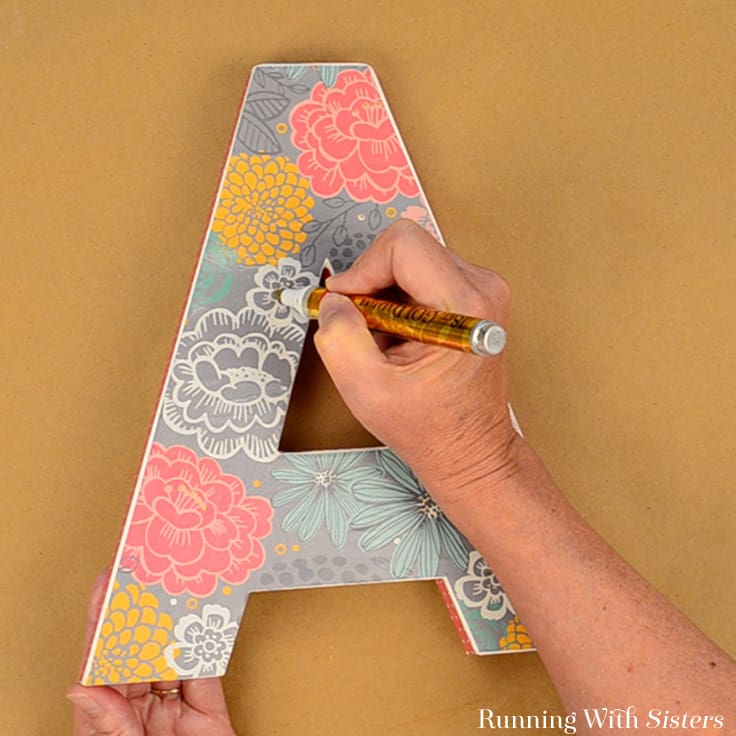
Embellish the scrapbook paper design by adding dots here and there with a gold leafing pen or paint pen.
We’ve decorated all kinds of letters as gifts using this simple decoupage technique, and they’ve always been a big hit! Have you decorated a letter before? How did you decorate it and what the occasion? Leave us a comment and let us know. We’d love to hear from you!
Happy Crafting,
Jennifer & Kitty
Like this project? You might also like these crafts from the O’Neil Sisters:
Love the ideas you see here on Ideas for the Home by Kenarry®? Subscribe today to get our FREE DIY & Craft Planning Calendar, plus our weekly Ideas in Your Inbox newsletter filled with creative tips and exclusive offers!
What’s Next?
While you’re here, be sure to check out other craft projects on Ideas for the Home by Kenarry® –
2 Comments