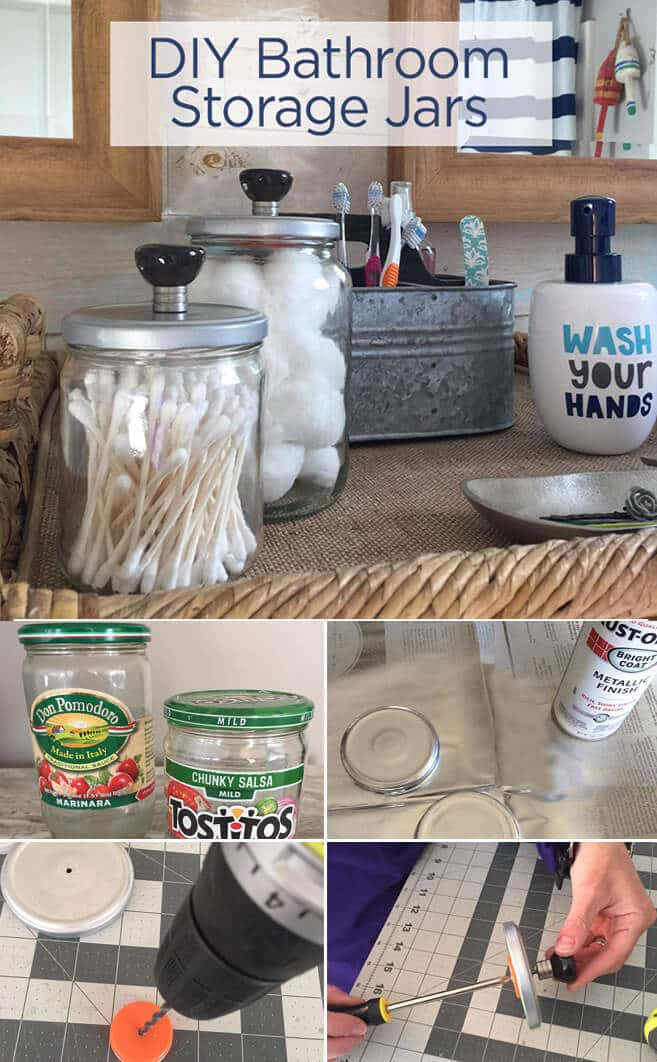
DIY Bathroom Storage Jars
THIS POST MAY CONTAIN AFFILIATE LINKS. PLEASE SEE OUR FULL DISCLOSURE POLICY FOR DETAILS.
These DIY Bathroom Storage Jars are a great recycling project that will help with all that bathroom clutter and will look cute too.
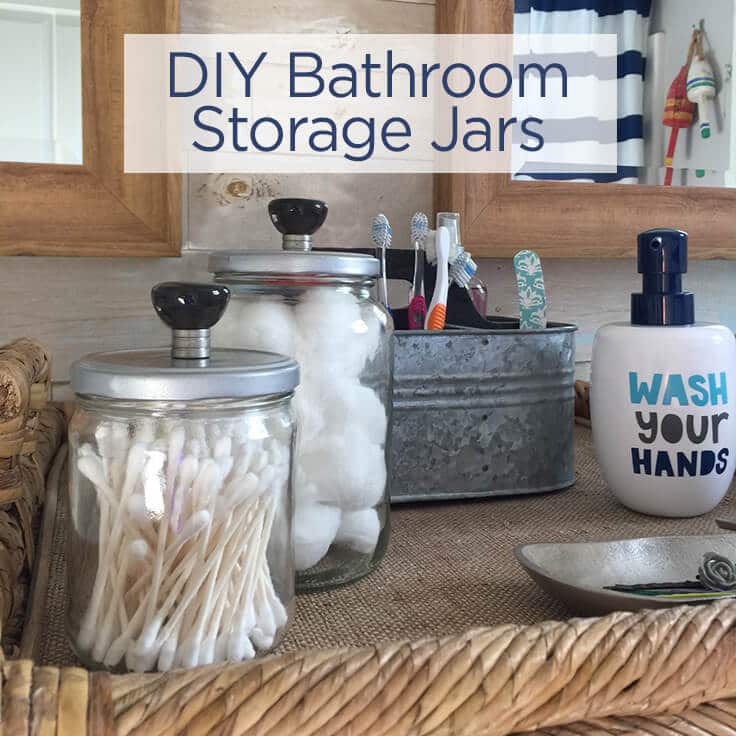
Hi everyone – it’s Lori from Greco Design Company. I created these storage jars from glass food jars that I was recycling. They’re the perfect size for holding small bathroom items such as cotton balls, Q-tips, hair accessories, and all those items that can clutter up your counters.
Disclosure: This blog post contains affiliate links for products or services we think you’ll like. This means if you make a purchase from one of these links, Ideas for the Home by Kenarry® will make a small commission at no additional cost to you so we can keep the great ideas for the home coming your way. All opinions expressed are derived from personal experience.
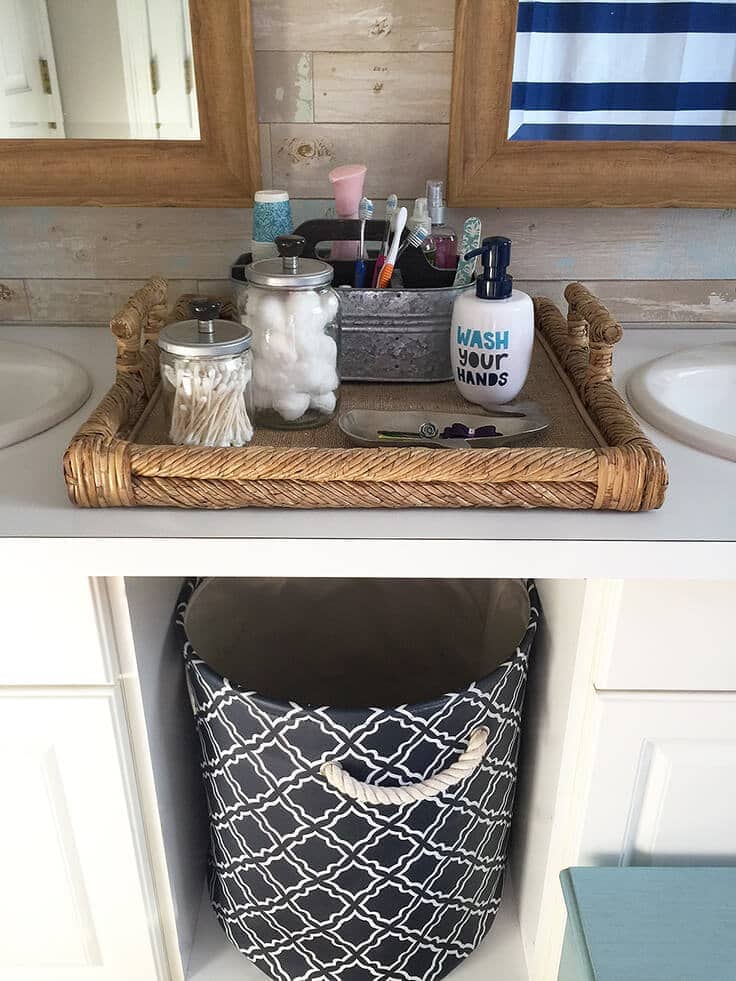
Create Storage Jars for More Bathroom Space
I redesigned my kids’ bathroom recently and realized they needed some more storage containers to keep the counters a little more clutter free. These jars have been very useful and I didn’t have to spend a lot to make them!
How to Make DIY Bathroom Storage Jars
Spend just a few hours making these upcycled bathroom storage jars. You’ll be amazed at how beautiful your bathroom will look.
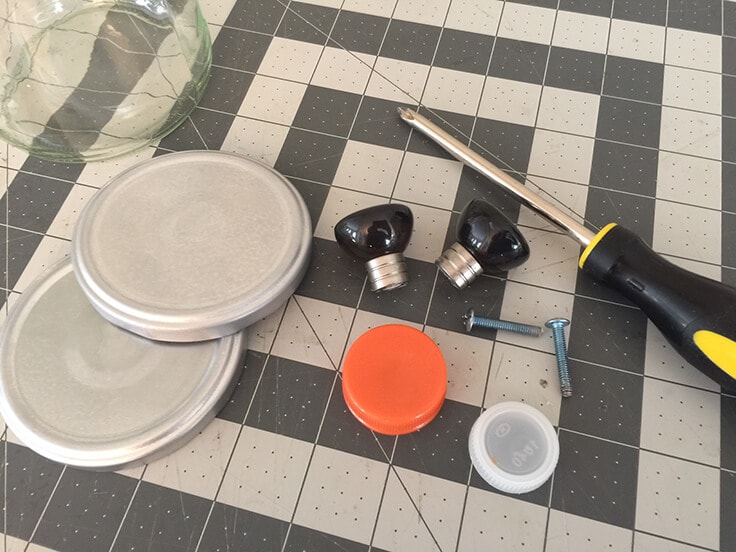
Supplies Needed
- recycled glass food jars (I found that salsa, tomato sauce and pickle jars are the perfect sizes)
- drawer pulls with screws (you can find these at any home supply store)
- metallic spray paint
- plastic bottle cap (caps from soda bottles and water bottles work well)
- drill and screwdriver
Directions
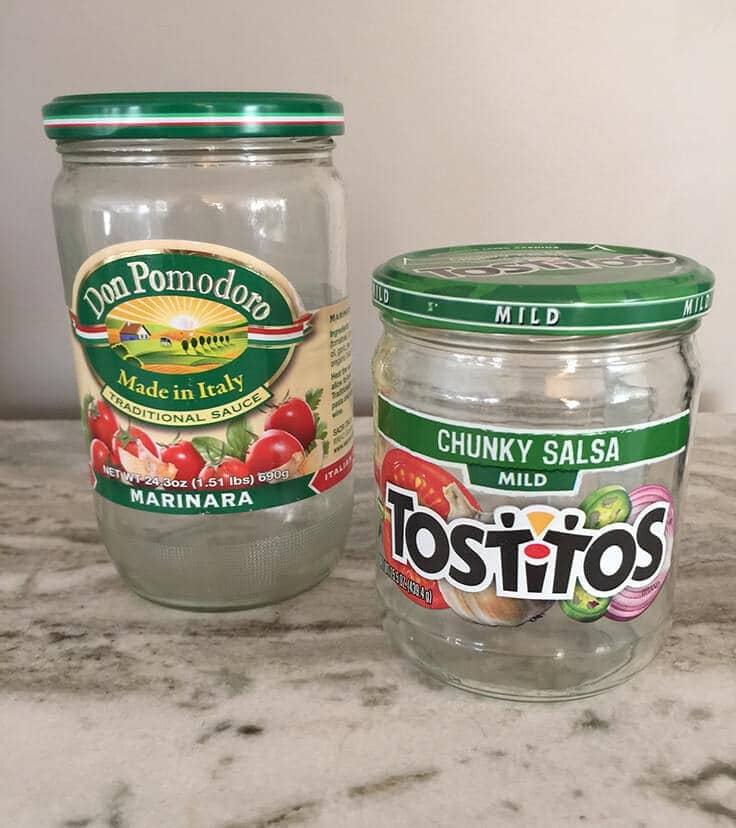
1. Clean used glass jars
First, remove the labels from the glass jars and clean them thoroughly with warm soapy water and vinegar to remove any odor. If the labels don’t come off easily, use a small amount of Goo-Gone to help.
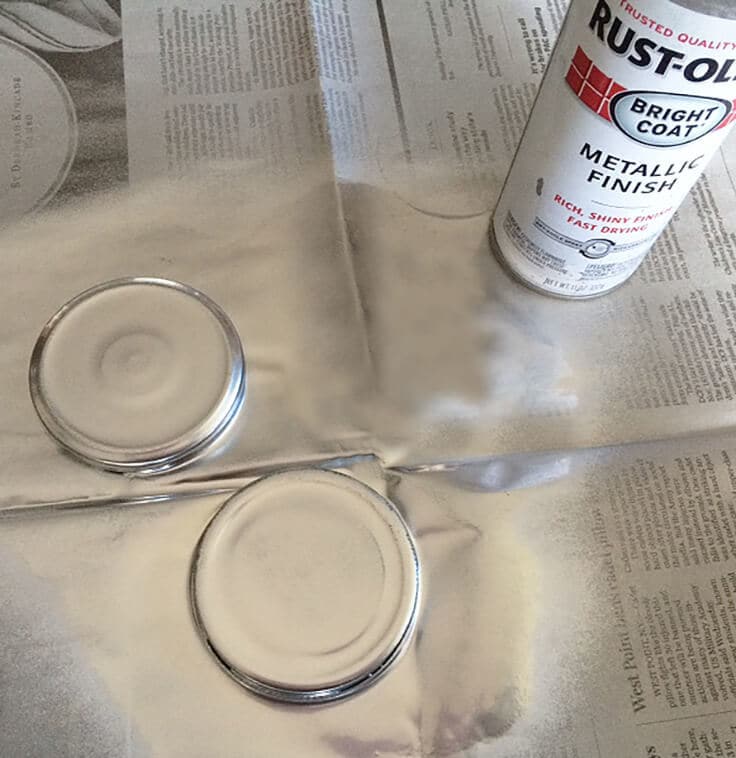
2. Spray Paint the lids
Next, spray paint the lids in your desired color. I chose a metallic silver. They usually require a few coats.
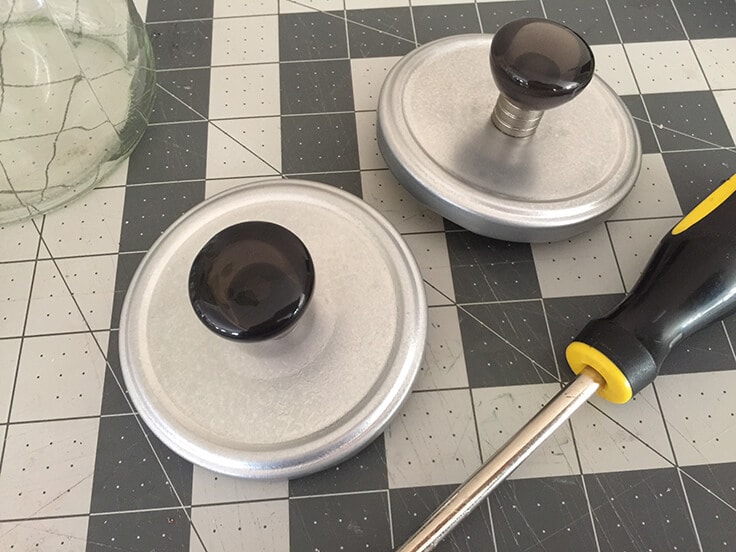
3. Attach the knobs
After the lids have dried, you’ll need to attach the knobs.
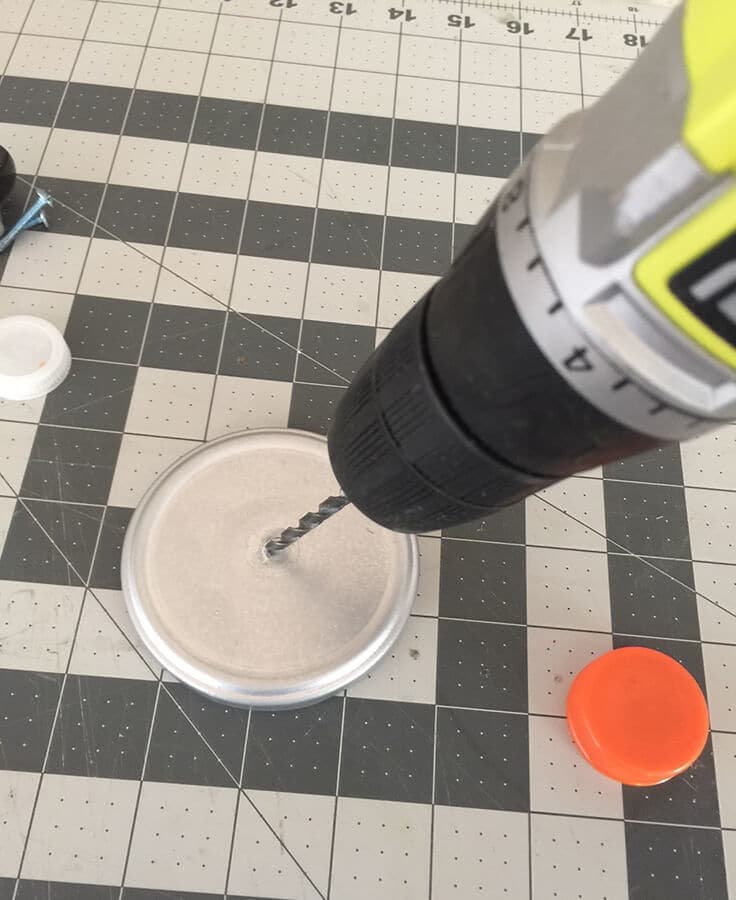
4. Drill a hole into the lid
Drill a hole through the center of the metal lid. You will need an electric drill for this.
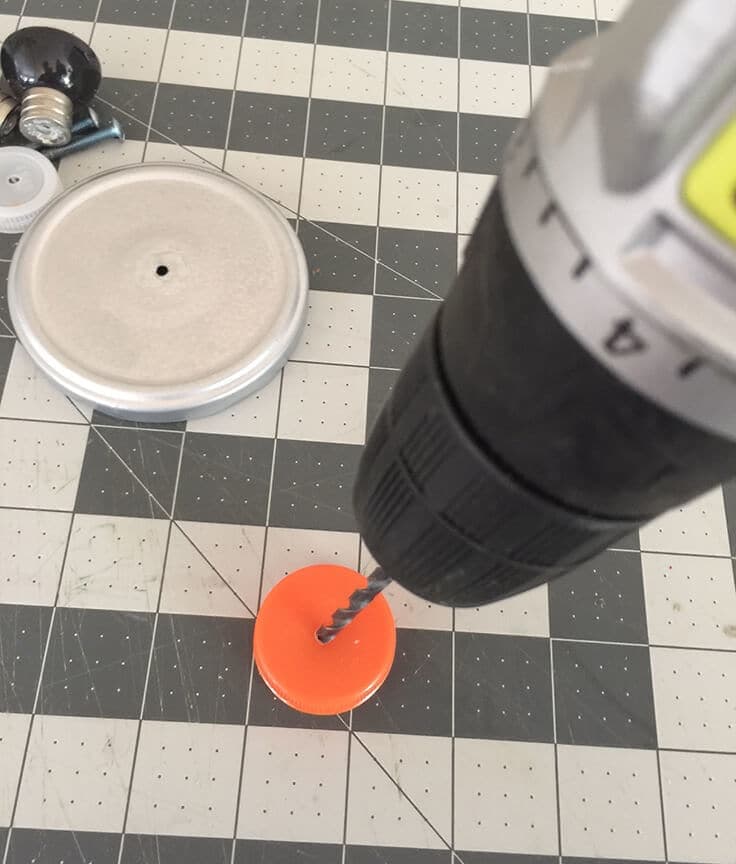
5. Drill a hole in the plastic cap
Then drill a hole in the middle of the plastic cap. These caps help to hold the screw in place for the knob.
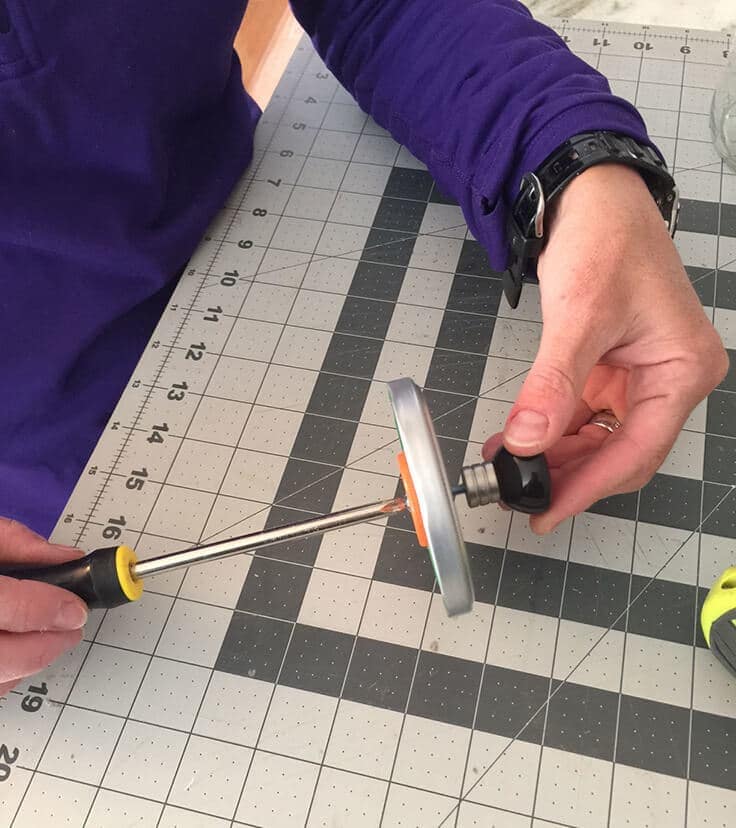
6. Screw the knob into the lid
Now put everything together. Insert the screw through the plastic bottle cap and then through the bottom of the lid. Then with the screwdriver, screw in the knob on top of the lid. Ensure a tight fit.
7. Fill Your jars
Finally, just finish off the project by filling up your jars.
Optionally, you can now add new labels or leave them as they are. Clutter Keeper has some printable Bathroom Labels you can download and print!
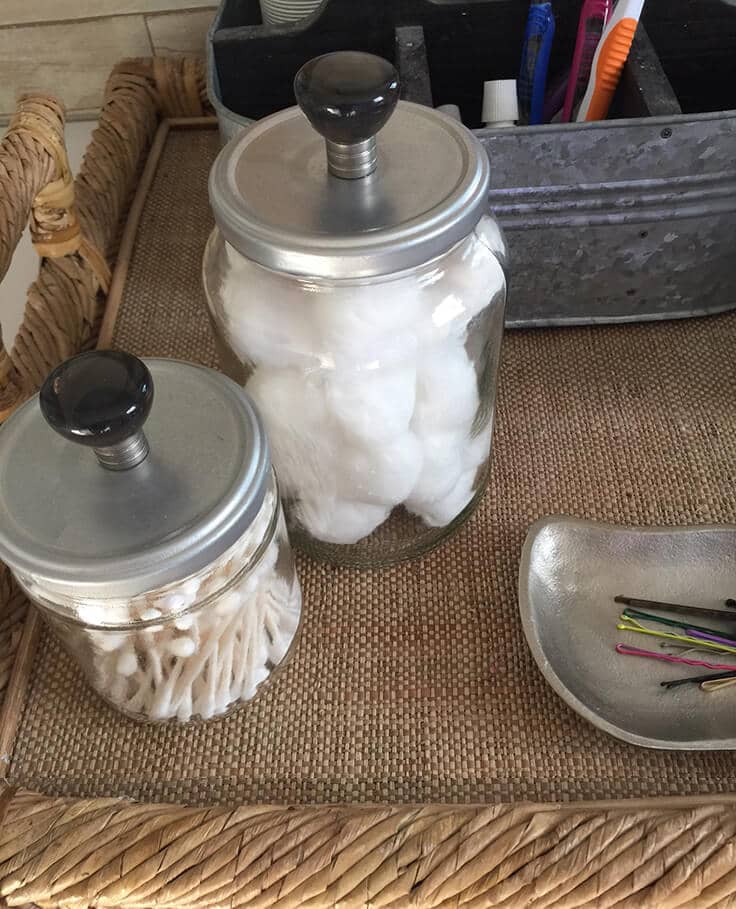
I like the different sizes paired together with the same knobs.
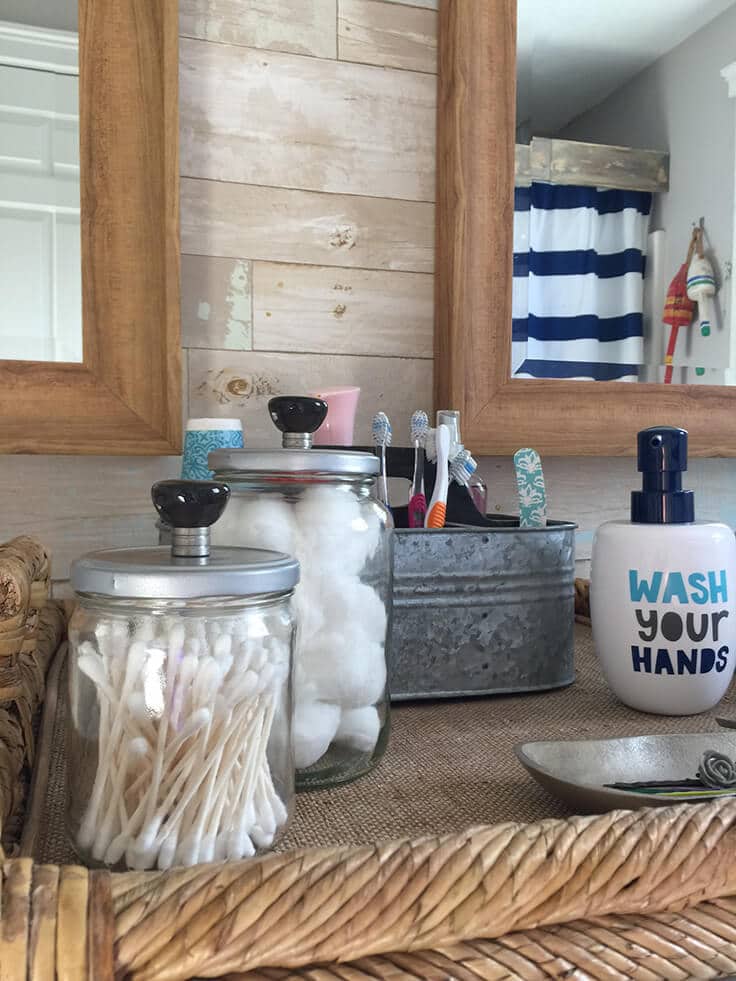
And they’re the perfect sizes for the cotton balls and Q-tips.
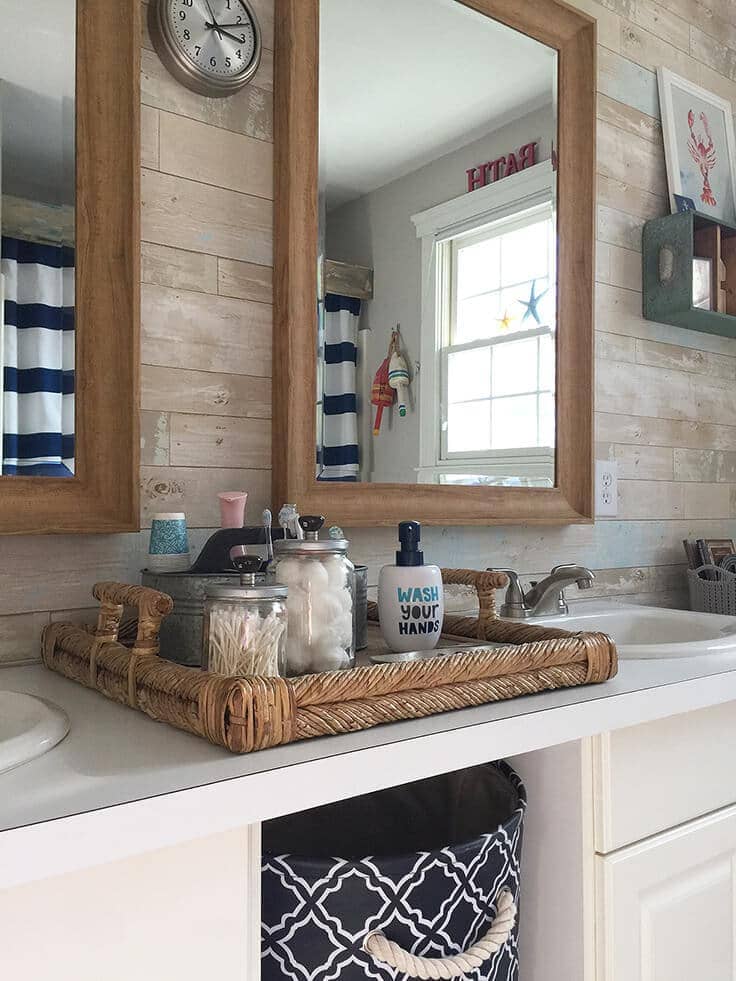
They add to the rustic look of my kids’ bathroom makeover. I hope you enjoyed this post and have fun creating your own storage jars!
If you’re looking for bedroom organizational ideas, check out this easy beginner sewing tutorial on how to make fabric trays to corral all those odds and ends on your nightstand.
Click here to see similar posts on bathroom design and storage ideas:
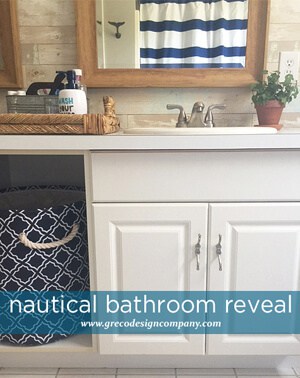
Nautical Bathroom Makeover
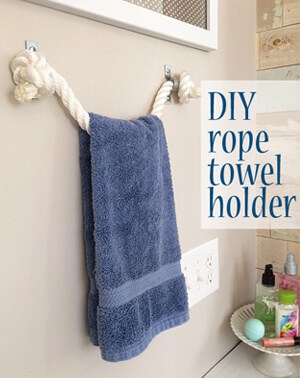
DIY Rope Towel Holder
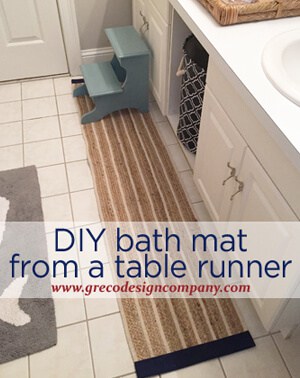
DIY Bath Mat from a Table Runner
Love the ideas you see here on Ideas for the Home by Kenarry®? Subscribe today to get our FREE DIY & Craft Planning Calendar, plus our weekly Ideas in Your Inbox newsletter filled with creative tips and exclusive offers!
While you’re here be sure to check out other cleaning and organizing ideas on Ideas for the Home by Kenarry®. You may especially enjoy:
- DIY Tray with Upcycled Jars
- How to Make Packing Tape Labels to Organize Kitchen
- How to Make an Easy DIY Decorative Box
Originally published March 2017. Updated March 2019.
2 Comments