• About Us
    • Contact Us
    • Work With Us
    • The Creative Team
    • Disclosures
  • Subscribe
  • Shop Our Products
  • My Account
  • Cart
  • Nav Social Menu

    • Facebook
    • Instagram
    • Pinterest
    • Twitter
  • DIY & Decor â–¾
    • Crafts
    • Home Decor
    • Home Improvement
    • Technology
  • Recipes â–¾
    • Breakfast
    • Appetizers
    • Side Dishes
    • Easy Dinner Ideas
    • Slow Cooker
    • Fun Food
    • Desserts
  • Clean/Organize
  • Kid Ideas â–¾
    • Birthdays
    • Castle Playroom
    • Outer Space Bedroom
    • Teacher Appreciation
    • Travel Tips
  • Free Printables
  • Holidays â–¾
    • Valentine’s Day
    • St. Patrick’s Day
    • Easter
    • Cinco de Mayo
    • Mother’s Day
    • Memorial Day
    • Father’s Day
    • Independence Day
    • Halloween
    • Thanksgiving
    • Christmas
    • New Year’s
    • Gift Ideas

Ideas for the Home

You are here: Home / Craft Ideas / DIY Custom Notebook with Mod Podge

By Keri Houchin on August 20, 2019 Leave a Comment

DIY Custom Notebook with Mod Podge

Craft Ideas· Gift Ideas

  • Share
  • Tweet

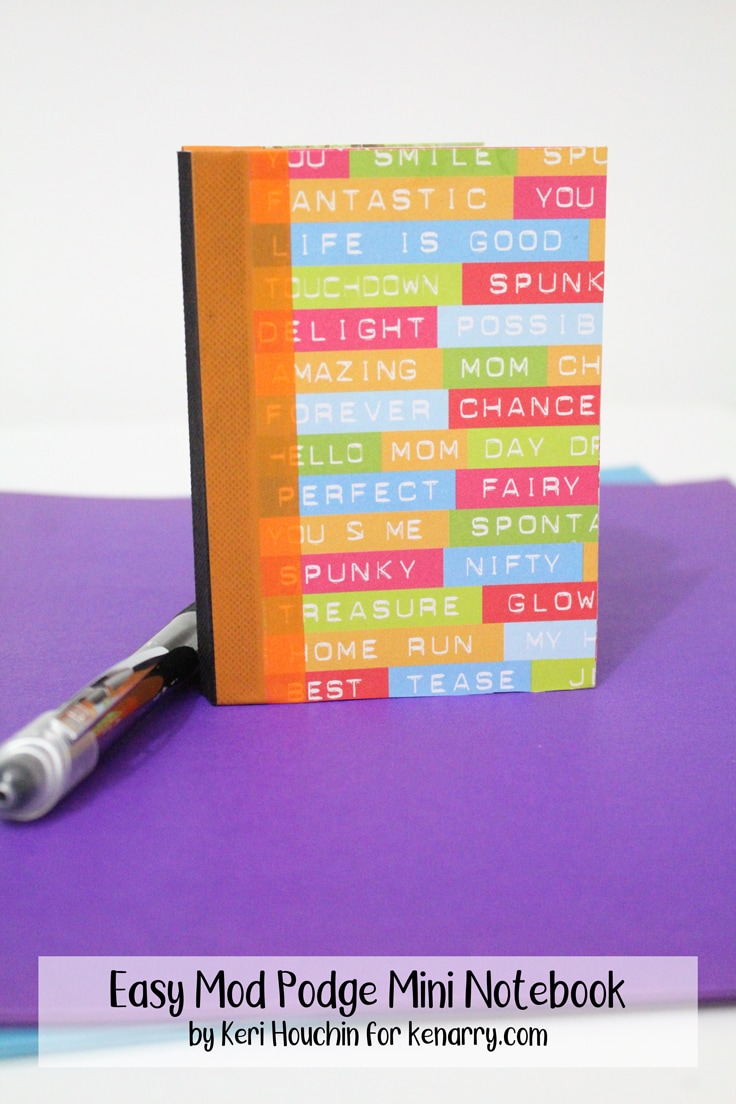
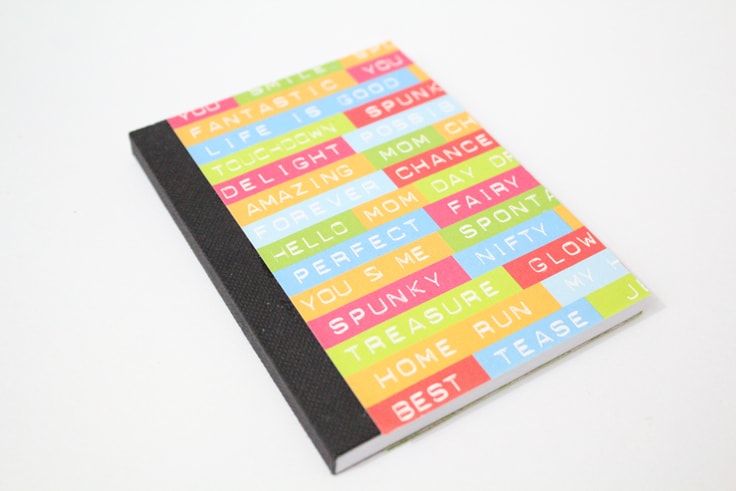
Personalize your office supplies and school supplies with paper and washi tape for a cute DIY custom notebook. This Mod Podge craft is easy to make to match your style.

Hello! I’m Keri from One Mama’s Daily Drama. With back to school season almost here, I’m stocking up on office supplies and finding easy ways that my kids can personalize them so they are unique. This DIY custom notebook is simple to make, so you can get creative and design one for every class.

Brightly colored mini notebook standing on a purple folder beside a pen

I’m a writer, so I always carry a mini notebook just about everywhere I go. You never know when you’ll need to jot down a list, a phone number, or some other quick info.

I also keep our office cabinet stocked with notebooks for my kids to take to school and use at home. It seems like every year they need about a dozen of them for back to school, so this tutorial makes it fun and easy to create a custom notebook – or several! 

How to Make a DIY custom notebook

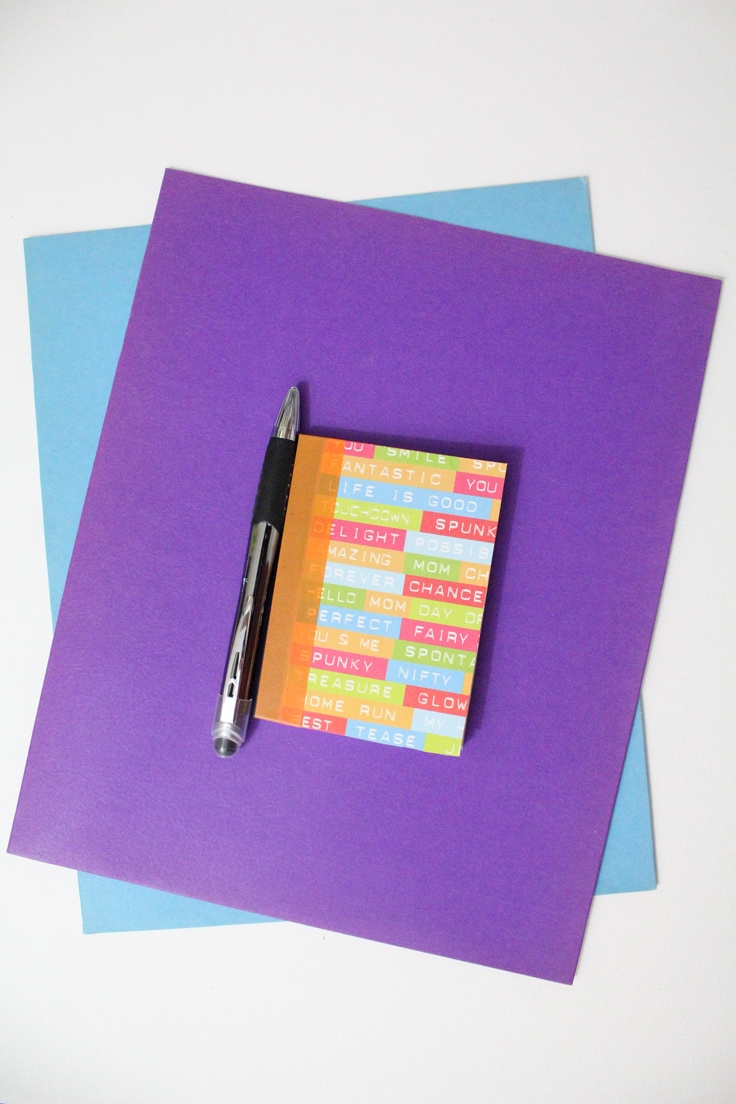
You can use scrapbook paper and washi tape in any color or pattern.
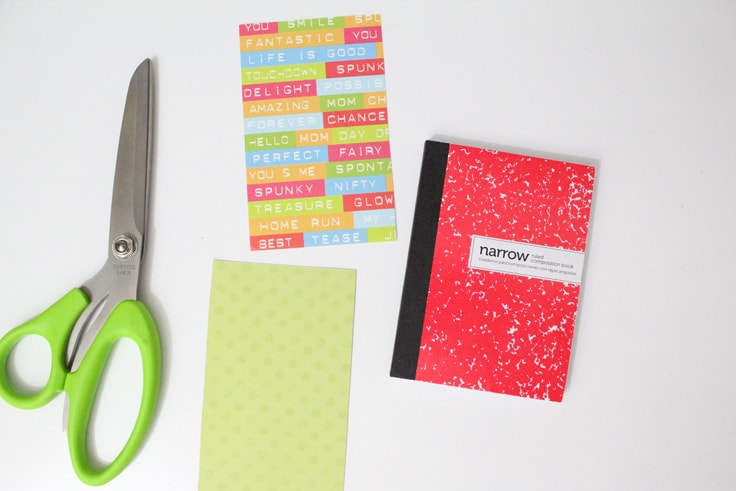
What you need: 

Disclosure: This blog post contains affiliate links for products or services we think you’ll like. This means if you make a purchase from one of these links, Ideas for the Home by Kenarry® will make a small commission at no additional cost to you so we can keep the great ideas for the home coming your way. All opinions expressed are derived from personal experience.

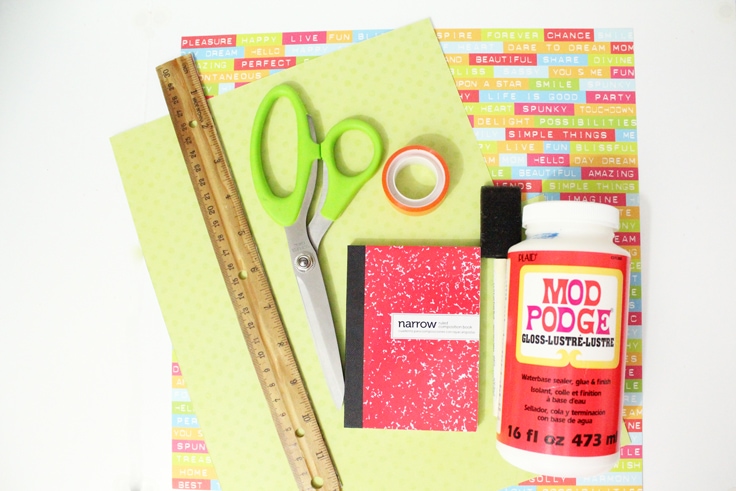
Craft/DIY Tools Needed: 

  • scissors
  • pencil
  • sponge brush
  • ruler (optional)

Supplies Needed: 

  • notebook – I used a mini composition book but you can also do this with a full-sized one.
  • Mod Podge
  • scrapbook paper – This one is similar to what I used.
  • washi tape
Scrapbook paper, a ruler, scissors, mini composition book, washi tape roll, and Mod Podge with a sponge brush

Instructions:

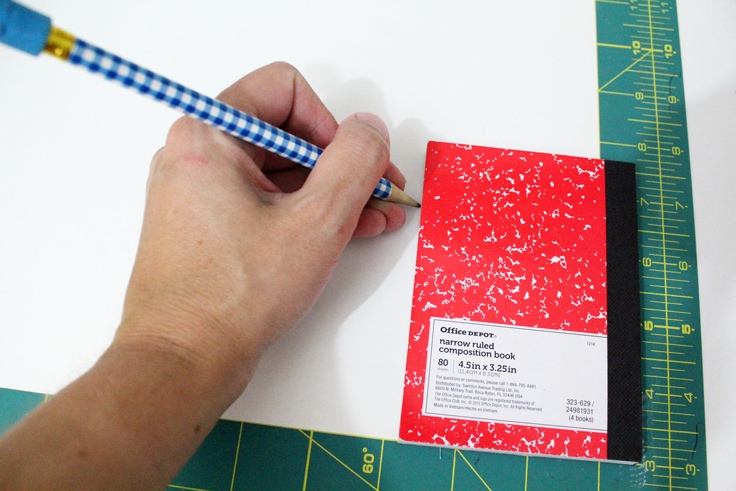
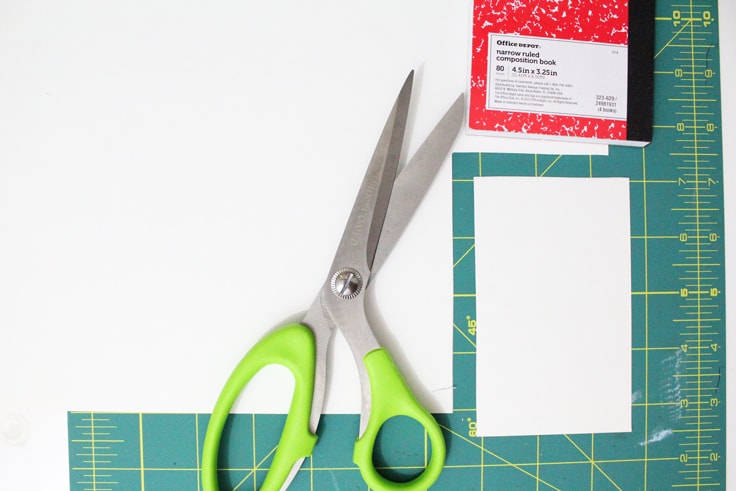
1. Cut out the custom notebook covers.

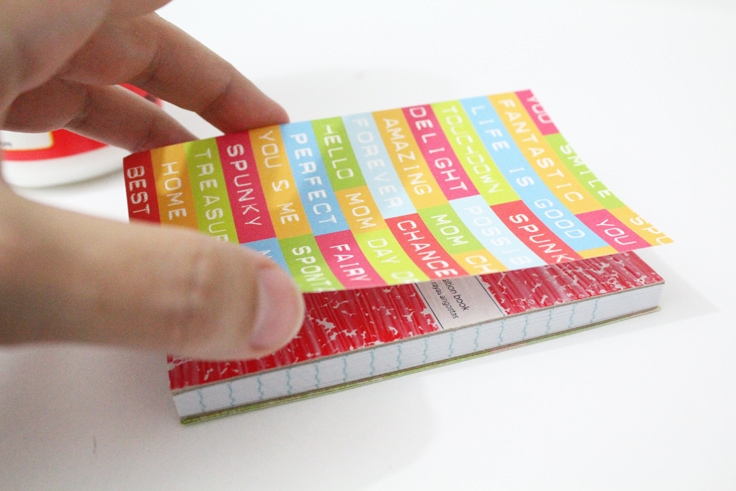
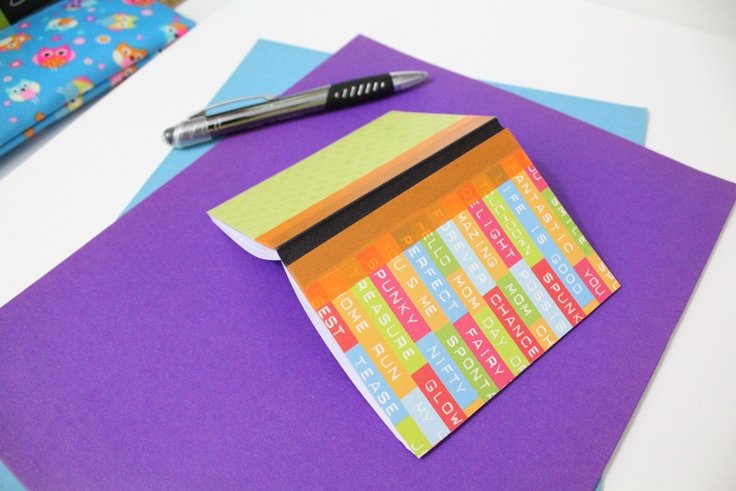
The first step is to cut the scrapbook paper pieces for the front and back of the notebook. You can do this one of two ways. (1) If you have a paper cutter, simply measure the notebook with a ruler and cut paper to size. (2) Alternatively, place the notebook on top of the scrapbook paper and trace the outline.

I used method number 2 and lined up the black edge of the notebook with the edge of the scrapbook paper. Repeat the process to cut paper for the front and back covers.

A hand with a pencil tracing around a small composition book onto scrapbook paper
Scissors beside a cutout corner of paper
A notebook beside two pieces of scrapbook paper and a pair of scissors

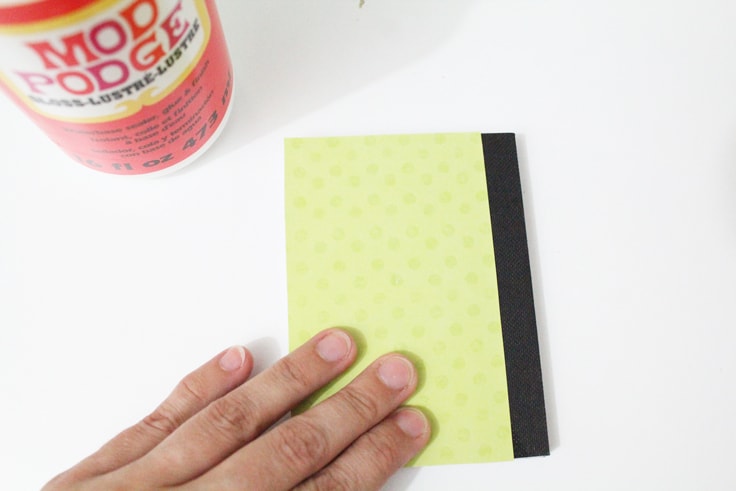
2. Glue the covers in place.

Using the foam brush, spread a thin layer of Mod Podge on the outside front cover. Carefully place the cut paper on it and smooth it flat.

A hand placing the cutout cover onto the notebook

Repeat the process with the back cover. Be sure to wipe away any excess Mod Podge that squeezes out along the edge.

A hand using a sponge to brush Mod Podge onto the notebook
Gluing the back cover onto the notebook

3. Allow the covers to dry.

Place a few heavy books on top of the notebook and let it dry for about an hour.

A stack of books covering the drying book
Notebook with a colorful cover

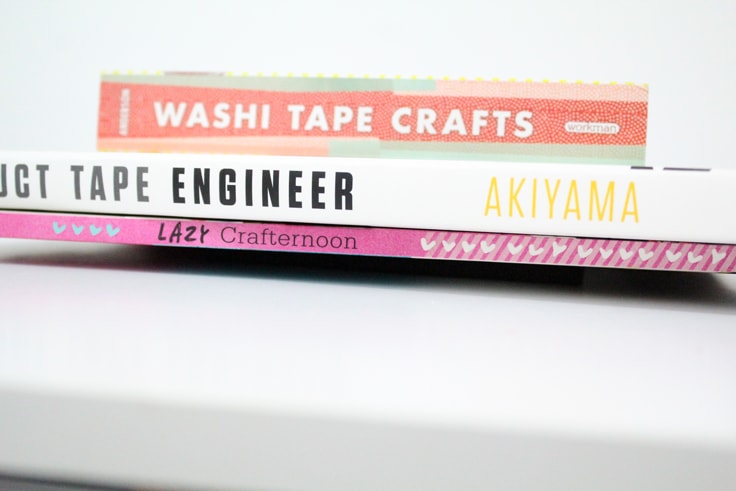
4. Add the washi tape edges.

Tear a piece of wash tape that is just a bit longer than the notebook. Carefully line the edges up with the end of the notebook and smooth it down. Fold the ends over the notebook cover and smooth them down.

Washi tape on the front edge of the notebook with the cover open
Inside cover of the open notebook showing tape edges folded in

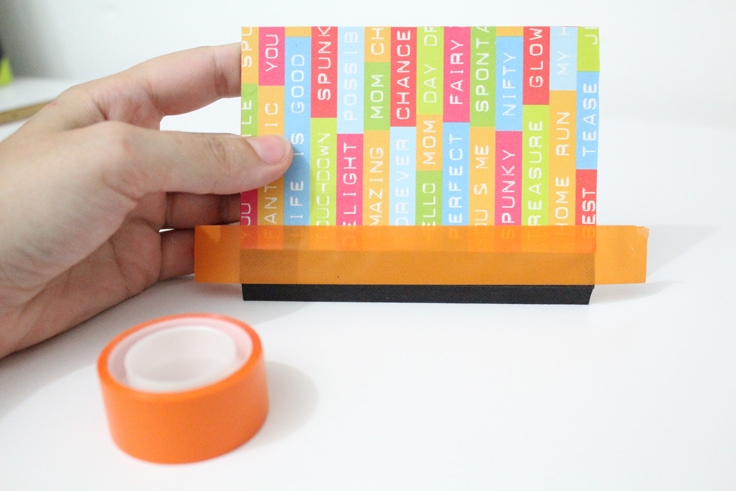
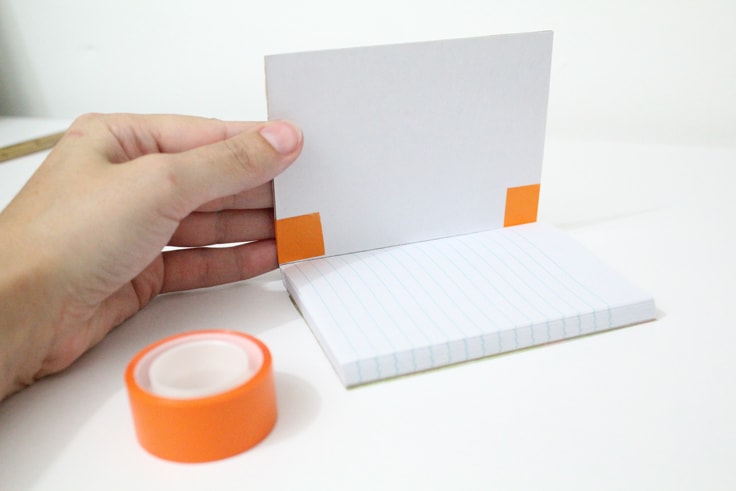
Repeat the process to add tape to the back cover too.

Notebook back cover with washi tape along the edge
Notebook folded open on a desk to shop both covers and washi tape

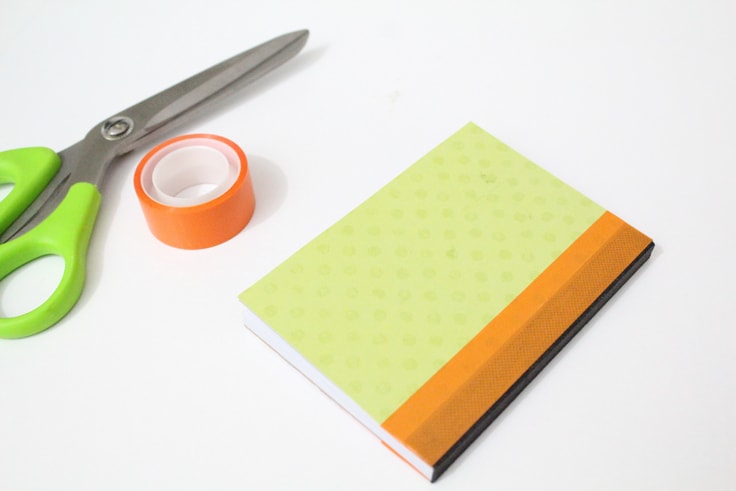
When you’re finished, you’ll have a cute notebook that’s handy for school, work or home. You can easily customize all of your notebooks to match your other supplies or coordinate with school colors.

Completed notebook standing on a white table
Colorful notebook beside a zip pouch and pen on top of purple and blue folders

How to Personalize the Notebook

This is a really basic tutorial. Take this and run with it. Still stumped on how to creatively decorate it? Try one of these ideas:

  • Add stickers
  • Use more washi tape
  • Add additional layers of scrapbook paper
  • Cut out pictures from magazines
  • Use plain paper and draw a picture on the cover
  • Embellish with glitter

Make this DIY custom notebook completely your own, or decorate it for someone else. It’s a simple but thoughtful gift too.

Colorful notebook stacked on top of purple and blue folders

What’s Next? 

If you enjoyed making this DIY custom notebook then you’ll enjoy these other back to school craft ideas too.

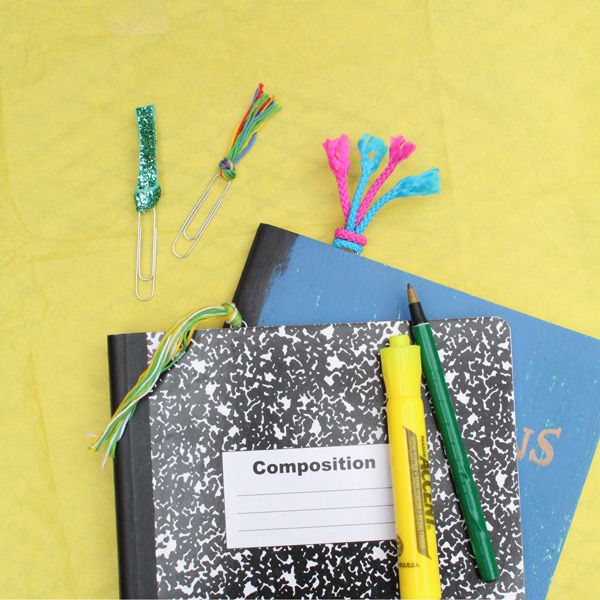
Easy Tassel Paperclip Bookmarks and Planner Clips

Composition books with assorted tassel bookmarks in the top

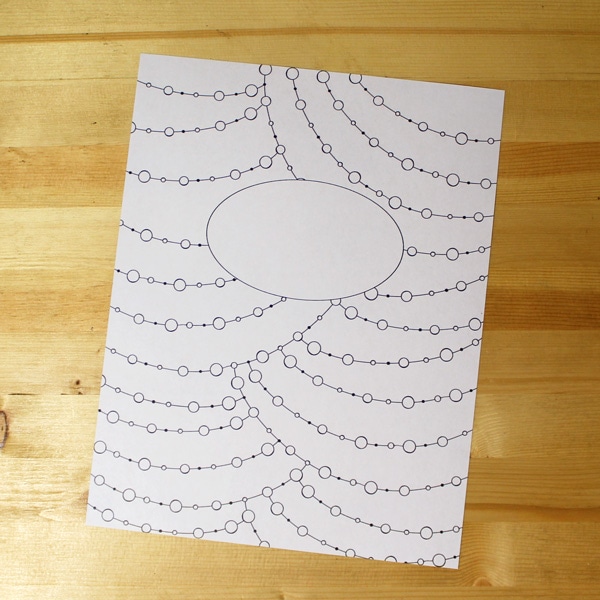
Printable Binder Cover Coloring Page

Uncolored binder cover page with lines and dots pattern

Kids Desk Organizer and Portable Homework Station

duct tape covered canisters in a Sonic drink carrier

You may also enjoy these back to school ideas on Ideas for the Home by Kenarry® –

  • Easy DIY Decorative Pens Made with Polymer Clay
  • Back to School Lunchbox Love Notes
  • Hand Sanitizer Printable
  • Share
  • Tweet

Craft Ideas· Gift Ideas

About Keri Houchin

Keri is a writer, graphic designer, wife and mom of two from Texas. She began One Mama's Daily Drama when her teens were little as a way to help parents navigate the chaos of family life. She is passionate about planning, organizing and helping other parents find practical solutions to everyday challenges.

As an independent contractor, Keri also serves as our graphic designer creating images for both Ideas for the Home by Kenarry and Clutter Keeper, our home organization blog.

Keri has been sharing her great ideas on Ideas for the Home by Kenarry® since October 2018. Follow Keri on Facebook, Pinterest, Instagram and Twitter.

In this ultimate guide, you'll learn how to make a burlap wreath with ribbon for your home. The FREE eBook includes easy step-by-step instructions plus inspiring craft and decor ideas to make wreaths for fall, Christmas, Easter and other holidays.

Subscribe today to get ideas in your inbox plus FREE exclusives only for Idea Insiders!

Almost there! Now just check your email to confirm your e-mail address and get your free eBook.

There was an error submitting your subscription. Please try again.

You're already signed up! YAY! As an Idea Insider you have instant access to our Kenarry Idea Insider Resource Library with exclusive printables, offers and other freebies as soon as you confirm your subscription.
Previous Post: « Grilled Pineapple: Honey, Brown Sugar, Cinnamon Glaze
Next Post: Dr. Seuss Lunchbox Notes: Free Printable for Kids »

Reader Interactions

Leave a Reply Cancel reply

Your email address will not be published. Required fields are marked *

Recipe Rating


This site uses Akismet to reduce spam. Learn how your comment data is processed.

Primary Sidebar

Welcome

Carrie Ypma from Ideas for the Home by Kenarry®Hello, I'm Carrie! Welcome to Ideas for the Home by Kenarry® where we want to help you create a home you love. We're glad you're here! Read more...

Sign Up and Get a Free Gift

Subscribe to become an Idea Insider. You'll get our weekly newsletter plus special deals and other resources that are only for subscribers -- all for FREE!

Almost there! Now just check your email to confirm your e-mail address and get your free eBook.

There was an error submitting your subscription. Please try again.

You're already signed up! YAY! As an Idea Insider you have instant access to our Kenarry Idea Insider Resource Library with exclusive printables, offers and other freebies as soon as you confirm your subscription.
In this ultimate guide, you'll learn how to make a burlap wreath with ribbon for your home. The FREE eBook includes easy step-by-step instructions plus inspiring craft and decor ideas to make wreaths for fall, Christmas, Easter and other holidays.
  • About Us
  • Subscribe
  • Shop Our Products
  • My Account
  • Cart

Footer

Disclosure: Posts may include affiliate links for your convenience. As an Amazon Associate I earn from qualifying purchases. All opinions are our own. You are reading and following advice from Kenarry, LLC at your own risk. Always use safety precautions. You should read and follow manufacturer’s directions for the products and tools you use. Read more.


Privacy Policy: The privacy of your personal information is important. We make every effort to safeguard your information and will never sell it to third parties. Read more.

Terms of Use: You are welcome to link to this site or use a single image and brief description to link back to any post. Republishing posts in their entirety is prohibited without permission. All images are property of Kenarry, LLC. Do not crop or remove watermark. Do not reproduce without link back or permission. If you do link to this site, please contact us to let us know. All free printables offered are for personal use only. Pinning is always welcome and appreciated. Thank you!

As it relates to comments and content posted on this blog by those other than the owners, any such content that contains the copyrighted and/or proprietary work of others is expressly prohibited and will be removed. Repeated posting of such content by the same user may result in that user being banned from this site.

Copyright © 2021 Kenarry LLC · Powered by Captivating Theme on Genesis Framework · WordPress · Log in