DIY Embroidery Hoop Spring Wreath
THIS POST MAY CONTAIN AFFILIATE LINKS. PLEASE SEE OUR FULL DISCLOSURE POLICY FOR DETAILS.
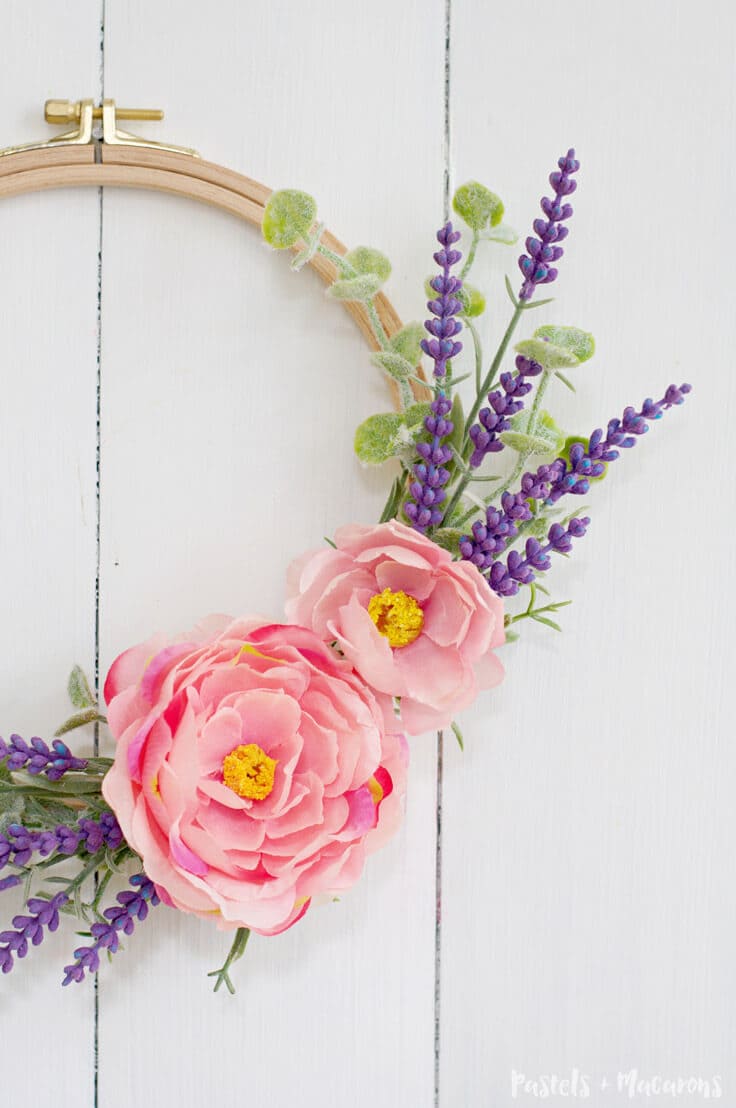
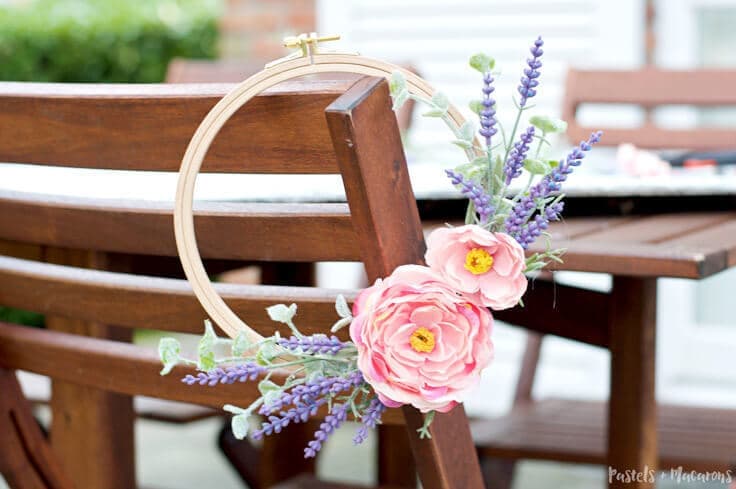
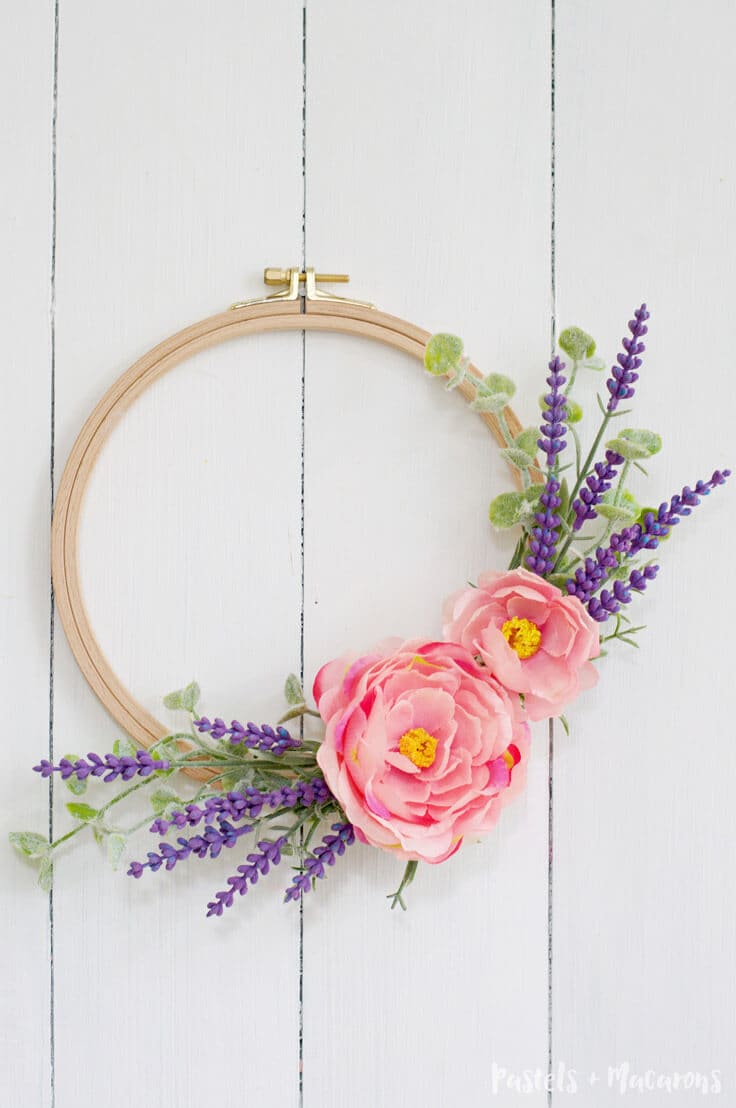
Make a quick and easy 10 minute DIY Embroidery Hoop Spring Wreath for your home. This beautiful wreath will brighten any space in your home!
It’s so nice to be here today sharing a simple 10 minute embroidery hoop Spring wreath craft you can make leading up to the warmer months!
Hello Kenarry readers! My name is Maria and I blog all about DIY, Craft, Home Ideas and Home Tips over at Pastels and Macarons. It’s so nice to be guest posting here today and sharing with you this very easy to make and super quick wreath idea.
I absolutely love Spring. I dream about it all winter long. I do enjoy the novelty of winter for a little while but I am a warm weather person through and through so for me, leaves, flowers, and warmth is a perfect mix for true happiness. I even wrote a post about my love for Flowers and Mason Jars!
With this in mind, I wanted to create something pretty, fun and colorful to bring color back into my home. I have two very young boys, so quick crafts is what I am all about because nap time only goes for so long! Read on to see how quick it is to create this embroidery hoop Spring wreath.

Get our e-book The Ultimate Guide to Making a Burlap Wreath plus a special limited time offer for 25% off Kenarry burlap ribbon when you subscribe to be an Idea Insider. It’s totally FREE!
Your privacy is important to us. We promise not to spam you or share your information. You can opt-out at any time. See our privacy policy for more information.
Embroidery Hoop Spring Wreath
Disclosure: This blog post contains affiliate links for products or services we think you’ll like. This means if you make a purchase from one of these links, Ideas for the Home by Kenarry® will make a small commission at no additional cost to you so we can keep the great ideas for the home coming your way. All opinions expressed are derived from personal experience.
Materials:
- 1 x Embroidery Hoop (size of your choice)
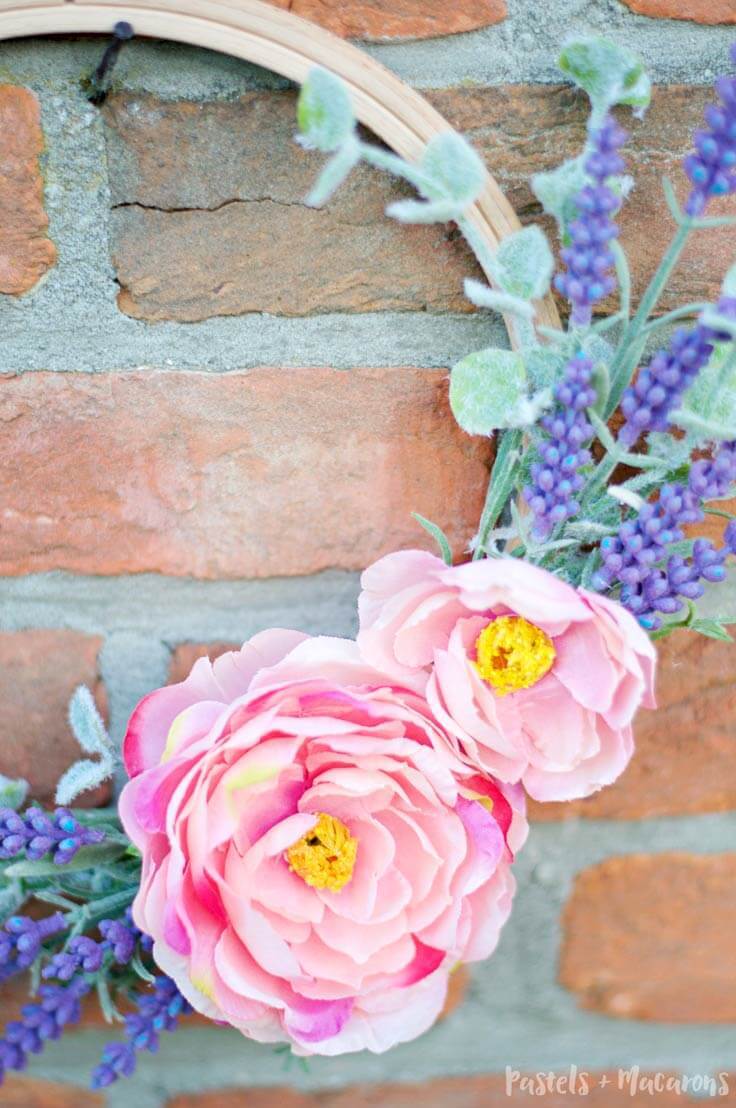
- Faux Lavender and other florals to compliment. I chose these pretty pink lush flowers. Faux Peonies would be so beautiful for this project.
- Hot glue gun and glue
- Scissors
- Pliers
How to make the Embroidery Hoop Spring Wreath
There couldn’t be an easier way to make your own wreath. Here’s how to make your own simple spring wreath.
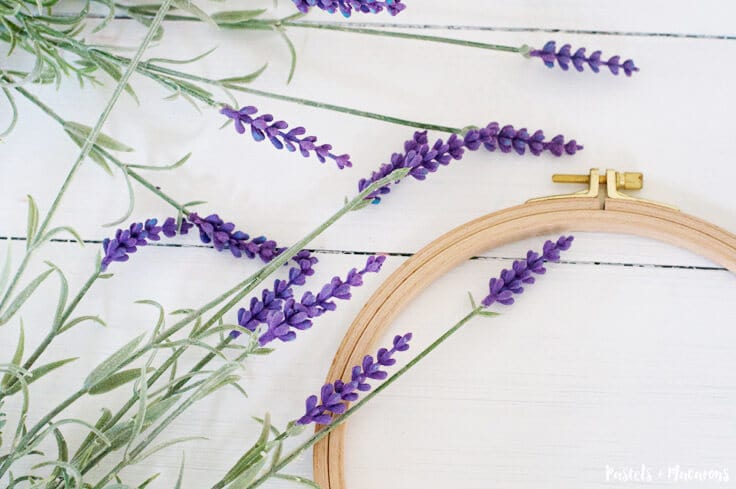
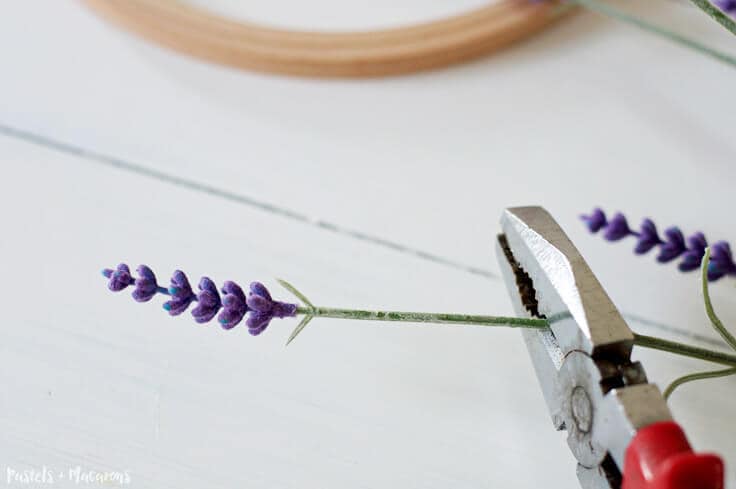
1. Cut the flowers and greenery
Start by cutting all of the flowers and greenery and getting it all ready in small piles. This makes it very easy when it is time to assemble the wreath. Use pliers to cut through stubborn stems with hard wire.
2. Glue the Greenery to the hoop
Using your hot glue gun, begin by gluing on the “bulk” greenery you want to use such as stems and leaves. This wreath is all about layering. So in order to give it volume and make it look lush, you need to add a mix of different foliage.
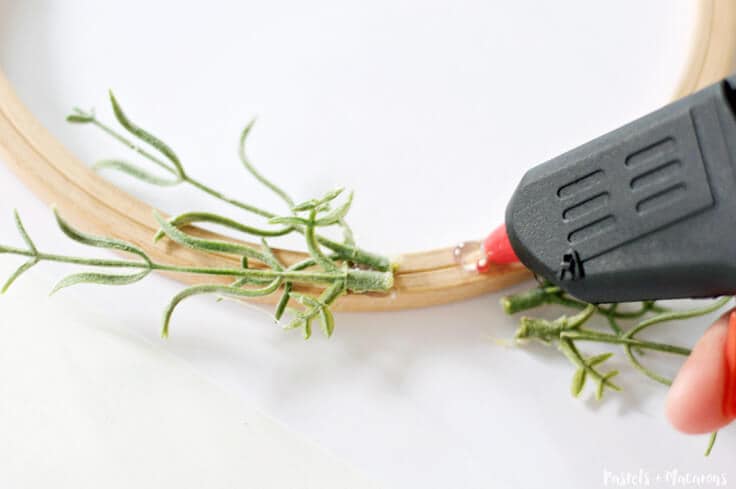
Continue to add foliage to your wreath. I decided not to cover the entire hoop as I wanted it to be obvious that the wreath was made from an embroidery hoop.

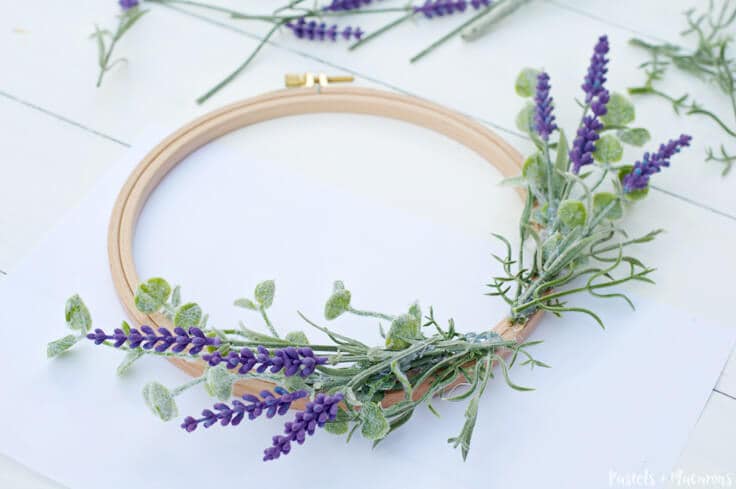
3. Glue the lavender stems on the hoop
Once you are pleased with the amount of greenery, start gluing on the lavender stems. Don’t be shy, add as much as you want. I added around 7 pieces of lavender on each side.
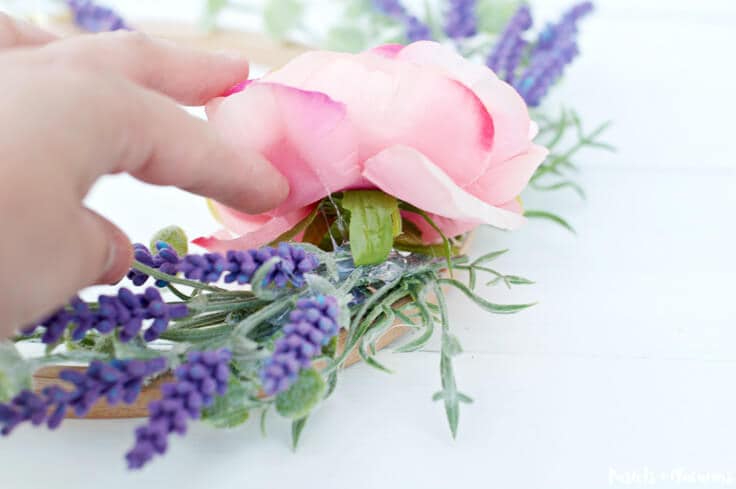
4. Add Lush Flowers to the wreath
After you have glued on the lavender, then all you need to do is add your lush flowers of choice.
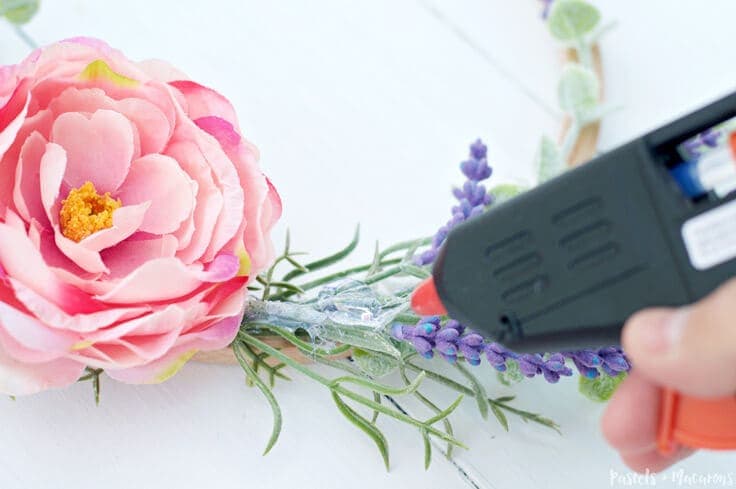
You can add as many or as little as you want. I added two as the sizes of the flowers were just right to add two on the wreath. Depending on the size flowers you purchase, play around before gluing them down to see how many flowers look nicest on your wreath.
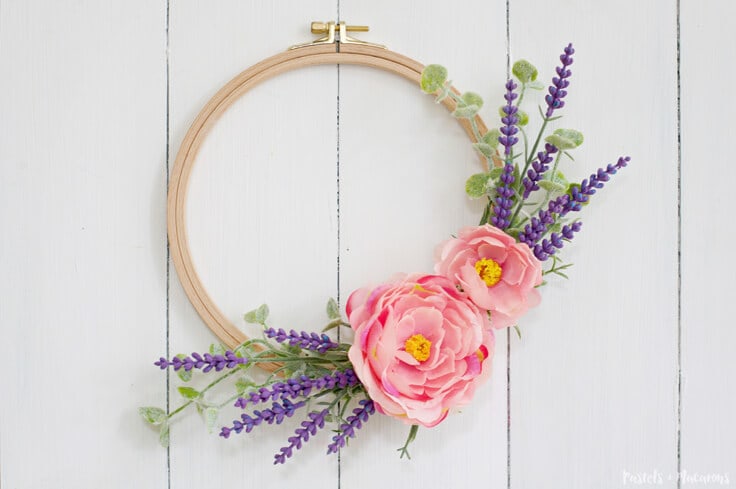
And that is it! Simple, easy and SUPER quick! You can certainly add a lot more to your wreath, so play around and see what you prefer.
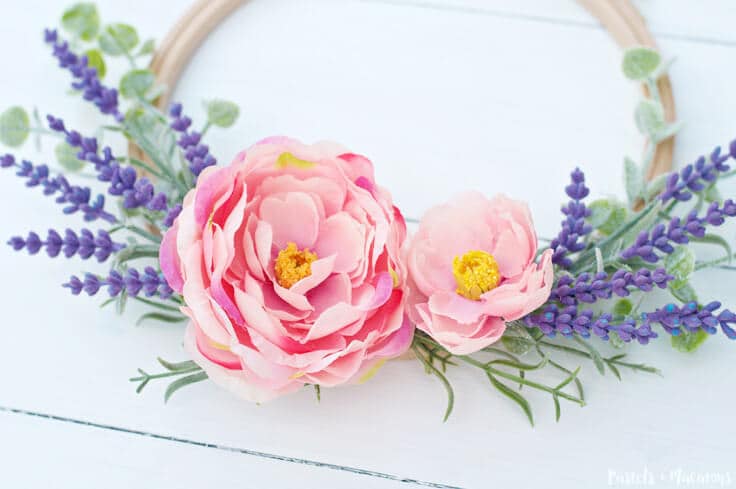
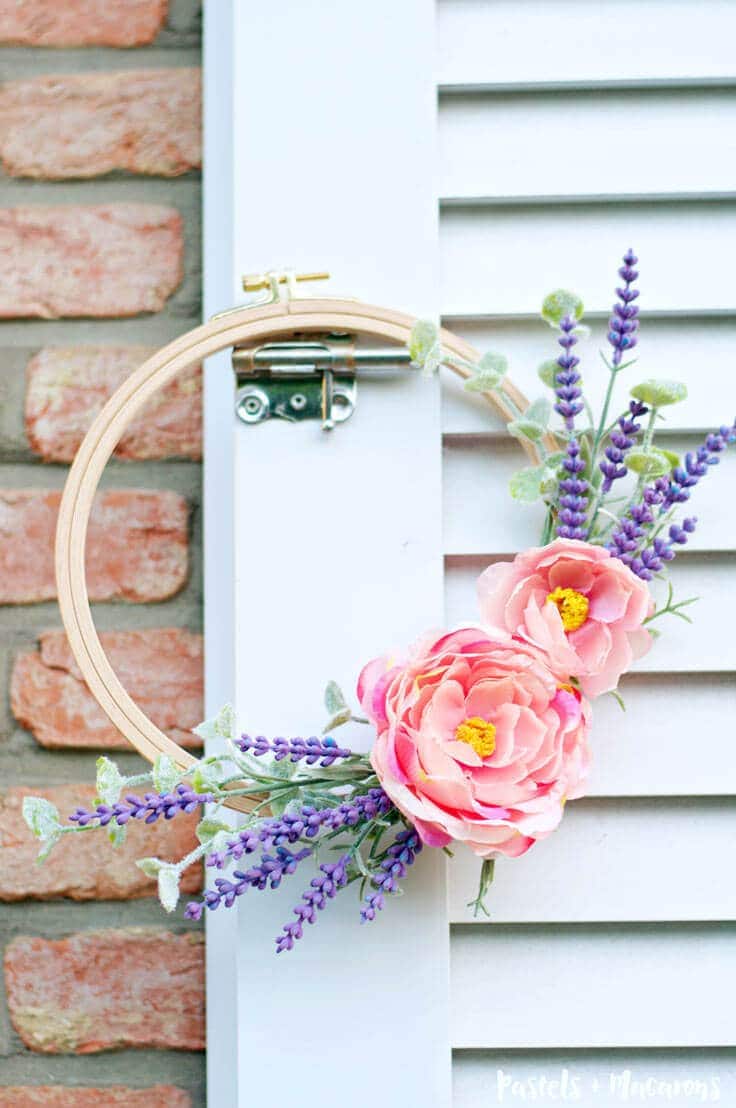
Here is the wreath once it was finished.
What do you think? Is this easy enough for you to try?
I hope you have enjoyed this 10 minute DIY Embroidery Hoop Spring Wreath today and it inspired you to start making some Springtime wreaths for your home! I have thoroughly enjoyed being here today!
If you enjoyed this post, here are some other projects I have created that you may enjoy!
DIY Lavender Body Scrub

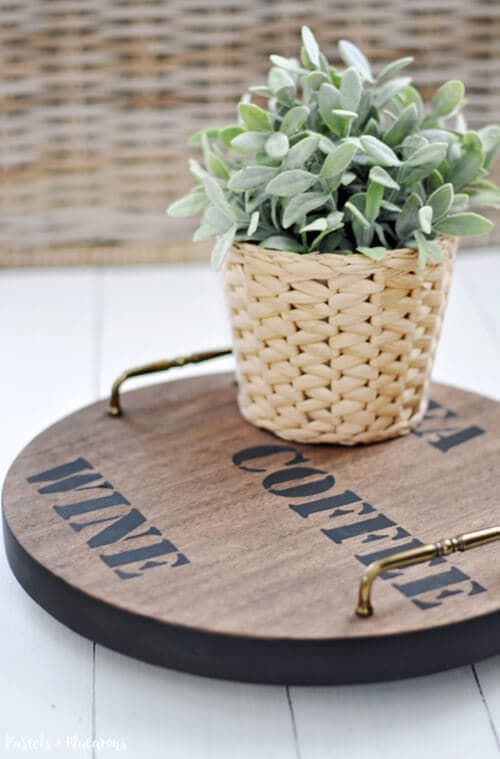
DIY Lazy Susan from an old stool
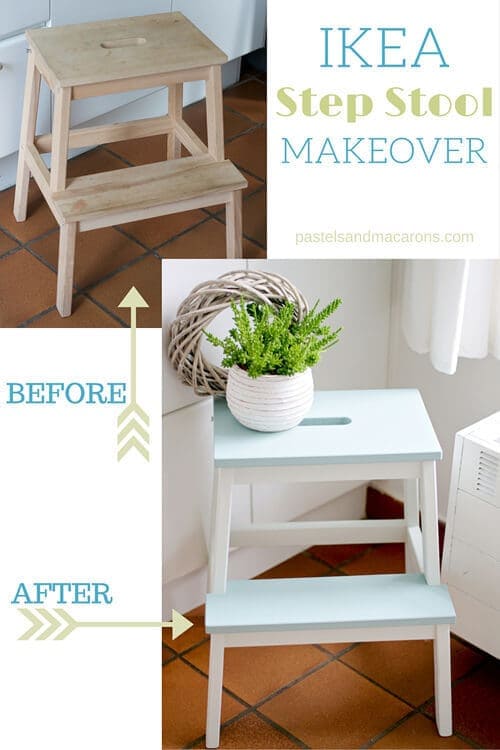
Ikea Step Stool Makeover
Love the ideas you see here on Ideas for the Home by Kenarry®? Subscribe today to get our FREE DIY & Craft Planning Calendar, plus our weekly Ideas in Your Inbox newsletter filled with creative tips and exclusive offers!
While you’re here, why don’t you take a look at a few of our other embroidery hoop wreath ideas:
Oh my goodness! This wreath is so pretty. Perfect for Spring!
Thanks so much for the DIY inspiration!
Thanks, Ashley! Didn’t Maria do an amazing job with this wreath? It’s so gorgeous!
Thank you so much Ashley! 🙂