DIY Fabric Rope Placemats
THIS POST MAY CONTAIN AFFILIATE LINKS. PLEASE SEE OUR FULL DISCLOSURE POLICY FOR DETAILS.
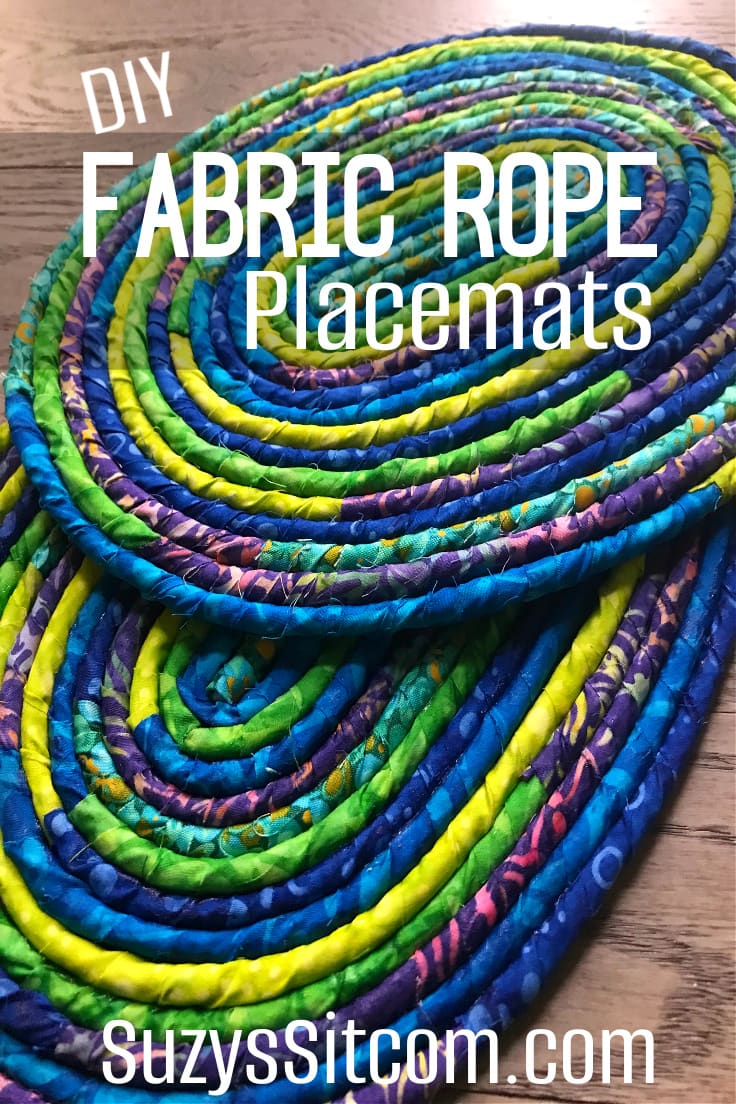
Create beautiful placemats, baskets or coasters with rope and fabric scraps! This fun project helps you transform some of those accumulating fabric scraps into usable and beautiful items for your home. A great way to recycle and add a bit of color to your decor!
Making fabric rope is simple and with the use of fabric glue, this project can come together easily. Make placemats, baskets, coasters and more in any colors that you love.
This is Suzy from SuzysSitcom and I am not only a crafter, but also a quilter, which means that I have tons of fabric scraps lying about with a project calling their names. I also live full-time in an RV, so there is not a lot of space available for storage. Finding things to do with fabric has become a necessity!
This project solved two problems. I needed some new placemats for the table, and I needed to get rid of some fabric! How convenient!
How to Make Fabric Rope Placemats
There are three methods for making and using fabric rope. You can use a sewing machine, you can hand sew, or you can use permanent fabric glue. Each method has its own advantages. In this tutorial, I’m going to cover two of those methods: using fabric glue and hand sewing.
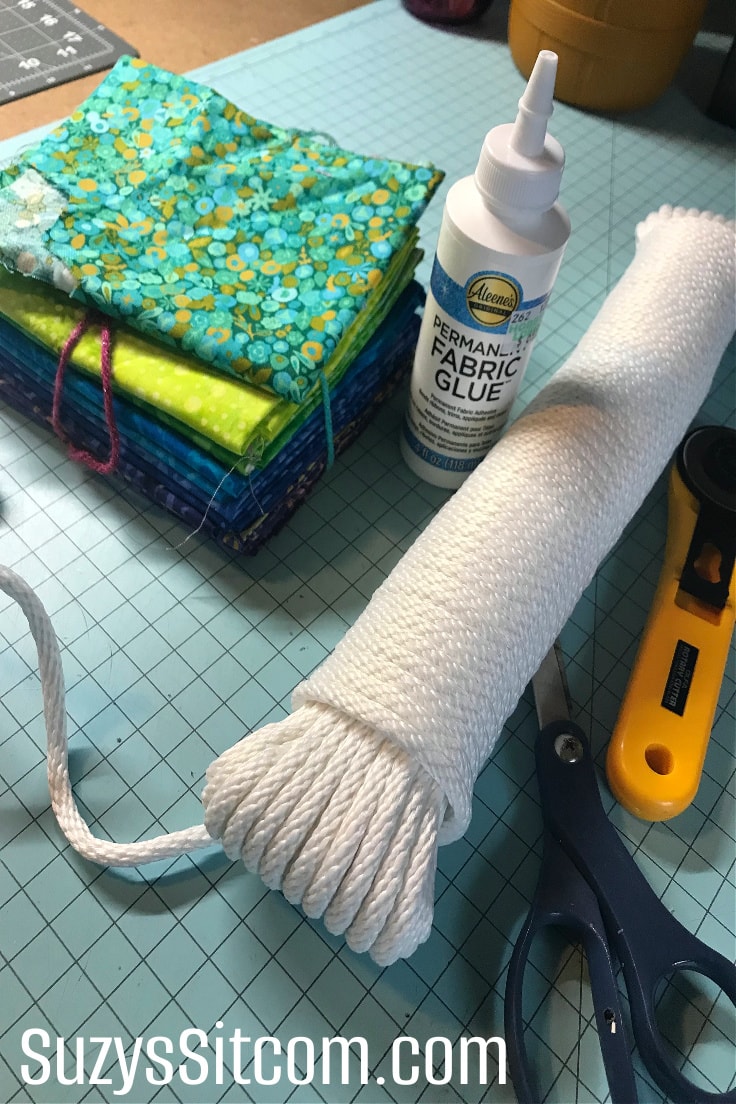
The entire tutorial is in a printable card at the bottom of this post. But first, here is a little bit of info about the tools and supplies you’ll need.
What you need:
Want more ideas like this? Subscribe today to get our weekly Ideas in Your Inbox newsletter plus other exclusive gifts and offers — all for FREE!
Choosing and Cutting the Fabric
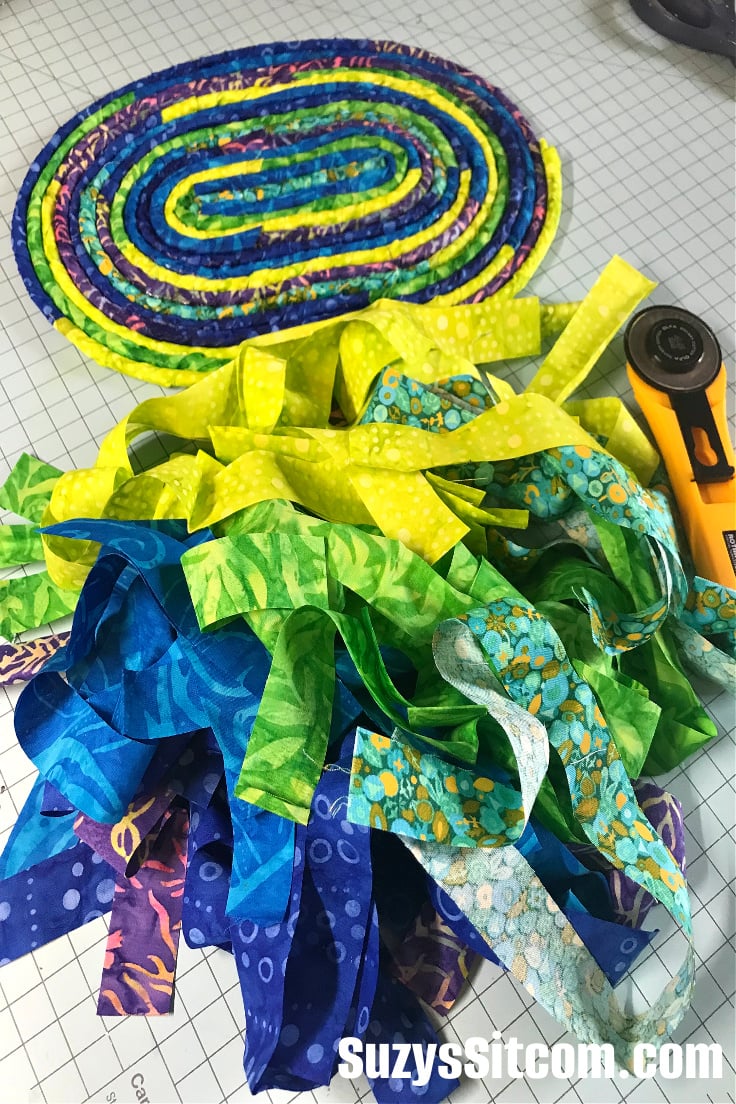
Choose any fabrics that you love. I chose bright colors for this project and I also chose to use batik fabrics. Batiks do not fray as easily as regular fabrics and are more the look that I was going for.
Cut the fabrics into strips about 1″ thick. You will need at least 30 strips per placemat. My strips were about 40″ long, but any length is fine!
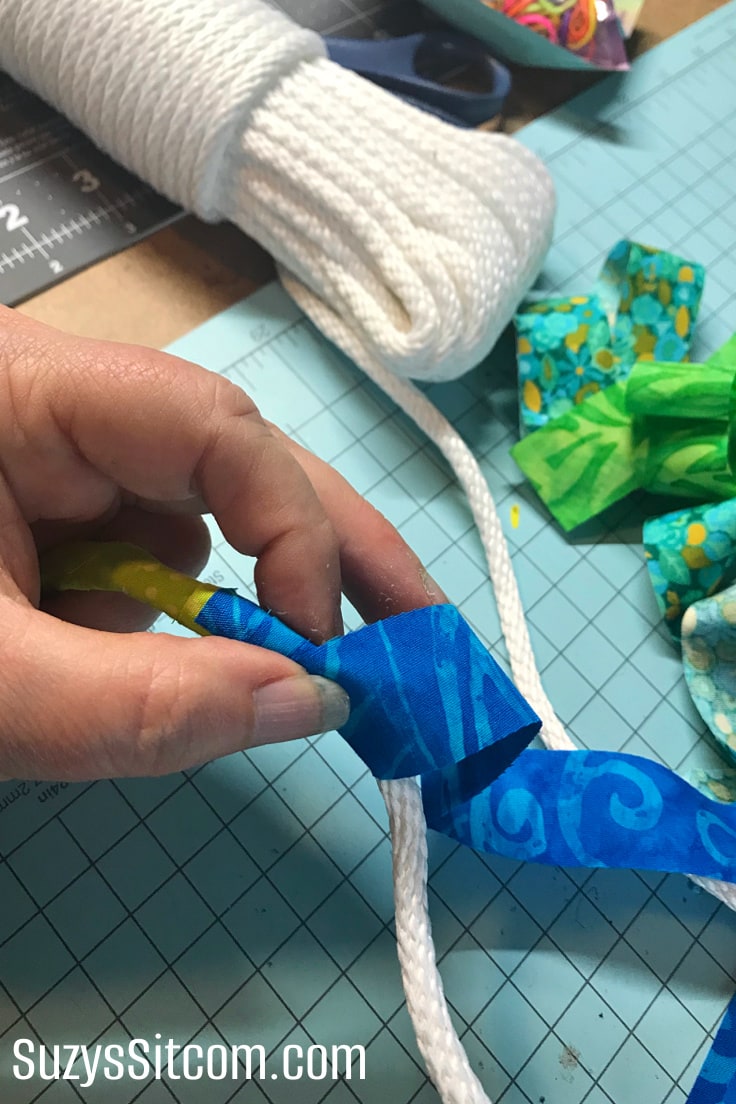
Wrapping the Rope with Fabric
Add a touch of fabric glue to your rope and begin wrapping the fabric around it, overlapping just a bit as you go. Add touches of fabric glue along the rope before wrapping to help the fabric stay in place. When you get to the end of a fabric strip, simply add a touch of glue and continue overlapping with a new strip of fabric.
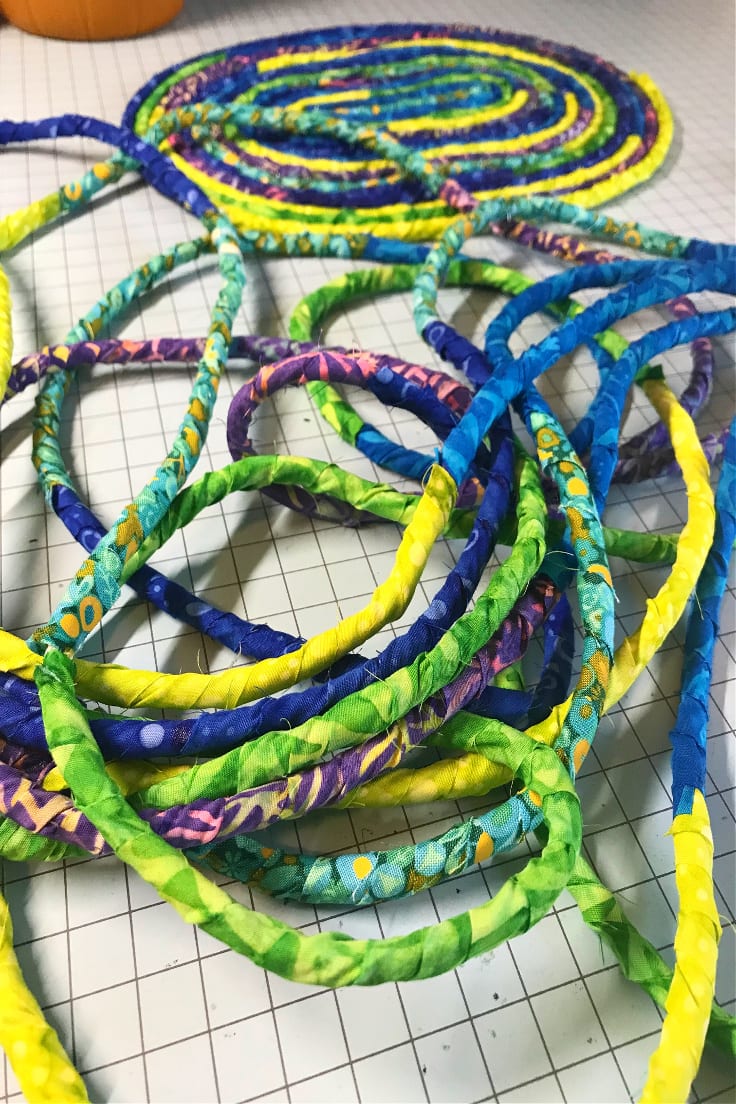
Create as much fabric rope as you might need for your project. My placemats required about 15 feet of fabric rope each.
Creating a placemat with fabric glue
This method is by far the fastest. Be sure to use permanent fabric glue. It allows for the finished project to be hand washed if needed. Also, be sure to put down some wax paper in your work area.
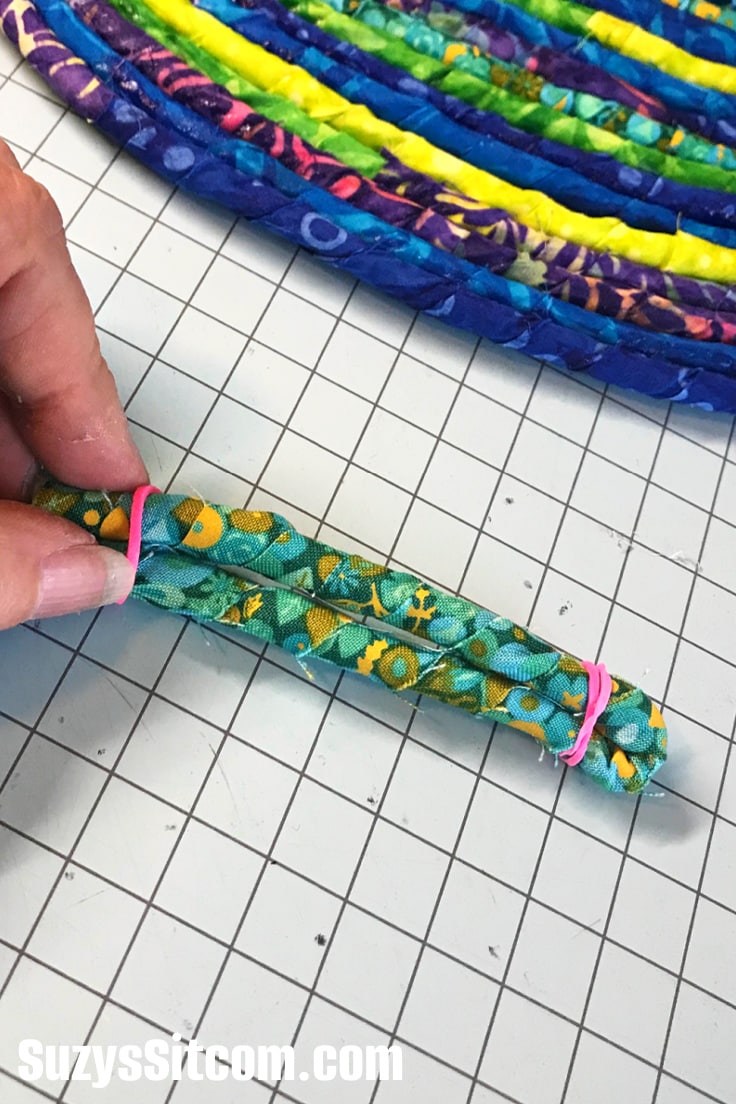
To begin the coil of the placemat, fold the fabric rope at about 4″, add fabric glue to the inside of the fold, and use a couple of small rubber bands to hold it in place. This will be the center of the placemat.
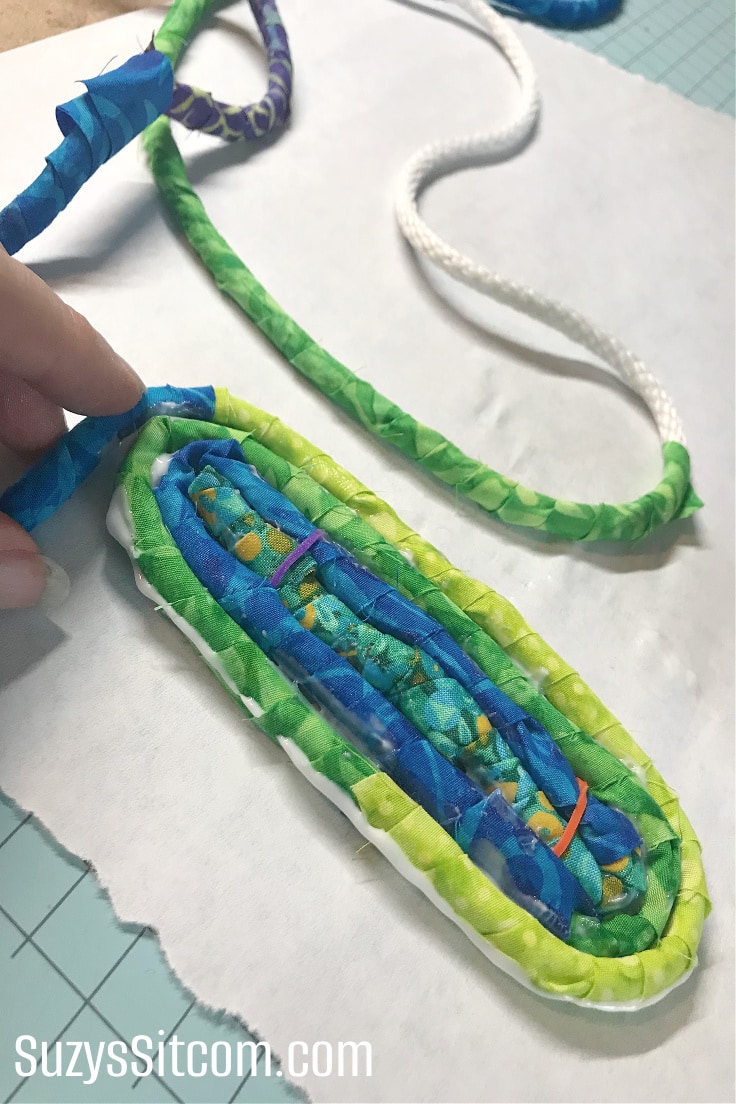
Add a bead of fabric glue around the edges and continue to coil the rope as shown above.
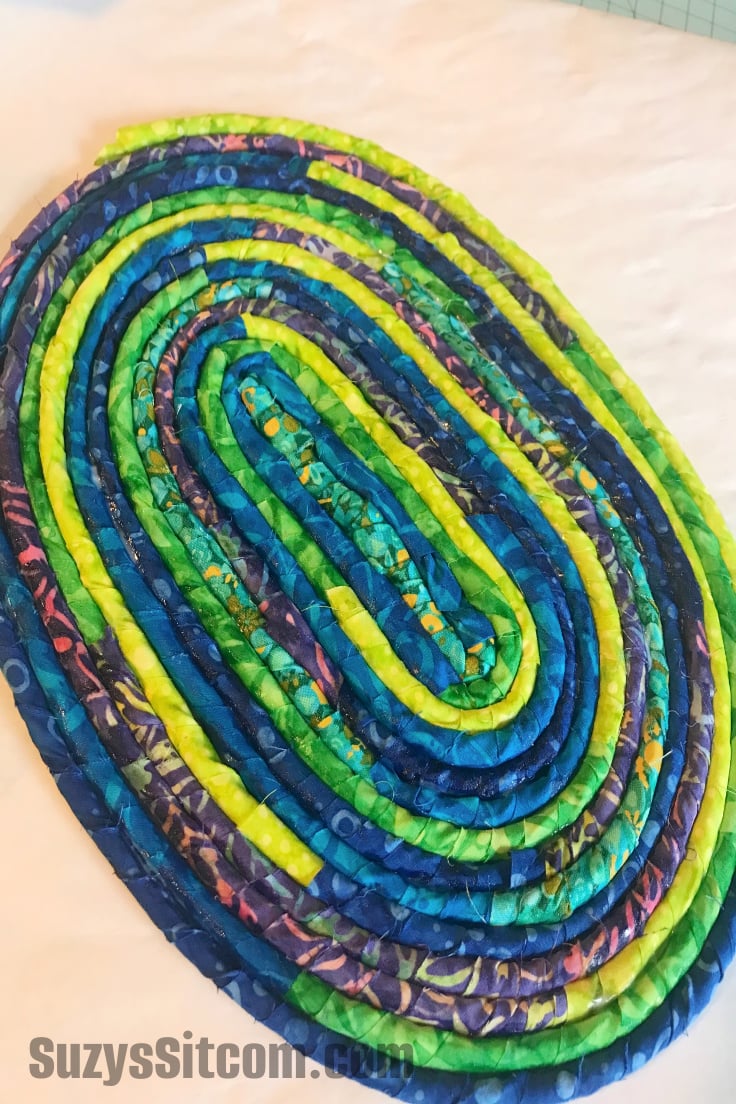
Once all of the coils are in place, allow the placemat to dry thoroughly. Clip out the center rubber bands and this placemat is complete!
Using just fabric glue for this project resulted in a quick project, but I have to say that it was pretty messy. The final placemat is stiffer than I like but definitely pretty. Glue is a great option for a quick finish.
Creating a Fabric Rope placemat with Hand Sewing
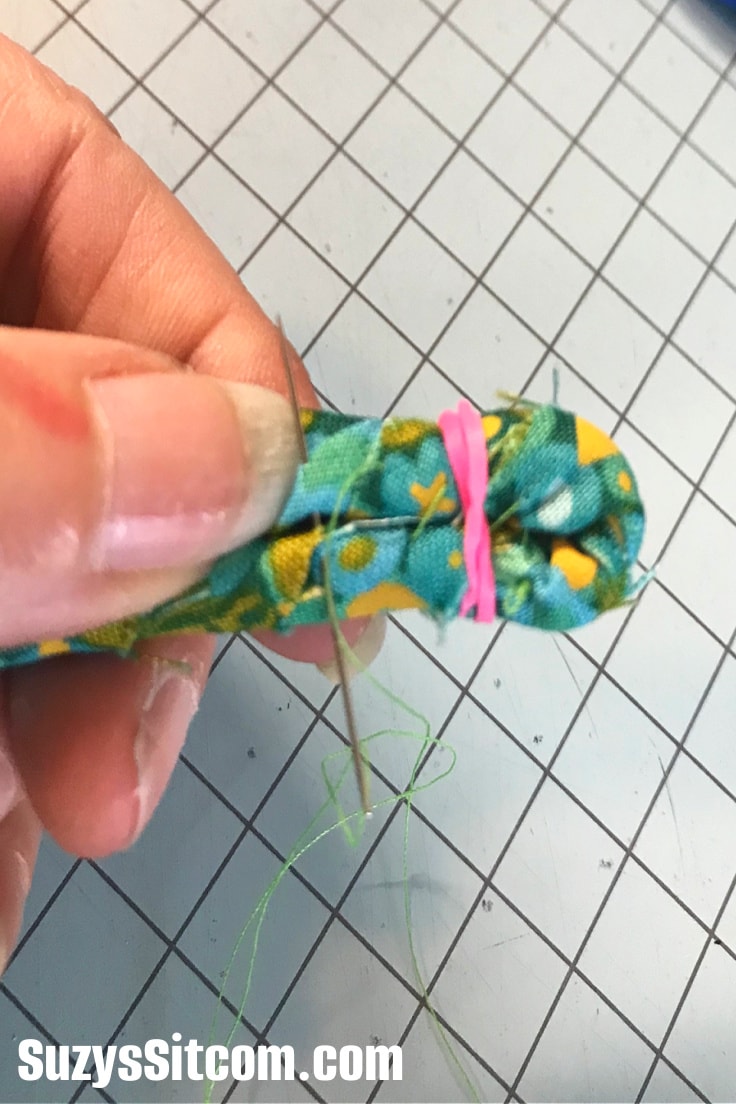
The second option for this project is to hand-sew the ropes together. Since I am a quilter, this option definitely appealed to me. Begin by folding the 4″ of fabric rope and placing the rubber bands to hold. In this case, use a needle and thread to sew them together, catching a bit of each rope as you go.
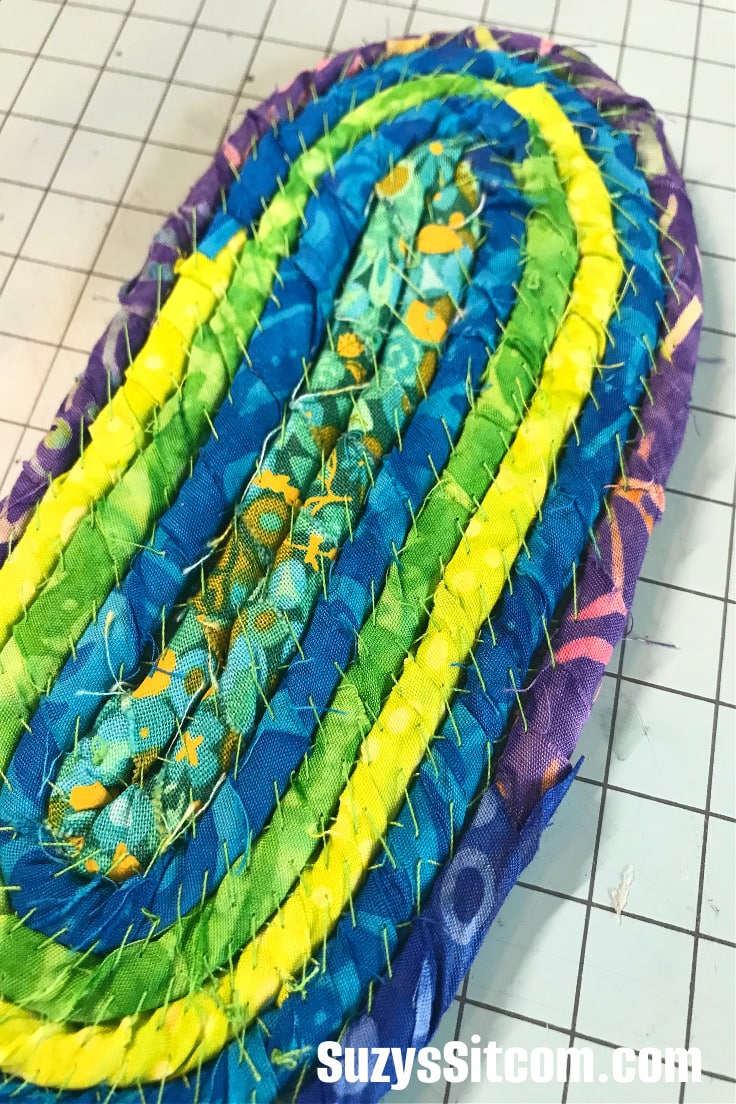
This method takes a lot more time but is a nice project for lapwork in the evening. Continue around and around until your placemat is the size that you would like. This resulted in a much softer placemat, but as I said before, it is more time-consuming.
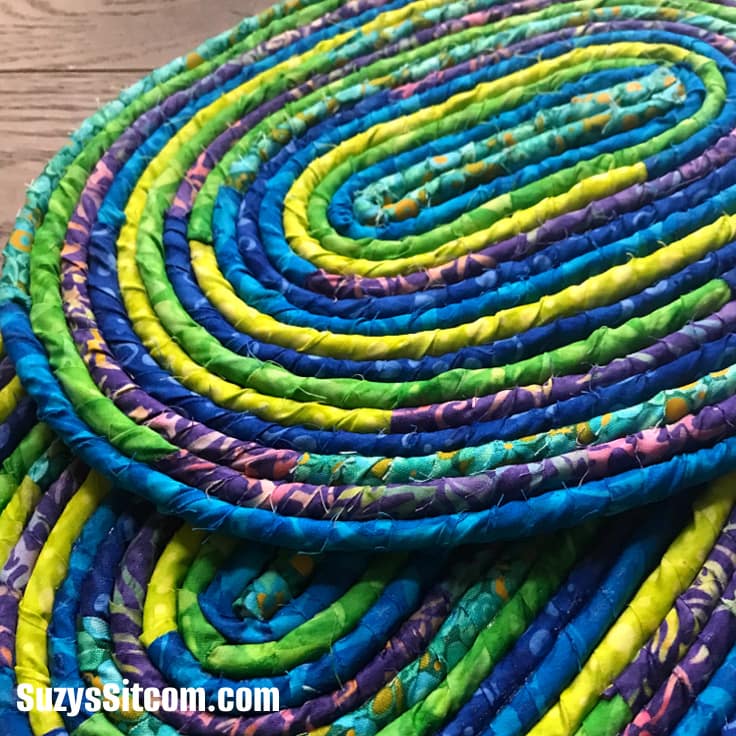
Both placemats turned out beautiful and will make a great addition to my dining table!
One note, there is a third method to create these and that involves a sewing machine. If you choose that method, use a needle meant for thick fabrics and sew with a zig zag stitch. This method is fast, but the look of the placemat will be much different with zig zag stitches on both the front and back.

Make something beautiful and recycle those fabric scraps at the same time! Here’s the printable card with everything you need to know about how to make DIY Fabric Rope Placemats!

DIY Fabric Rope Placemats
Equipment
- 1 Needle and Thread Optional (Only needed if you choose the hand sewing method)
- 1 Wax paper
- 2 rubber bands
Supplies
- 50 feet 3/16" cotton rope
- 5 ea Various fabrics Batik is good for no fraying. As many colors as you like
- 1 ea Permanent Fabric Glue
Instructions
- Cut fabric into 1" strips
- Add a line of fabric glue to rope and begin wrapping the fabric around the rope.
- Continue wrapping and adding touches of glue until you have about 15 feet of fabric rope to work with.
- For glue method, fold about 4" of rope for the center, add glue and clamp with rubber bands to hold. Place project on wax paper and then begin coiling around using glue to hold coils in place. Allow to dry. Clip out rubber bands.
- For the hand sew method, fold about 4" of rope for the center and clamp with rubber bands to hold. Use needle and thread to hand sew the coils in place. Clip out rubber bands.
Love the ideas you see here on Ideas for the Home by Kenarry®? Subscribe today to get our FREE DIY & Craft Planning Calendar, plus our weekly Ideas in Your Inbox newsletter filled with creative tips and exclusive offers!
More Fabric Crafts
If you enjoyed making the Fabric Rope Placemats, then you might enjoy some of my other fabric crafts ideas on SuzysSitcom! Here are just a few:
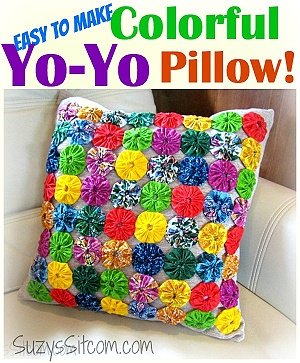
How to Make Beautiful Fabric Wall Art

How to Make Batik Fabric with Crayons

You may also enjoy these 3 Fabric Craft ideas on Ideas for the Home by Kenarry® –
Instructions were great! I loved making these placemats. Thank you for sharing.
Hi Barbara,
We are SO incredibly thrilled that you liked this DIY! Feel free to email us photos of your creation at su*****@*****ry.com – our team would love to see them!
– Lisa, Ideas for the Home by Kenarry Customer Care