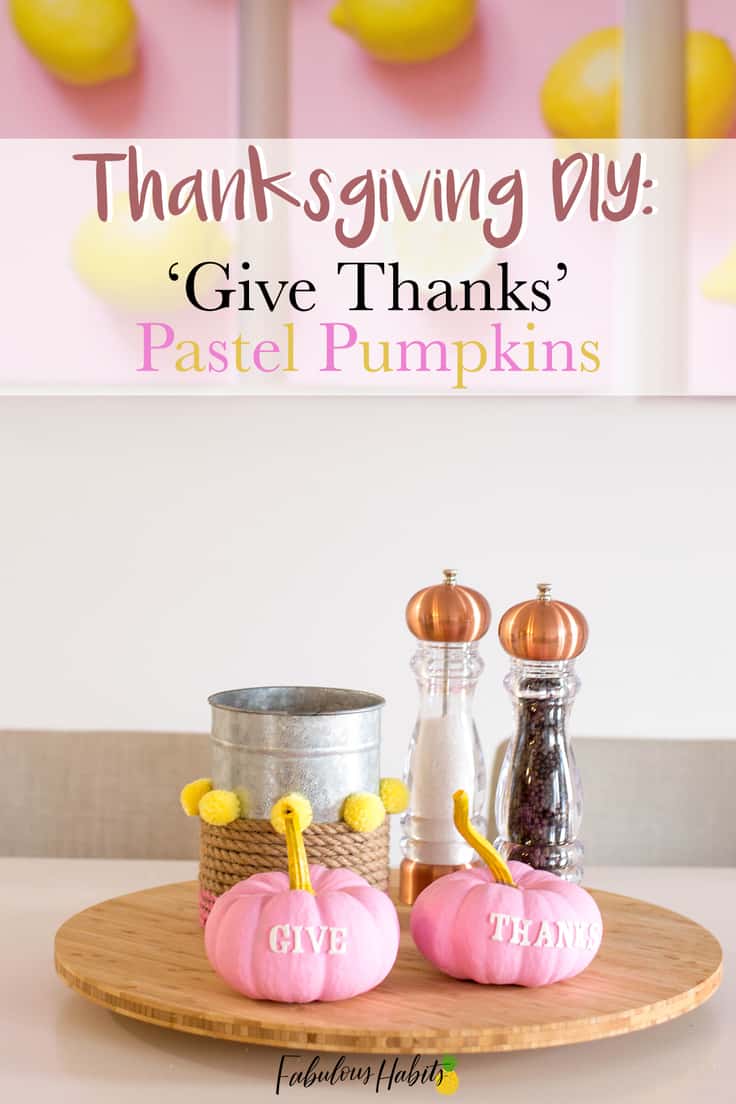
DIY ‘Give Thanks’ Pumpkins for a Pastel Party
THIS POST MAY CONTAIN AFFILIATE LINKS. PLEASE SEE OUR FULL DISCLOSURE POLICY FOR DETAILS.
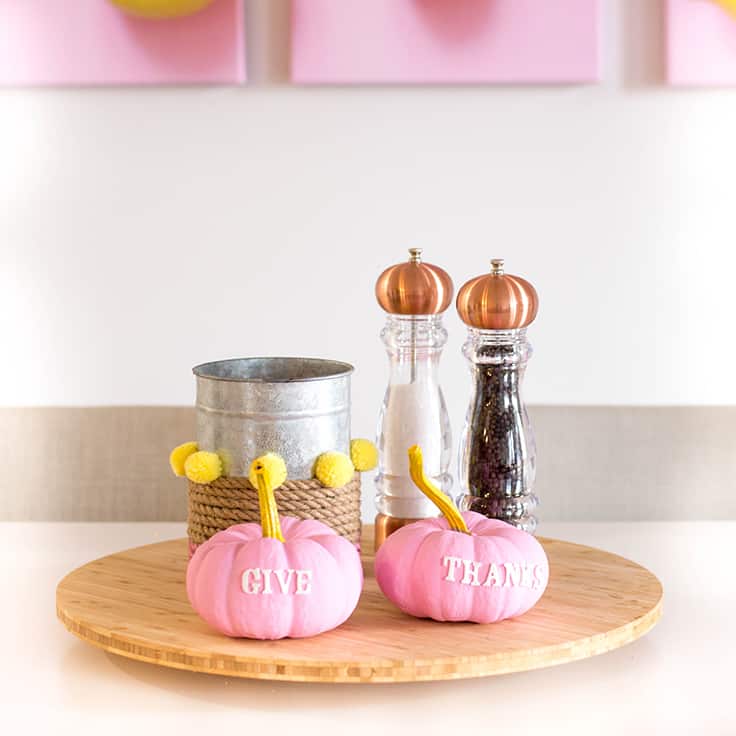
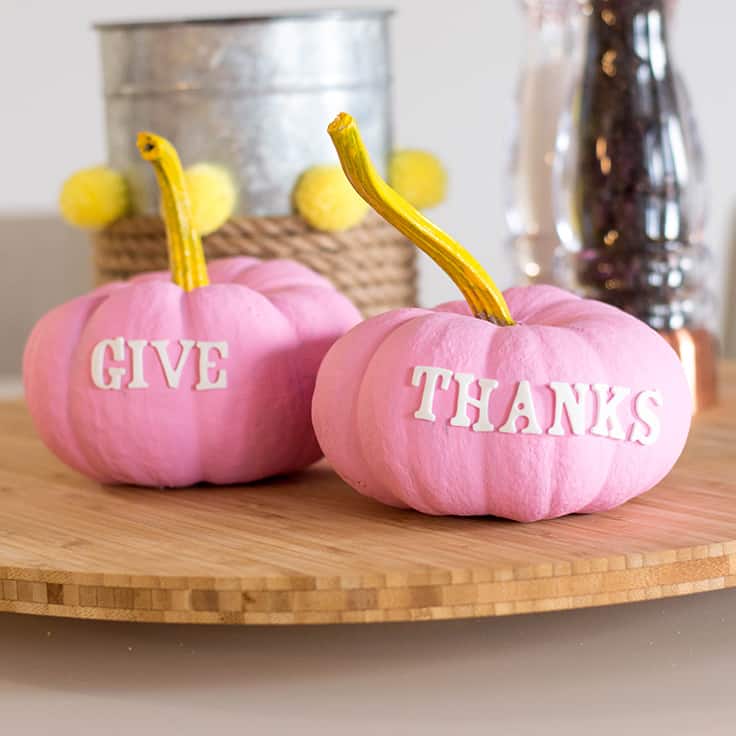
These ‘Give Thanks’ Pumpkins are easy to make and will give your Thanksgiving tablescape that touch of pastel it deserves!
Hello, hello! Lisa here, reporting for duty and you know what? I can’t believe we’re only a week away from Thanksgiving. Crazy, isn’t it?!
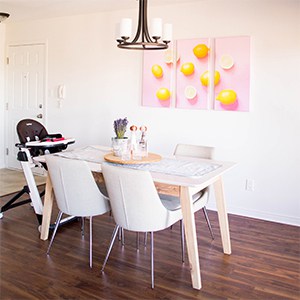
If you’ve seen my blog, Moments With Lisa, you may have noticed that I’m all about pastels. In fact, I chose a pink and yellow piece to hang on our dining room’s primary wall. It is so me and I am so happy that hubby said yes to that decorative decision!
With family in the U.S. (we live up north in good
I always try to make the most of what we have. When I saw that we had leftover pumpkins from Halloween, I thought, “How can we transition this into our Thanksgiving décor?”
Pastel Party: How to DIY Your Own ‘Give Thanks’ Pumpkins
I am embracing my love for pastels with these Give Thanks Pumpkins. I’m all about an easy DIY with how crazy my schedule gets. And trust me, this is an easy one! I was able to make these while chasing around my energy-ball-of-a-toddler!
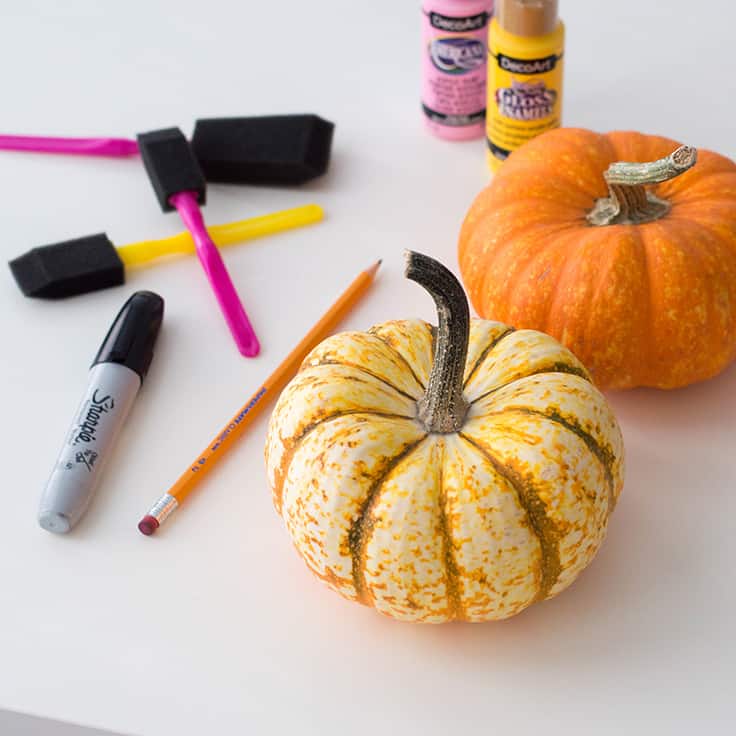
What you need:
Want more ideas like this? Subscribe today to get our weekly Ideas in Your Inbox newsletter plus other exclusive gifts and offers — all for FREE!
- A garbage bag or newspapers
- 2 small pumpkins
- 2 tubes of acrylic paint (I opted for pink and yellow – my favorites!)
- Foam paint brushes
- Your choice of: stick-on letters or a pencil and a Sharpie (if you are comfortable with your freehand skills)
Instructions:
1. Clean and Tidy!
Lay out your garbage/newspapers on your work surface. You want to make sure that everything stays clean after your project!
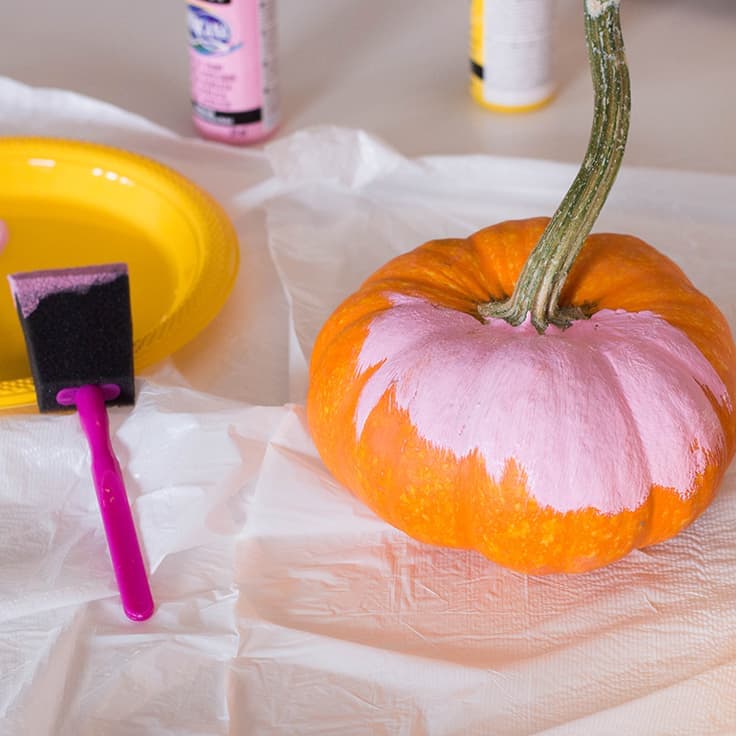
2. Paint, paint, paint
Paint each of your pumpkins with a color of your choice. Paint 2-3 coats, waiting at least an hour in between each coat. Once the pumpkin is dry, paint the pumpkin stem the other color of your choice using 2 to 3 coats as well.
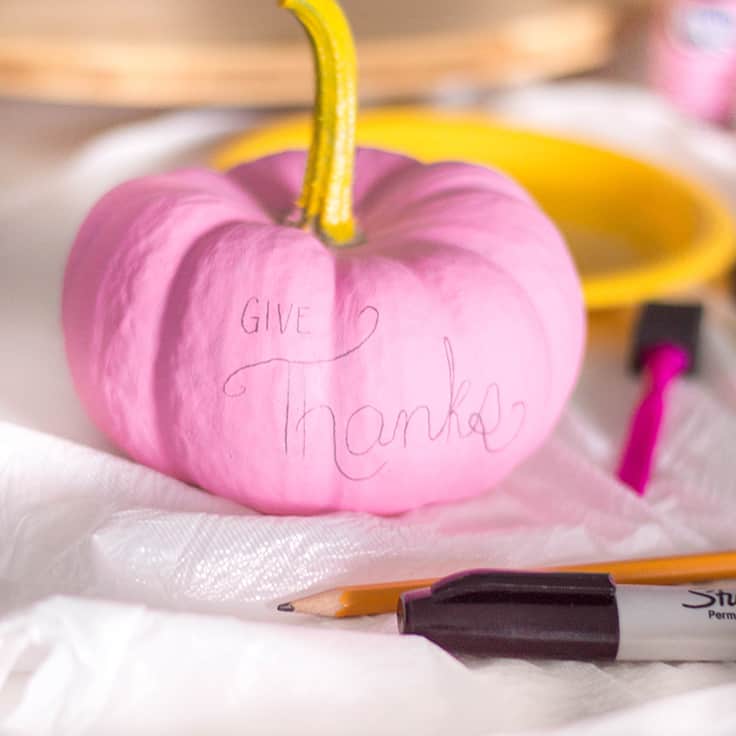
3. Creative Writing
This is where the creativity begins! If you’ve decided to use your freehand skills, draw out the words “Give Thanks” on each pumpkin with a pencil. Then, trace over it with a Sharpie.
4. …or Stick it On!
I opted to use stick-on letters and have decided to go for “Give” and “Thanks” on the pumpkins separately.

5. Display
Place as the centerpiece for your Turkey-Day spread. Happy Thanksgiving!
Master Bedroom Reveal

5 Ways to Stay Organized in the Office
You may also enjoy these simple Thanksgiving ideas on Kenarry: