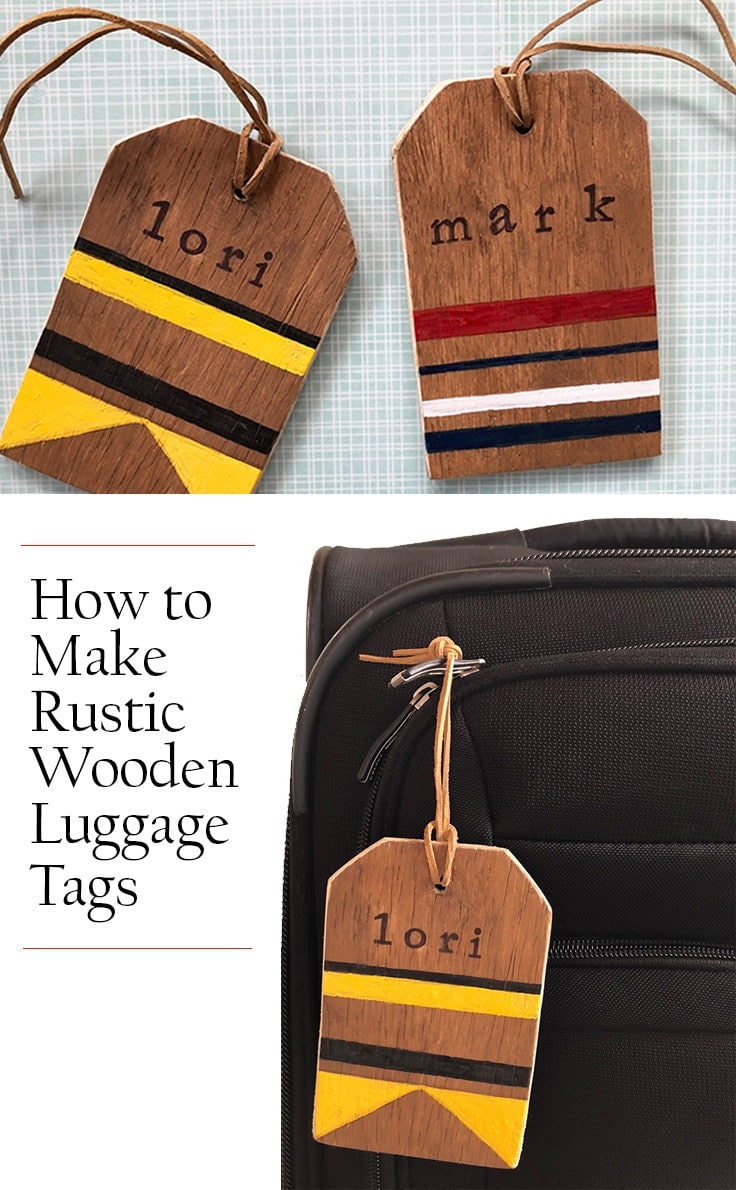
How to Make Rustic Wooden DIY Luggage Tags
THIS POST MAY CONTAIN AFFILIATE LINKS. PLEASE SEE OUR FULL DISCLOSURE POLICY FOR DETAILS.
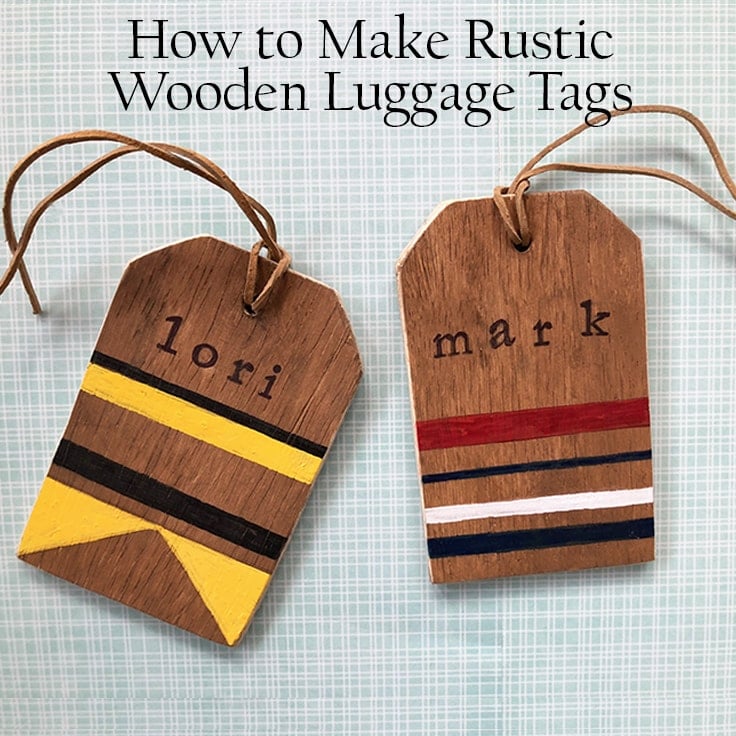
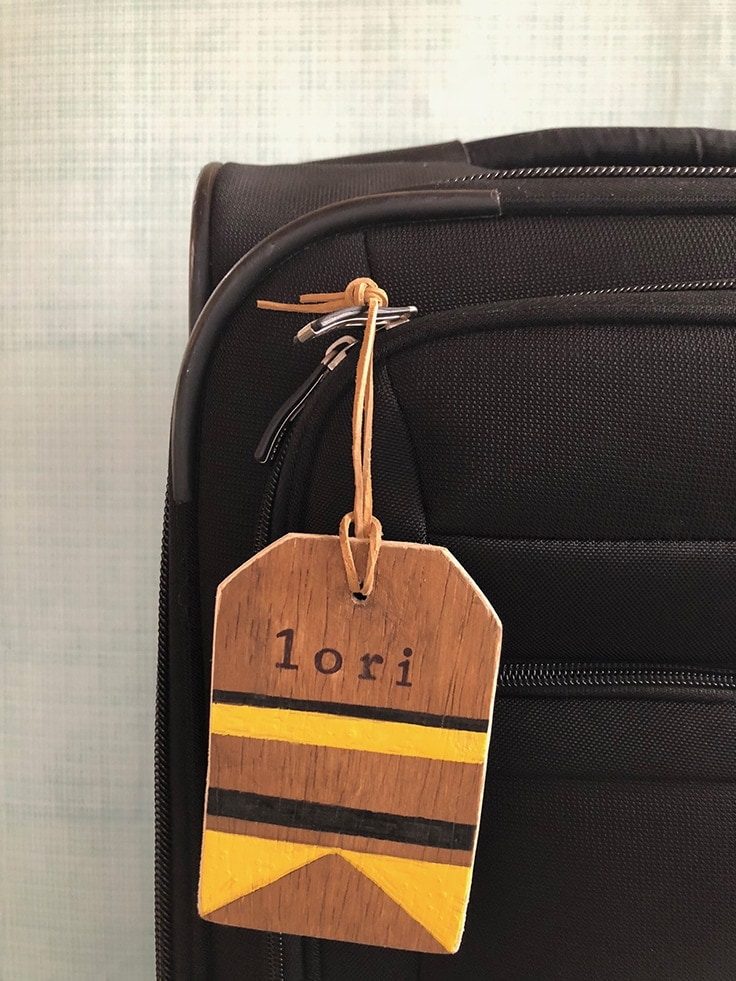
Create a unique rustic wooden diy luggage tag to add a creative flair to your bags and help make them easy to recognize.
Hi Kenarry readers, it’s Lori from Greco Design Company and today I want to share how I made these rustic, wooden diy luggage tags. They’re super durable and since they’re unique, you’ll be able to spot your bags a little quicker when traveling.
These DIY luggage tags are great if you’re planning a trip but they make great gifts too and can be designed however
How to make rustic wooden DIY luggage tags:
The rustic feel of these tags means imperfections are preferred – making this project very forgiving.
What you need:
Want more ideas like this? Subscribe today to get our weekly Ideas in Your Inbox newsletter plus other exclusive gifts and offers — all for FREE!
Supplies and Tools Needed:
- Sheet of 1/4″ plywood
- Hand or electric saw
- Drill
- Sandpaper – 100 grit
- Acrylic based stain
- Leather cording, or ribbon of your choice
- Pencil & ruler
- Sharpie Oil Based Paint Pens
- Sharpie Ultra Fine Point Permanent Marker
- Alphabet stamp set and ink pad (optional)
Instructions:
1. Stain your plywood.
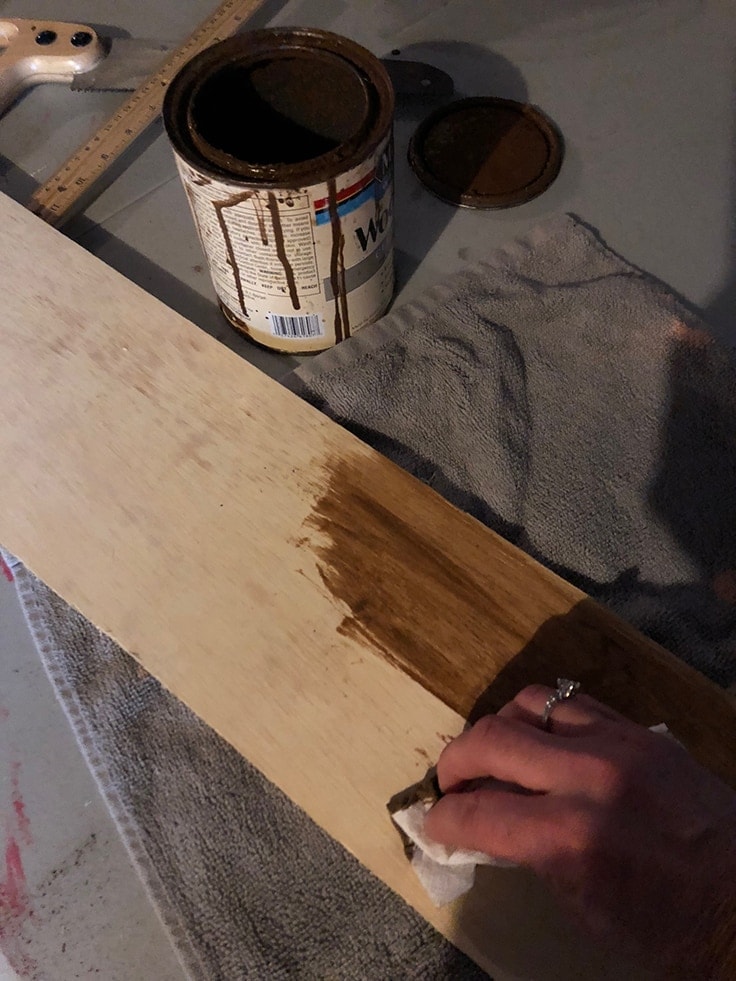
I use paper towels and rub the acrylic stain into my pre-cut plywood. I stain it before cutting because I like the edges of my tags to be unstained and lighter – as a nice contrast to the surface of the tags.
2. Cut your plywood to your tag size.
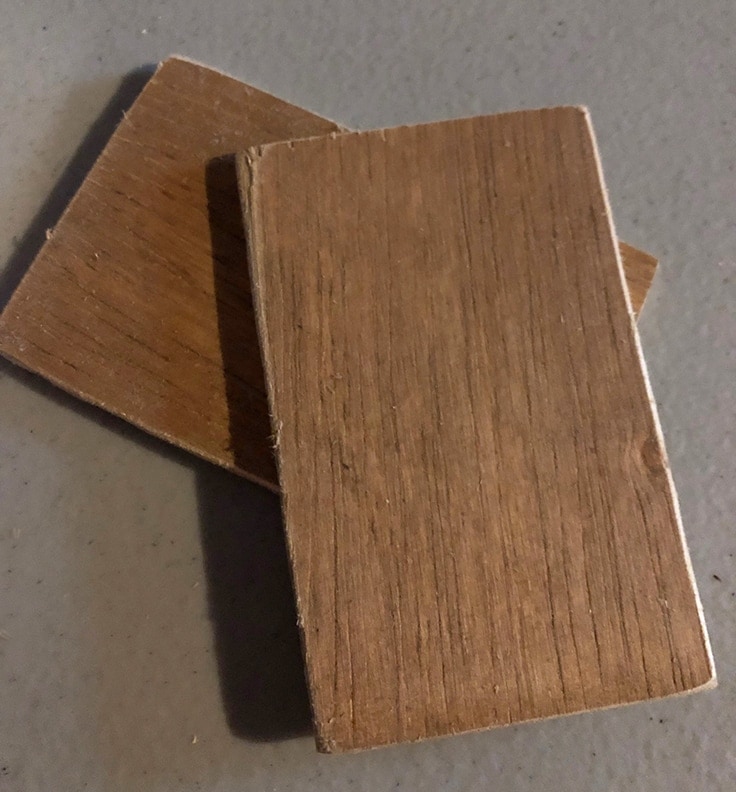
Using a hand saw, I cut my plywood pieces to 3″ x 4.25″.
3. Cut notches at the top of each tag
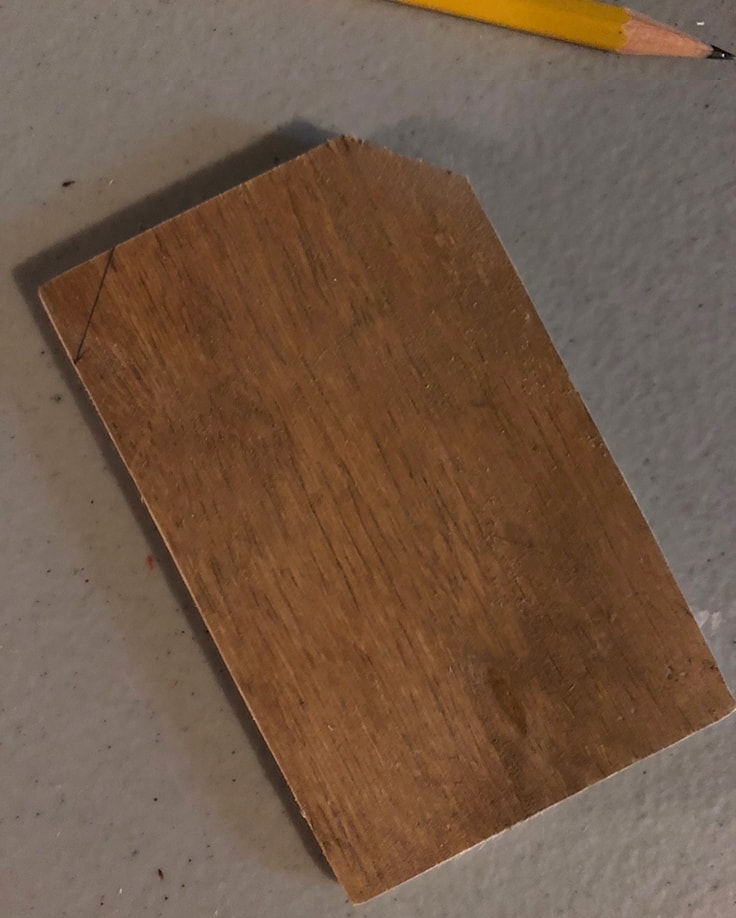
I measured 0.5″ down from each top corner and 0.5″ in from each top corner of the tags. Connect the two dots and saw off each corner along these lines.
4. Drill a hole in each tag & sand all the edges.
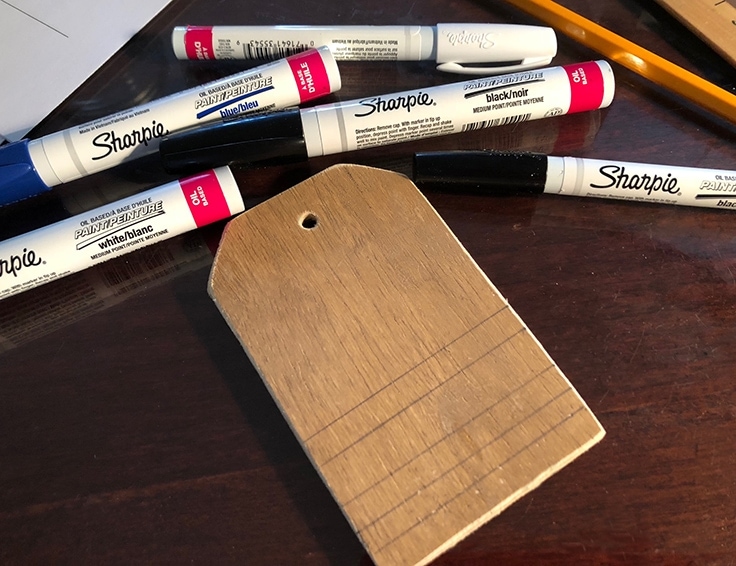
Using a drill, carefully drill a hole into the top of your tag for hanging. Then, sand the edges and around the hole of each tag. I used 100 grit sandpaper.
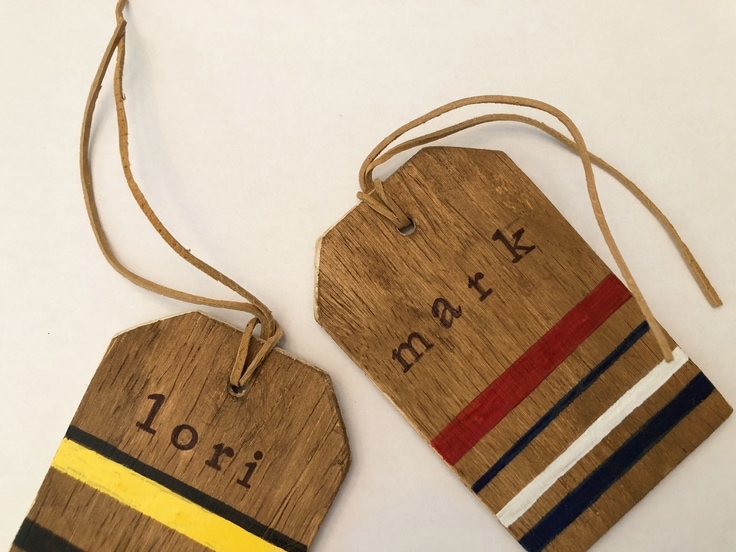
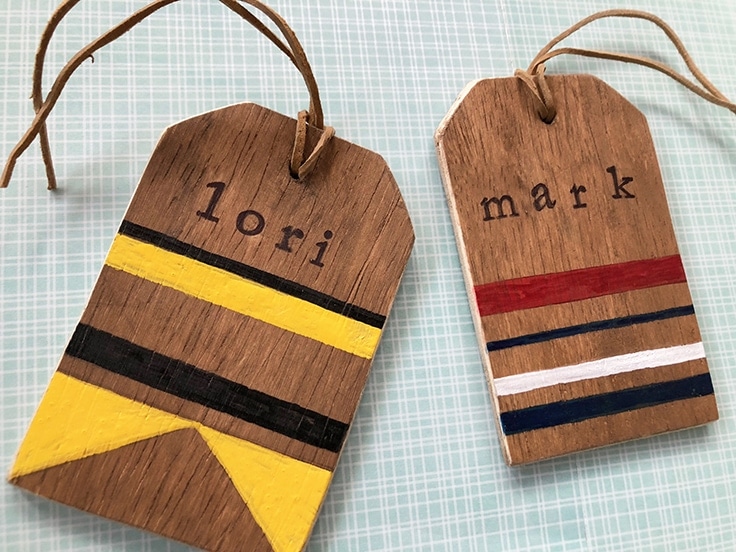
5. Decorate your tags.
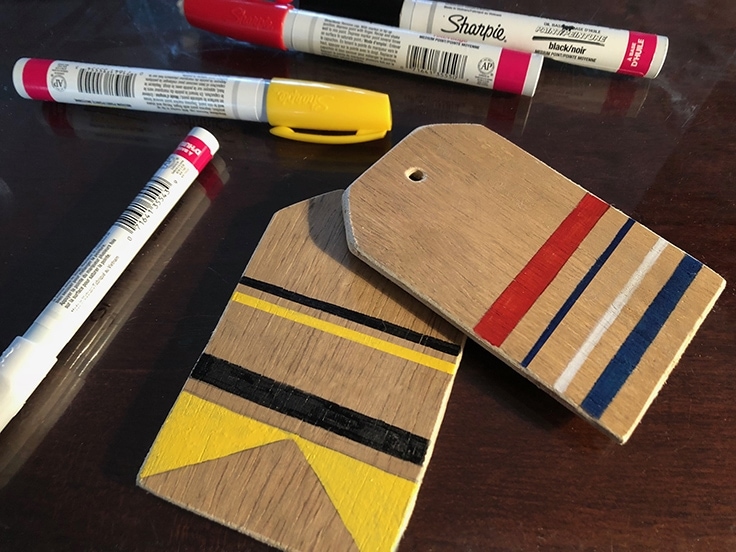
Now it’s time to add your designs. Oil Based Sharpie Pens work great on the wood surface to create designs. I did simple geometric shapes but you can add a monogram or a more elaborate design.
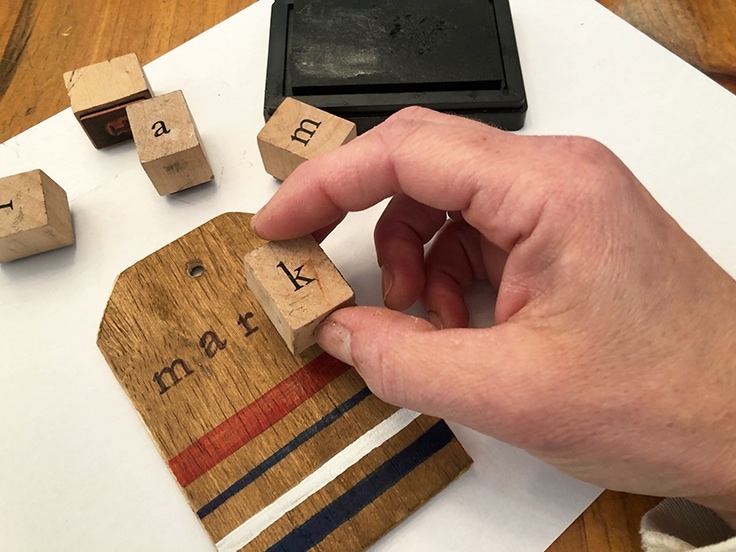
I also used my alphabet stamp set and added our names to the front. Have fun with it – make it your own!
7. Add the cording.
I used thin leather cording and looped it through the tags for easy hanging. You may prefer to use ribbon or twine.
8. Add your personal information.
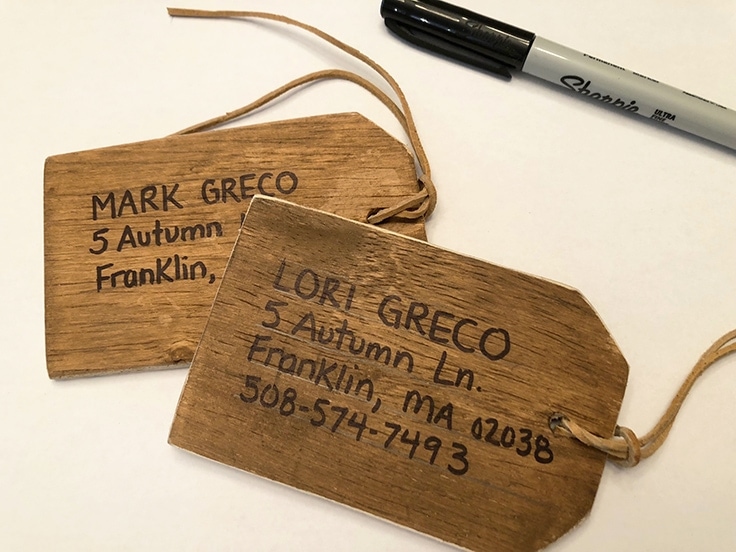
Next, add your personal information onto the back of the tags. First, I drew horizontal lines with a pencil so my handwriting would be straight. Then, using a Sharpie Ultra thin point marker, I added our information.
Now I have custom-made wooden luggage tags!
And they’ll be put to good use because we’re traveling to Grand Cayman this month!
What’s next?
I hope you enjoyed this post and be sure to check out these related posts from Greco Design Company:
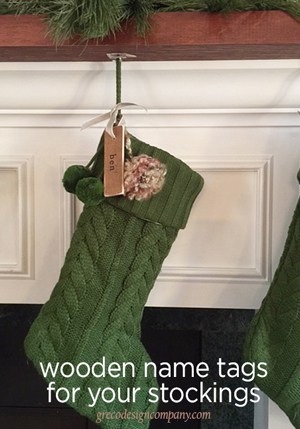
Wooden Name Tags for your Stocking
DIY Summer Wood Sign

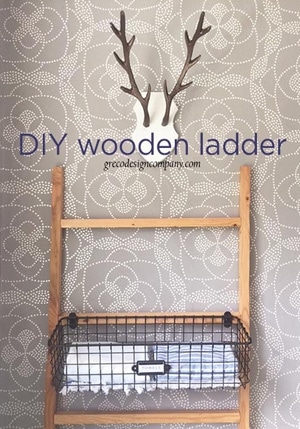
DIY Wooden Ladder
You may also enjoy these craft ideas on Ideas for the Home by Kenarry® –
One Comment