How To Make A DIY Pumpkin Candle Holder
THIS POST MAY CONTAIN AFFILIATE LINKS. PLEASE SEE OUR FULL DISCLOSURE POLICY FOR DETAILS.
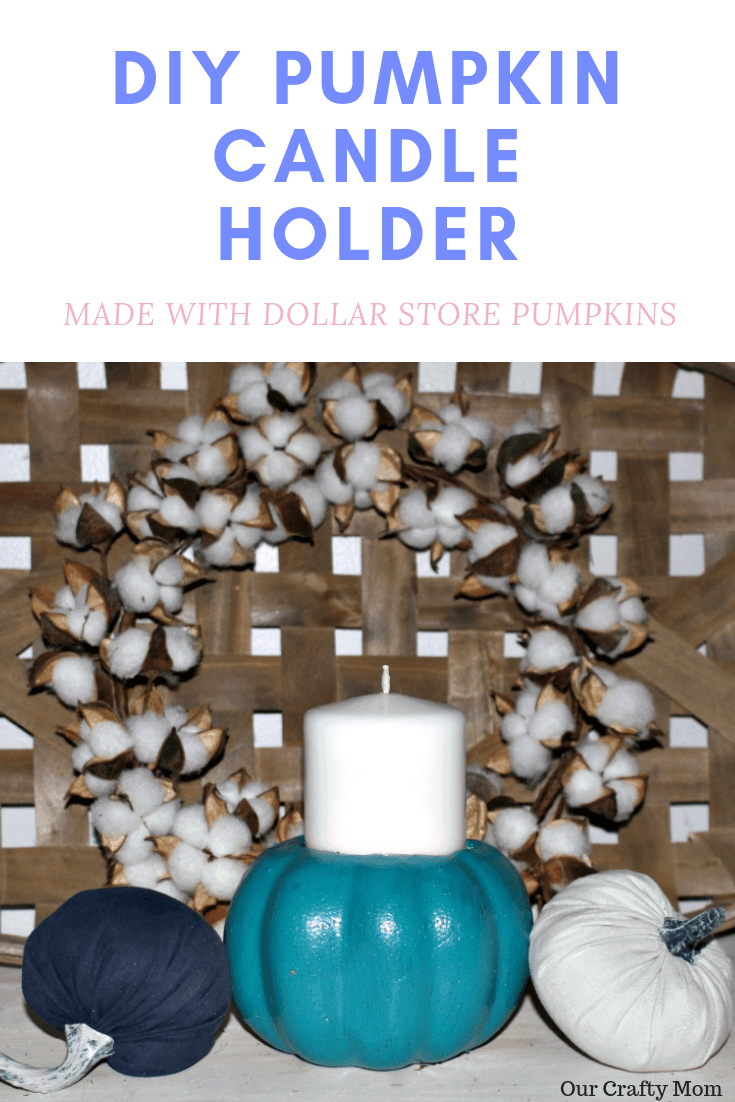
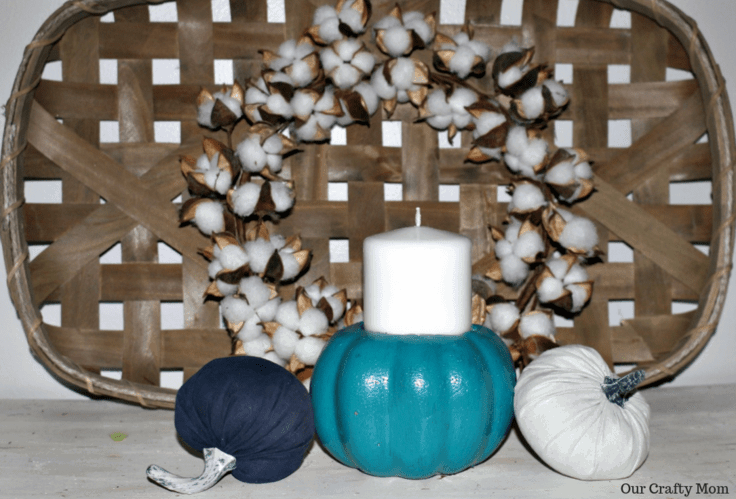
Make a DIY Pumpkin Candle Holder to enjoy this fall season. This adorable home decor idea uses dollar store items to make this an inexpensive and fun idea.
Hello Kenarry Readers! It’s Michelle from Our Crafty Mom. Every year I like to make at least one new home decor project for each season. I really enjoy working with foam dollar store pumpkins, because they are so versatile. Not only can you paint them whatever color you want to match your home decor, but you can also easily cut them, as they are hollow. Today I’ll show you how to make a DIY pumpkin candle holder using dollar store pumpkins.
As soon as the dollar store comes out with their pumpkins, I scoop them up, as they tend to sell out very quickly! You can see the dollar store pumpkin topiary I made last year. It is one of my favorite DIY pumpkin crafts and I look forward to bringing it out this year.
How To Make A DIY Pumpkin Candle Holder
Want more ideas like this? Subscribe today to get our weekly Ideas in Your Inbox newsletter plus other exclusive gifts and offers — all for FREE!
There is nothing better than quick and easy crafts and this adorable pumpkin candle holder can be made in under 30 minutes-minus drying time. Plus it is under $5-you can’t beat that!
What You Need:
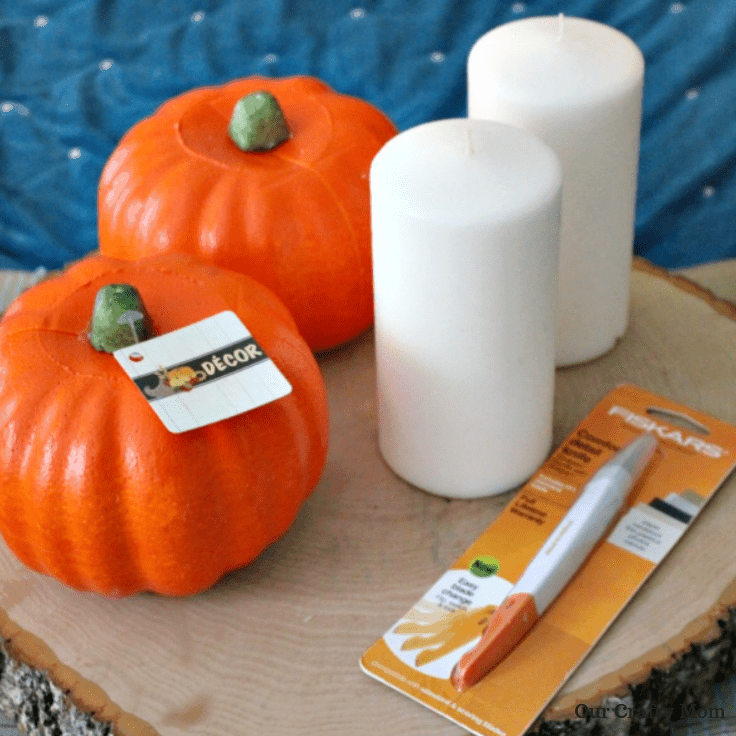
- Hollow Foam Pumpkins (You can also find these at the dollar store.)
- Craft Knife
- Paint Of Your Choice
- Pillar Candle
- Paint Brush
- Wax
Instructions:
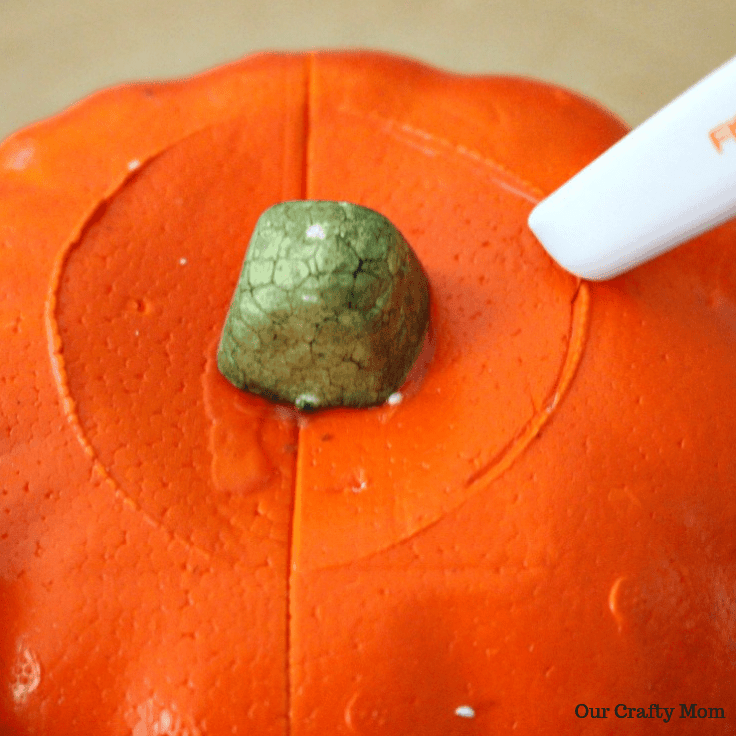
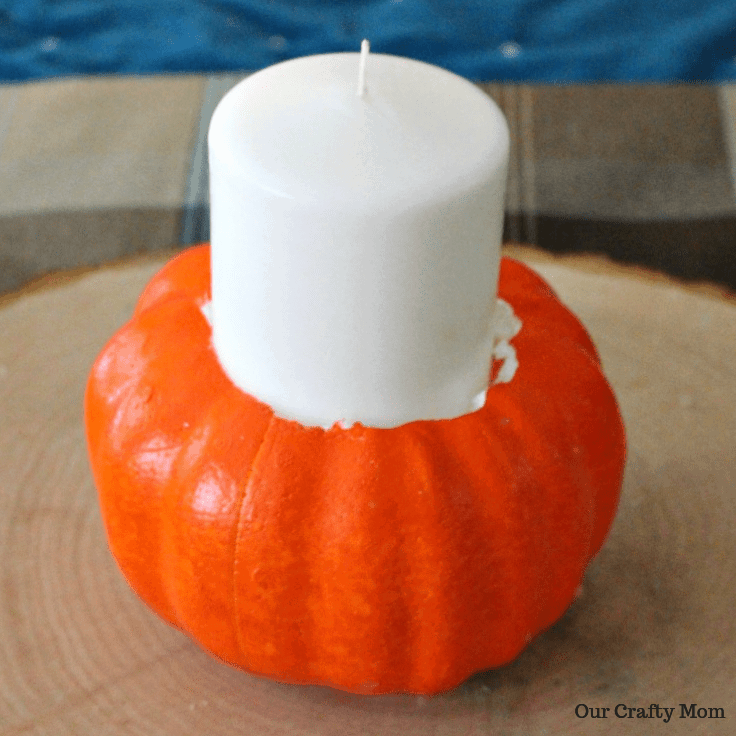
1. Cut The Pumpkin
Use your craft knife to hollow out the pumpkin to fit the size of the candle you bought. This was so easy as the round line, already on the pumpkin, was the exact size of the candle I bought.
Remove the foam from the inside so the candle fits nice and snug.
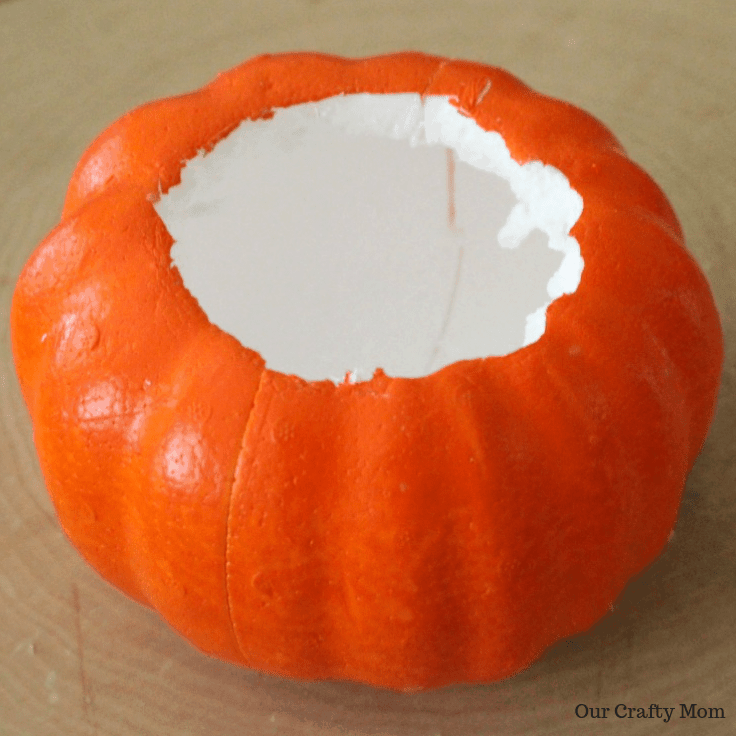
Place the candle inside prior to painting just to ensure it is the correct size. It is easier to test the cut out prior to painting.
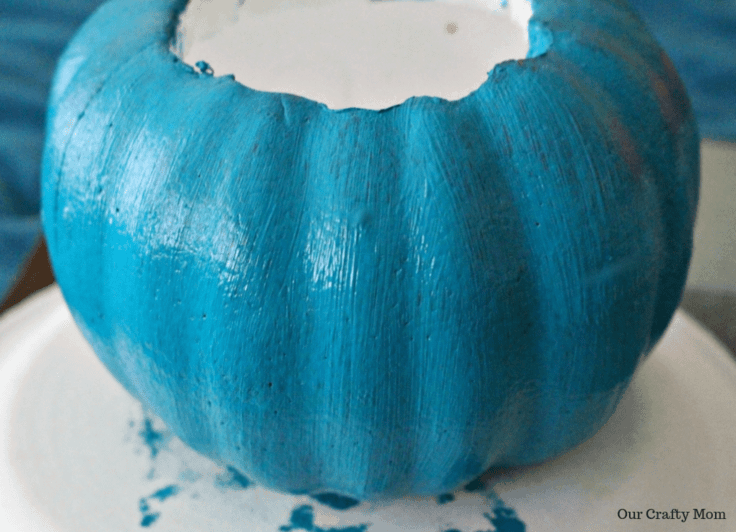
2. Paint The Pumpkin
Paint the pumpkin using whatever color paint you like. I love to decorate in shades of blue and went with DecoArt’s cobalt blue. Mix it up and go with whatever color matches your decor or add bright colors to introduce a new accent!
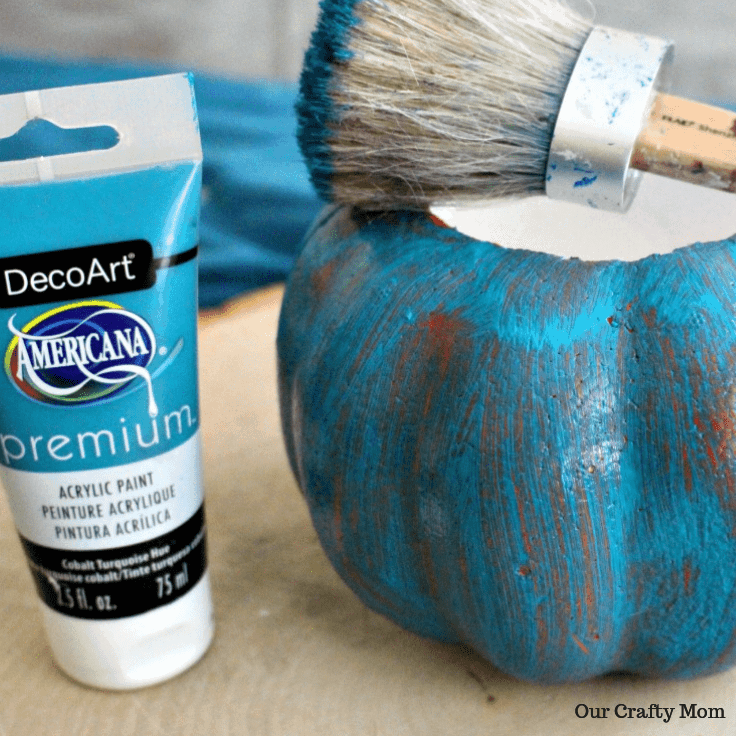
You definitely want to give the pumpkin at least 2-3 coats of paint for the best coverage. It is also best to let the paint dry in between coats.
3. Add Clear Or Dark Wax To Seal
It is best to seal your painted pumpkin with clear or dark wax. It is totally a matter of preference as to what you use. I used DecoArt’s clear wax as I didn’t want to change the beautiful blue color. It really is such a fun and vibrant color.
Allow the first coat of wax to dry and then apply a second coat. Test it to make sure it isn’t sticky. Then add more wax. Thin coats are best. Use a clean, dry cloth to buff the pumpkin until the wax is no longer sticky. Allow it to dry.
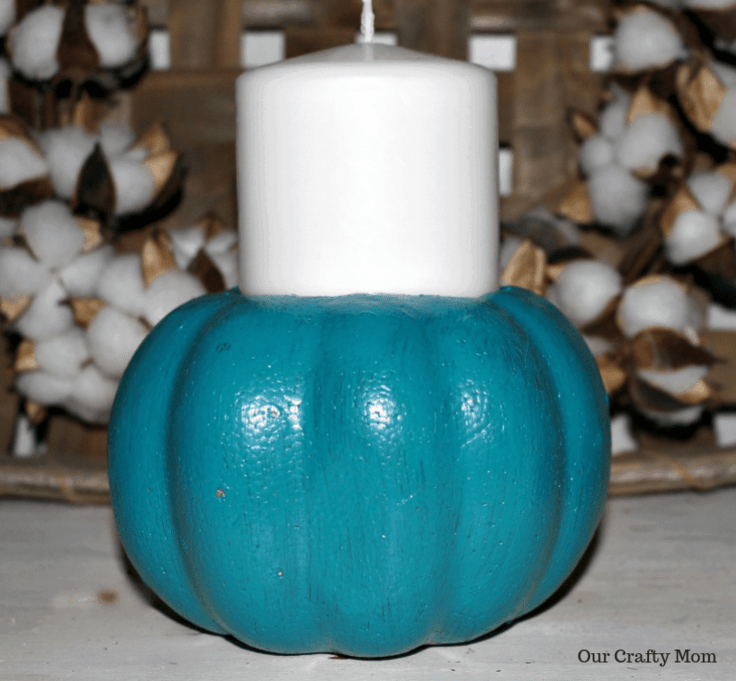
4. Place Candle In Pumpkin
Finally, just place your candle inside the pumpkin and find the perfect spot in your home to enjoy your new pumpkin candle holder. This is so versatile and can be used anywhere. I could see several of these lining a mantel, or window sill. How about a pair flanking a tablescape? The possibilities are endless.
I hope you enjoyed this fun pumpkin project and will check out my blog when you get a chance. Let me know you are visiting from Kenarry. I love to meet new friends!
Save this project by pinning the image below:

Love the ideas you see here on Ideas for the Home by Kenarry®? Subscribe today to get our FREE DIY & Craft Planning Calendar, plus our weekly Ideas in Your Inbox newsletter filled with creative tips and exclusive offers!
Also, check out these great fall projects from Our Crafty Mom:
For more great fall craft ideas check out these favorites on Ideas for the Home by Kenarry® –
This definitely needs some floral accents added to it. Way too plain & blah!!
Hi Monique,
The wonderful thing about these kinds of crafts is that you can adjust it to your specific tastes!
Happy Crafting!
Carrie