DIY Ribbon Bulletin Board
THIS POST MAY CONTAIN AFFILIATE LINKS. PLEASE SEE OUR FULL DISCLOSURE POLICY FOR DETAILS.
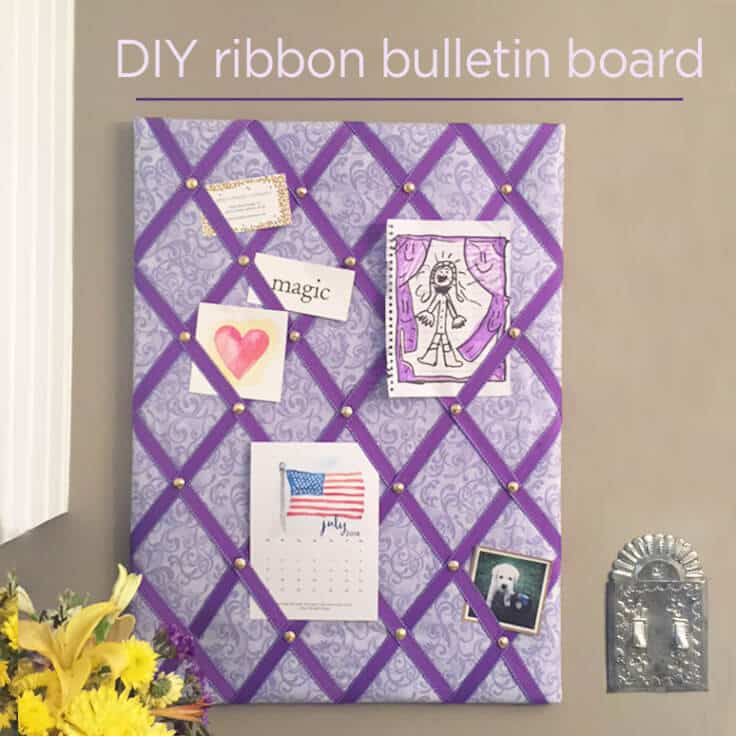
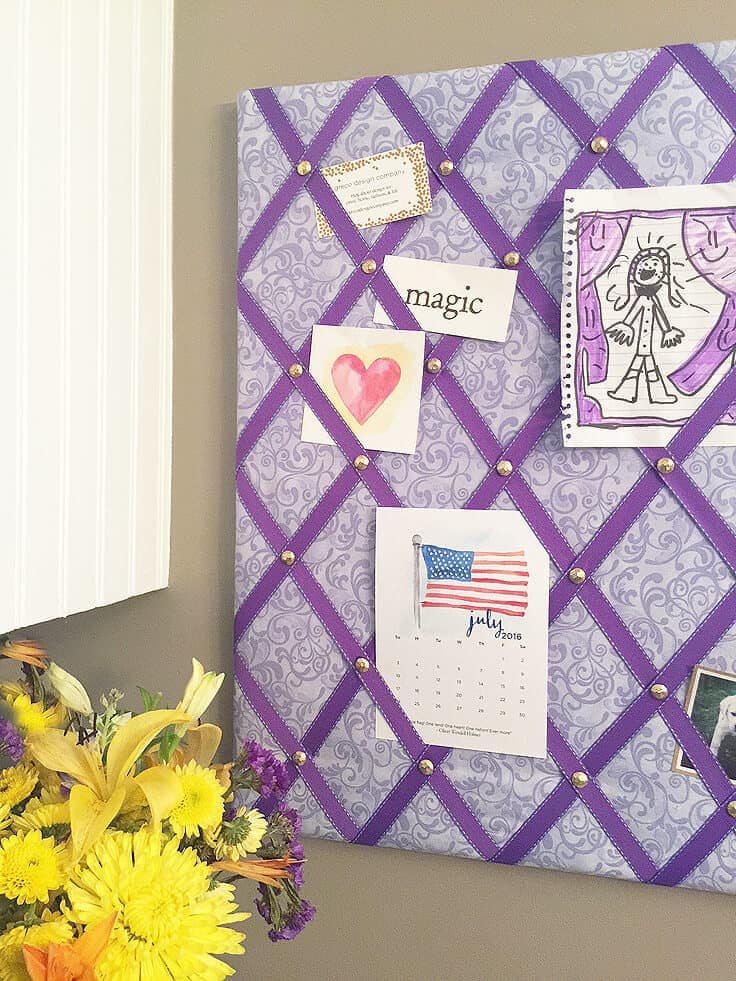
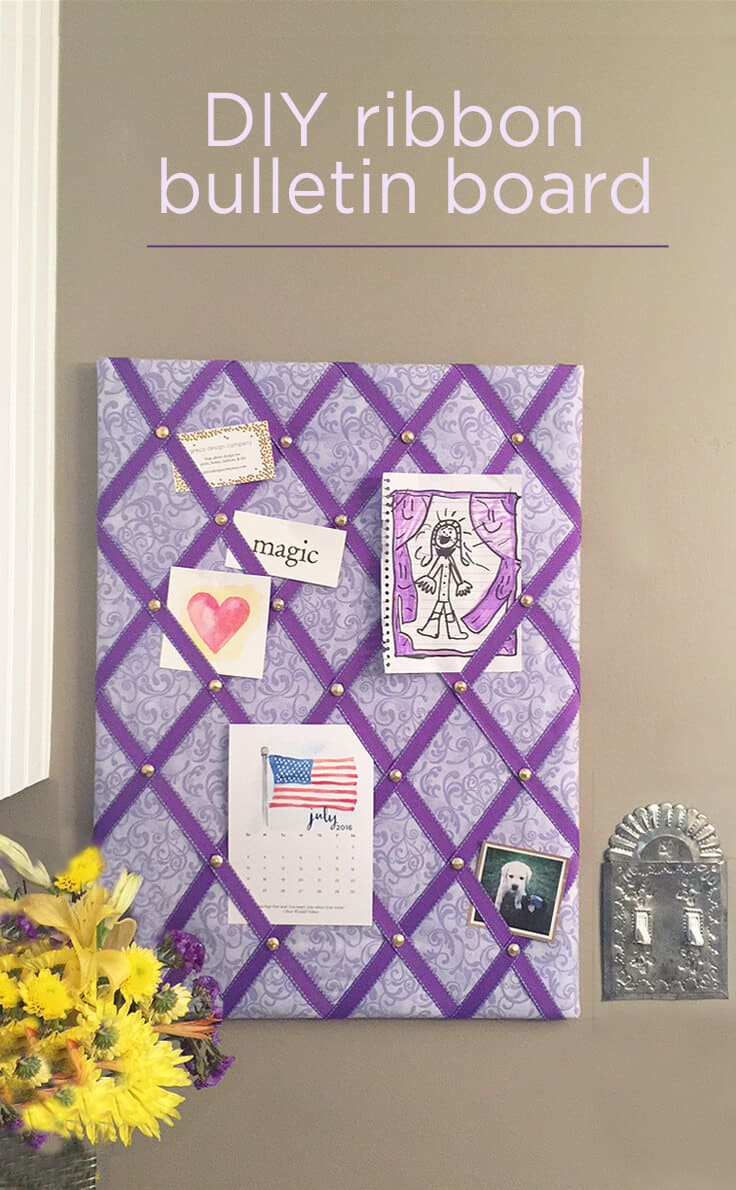
Make your own DIY ribbon bulletin board that’s both pretty and useful! Customize them with different fabrics and ribbons for great gift ideas.
Hi Kenarry readers, it’s Lori from Greco Design Company here today to share a great DIY project with you that requires very little skill, money or time!! This DIY Ribbon Bulletin Board is a pretty way to hold useful items like tickets, photos, recipes, and invitations without push pins or magnets.
I’m sure you’ve seen these boards before but they’re very hard to find in stores. They also look like they would be a little challenging to make. Recently a friend asked me to make her two of them for gifts so I gave it a try and found that they were super easy and I just loved how they came out! So I wanted to share this fun, easy, and useful project with you.
Here are the instructions on how to make your own DIY Ribbon Bulletin Board:
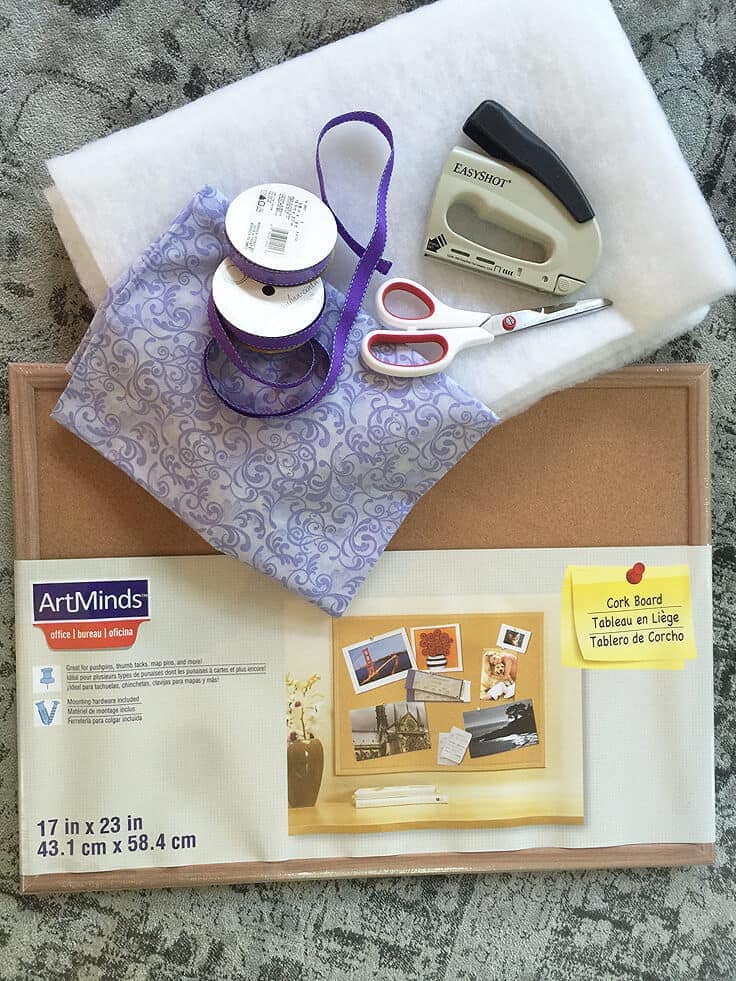
You’ll need the following materials:
– A framed cork board – I found mine at Michael’s and it’s 17 x 23”
– Fabric – cut to be about 4” larger than your board around all edges
– Ribbon – I used a little over 8 yards per board to create my diamond pattern
– Batting – I used the 6oz. mid-weight thickness and cut it to the same size as my board
– Rounded tacks or decorative nails
– Scissors, ruler and a staple gun
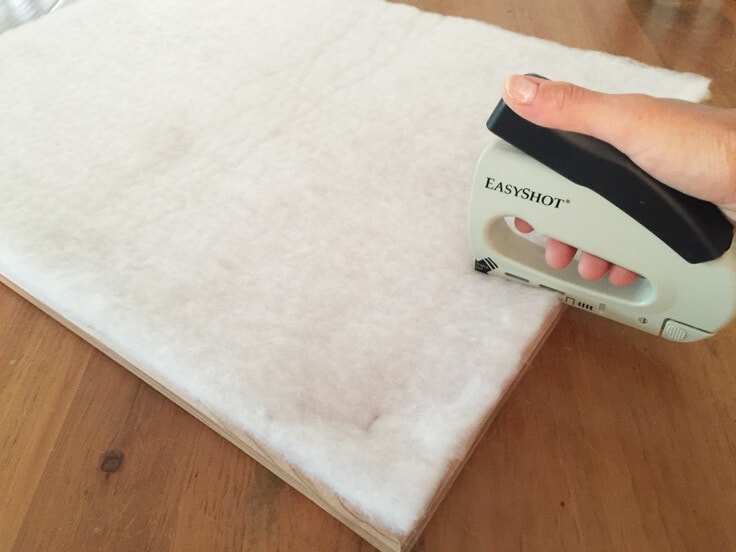
First, place your batting on top of your cork board. Trim it to fit if needed and staple the batting to hold it in place.
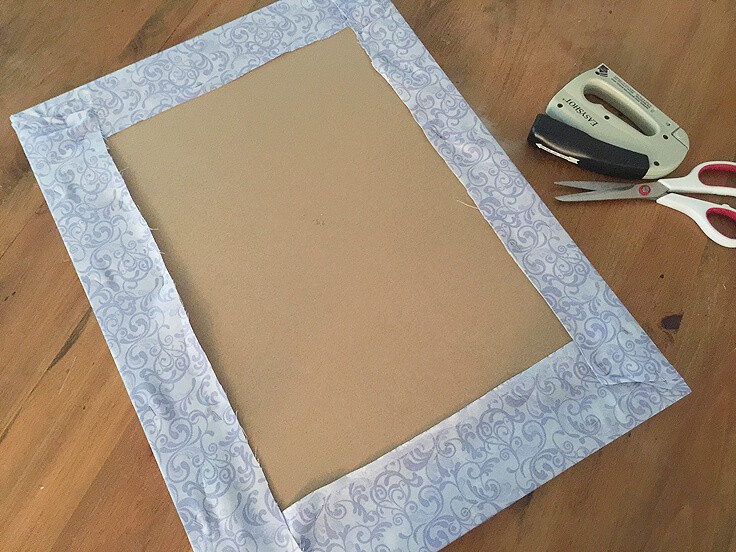
Next, wrap your fabric around the batting and board and staple it to the back of the cork board. Be sure to staple the fabric into the wood frame to be extra secure.
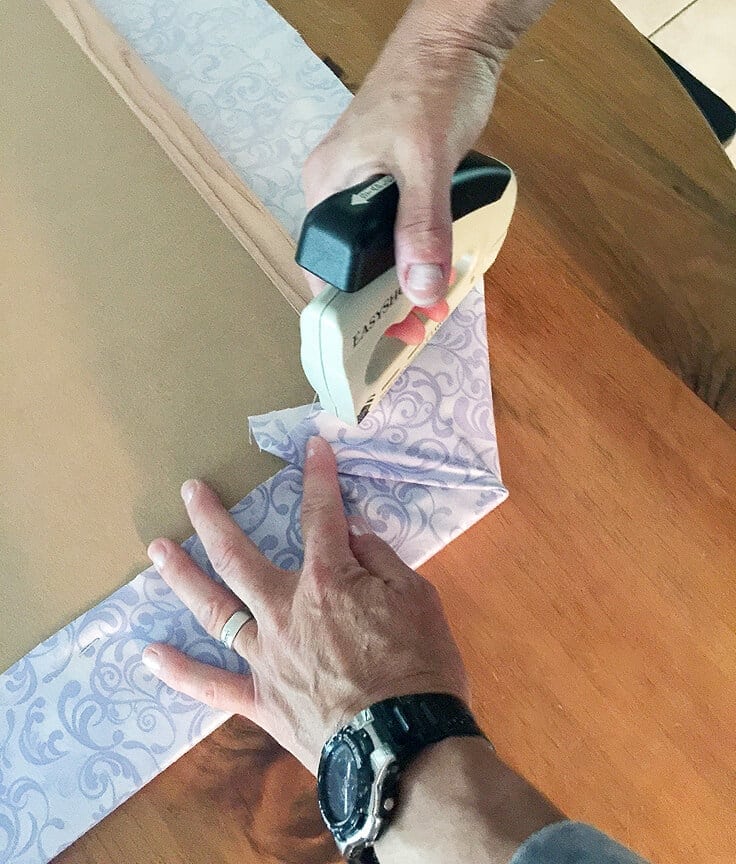
For the corners, wrap the fabric like a hospital bed sheet – tucking one side under and overlapping the other. Be sure to staple all the fabric pulling it tight as you go.
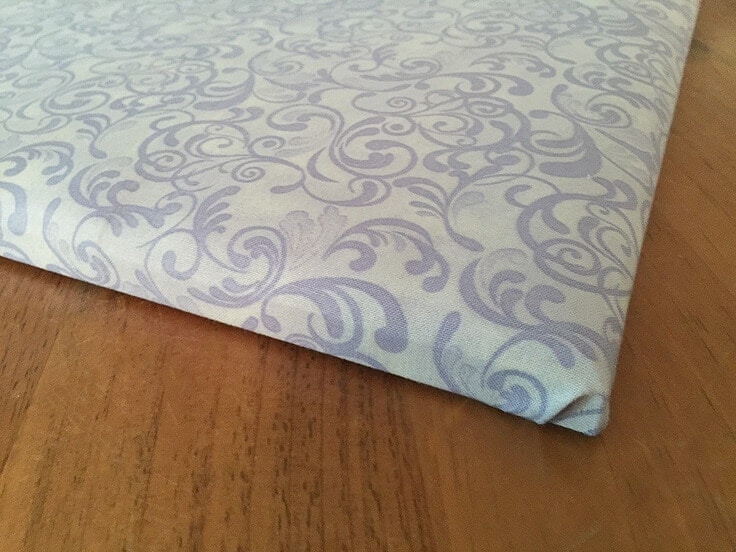
Turn the board over and you’ll see how it has a nice soft, pillow-like top. Now you’ll need to attach the ribbon. I made a diamond pattern using a total of 14 pieces and I cut them all about 3” longer on each end to wrap around the edges of the board.
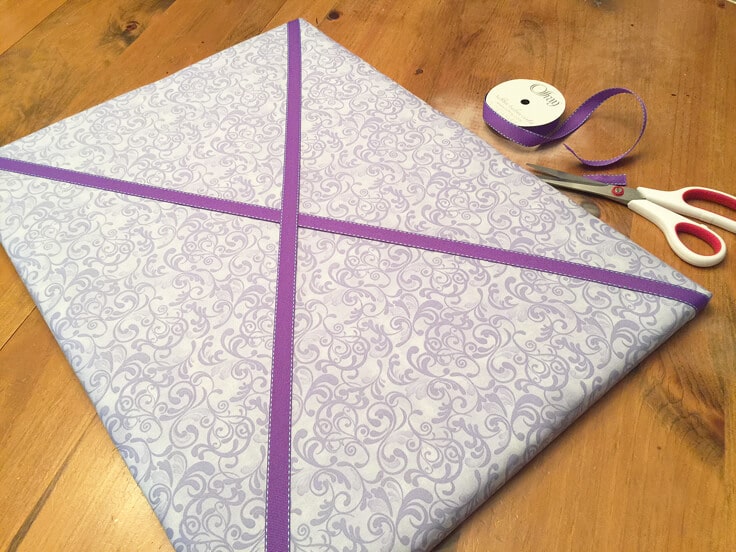
I attached the two longest pieces first that extended from corner to corner, making an X pattern. I wrapped this ribbon around the board and stapled it onto the wood frame on the back.
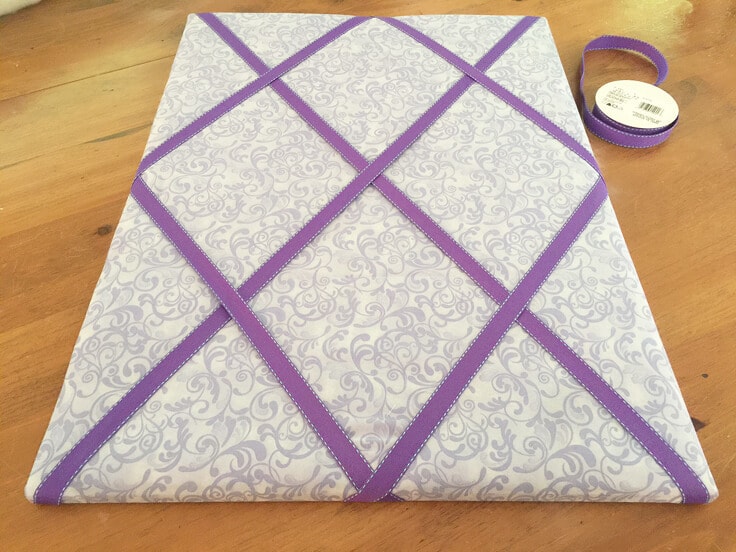
Next, I attached the four smaller pieces of ribbon, making a center diamond shape. I measured the center spot on each of the sides and marked it lightly on my board.
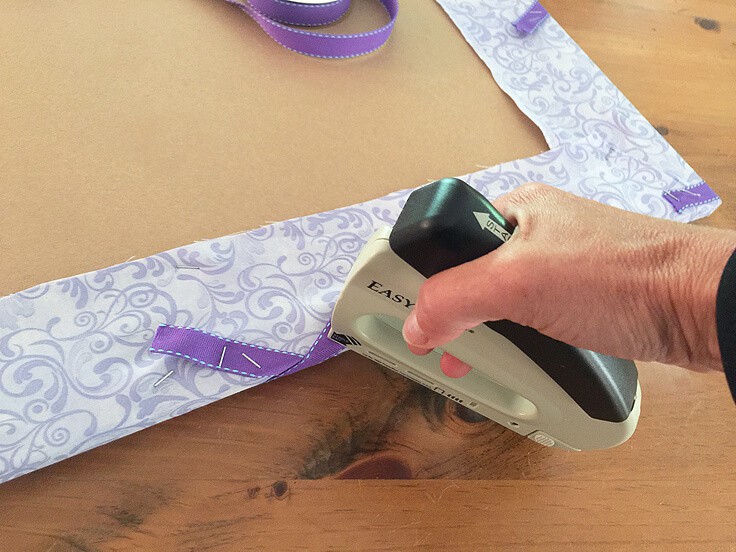
I continued to attach the remaining ribbon pieces so the diamonds were smaller and able to hold more items. Be sure to measure the center marks for each ribbon piece and pull them tight when stapling. Staple each end into the wood frame in the back too until you finish your pattern.
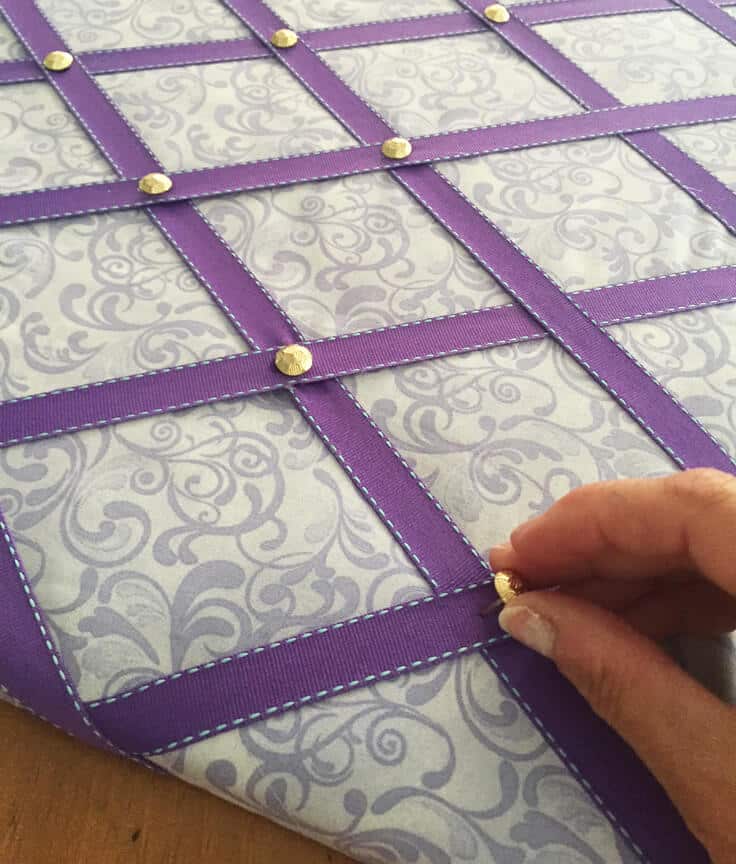
Once all your ribbon is attached, add your rounded thumb tacks or decorative nails where any of the ribbon overlaps. This helps to hold any papers in place and it also makes the piece look pretty. I also added a dot of hot glue under each tack and ribbon to hold it in place.
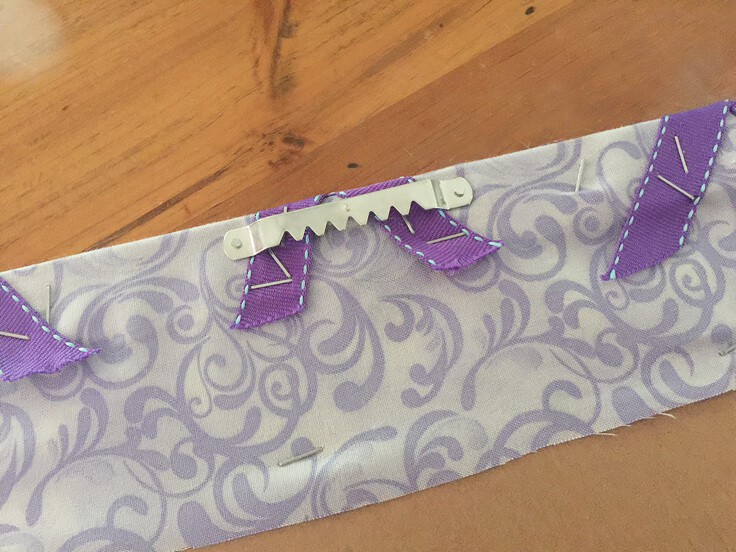
I added a saw tooth hanging bracket on the back of my board – be sure it’s centered on the frame. Now your DIY ribbon bulletin board is ready to hang and display all the fun, useful items.
You can customize your DIY Ribbon Bulletin Board with different fabrics and ribbons making them a little more personal and great gift ideas. This piece would look great in a girl’s bedroom, a family command center or a home office.
If you enjoyed this post, be sure to check out these other pretty organization posts:
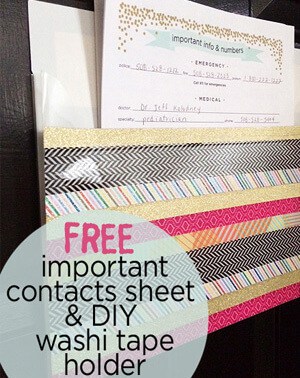
Important Contacts Sheet & Washi Decorated Organizer
DIY Notebook & Organizer
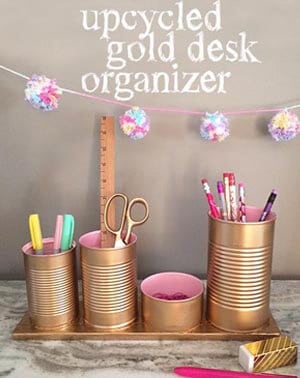
Upcycled Gold Desk Organizer
Love the ideas you see here on Ideas for the Home by Kenarry®? Subscribe today to get our FREE DIY & Craft Planning Calendar, plus our weekly Ideas in Your Inbox newsletter filled with creative tips and exclusive offers!
What’s Next?
While you’re here be sure to check out other home decor ideas on Ideas for the Home by Kenarry® –
It looks stunning and so unique! I am writing a blog post 15 DIY bulletin boards and include your project in my post : http://hngideas.com/diy/home-projects/15-diy-bulletin-boards-quick-and-easy-project/
Awesome! Thanks for letting us know, Jessica! We’re thrilled you chose to include this DIY Ribbon Bulletin Board tutorial in your awesome round up.
I just made this and it turned out great, but my tacks keep popping out because they’re too short I guess. Any idea how long the ones you used are? Where to buy them? I went to Michael’s and Joann’s already.
Hi Kira,
Thanks for reaching out to us. When you inserted the tacks, did you put a dot of hot glue under each tack and under the ribbon too? That might help hold your tacks in place and keep them from popping back out. I can ask Lori Greco who created this project for us if she remembers where she bought the tacks, but you may have a lot of luck finding them at an office supply store like Staples or Office Depot. I would bet the office supply section in Target would have something cute too!
Best wishes,
Carrie
Ideas for the Home by Kenarry®
Hi Carrie, I’m new to Pintrest . I was Iooking for ideas on how to make a Ribbon Bulletin Board and I came across yours. It seems so simple to do and I can’t wait to try it. I also love your other ideas.!! Thanks again
Hi Joann,
We’re so glad you found us on Pinterest. Welcome! Welcome! You’ll do great with your DIY ribbon bulletin board – we’d love to see photos of how it turns out.
Happy crafting!
Best wishes,
Carrie from Ideas for the Home by Kenarry®
Hi, which brand of batting did you use for this?
Hi there,
Great question! Any kind of batting with work. Lori used 6oz. mid-weight thickness for this project.
Have fun creating!
Best wishes,
Carrie
Ideas for the Home by Kenarry
Hi! What width ribbon was used to create this? Thanks!
Hi Christine! I believe this ribbon was 1/2″ wide, just slightly wider than the typical upholstery tack. Hope that helps! Please let us know if you end up making this project. We’d love to see it!
Best wishes,
Robin from Ideas for the Home by Kenarry
Hi, do you think it would work without the batting? Less pillow like but easier for the pins to go into the cork board.
Yes, you can skip the batting if you’re going for a flatter look and easier pinning! Just keep in mind the ribbons might not hold papers as snugly without the extra padding. 😊 Thanks for your question!
– Lisa, Ideas for the Home by Kenarry Customer Care