DIY Rustic Pallet Sign
THIS POST MAY CONTAIN AFFILIATE LINKS. PLEASE SEE OUR FULL DISCLOSURE POLICY FOR DETAILS.
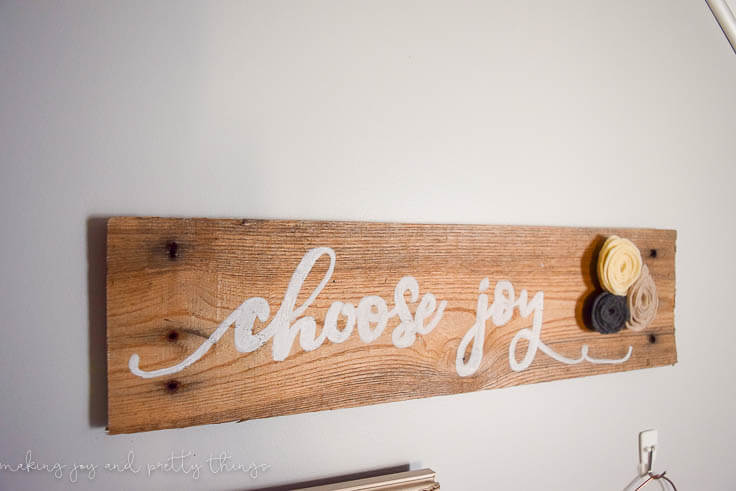
Creating your own DIY rustic sign is so simple. Learn how to turn a regular pallet into charming home decor.
Hello and Happy Fall, Kenarry readers! I’m Sarah from Making Joy and Pretty Things and I am SO excited to be part of the Creative Team. You can expect lots of farmhouse and rustic style projects from me over the next several months – starting today with a fun DIY Rustic Pallet Sign!

Pallets in Home Decor – A Farmhouse Idea
I absolutely love anything pallet related. A pallet shelf, pallet bed frame, a pallet Christmas tree, or a pallet house (okay, maybe that was a BIT too far). You get the point. The inherent rustic nature of a pallet adds a ton of character to any room or project.
But, where do you find pallets?
How to Find Pallets for DIY Projects
(If you have a pallet and just want the details on the project, skip ahead to “other supplies needed”. If you’re thinking yes!! where do I get a pallet? keep reading 🙂 )
I
I searched and searched for MONTHS even checking craigslist ($75 for a pallet?? No way!). One day, I drove past a small local pool company and spotted two broken up pallets by their dumpster.
As soon as I got home, I told my husband we were going dumpster diving. He was thrilled, of course 😉
Back at the pool place, I asked the employee if the pallets were free and she said yes! They frequently had old broken pallets by their dumpster and they were free for anyone to take!
Check Local Business for Free Discarded Pallets
So, moral of this long-winded story – check a local business! Don’t pay for a pallet. It may take some searching, but you’ll find that sweet pallet for free somewhere!
How I Prepped My Pallet for the DIY Sign
I’ll share the sign-making steps for you next. But before you begin painting, there are a few things you need to do to the pallet wood first.
1.) Disassemble the Pallet
Now, to disassemble a pallet, I could write a whole other blog post just on that. It takes quite a bit of elbow grease, as they say. We were eventually able to remove this board using the flattened side of a hammer.
2.) Cut the Pallet Boards Down to Size
Once the board was removed, we cut it down to the size we wanted (approximately 20″ long).
3.) Clean and Finish the Wood
Then we cleaned and finished the wood using this process: how to clean and refinish wood in 3 easy steps!
Disclosure: This blog post contains affiliate links for products or services we think you’ll like. This means if you make a purchase from one of these links, Ideas for the Home by Kenarry® will make a small commission at no additional cost to you so we can keep the great ideas for the home coming your way. All opinions expressed are derived from personal experience.
Other Supplies Needed:
- Assorted felt colors
- Scissors
- Hot Glue Gun
- White Paint Pen
- White Chalk
- Pen
- Tape
- “choose joy” or other printed font/saying of your choice
get the free printable “choose joy” Template
Exclusive for Kenarry subscribers, receive the FREE printable “choose joy” template by signing up below. You’ll get the download link sent directly to your inbox.
Your privacy is important to us. We promise not to spam you or share your information. You can opt-out at any time. See our privacy policy for more information.
All printables from Ideas for the Home by Kenarry® are for your own PERSONAL USE ONLY.
After you’ve signed up, watch for an e-mail to confirm your e-mail address and download the free digital printable. Plus you’ll have the opportunity to get the weekly Kenarry Ideas In Your Inbox newsletter, as well as product discounts, special offers and other content that is EXCLUSIVE for Kenarry subscribers only.
You can also join our Idea Insider VIP Club to get unlimited access to the full vault of unique and beautiful printables we offer to make gift giving, holidays and everyday life more special. A lifetime membership in our Idea Insider VIP Club is a great way to save time and money with easy access to hundreds of printable cards, tags, wall art and more right at your fingertips.
NOTE: This printable is not in the Idea Insider VIP Club. It’s available for FREE through the sign-up form above.
How To Make the DIY Rustic Sign
After your wood pallet is prepared, you are ready to make your sign! Just follow these easy steps.
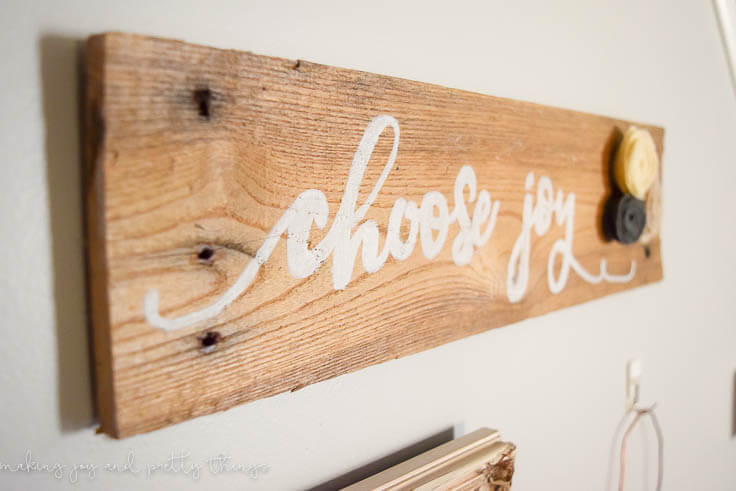
Step One: “choose joy” transfer
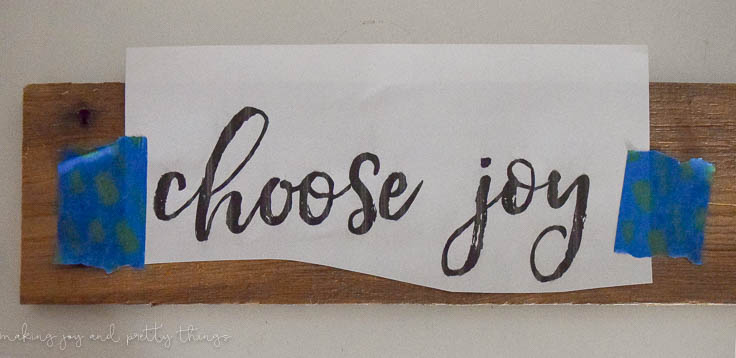
First, I printed out my “choose joy” wording using my regular ole’ computer and printer. I so wish I had calligraphy style writing and I could freehand a beautiful sign, but sadly, I do not.
You can use whatever saying you want to make a gorgeous sign or simply click on the “choose joy” wording in the supply list to download the exact one I used!
Use the white chalk to color over the BACK of the paper, making sure to hit all the spots that have letters from the front.
Once you’ve colored the back with chalk, place the chalked part down onto the wood and adhere into position using tape.
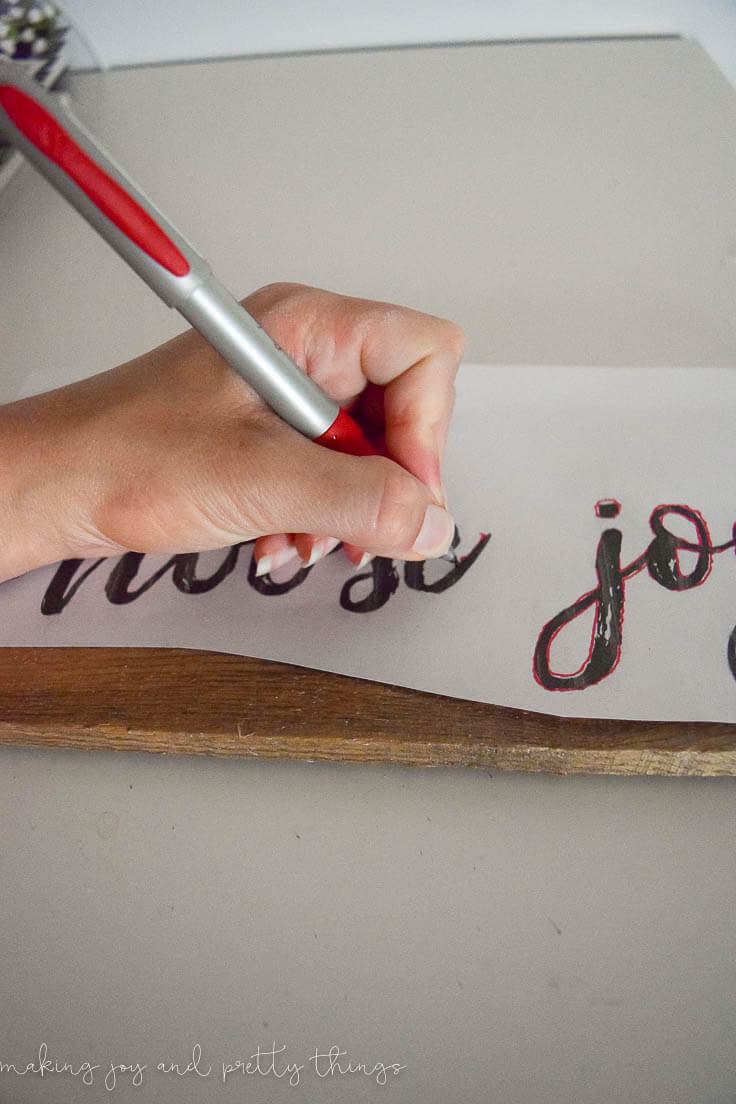
Next, trace over the outline of each of the letters using a regular pen.
You want to be sure to press firmly with the pen, just not too much that you rip the paper.
Tip: use a colored pen (like red) so you can remember where you have traced already!
Remove the tape and paper and this is what you’re left with:
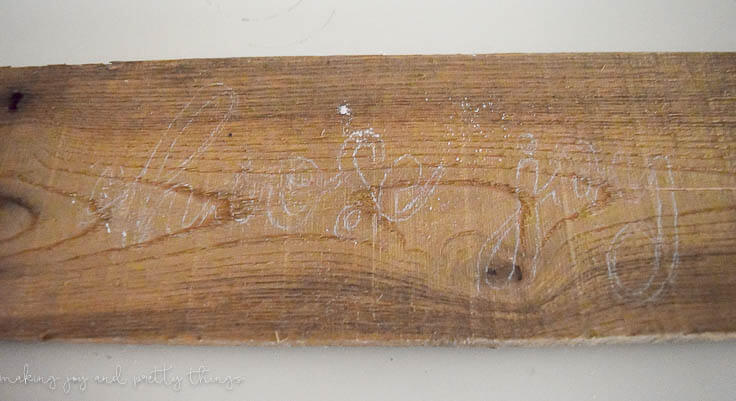
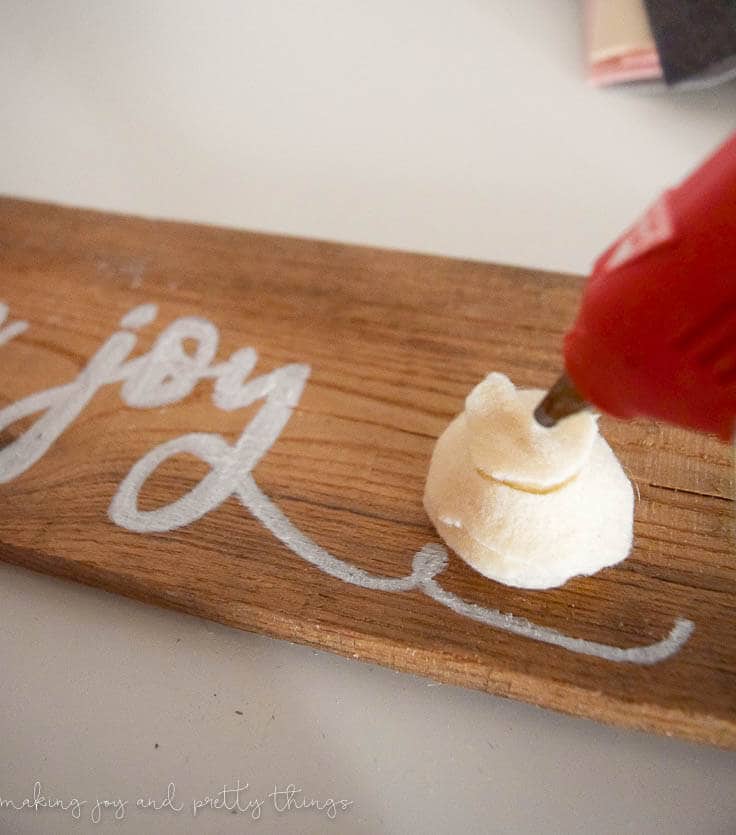
I LOVE this trick to get pretty fonts with almost zero effort. Color in the pretty outline using your favorite white paint pen and you have a perfectly worded sign without the stress of free handing.
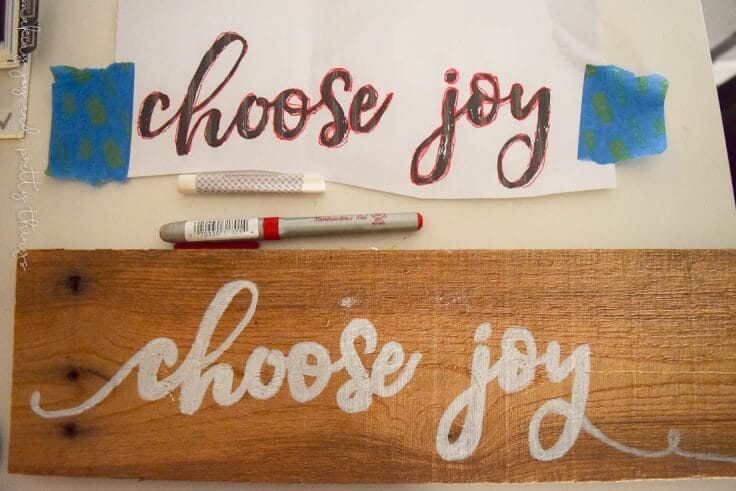
Looks pretty close, right?? I went rogue on the little twirls after the “y” and before the “c”. I’m not sure I’m totally in love with them. This is why I should just stick with the template, right?? Either way, the twirls are permanently there, and I think they’re growing on me.
Step 2: Felt Flowers
Once the wording was done, I decided to add in some felt flowers to give it a girly finish.
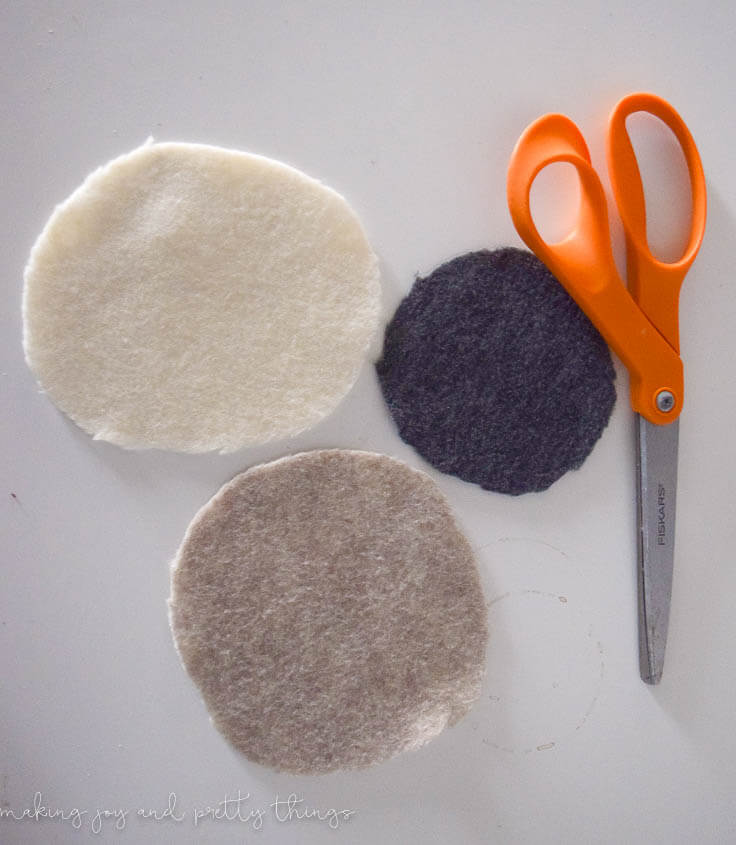
For the flowers, I used 3 different colors of felt – dark gray, a brown/tan, and off-white (all picked up at Michaels). I cut each piece into a circle (note: bigger circle = bigger flower). Two of the circles were roughly the same size and one was smaller.
See the size comparison here (ignore that coffee ring stain haha):
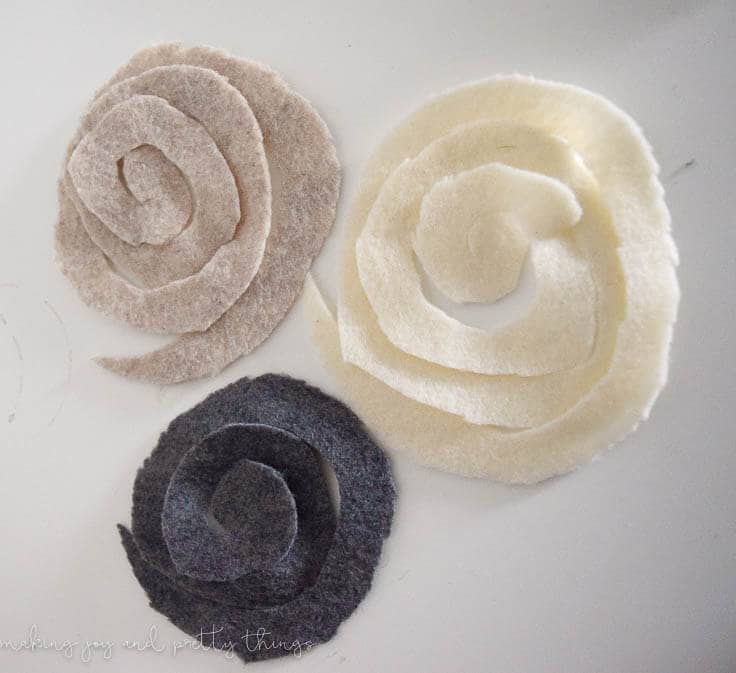
Next, using your scissors, start cutting into the felt in a spiral. You want to stay pretty close to the outside of the circle with each cut while continuing to work towards the center. You end up with this when you’re done:
Take the outside point of the felt and beginning wrapping the felt around this point. You want to keep the felt pretty close together, pulling tightly with each loop made.
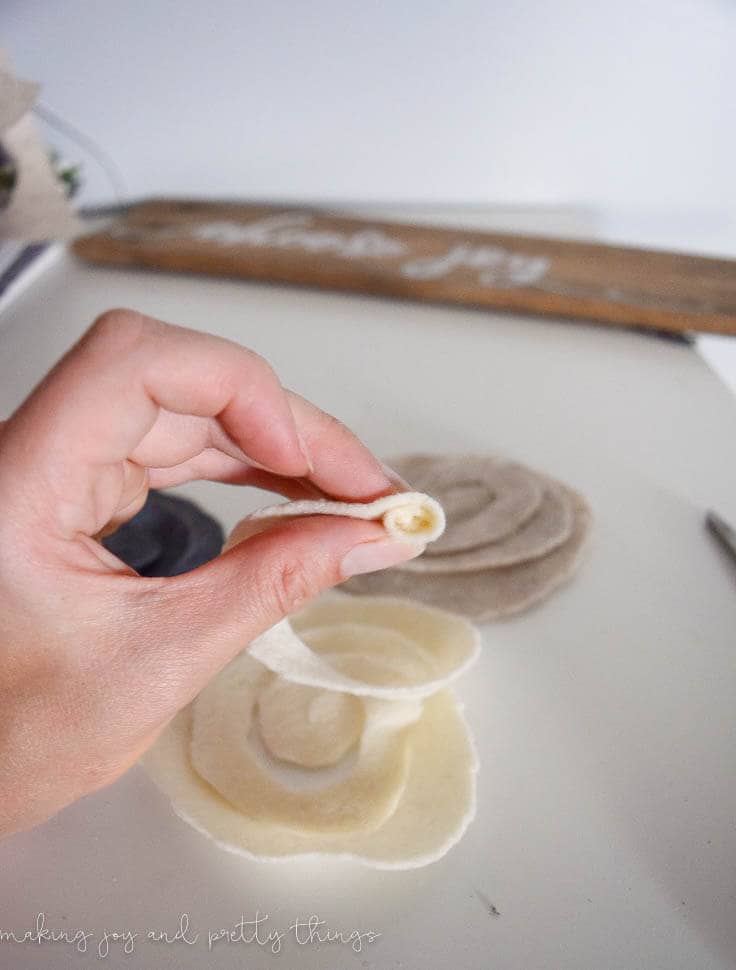
Continue wrapping until you’re out of felt. Use your hot glue gun to place a small dab on the bottom to adhere the final little piece (that holds the whole flower together).
Lastly, apply another dab of glue over the previously glued felt piece on the bottom of the flower and place on the pallet.
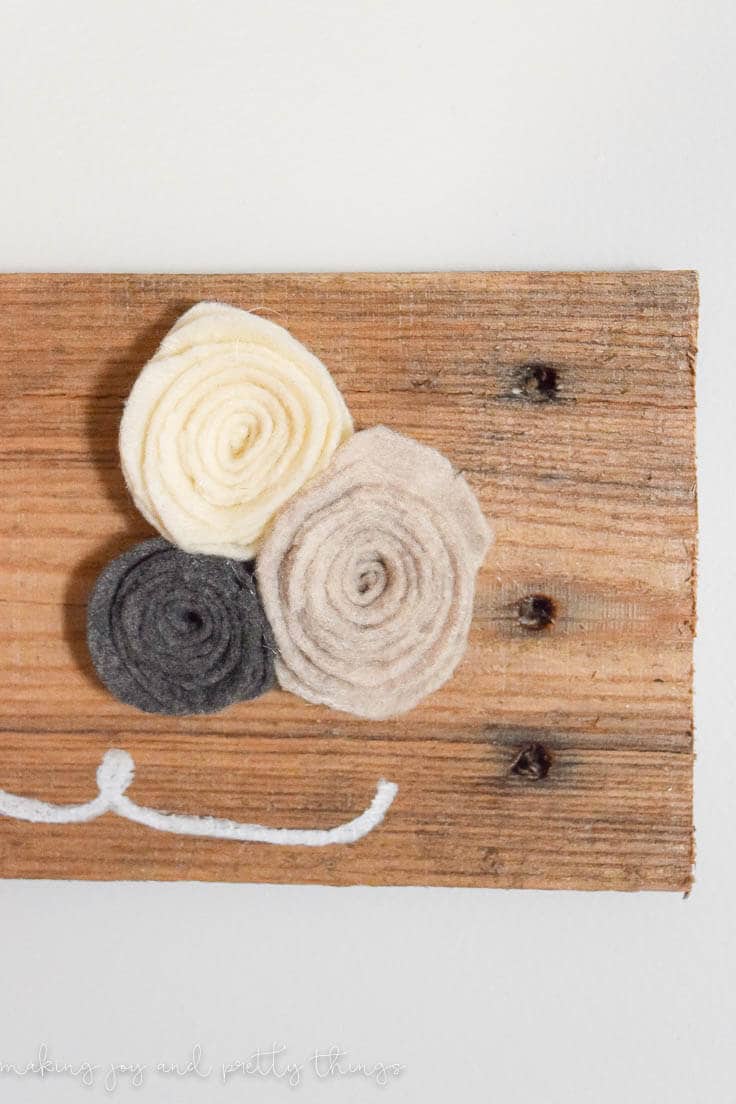
I LOVE how easy these sweet little flowers are to make and how lovely they look on the pallet. They balance out the rustic nature of the pallet and bring a slight pop of color, too.
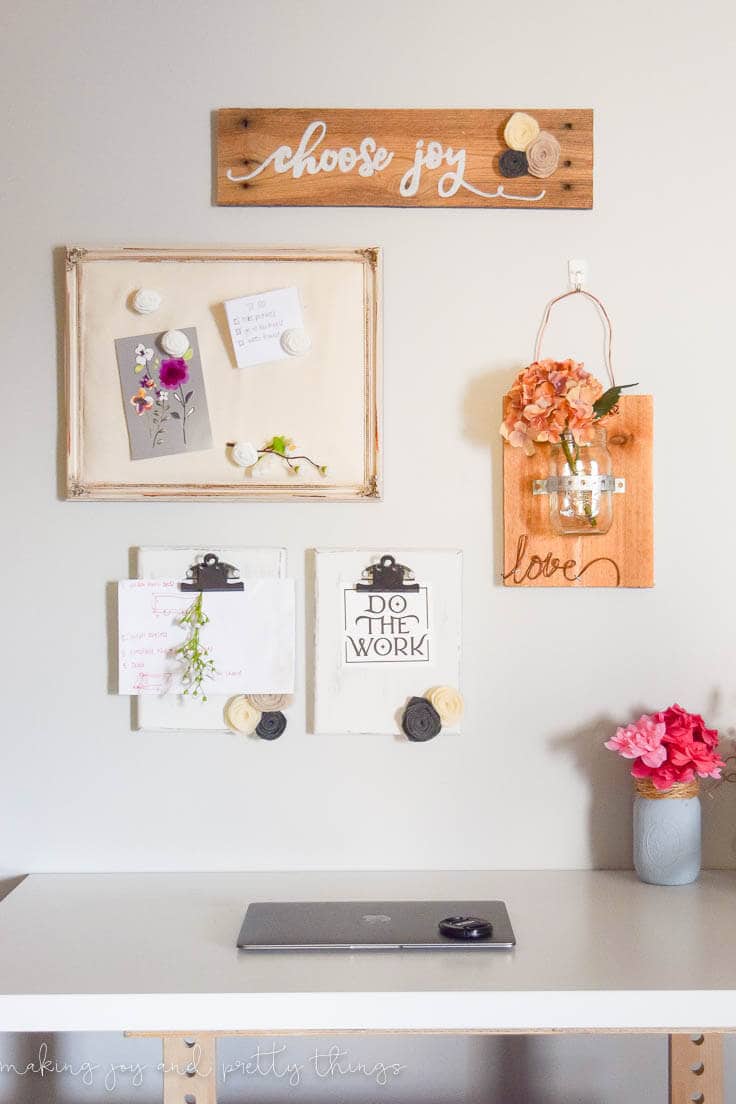
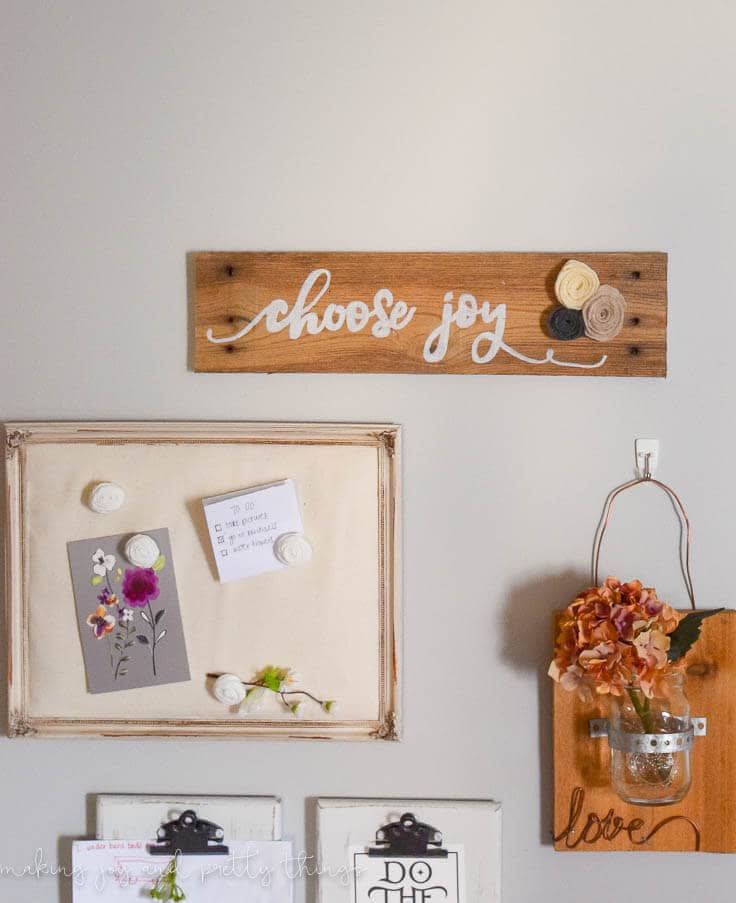
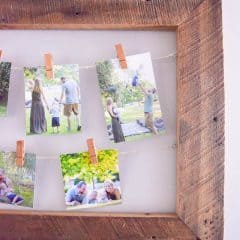
The DIY rustic pallet sign looks perfect in my little craft space gallery wall. I’ve also made a memo board and some rustic clipboards. The mason jar display tutorial will be up on my blog soon!
I hope you love the DIY rustic pallet sign as much as I do!! You can personalize it, too! Choose a different saying or add in some bright felt for a big statement. You really can’t go wrong.
More Farmhouse-Style Projects
Oh, and if you love this rustic, farmhouse-style project, check out a few other posts I’ve done recently:
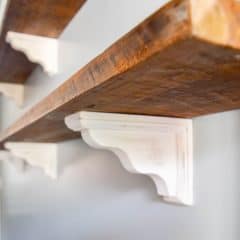
Rustic Farmhouse-Inspired DIY Shiplap Sign
Wishing you a joyful day!!
Love the ideas you see here on Ideas for the Home by Kenarry®? Subscribe today to get our FREE DIY & Craft Planning Calendar, plus our weekly Ideas in Your Inbox newsletter filled with creative tips and exclusive offers!
DIY Home Decor Ideas
Try a few of these home decor ideas next from Ideas for the Home by Kenarry® –
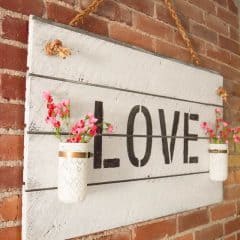
- DIY Wood Sign with Flower Quote
- Embroidery Hoop Wall Art
- DIY Waterproof Glass Vase
- Easy Faux Wood Burning Technique with Free Pattern
Originally published October 2016. Updated October 2018.
I love the romantic touch the flowers give the rustic sign!
Me too! They give it a nice softer touch to the rustic pallet.
I love that trick and the sign turned out beautiful. To me, the curly things look flawless. Love them. I also love how clear your tutorials are and those little roses look so easy. Your craft space is beautiful. Thank you for sharing (love the profile photo).
A pretty sign, Sarah — I love the “font” or style of your writing. Your craft space is looking lovely!
I love the tip about using chalk and a pen to get the outline! I always wondered how people made their script look so good.
Me too! I can’t wait to try Sarah’s tip the next time I make a sign like this.