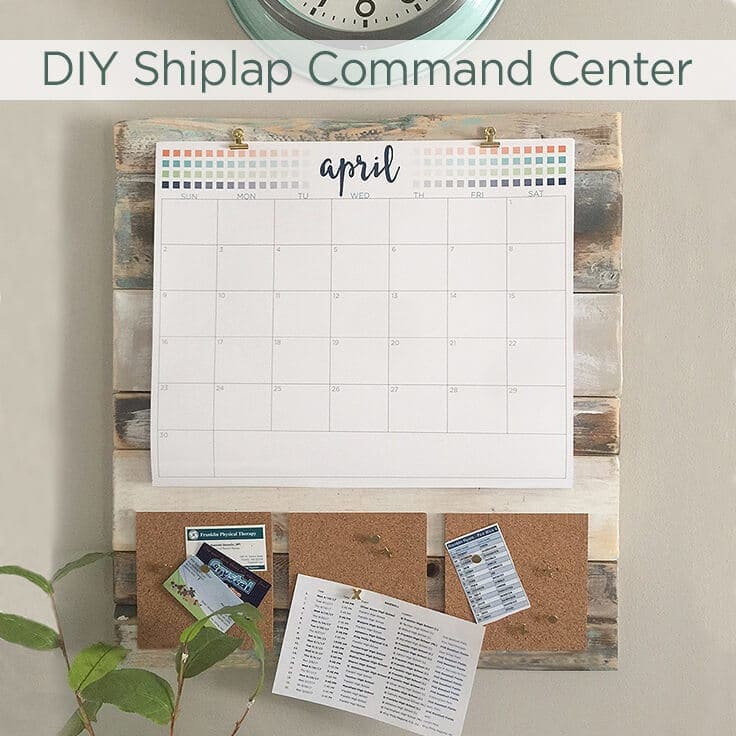
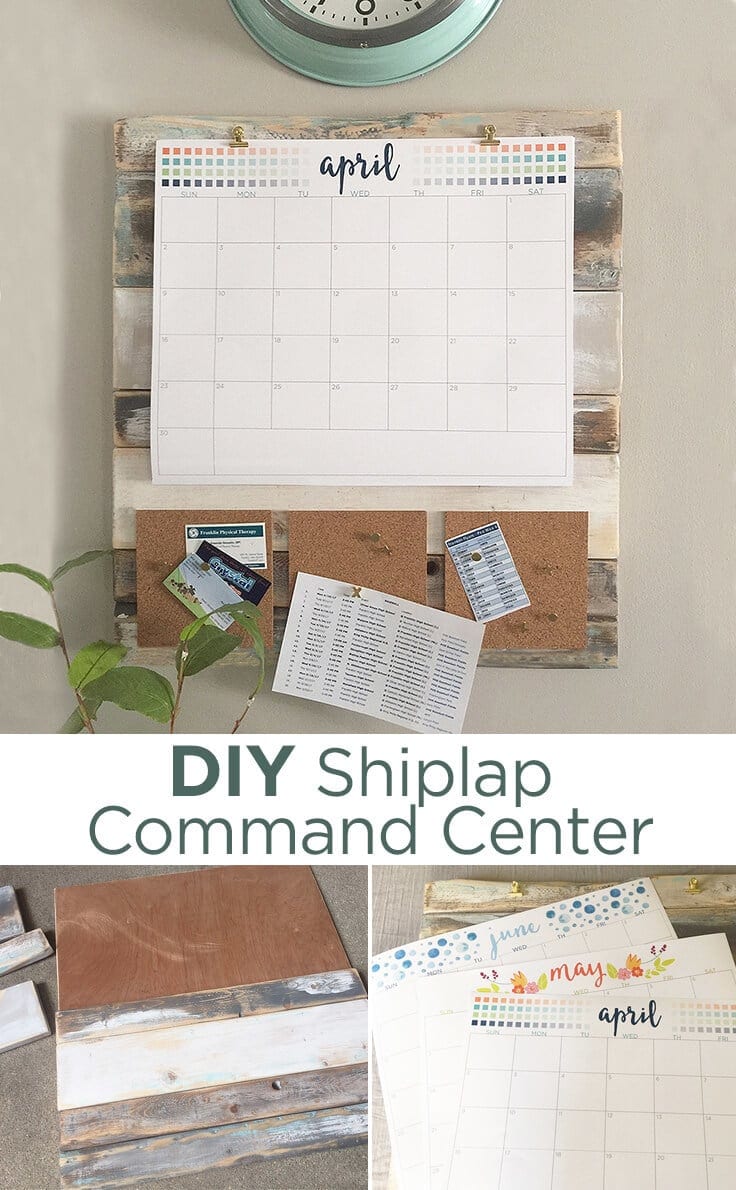
DIY Shiplap Command Center
THIS POST MAY CONTAIN AFFILIATE LINKS. PLEASE SEE OUR FULL DISCLOSURE POLICY FOR DETAILS.
You’ll love this tutorial on how to make your own farmhouse style DIY shiplap command center. This project keeps your home more organized and looks pretty too.
This DIY shiplap command center is meant to keep our homes a little more organized and efficient. Command center is such a funny term for these little organization spots. But whatever you want to call it, I needed a little more organization and I also wanted it to look pretty too.
When you build this command center, use the Clutter Keeper Undated Yearly planner to track your family’s schedules.
A DIY Home Organization Solution
Hi everyone, it’s Lori from Greco Design Company and if you’re like me, it’s always a struggle to keep all our household papers and schedules organized and looking pretty – or at least not look like a complete mess.
I searched HomeGoods, and another HomeGoods, and a few office supply stores, but couldn’t find anything that solved our dilemma. It was either really cute but not useful, for it looked like it belonged in an office cubicle.
So, I decided to make my own. With a shiplap design.
Disclosure: This blog post contains affiliate links for products or services we think you’ll like. This means if you make a purchase from one of these links, Ideas for the Home by Kenarry® will make a small commission at no additional cost to you so we can keep the great ideas for the home coming your way. All opinions expressed are derived from personal experience.
How to make a DIY shiplap command center
I decided on a shiplap command center because I thought the rustic wood backdrop would help make all my messy papers and schedules look a little nicer. Plus, I have a lot of random pieces of wood hanging around so I wouldn’t have to buy much for this project.
I loved that I could customize this piece to the size we needed and with exact elements that would be most purposeful for us. Kids’ sports schedules, a calendar, important papers and lists are the main items we need to keep us on track each day.
So here’s the instructions on how I made my little shiplap command center (which cost me less than $20).
Materials:
- Scrap pieces of wood. I used 7 pieces which ranged in widths of 2-1/2″ – 5-1/2″ and consisted of pine, layered plywood, and common board.
- Piece of plywood – 1/4″ thick for backing
- Saw
- Electric sander
- Paint/stain
- Acrylic based polyurethane
- Wood glue, super glue and tack nails
- Bulldog clips (2)
- Cork tiles
- Calendar – or make your own
Directions
Beginning DIYers will find this tutorial easy to follow. Here’s how to make your own shiplap command center.
1. Decide what size you want
You’ll need to figure the size you want your shiplap command center to be. Mine needed to be 22″ wide but the exact height would depend on how my pieces of wood stacked up.
I liked having a variety of sizes of wood – but any configuration would work. I added and removed pieces to fit my area so the final height is 24″. Cut all your scrap wood pieces to that width. I used my hand saw for all the cutting.
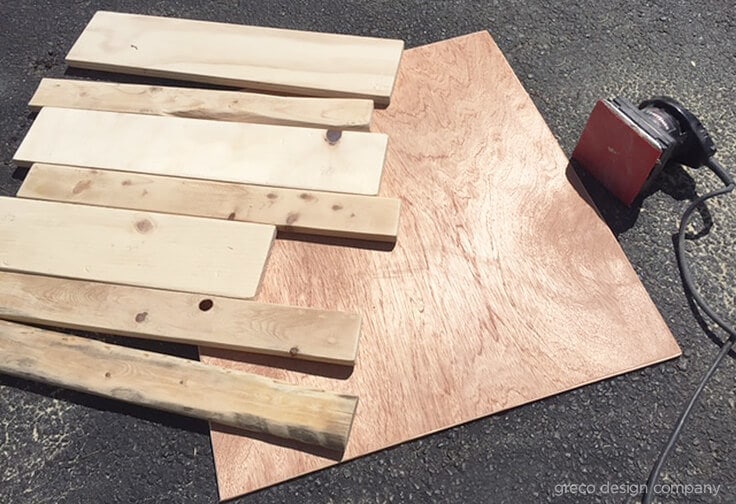
2. Sand the wood
Next, sand all your pieces of wood. I used my electric sander to make it go quicker but this is a small enough project that you could also sand the wood by hand.
How to make wood have a worn look
I prefer my wood pieces to have a worn look – like old barn wood. To get this effect, I sand the edges so they’re rounded and I also bang up the wood a bit with a hammer to give it some notches, or character.
I was lucky that some of my wood pieces were already very weathered and worn with old nail holes and notches. I also cut the plywood down to the final size (22″ x 24″). I lightly sanded only the edges of my plywood and I didn’t need to do anything else with this piece.
3. paint and stain the wood
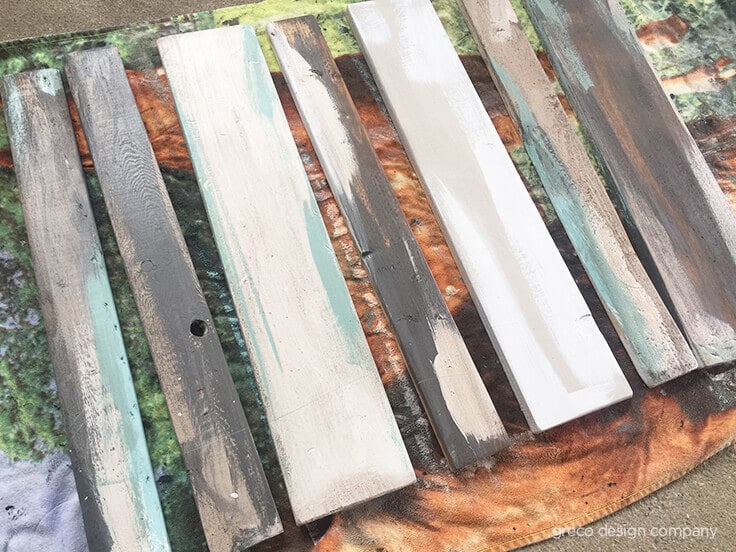
After sanding and notching the wood strips, paint and/or stain each piece of wood. I used the following paints/stain: dark gray, white, blue and a pecan colored water-based stain. I varied the colors and didn’t fully cover each piece with paint/stain.
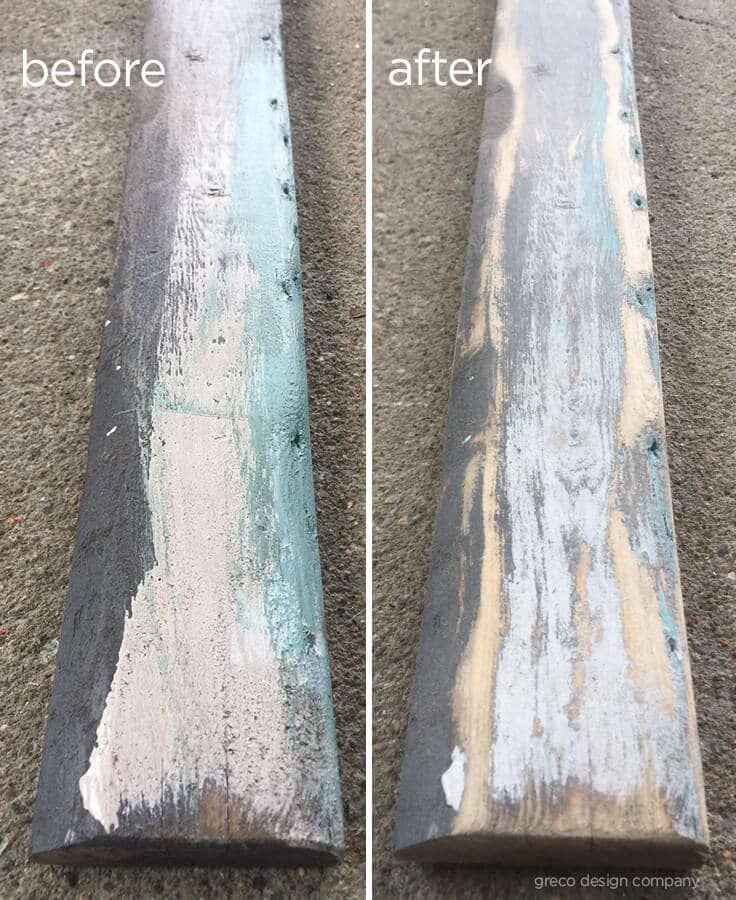
After my paint was dry, I sanded the wood again to remove a lot of the paint to make it look weathered and worn.
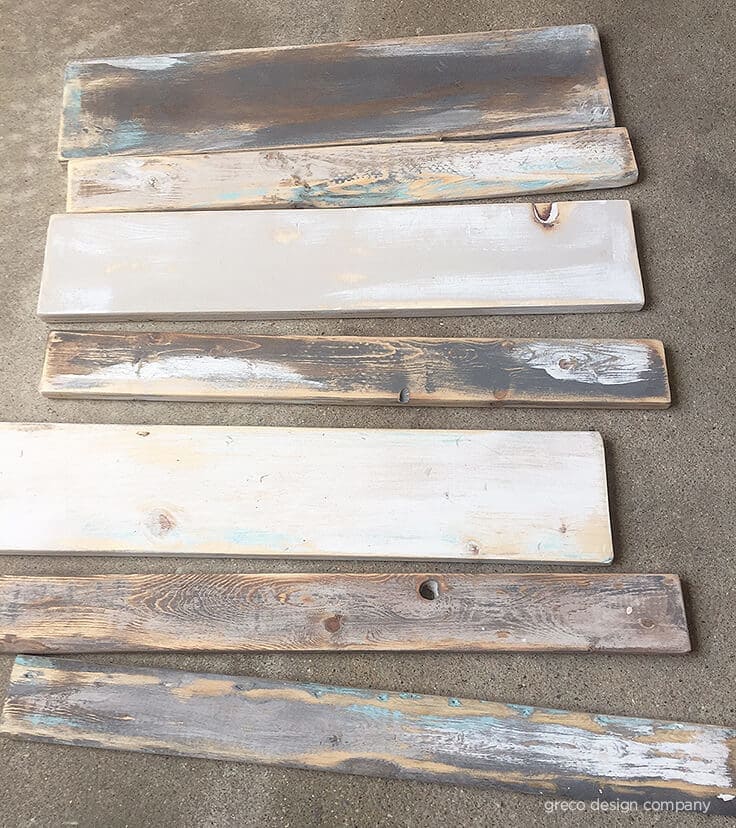
When all my pieces of wood were to my liking, I added a coat of polyurethane. I use an acrylic-based poly and it just seals all the painting and stain into the wood.
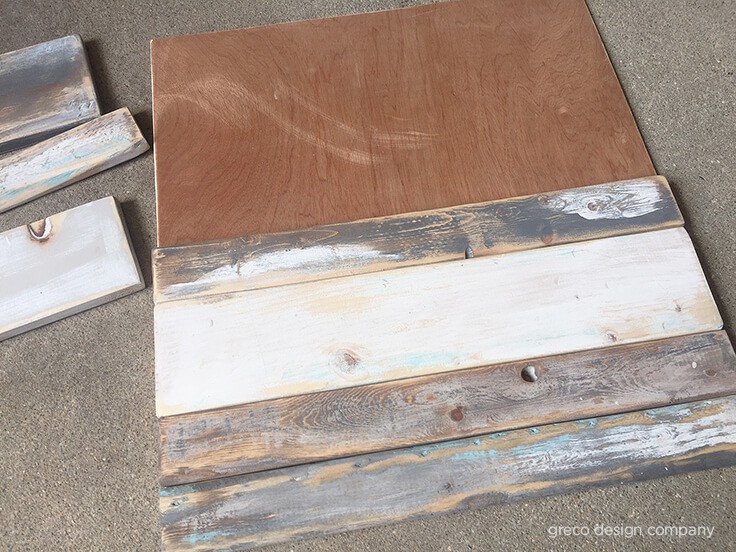
4. Glue the wood to the plywood backing
Next, I use wood glue to attach the wood pieces onto the plywood backing. Once it’s dry, I add some nails as extra reinforcement for the boards. I nail the boards in from the back of the piece so you won’t see them.
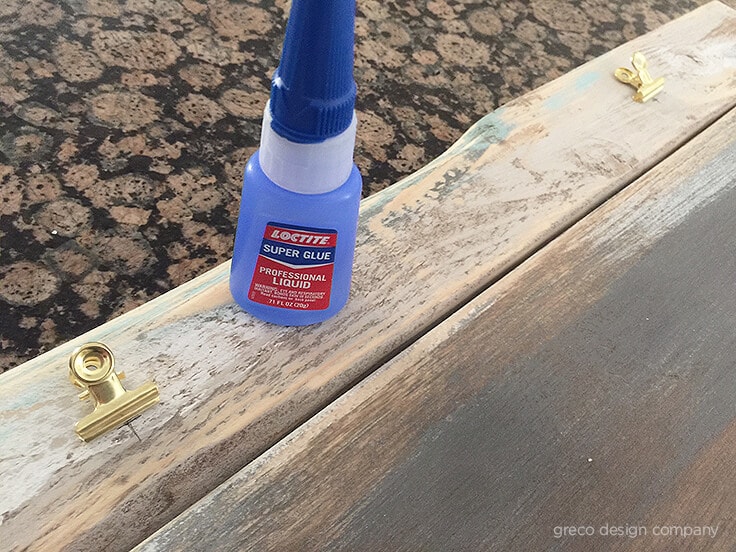
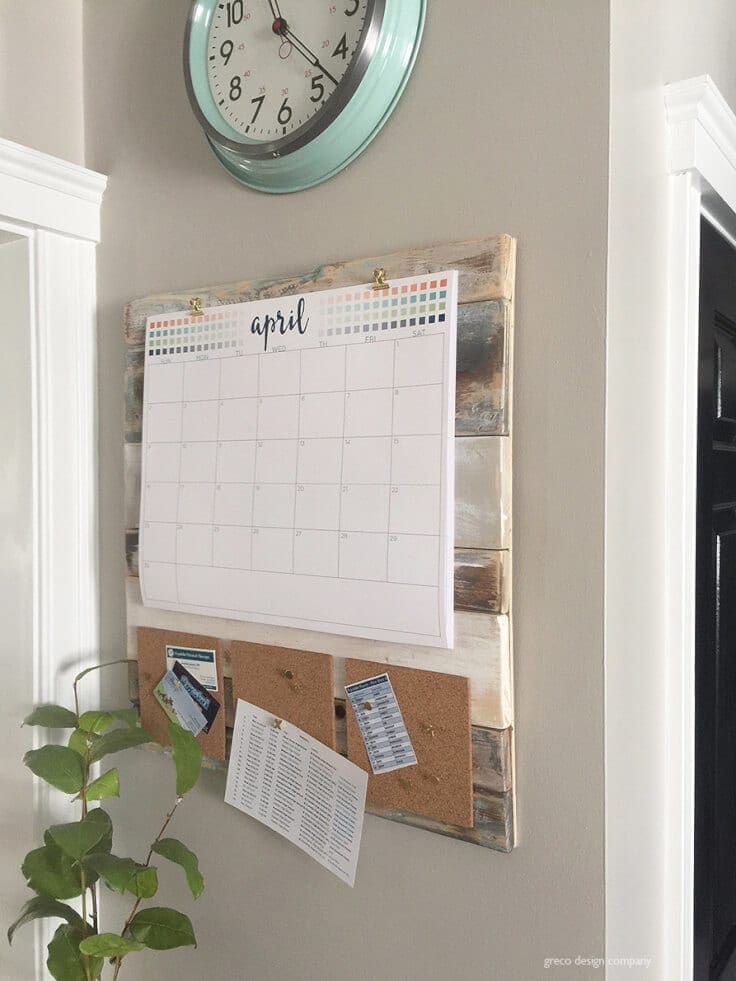
5. Attach bulldog clips to the front
I attached the bulldog clips on the front of the shiplap command center to hold the monthly calendar pages in place.
I added my hanging hardware first so I didn’t damage the bulldog clips. I used super glue for the 2 clips. I found these pretty gold clips at The Container Store but you could also use nails if your calendar pages have holes for hanging.
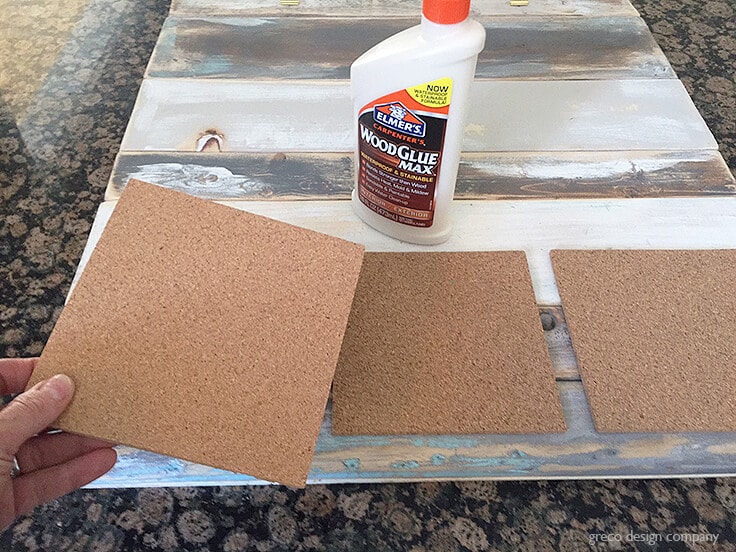
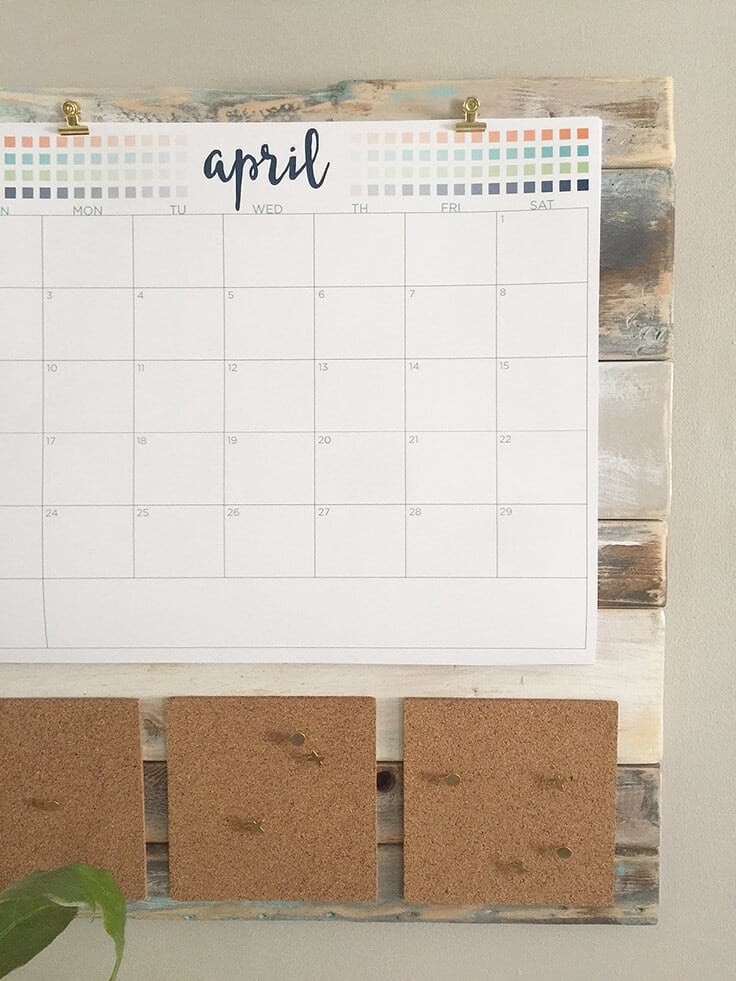
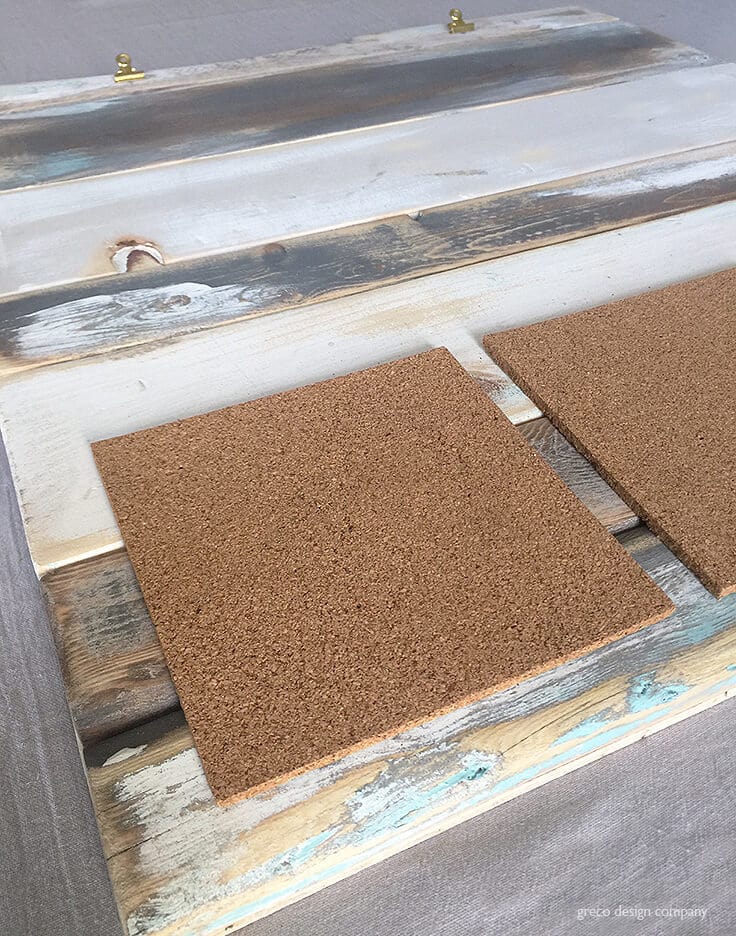
6. glue cork squares along the bottom
I added these cork squares along the bottom of my shiplap command center for all those pesky papers. These 6″ x 6″ squares are the perfect size for small papers and notes. Wood glue seemed to be the best solution to attach these cork pieces.
You could also add hooks, baskets, note pads, whatever your family needs to stay organized.
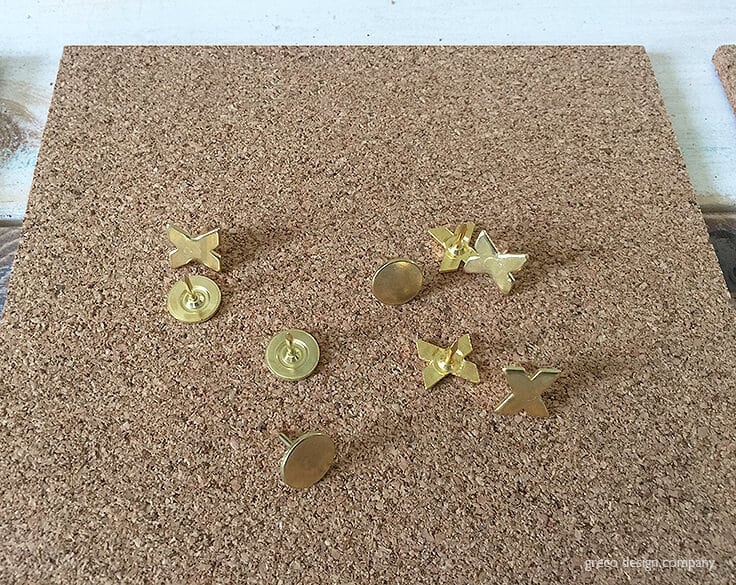
I love these X and O gold thumbtacks. I forget where I got them but these gold owl thumbtacks would look so sweet too.
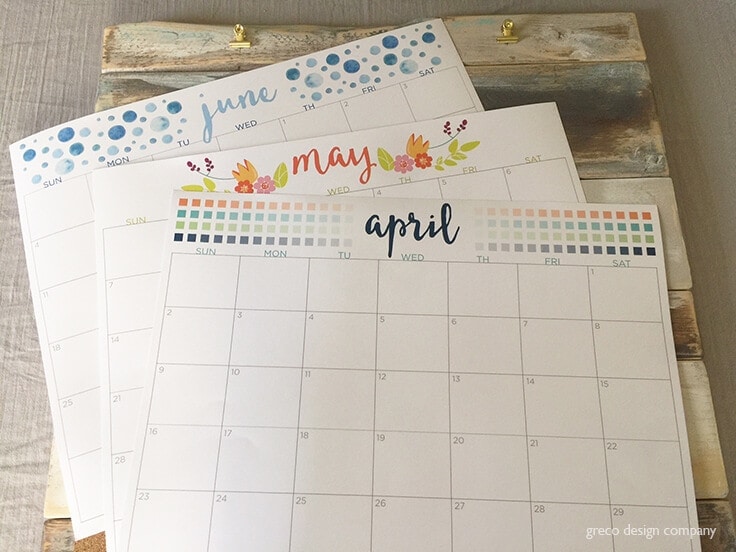
7. Hang up some monthly calendar sheets
For the monthly calendar sheets, I made my own on my computer. My pages were larger than my printer could handle (18″ x 15″) so I had Staples print them for me.
You could also buy any calendar and use those pages instead. I liked the idea of customizing the size of my sheets and adding fun designs.
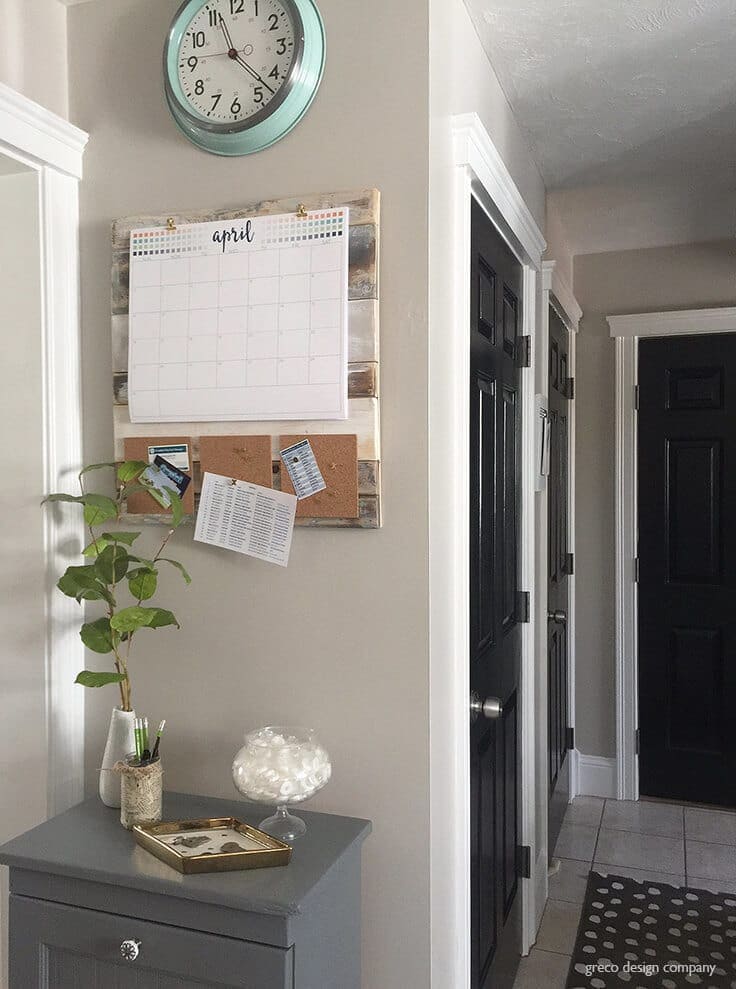
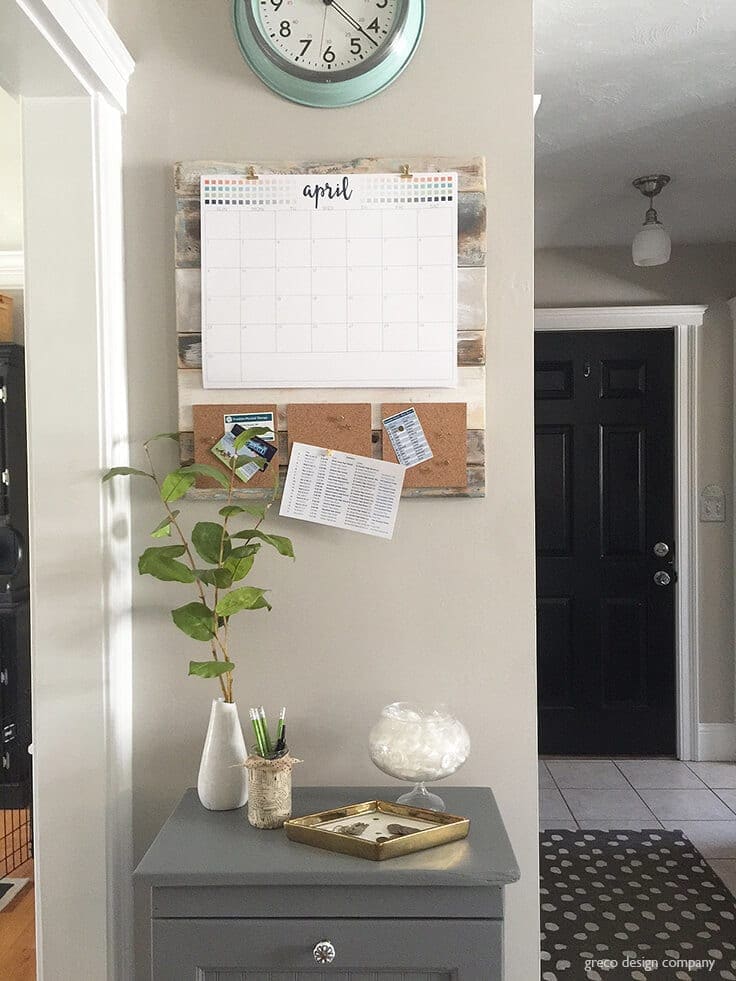
Now your new shiplap command center is ready to hang and be put to good use!
I’m loving how this shiplap command center looks and I know if will make us much more organized. Now I just have to fill in all that important information.
I hope you enjoyed this post, click on the links below to see other DIY organization ideas.
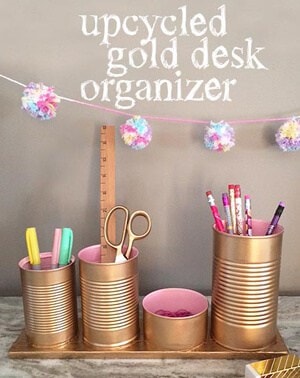
Upcycled gold desk organizer
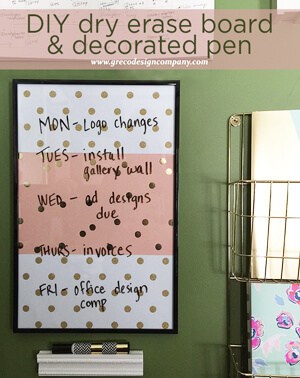
DIY dry erase board & decorated pen
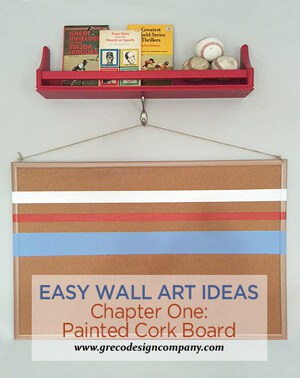
Painted cork board
What’s Next?
While you’re here be sure to check out these other DIY and decor ideas on Ideas for the Home by Kenarry® –
- How To Make A Beautiful Pallet Wall Hanging Vase
- DIY Lap Desk: Easy and Simple Sewing Project
- Perfect Low-Maintenance Family Command Center
Updated November 2019.
I love this calender so much do you sell a download of the design?
Hi Emma,
We agree – it’s a beautiful calendar! Unfortunately we do not offer it as a printable design, but I recommend you reach out to Lori at Greco Design Company who created this post for us. She may have it available!
Best wishes,
Carrie
Ideas for the Home by Kenarry
To make this a little easier, I used leftover wood looking laminate we used in our house. Just cutting to size, plywood backing and continue on with the rest of directions. No staining or painting. Just sanding plywood backing piece.
Hi Cynthia,
We love that suggestion! We absolutely love the idea of using supplies and items that we already have/own. Great idea!
Thanks,
Lisa, Ideas for the Home by Kenarry Customer Care