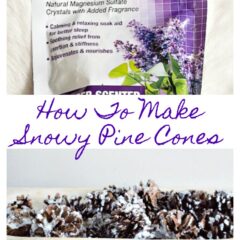
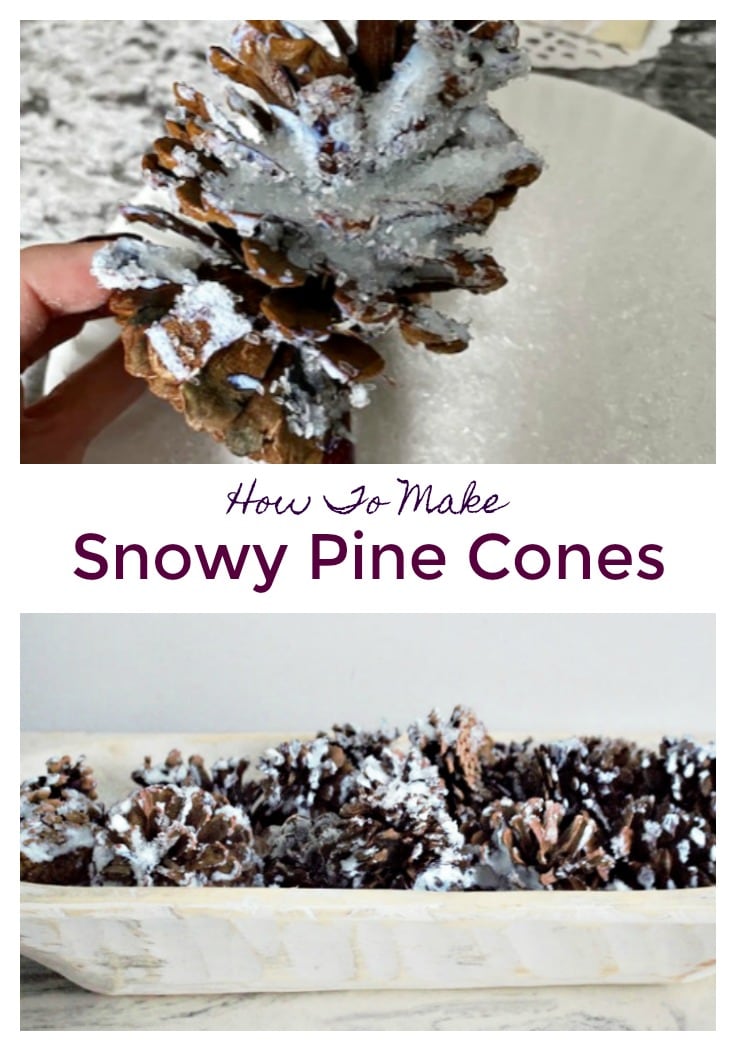
How to Make DIY Snow-Covered Pine Cones
THIS POST MAY CONTAIN AFFILIATE LINKS. PLEASE SEE OUR FULL DISCLOSURE POLICY FOR DETAILS.
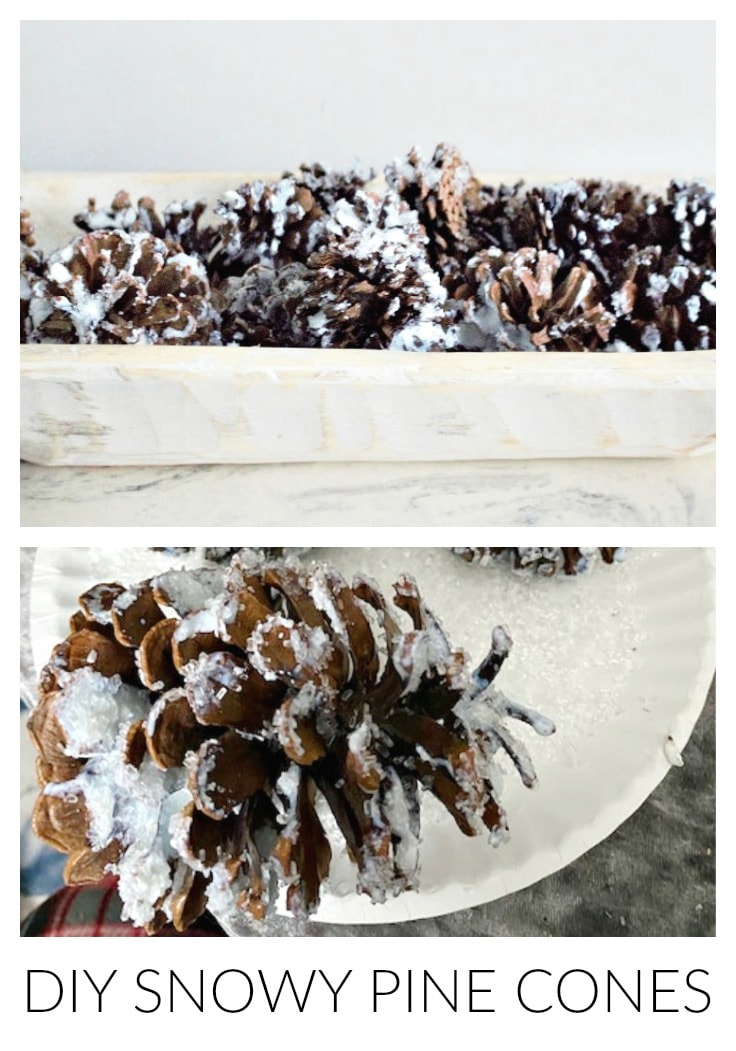
Make beautiful snow-covered pine cones with this easy tutorial. They can be used throughout your home from fall to spring for a budget-friendly decorating idea.
Hello! Michelle from Our Crafty Mom back today with a fun winter craft using pine cones. These are not only easy to make, but they are inexpensive too.
How to Make snow-covered pine cones
Whenever I go for a walk, I pick up any pine cones that I find. They can be used in so many different ways.
If you do not live in an area with pine cones, you can also buy them at the craft store. Be sure to use a 40% off coupon to save money!
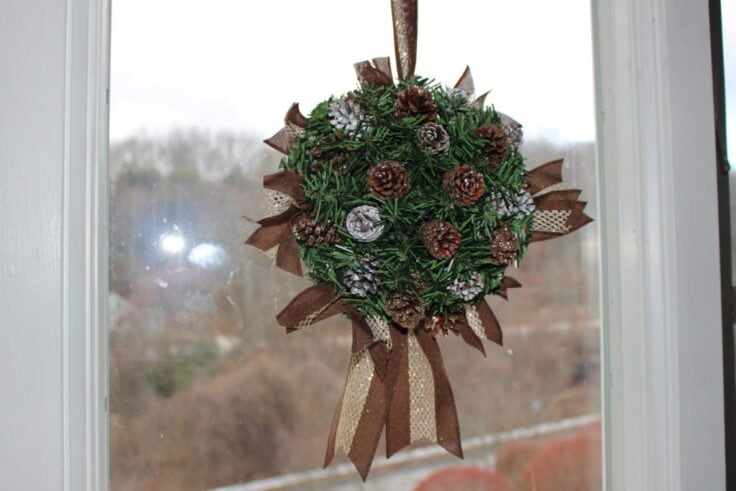
Add them to a wreath, place them in a pretty decorative bowl, or even make a pine cone garland.
What you need:
Want more ideas like this? Subscribe today to get our weekly Ideas in Your Inbox newsletter plus other exclusive gifts and offers — all for FREE!
Supplies Needed:
- Pine cones
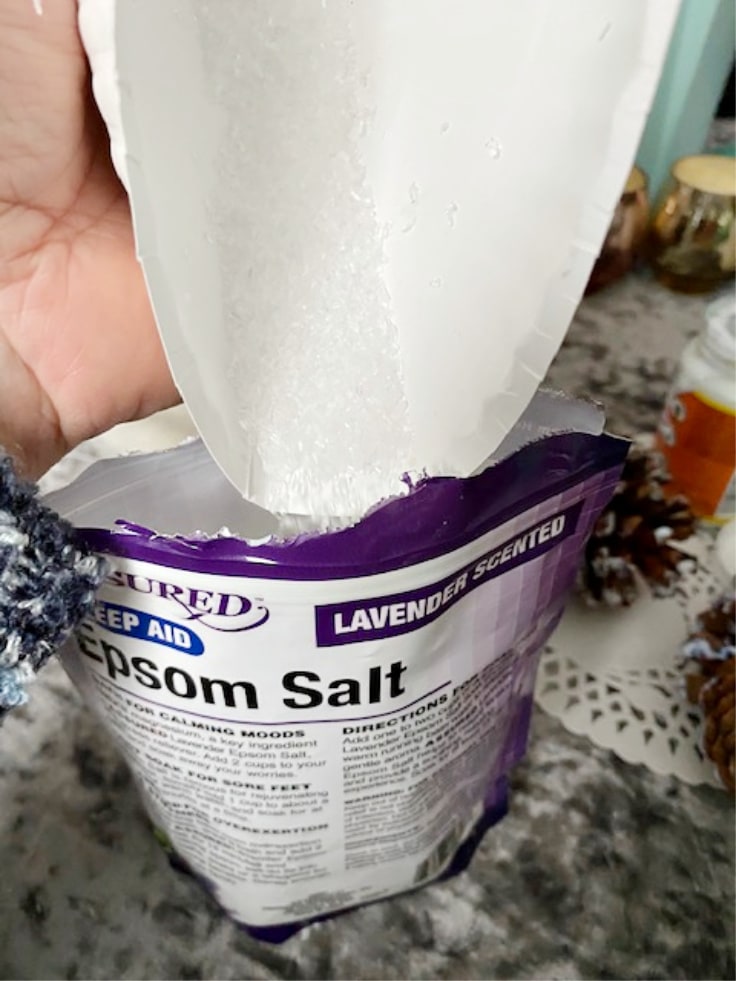
- Epsom Salt – I used lavender and they smell amazing!
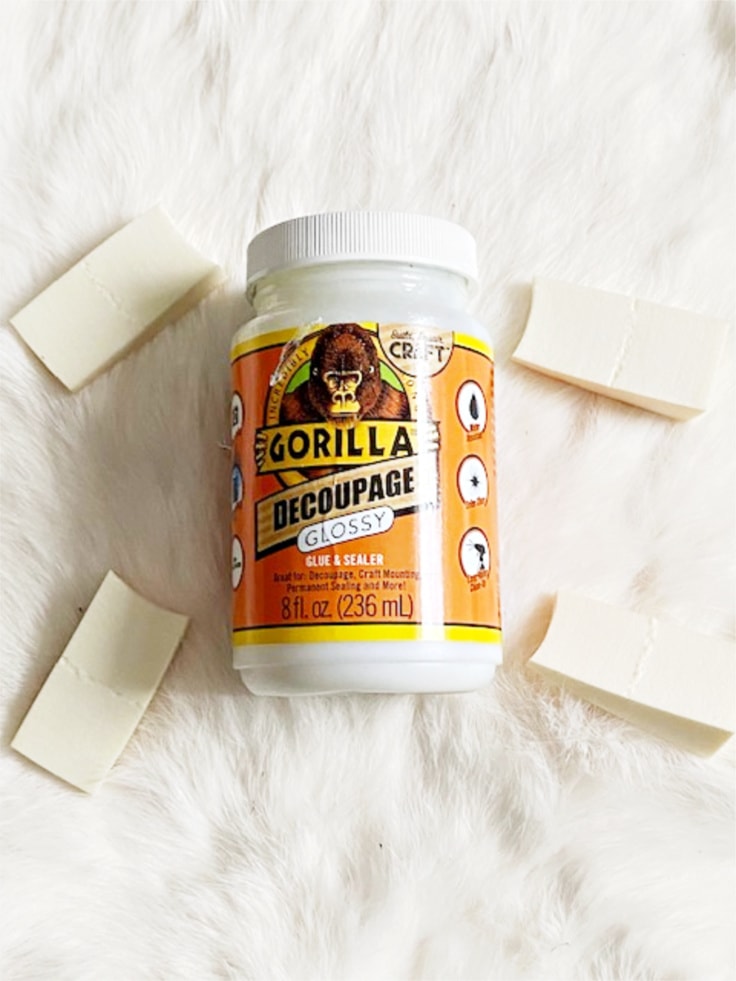
- Decoupage Glue
- Make-Up Sponges
Instructions
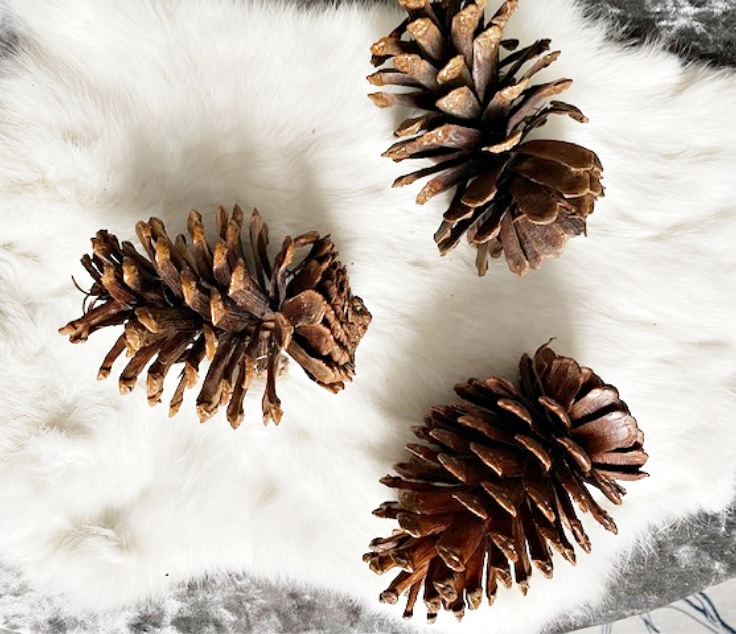
1. gather pine cones
Keep an eye out in your yard or when you go for a walk for fallen pine cones. You can also buy them at the craft store. If you do find them outside, be sure they are free of any critters.
2. add decoupage glue to pine cones
Use the make-up sponges to add decoupage glue to the pine cones. I like to use sponges because they are inexpensive and also you can get into all the nooks and crannies of the pine cones.

3. Cover pine cones with Epsom salt
Begin adding the Epsom salt to the pine cones. I just poured directly from the bag over a paper plate. You can also use a plastic spoon to add Epsom salt directly over the glue.
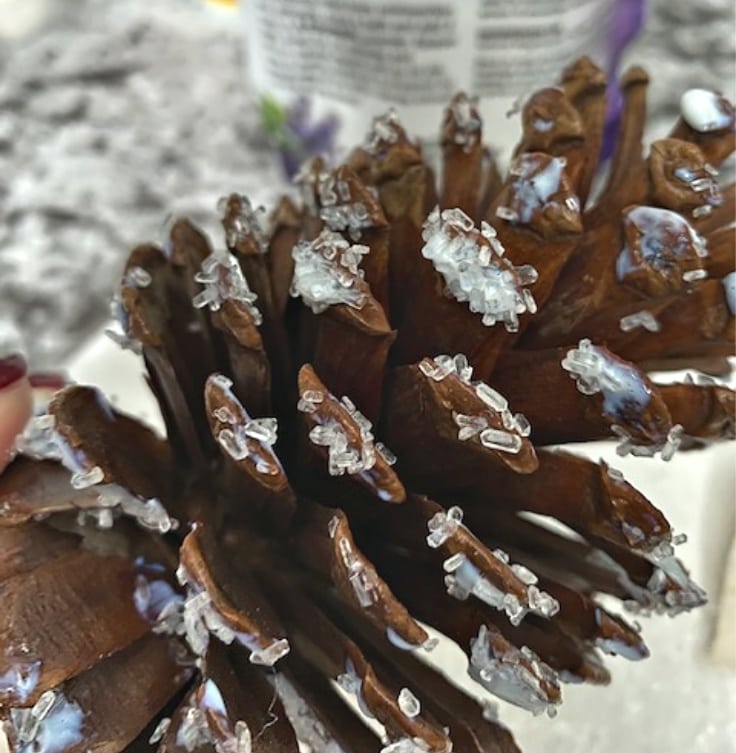
4. Continue to add the Decoupage And Epsom Salt
For some of the pine cones, I wanted a really heavy snowy look, so I continued to add additional decoupage glue and Epsom salt.
You can go as light or as heavy as you like. The heavily covered pine cones totally look like they are snow-covered!

5. let it dry
Allow the pine cones to dry 2-3 hours. I let them dry overnight just to be safe.
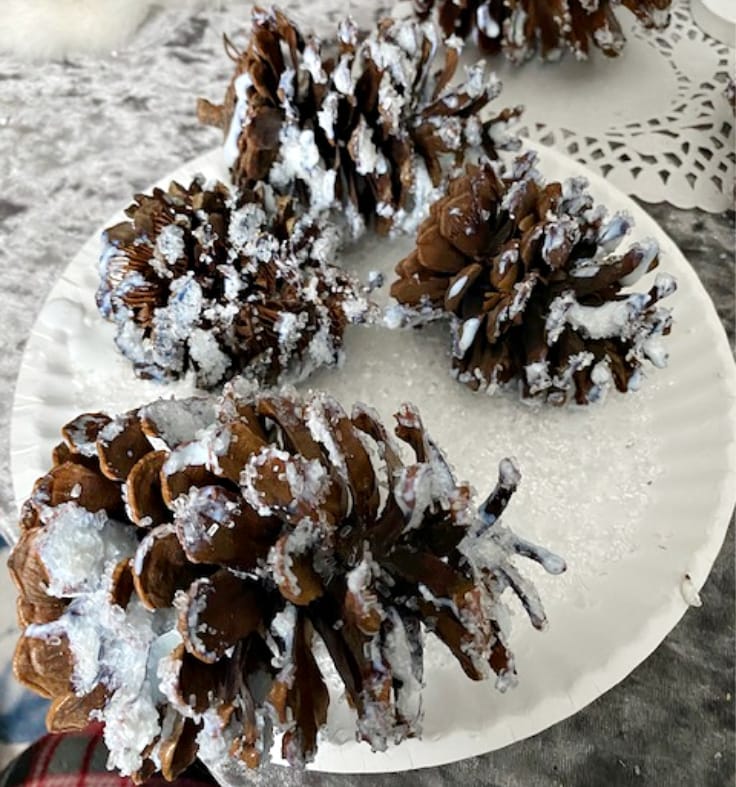
6. pour leftover Epsom salt in a bag
A quick tip that I’ve learned over the years is to use paper plates with this type of craft. You can easily pour the leftover Epsom salt back in the bag.
Now that you have all these lovely snowy pine cones you can decorate with them. One of my favorite ways to display them is in this antique dough bowl that I found at an antique store (this is similar):
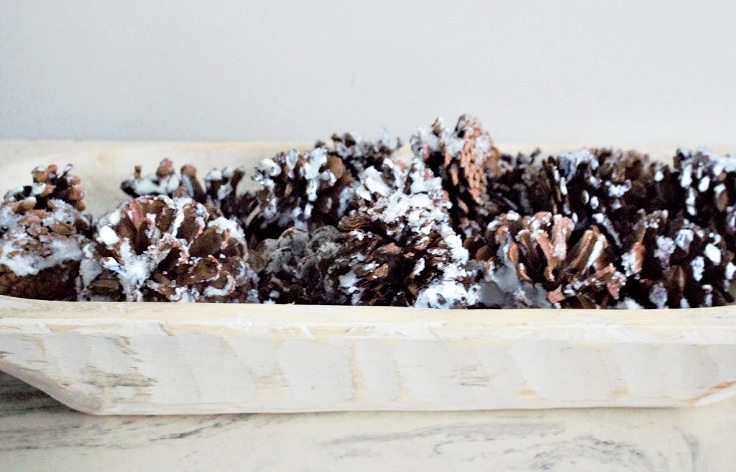
These would be cute in a foraged items dough bowl table display too!
Thank you so much for visiting. I hope you enjoyed this easy and budget-friendly pine cone craft.
please pin the image below:
Love the ideas you see here on Ideas for the Home by Kenarry®? Subscribe today to get our FREE DIY & Craft Planning Calendar, plus our weekly Ideas in Your Inbox newsletter filled with creative tips and exclusive offers!
What’s Next?
If you enjoyed this pine cone craft, then you’ll enjoy these pine cone projects as well. .
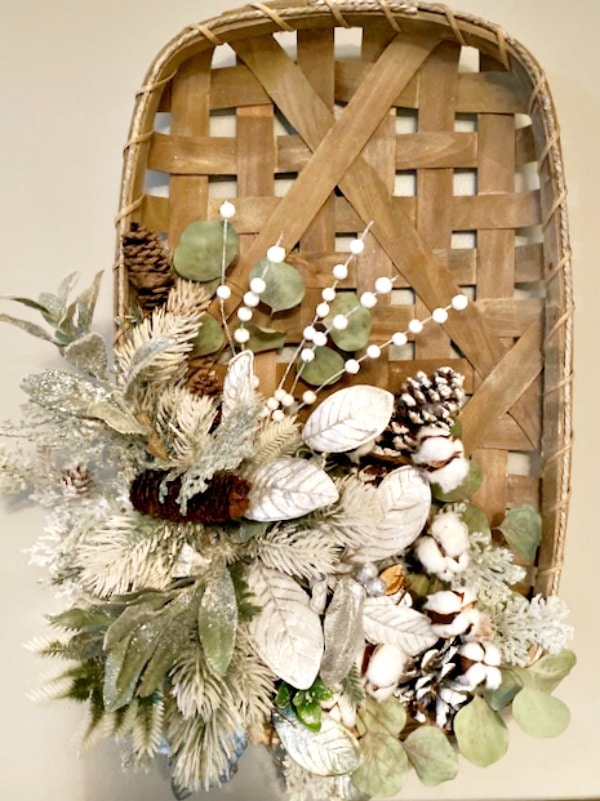
Beautiful Tobacco Basket Wreath With Pine Cones
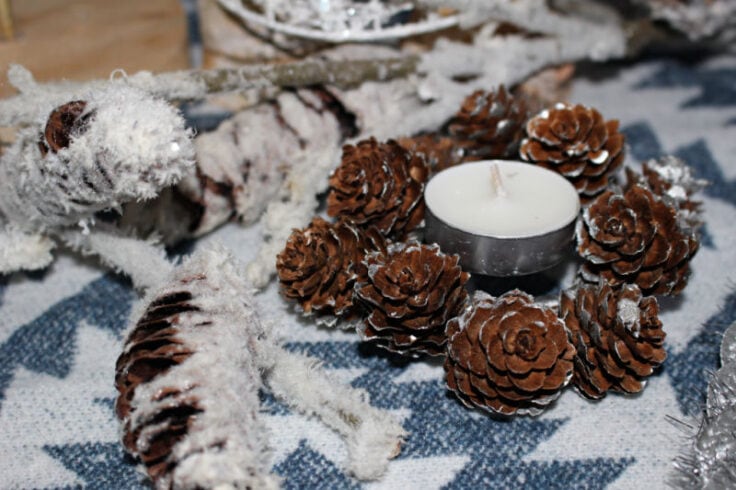
Winter Tablescape With Pine Cones
You may also enjoy these pine cone ideas on Ideas for the Home by Kenarry® –