Easy DIY Vinyl Pumpkin Without A Cutting Machine
THIS POST MAY CONTAIN AFFILIATE LINKS. PLEASE SEE OUR FULL DISCLOSURE POLICY FOR DETAILS.
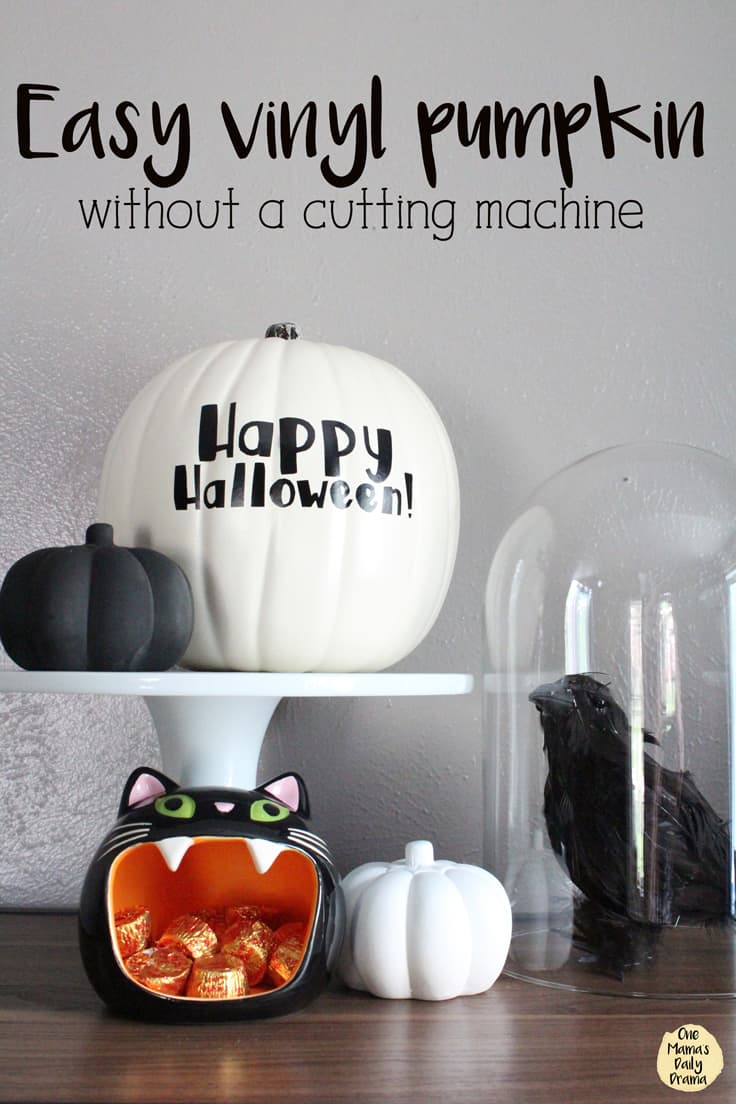
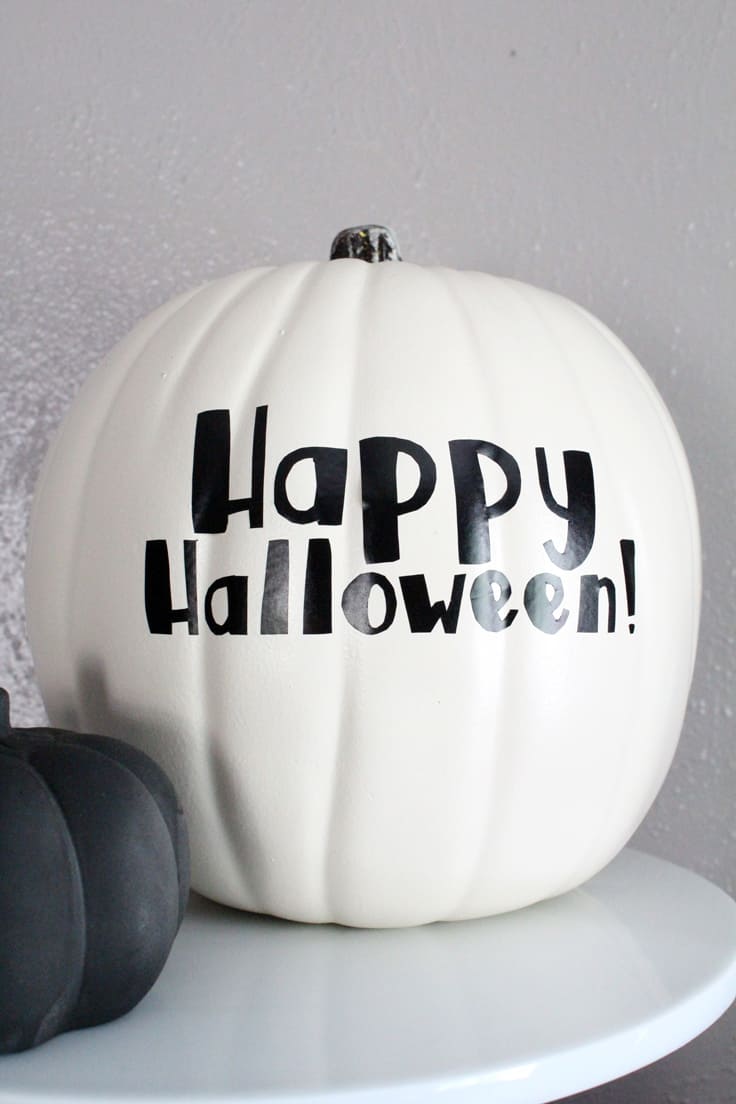
Use vinyl to make your own custom Halloween pumpkin designs, even if you don’t have a fancy cutting machine. This easy DIY vinyl pumpkin tutorial includes a printable design and step-by-step instructions to transfer it to vinyl, cut, and decorate a pumpkin.
Hello! I’m Keri from One Mama’s Daily Drama and I love making simple crafts that don’t take a lot of time or money. Today I’m going to show you how to make your own DIY vinyl pumpkin using just your home printer and a few everyday craft supplies.
While a cutting machine is on my wish list, I don’t think I would use it often enough to justify the cost. If you can relate, you’ll love how easy this project is.
How to Make a DIY Vinyl Pumpkin
You can use my printable template below that says “Happy Halloween!” or create your own phrase in your favorite word-processing program. Since I’m cutting by hand, I chose a simple print font called “Autumn Spice.”
Want more ideas like this? Subscribe today to get our weekly Ideas in Your Inbox newsletter plus other exclusive gifts and offers — all for FREE!
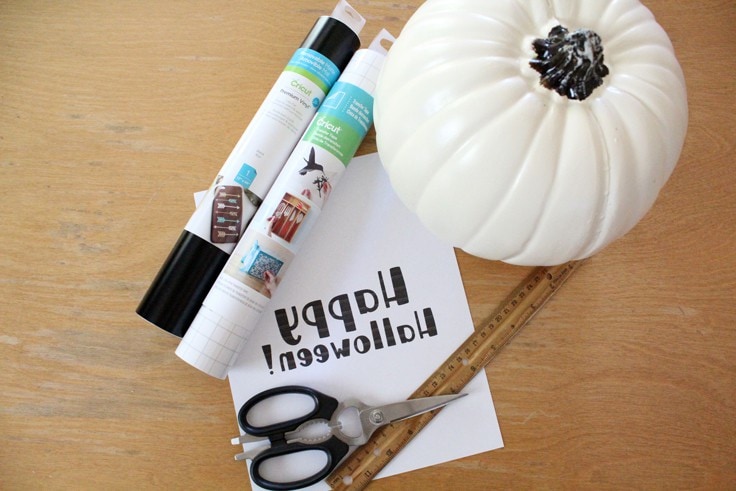
Craft/DIY Tools Needed:
Supplies Needed:
- white 9-inch craft pumpkin
- black removable vinyl
- vinyl transfer tape
- printed text or image
- scotch tape
Instructions
Just follow these step-by-step instructions and you’ll be able to make your own DIY vinyl pumpkin too. It’s so easy and there is no mess.
1. Start by printing your text or image
Exclusive for Kenarry subscribers, receive the FREE printable “Happy Halloween” template by signing up below. You’ll get the download link sent directly to your inbox. If you want to create your own, you can type into Word or a similar program. My template is already ready to print, but if you type your own text, be sure to reverse it so you are printing the mirror image.
Your privacy is important to us. We promise not to spam you or share your information. You can opt-out at any time. See our privacy policy for more information.
All printables from Ideas for the Home by Kenarry® are for your own PERSONAL USE ONLY.
After you’ve signed up, watch for an e-mail to confirm your e-mail address and download the free digital printable. Plus you’ll have the opportunity to get the weekly Kenarry Ideas In Your Inbox newsletter, as well as product discounts, special offers and other content that is EXCLUSIVE for Kenarry subscribers only.
You can also join our Idea Insider VIP Club to get unlimited access to the full vault of unique and beautiful printables we offer to make gift giving, holidays and everyday life more special. A lifetime membership in our Idea Insider VIP Club is a great way to save time and money with easy access to hundreds of printable cards, tags, wall art and more right at your fingertips.
NOTE: This printable is not in the Idea Insider VIP Club. It’s available for FREE through the sign-up form above.
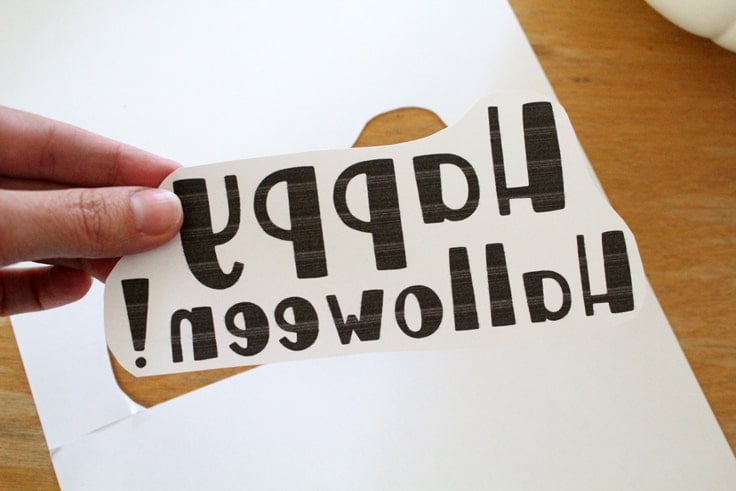
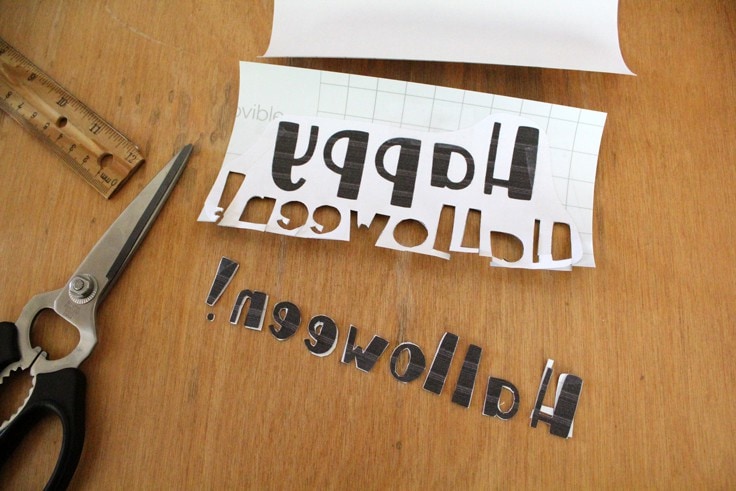
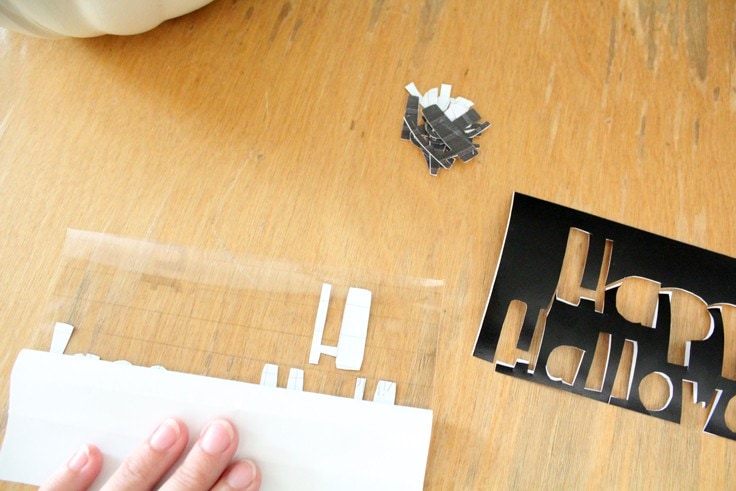
2. Attach the text to the vinyl
Trim around the text, leaving it in one big piece. Tape it to the back side of the vinyl. Use the gridlines to cut a rectangle around the text. This makes it easier to trim the letters.
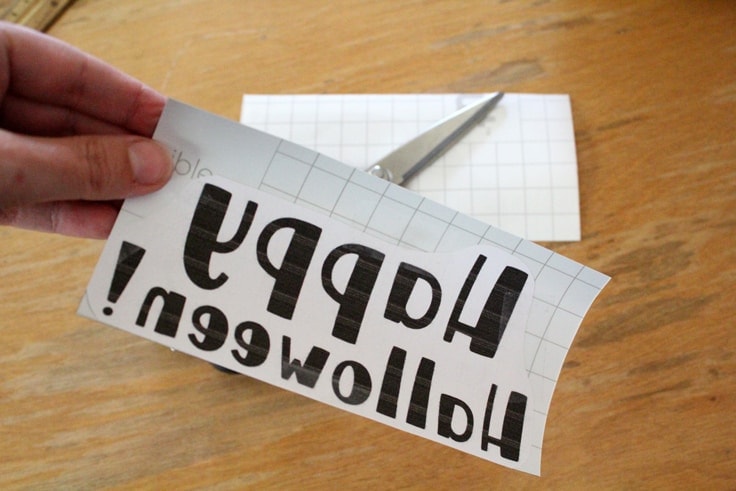
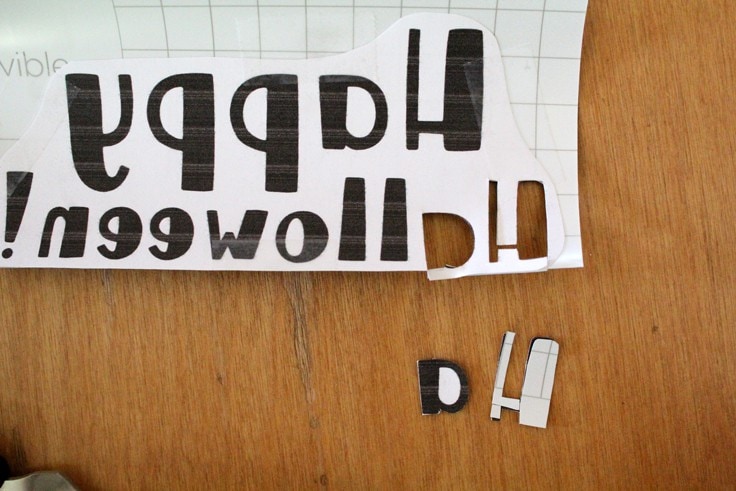
3. Next, cut out the text letters
Carefully cut out each letter and symbol from the vinyl with the scissors. Remember that it is only taped along the edge, so hold it carefully to make sure the template doesn’t move. {I’ve accidentally cut through letters before!}
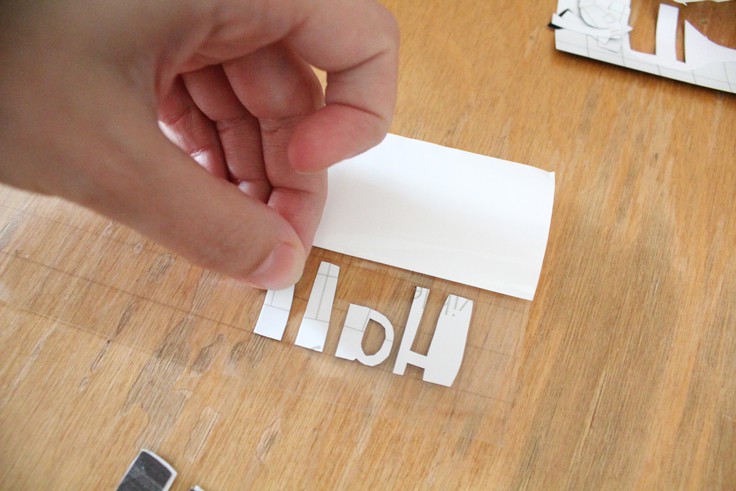
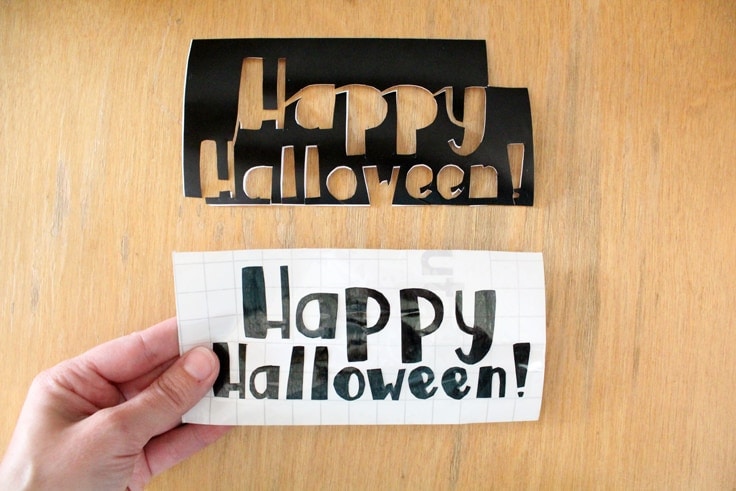
4. Attach the vinyl letters to the transfer tape
This step is optional – you could peel the backing off the vinyl and stick them onto the pumpkin. Using the transfer tape makes sure that your letters are nice and straight.
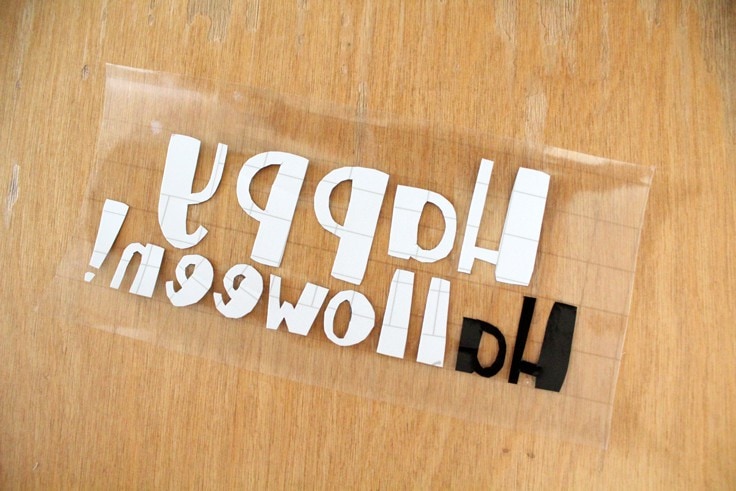
Cut a piece of transfer tape that is the same size as your vinyl was. Peel off part of the transfer tape backing {I just folded mine up, in half} and stick the letters vinyl-side down onto the sticky side. Use the gridlines on the transfer tape to make sure your letters are straight and spaced the way you want them.
Once I had the bottom row of letters in place, I folded the transfer tape backing down over them and then folded the top of the backing down so that I could line up the top row of text.
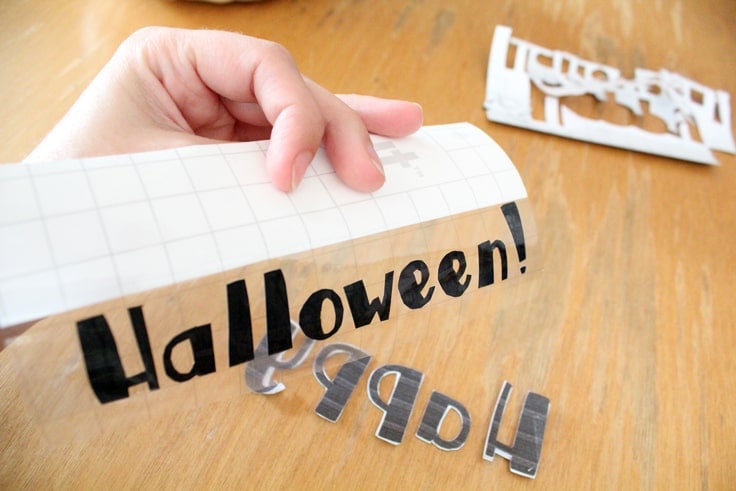
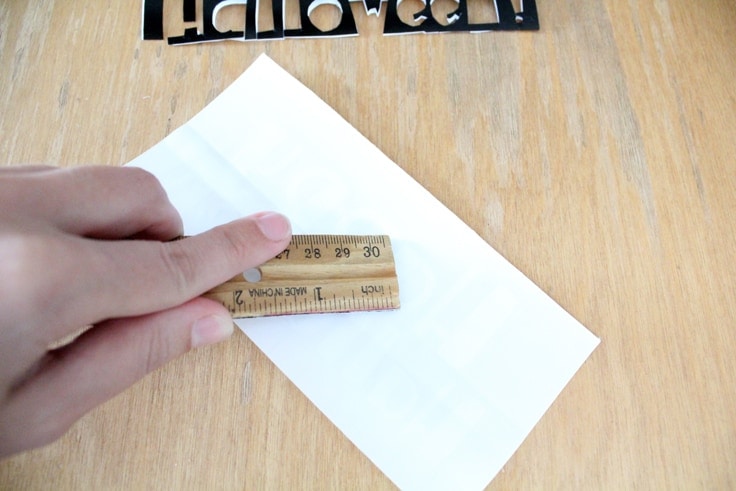
When all of the letters are in place, use the ruler to smooth down the letters between the transfer tape and its backing. This will ensure that the layers separate easily in the next step.
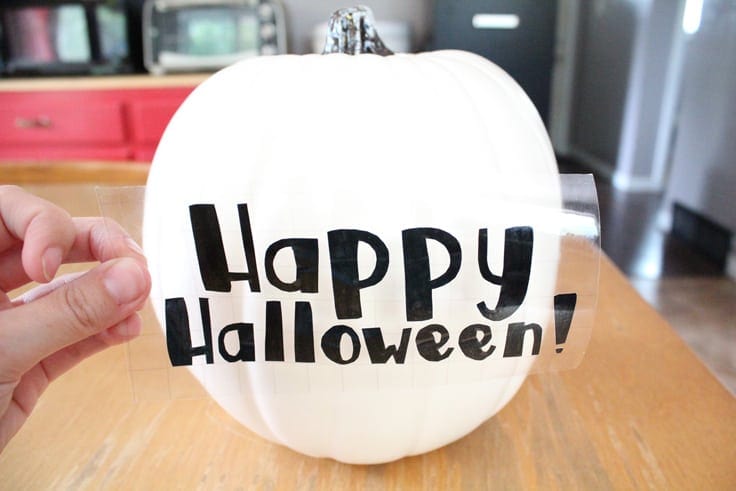
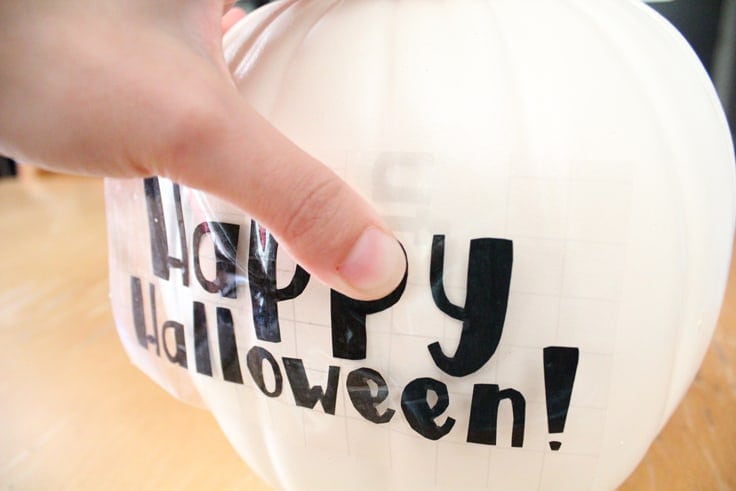
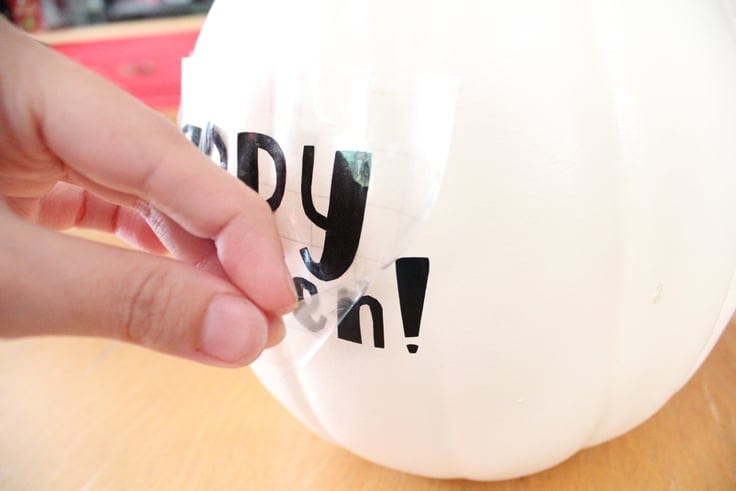
5. Finally, attach the vinyl to the pumpkin
Peel the backing off of the transfer tape. Carefully remove the backing from each vinyl letter too. Stick your text onto the pumpkin where you want it to go. Smooth down each letter from the center out, making sure to get into the grooves of the pumpkin. Peel off the transfer tape and re-smooth any letters if needed.
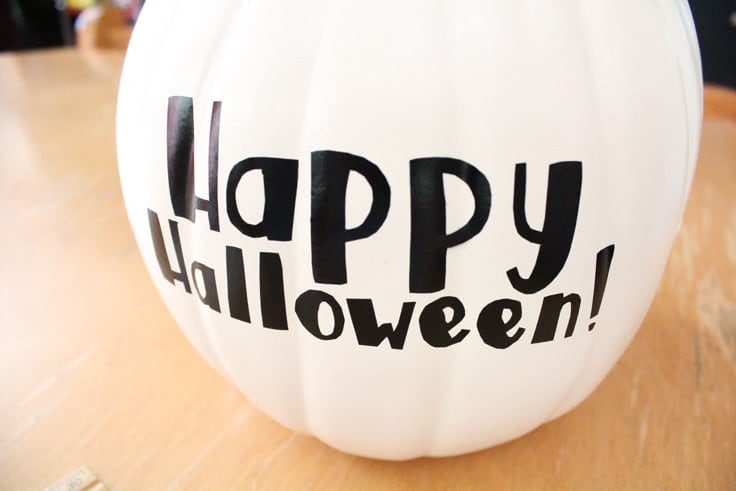
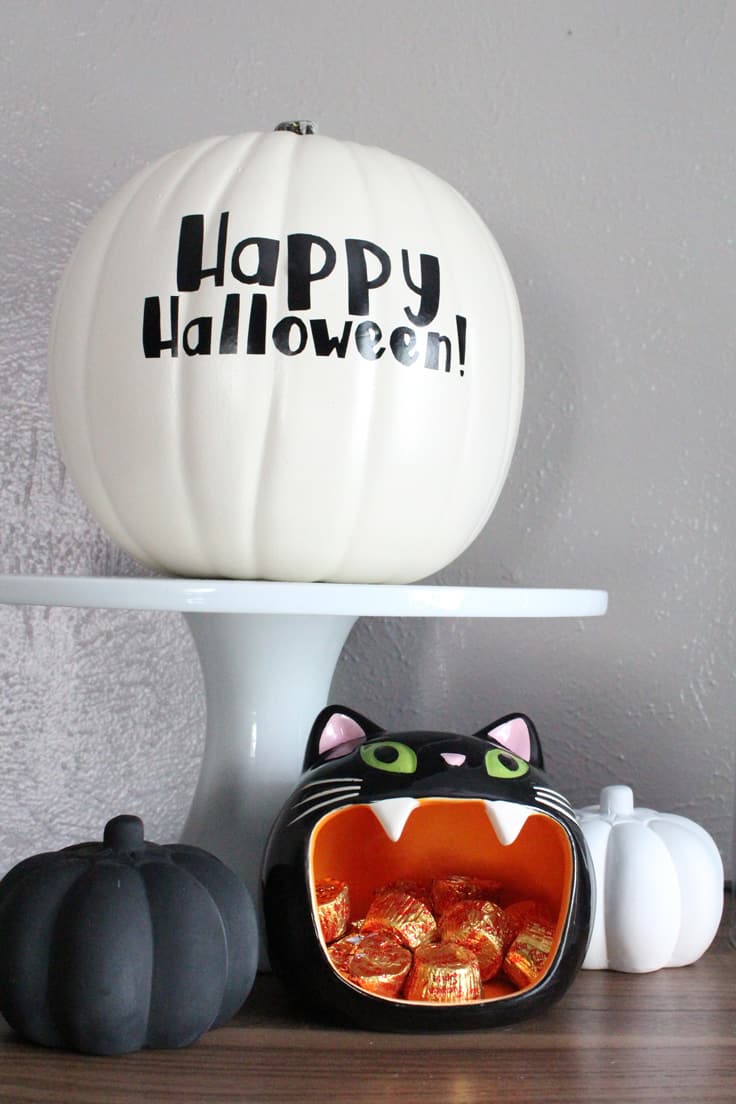
This simple vinyl pumpkin is the perfect addition to a bookshelf, mantle or tablescape – no matter what your fall and Halloween decorating style is.
You could make this pumpkin last even longer by making it reversible. Try “Happy Halloween!” on the front and “Happy Thanksgiving!” on the back. {Both phrases are included in the free download above.}

Try these other fall and Halloween décor ideas:
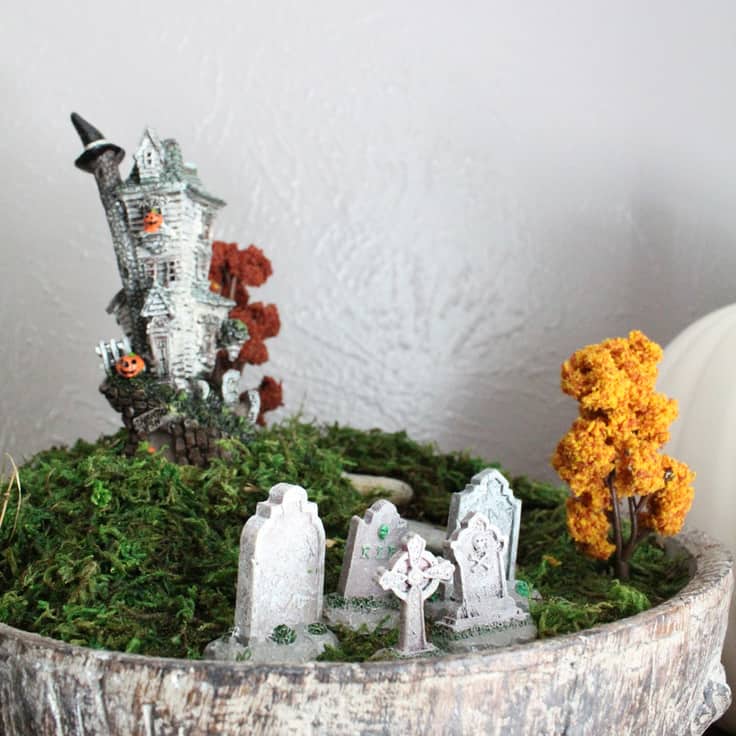
How to make a Halloween terrarium
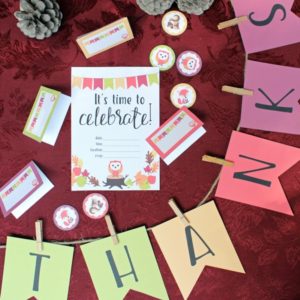
Fall party printables with woodland creatures
Easy fall bunting embroidery craft + printable pattern

Love the ideas you see here on Ideas for the Home by Kenarry®? Subscribe today to get our FREE DIY & Craft Planning Calendar, plus our weekly Ideas in Your Inbox newsletter filled with creative tips and exclusive offers!
You may also enjoy these pumpkin craft ideas on Ideas for the Home by Kenarry® –