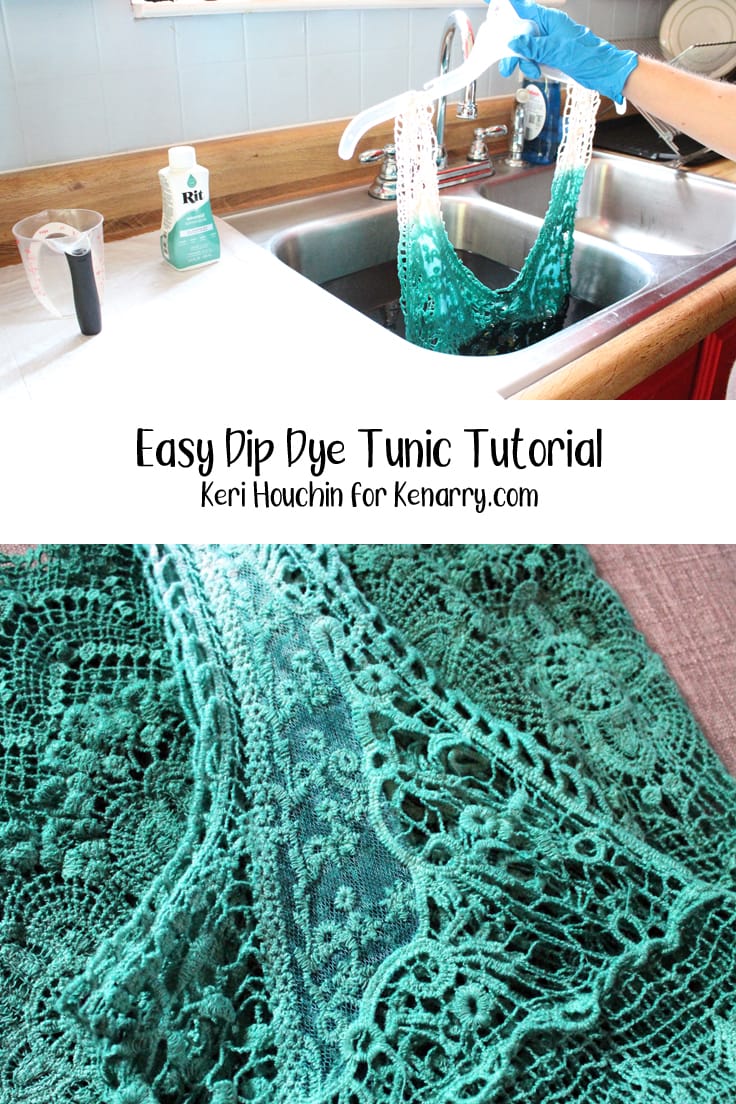
Easy Dip Dye Tunic Tutorial For A Wardrobe Makeover
THIS POST MAY CONTAIN AFFILIATE LINKS. PLEASE SEE OUR FULL DISCLOSURE POLICY FOR DETAILS.
It’s easy to change up your clothes for the new season with a little DIY. This dip dye tunic tutorial will inspire you to transform your wardrobe with color!
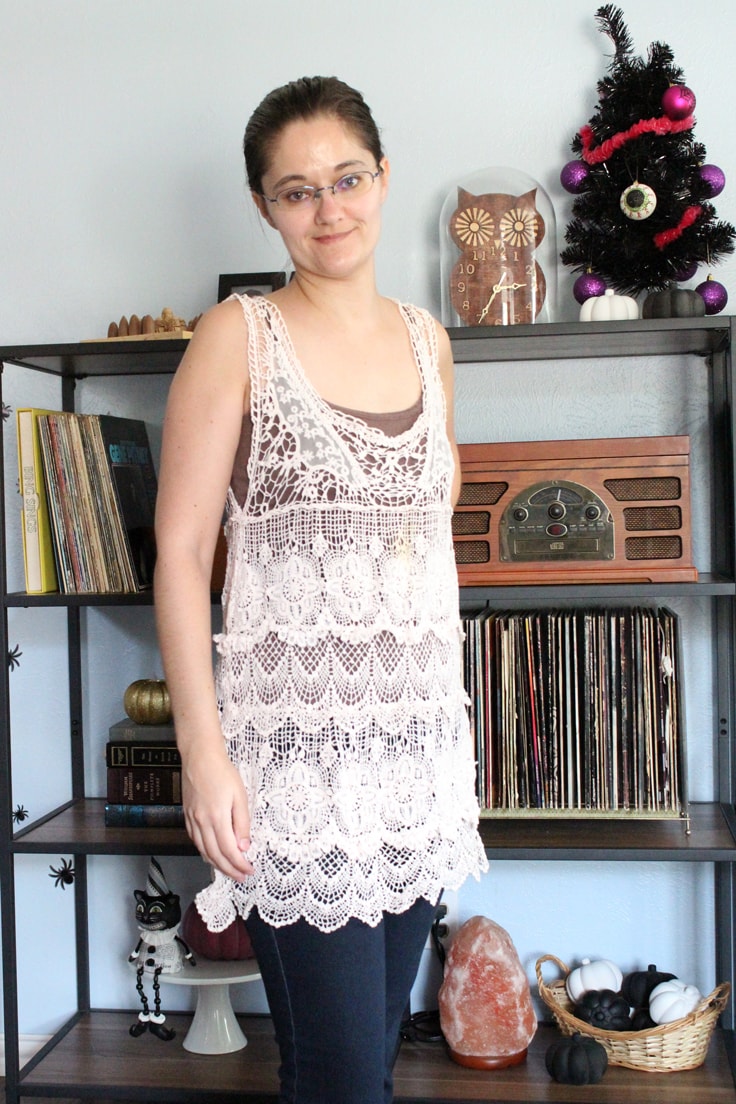
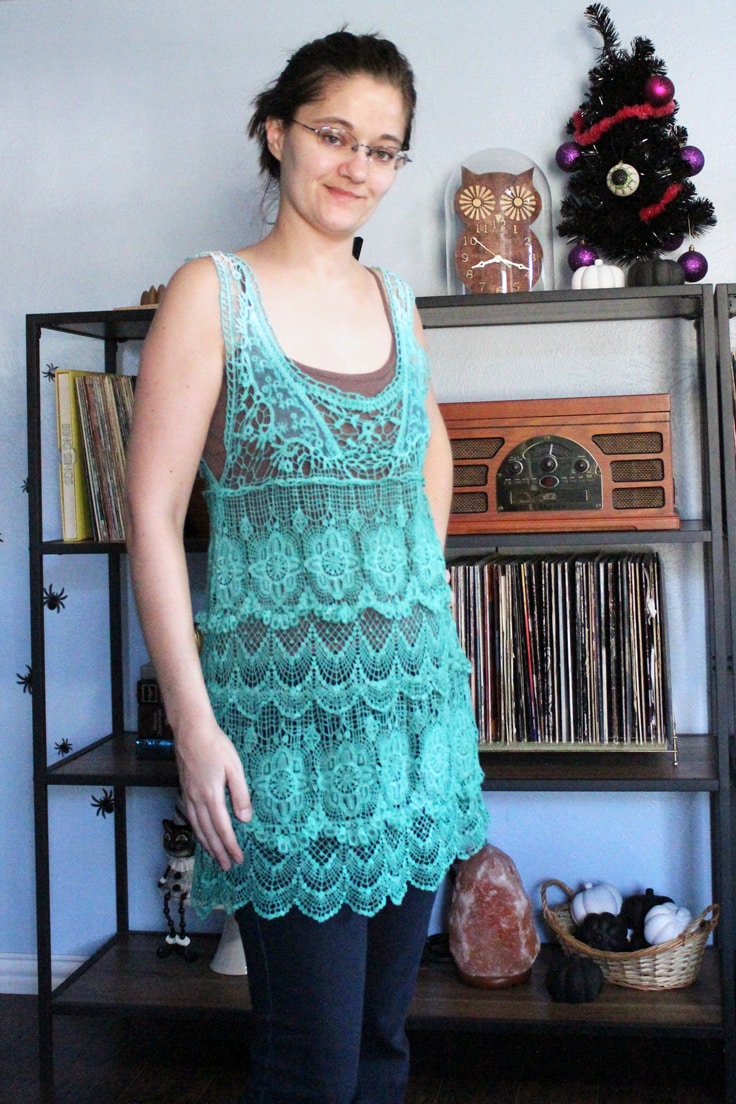
Hello! I’m Keri from One Mama’s Daily Drama and I love thrift shopping. I got this tunic for next to nothing and discovered it had a small stain. I decided it was time to give it an upgrade and try my hand at the trendy ombre dyeing technique to make this dip dye tunic.
This is really an easy beginner tutorial. If you’ve never tried dying your clothes before, this is a great place to start. Visit your local thrift shop and look for items that might not typically catch your eye – but would look fantastic in another color.
Here’s how my tunic looked before. If you look closely, you can see a yellowish stain front and center.
How to Make a Dip Dye Tunic
This tutorial is for creating a subtle ombre effect, but you can dye clothes a solid color by following the same process. Just don’t worry about holding the clothes out of the dye.
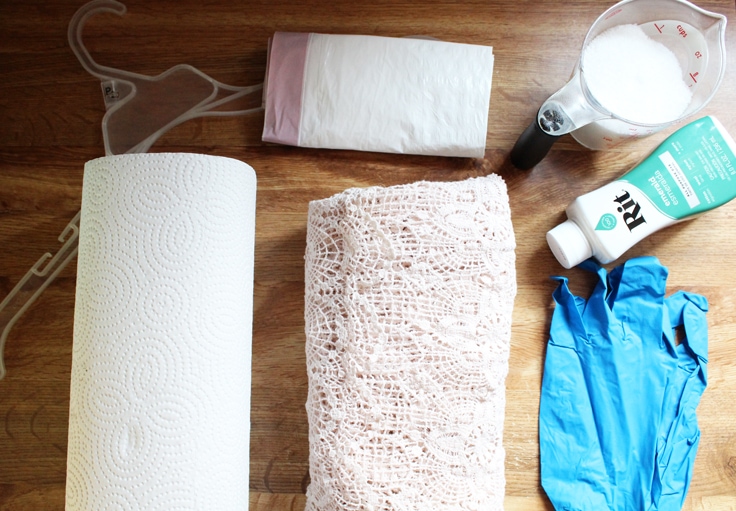
What you need:
Want more ideas like this? Subscribe today to get our weekly Ideas in Your Inbox newsletter plus other exclusive gifts and offers — all for FREE!
Craft/DIY Tools Needed:
- Kitchen sink
- Curtain rod (optional)
- Plastic clothes hanger
- Stainless steel spoon
- Measuring cup
- Rubber gloves
- Kettle or container for heating water
Supplies Needed:
- Paper towels
- Trash bag
- Light-colored cotton tunic or other clothing
- 1 bottle Rit Dye – I used Emerald Green
- 1 cup of salt
Instructions:
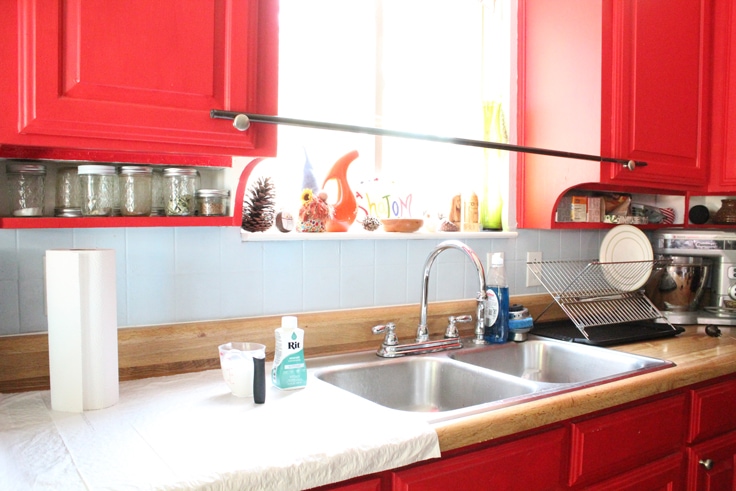
1. Prepare the workspace to dip dye
Before beginning, it’s important to set up your workspace so that you don’t splash dye on anything that might stain. I removed the items on the countertop and covered it with a plastic trash bag. I also set a roll of paper towels nearby, just in case.
It’s optional, but I hung a curtain rod across the cabinet knobs so that when I got tired of holding my arms up, I could use it to hang the tunic hanger. This was particularly handy when I was rinsing.
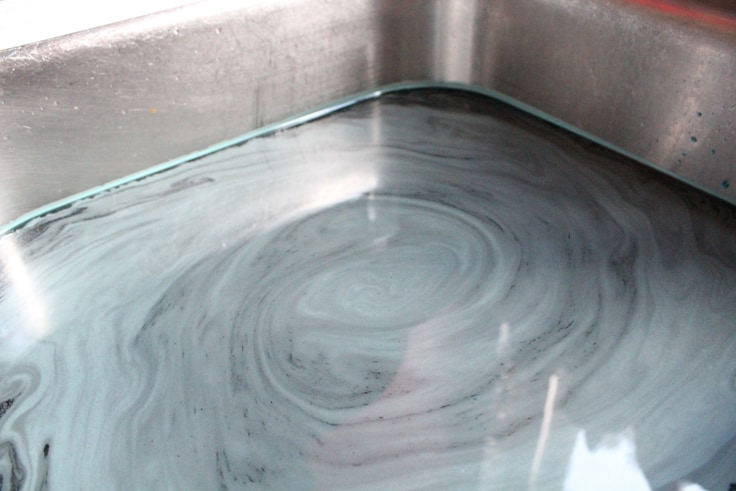
2. Make dye bath in the sink
Fill the sink with about 3 gallons of water. You can either run the tap or heat a kettle to boiling. The water needs to be around 140 degrees according to the Rit Dye bottle, so I did a combination of both.
Add the 1 cup of salt and half the bottle of dye. Stir with a stainless steel spoon to combine.
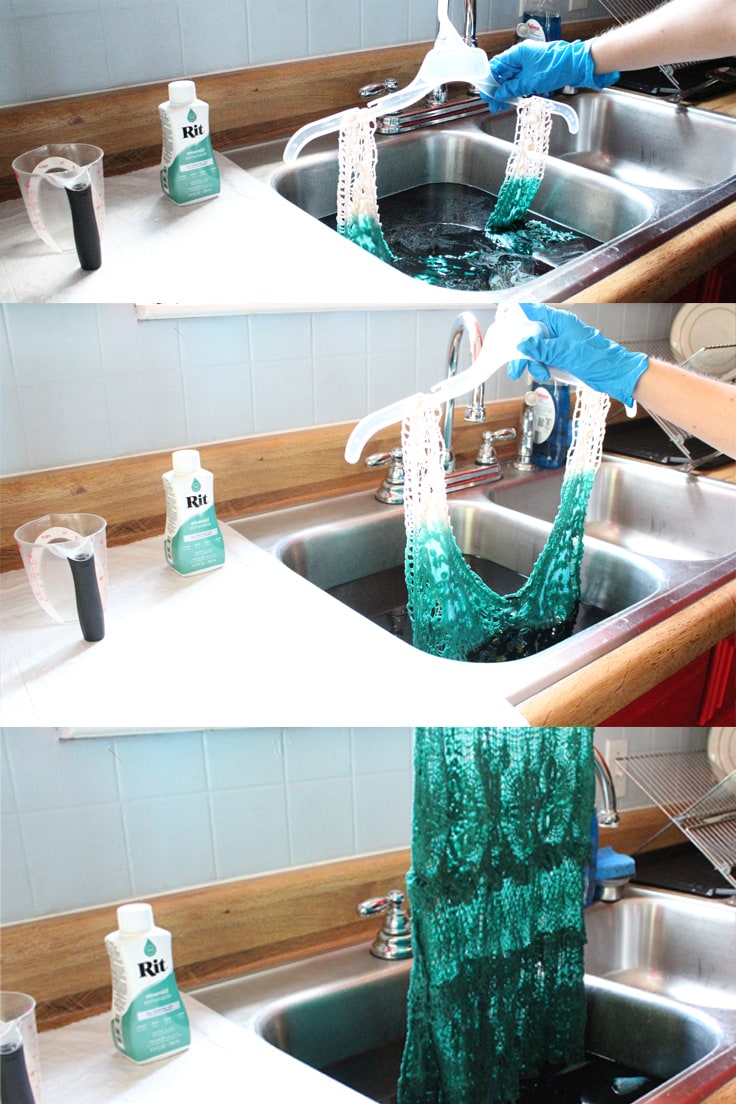
3. Dye the tunic in the water bath
Get the tunic completely wet by running it under the faucet on the empty side of the sink. Hang the tunic on the plastic hanger and lower it into the dye bath, leaving the desired amount out of the dye.
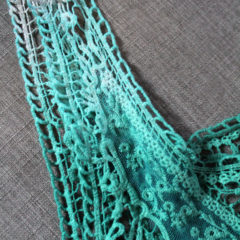
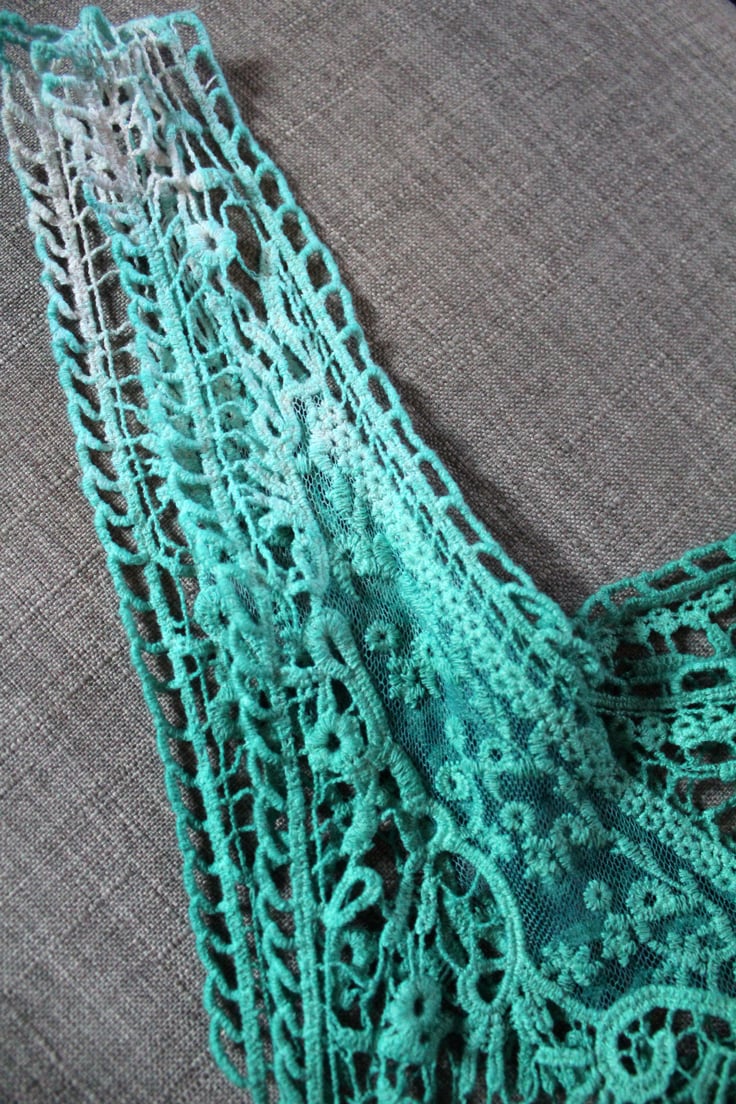
For the lightest section, I dipped it in and pulled it right back up about three inches. Every three minutes, I pulled it up another three inches to create the ombre effect. This took about 30 minutes from beginning to end.
When my arms got tired, I switched hands, and once it was high enough up to hang on the curtain rod, I gave my arms a break.
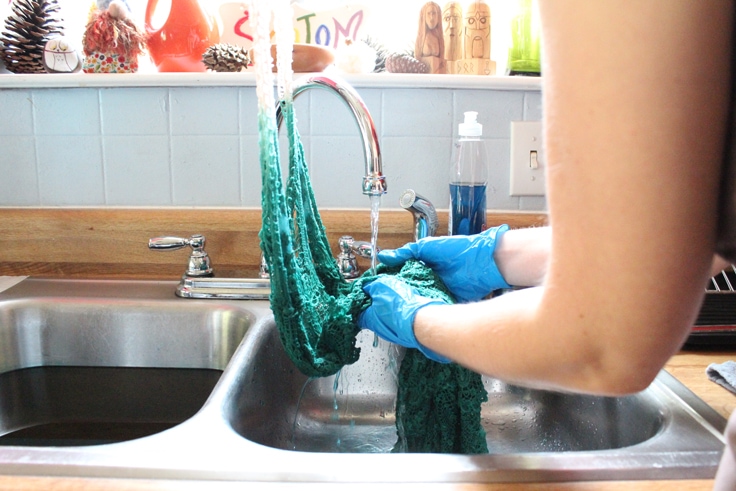
4. Rinse and dry the tunic
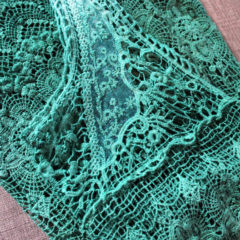
Once you’re completely happy with the dip dye, move the tunic to the empty side of the sink and run it under cold water. Thoroughly rinse every section until the water runs clear.
Hang the tunic up to dry over the sink until it isn’t dripping, then put it in the dryer to tumble dry.
For aftercare, it’s better to hand-wash your dyed clothing to prevent the colors from staining other clothes. There is also an optional Color Fixative that keeps dyed clothes from fading.
Dip dying tips
- There’s a Rit Dye for natural fibers (cotton, wool, silk) and another one for synthetics. Make sure you grab the right bottle.
- Use clothes and other fabrics that are lighter in color. Dark clothes need to be treated with Color Remover before dying.
- The dyed fabric will look darker while it’s wet and lighter when it dries.
- Use half a bottle per pound of fabric. You can get a few items in a single bath.
- Use stainless steel supplies, like the kitchen sink or a metal bowl and spoon. You can also use a plastic tub or container that you don’t mind staining and don’t plan to use for food.
- Have fun with it! Rit Dye comes in dozens of colors and you can combine colors to create your own custom shade.

What’s Next?
If you enjoyed this dip dye tunic tutorial then you’ll enjoy these other DIY tutorials for your wardrobe.
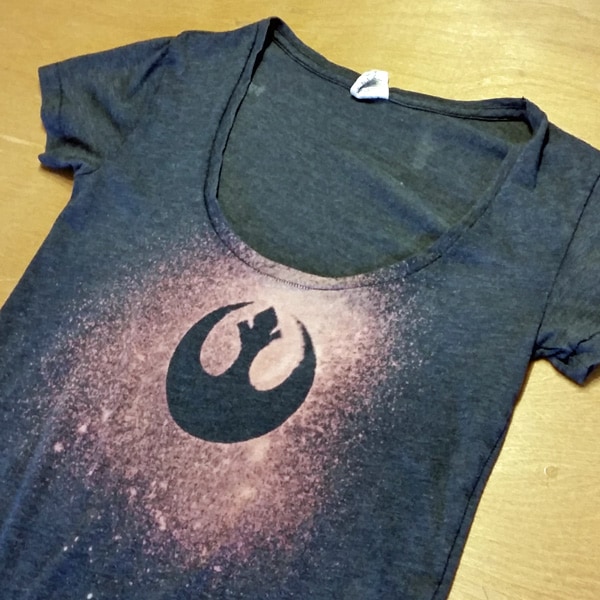
DIY Star Wars Rebel Bleach Tee
Love the ideas you see here on Ideas for the Home by Kenarry®? Subscribe today to get our FREE DIY & Craft Planning Calendar, plus our weekly Ideas in Your Inbox newsletter filled with creative tips and exclusive offers!
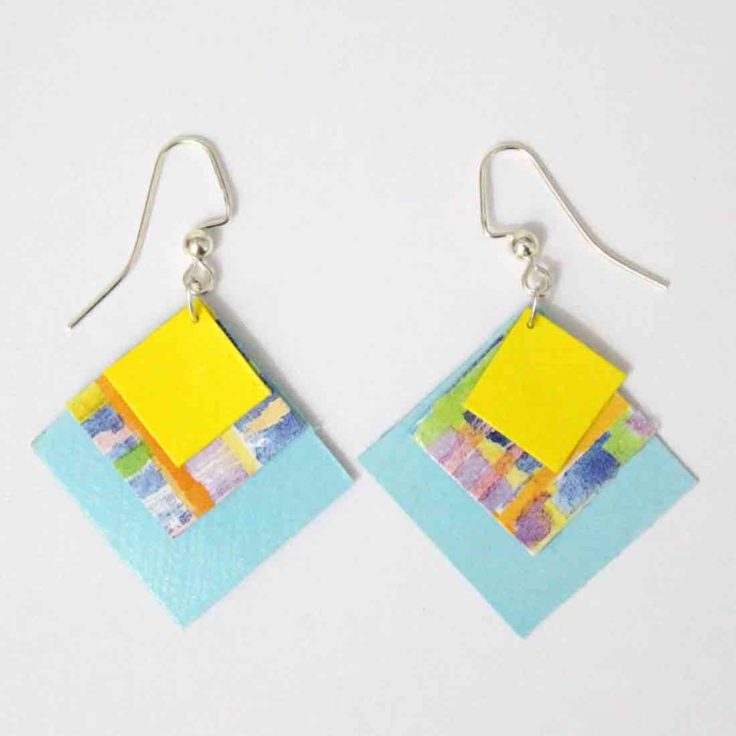
You may also enjoy these hand-dyed craft ideas on Ideas for the Home by Kenarry® –