An Easy Macrame Plant Hanger
THIS POST MAY CONTAIN AFFILIATE LINKS. PLEASE SEE OUR FULL DISCLOSURE POLICY FOR DETAILS.
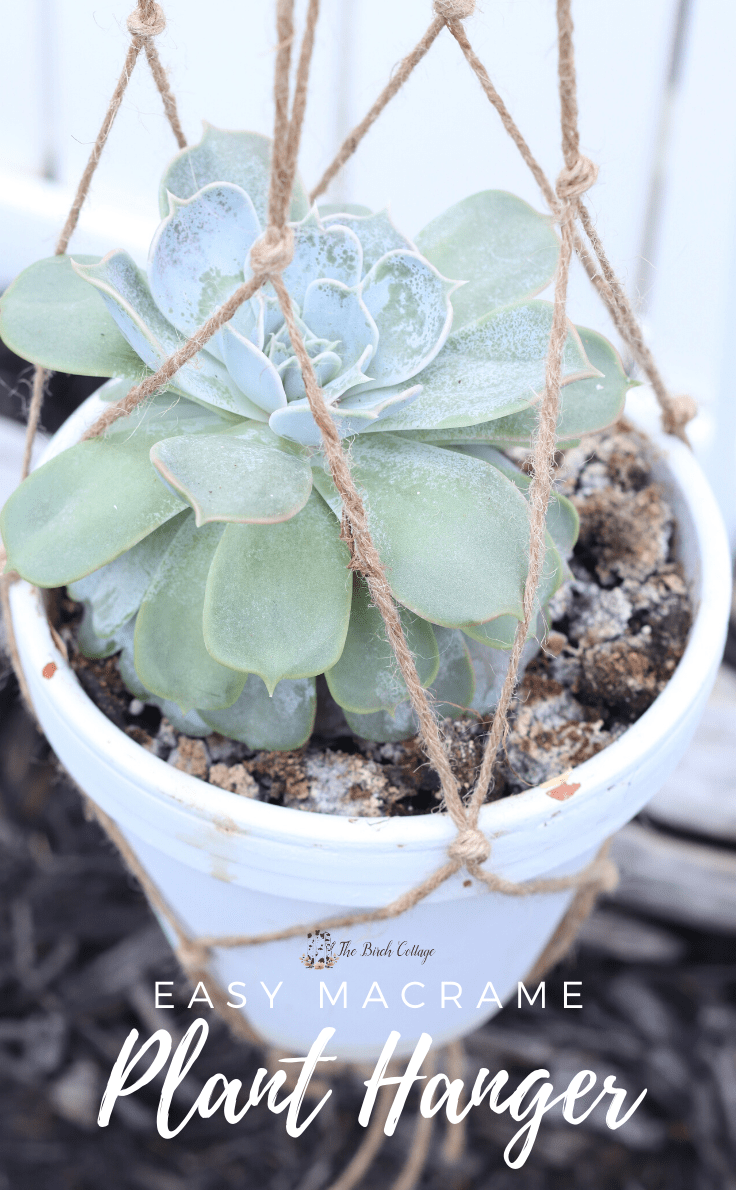
Learn how to make an easy macrame plant hanger using twine and a few simple knots. This DIY macrame plant hanger can be made to fit any size flower pot!
Hello, Ideas for the Home readers! I’m Pam from The Birch Cottage, and I’m back again this month sharing this super easy macrame plant hanger tutorial.

Don’t let the word “macrame” intimidate you. This easy macrame plant hanger simply used twine and overhand knots. Simple. Right?!
However, the results are more than simple. The results are rustic, charming, and can complement any decor. Plus these macrame plant hangers can be used indoors or outdoors. You can even make the hangers smaller or bigger.
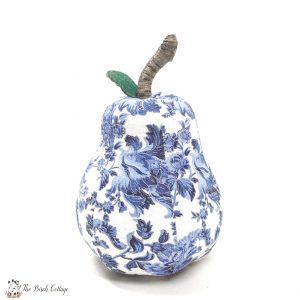
(By the way, did you notice the white flower pot? It’s painted! You can learn how to paint your terra cotta pots here.)
How to make an easy macrame planter
This easy macrame planter fits a wide range of flower pot sizes. Once you see how easy they are to make, you’ll be making them in a variety of sizes and for everyone you know!
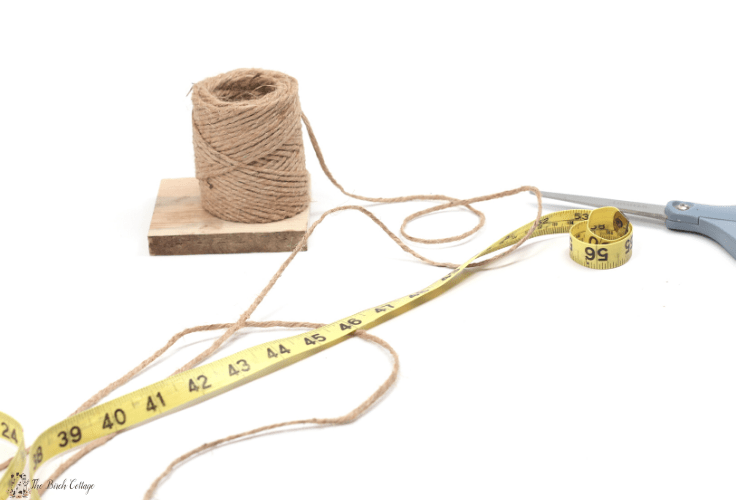
Supplies:
Before you get started, you’ll just need a few things.
Want more ideas like this? Subscribe today to get our weekly Ideas in Your Inbox newsletter plus other exclusive gifts and offers — all for FREE!
- Twine
- Scissors
- Soft tape measure

video tutorial – how to make an easy macrame plant hanger
I’ve provided written instructions below along with photos, but I thought it might be helpful to watch a video to learn how to make this easy macrame plant hanger.
Instructions:
1. Cut your twine
Cut four pieces of twine 96” long each. So, that’s four pieces of twine, each measuring approximately 96”.
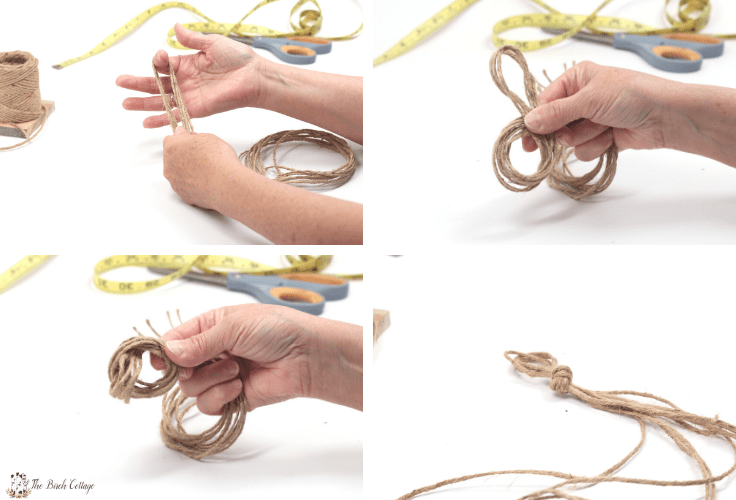
2. Make a Loop
Gather all four pieces of twine in your hand and fold them in half. Make a loop in the middle of the four pieces of twine and tie an overhand knot about 2” from the edge of the loop.
This will be the loop that you will hang the plant hanger from.
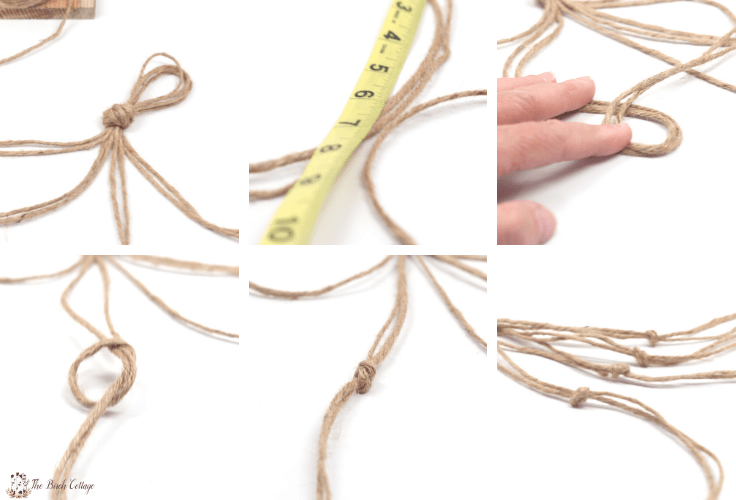
2. Make Knots
With the loop hanging from a nail or coat hook (makes it easier to work with the strands), take two strands of twine and tie an overhand knot about 5-6” from the knot You made in step 1.
Take two more strands and again make a knot about 6” down from the knot in step 1. Repeat this for the next 4 strands.
3. Make more Knots
Take one strand of twine from one of the sets of twine and one strand of twine from an adjacent set of twine and tie a knot about 6” down from the previous knot.
Repeat this with the other 6 strands of twine.
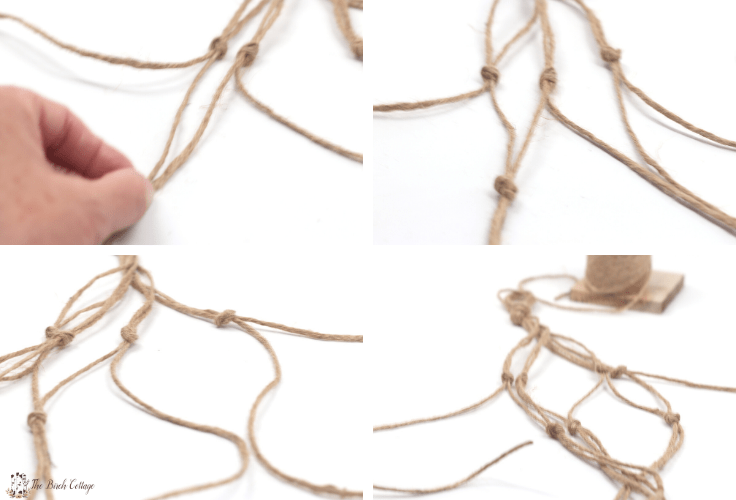
4. Make even more Knots
Take one strand of twine from one of the sets of twine and one strand of twine from an adjacent set of twine and tie a knot about 6” down from the previous knot.

5. Make Even more Knots again
Take one strand of twine from one of the sets of twine and one strand of twine from an adjacent set of twine and tie a knot about 6” down from the previous knot.
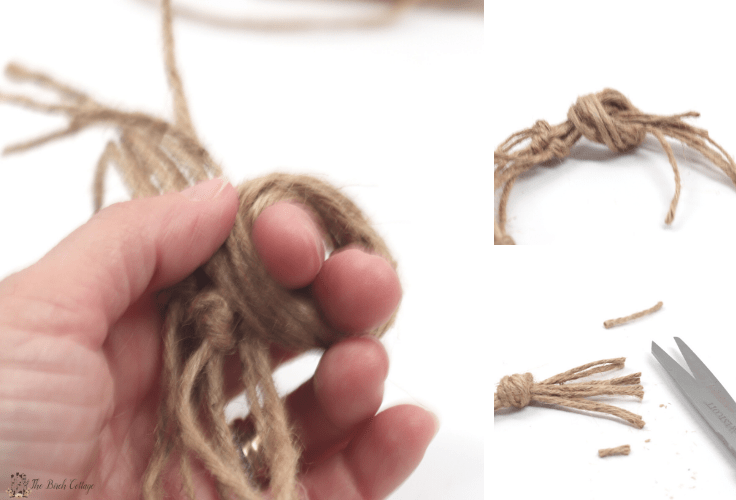
6. Finish the plant hanger
- Gather all of the strands of twine together and make one big overhand knot midway between the last row of knots and the end of the strands.
- Trim the ends so they are even.
- Hang your planter and position your flower pot in the macrame plant hanger.

Make your Plant Hanger Longer or shorter
You can easily adjust the size of your plant hanger simply by cutting the twine into longer sections or shorter sections. You’ll also want to space your knots accordingly.
Let’s say that you have a flower pot that is only 3″ across the bottom. Just be sure to include your last row of knots so they come slightly up the side of the flower pot, like we did with Step 5 above. This will help to insure your flower pot doesn’t fall through the plant hanger.
If you have questions, just leave them in the Comments below!
What’s Next?
If you enjoyed learning how to make this easy macrame plant hanger, you might also like these ideas from The Birch Cottage blog:
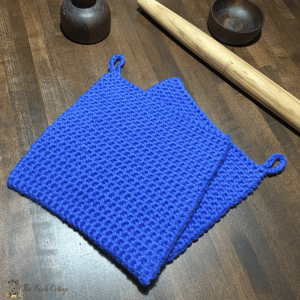
Single Crochet Thermal Stitch Potholder Pattern
You may also enjoy these home gardening projects on Ideas for the Home by Kenarry® –