Fall Hand Painted Wine Glasses And Appetizer Plates
THIS POST MAY CONTAIN AFFILIATE LINKS. PLEASE SEE OUR FULL DISCLOSURE POLICY FOR DETAILS.
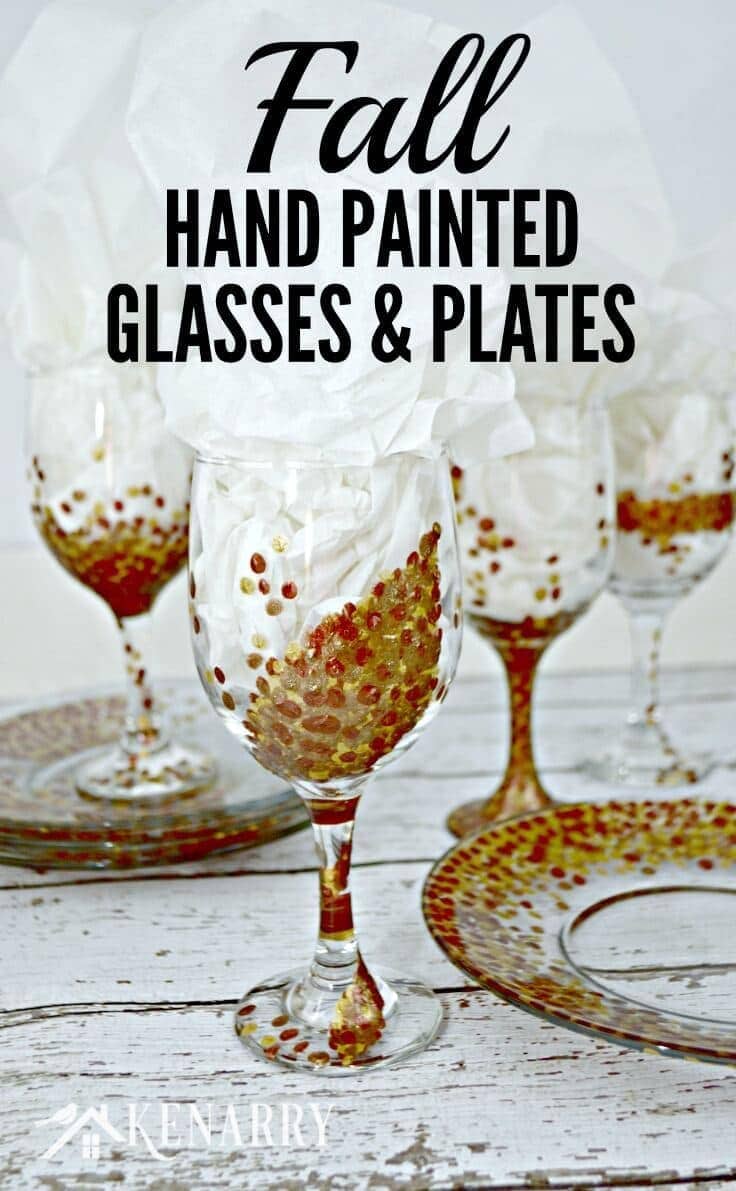
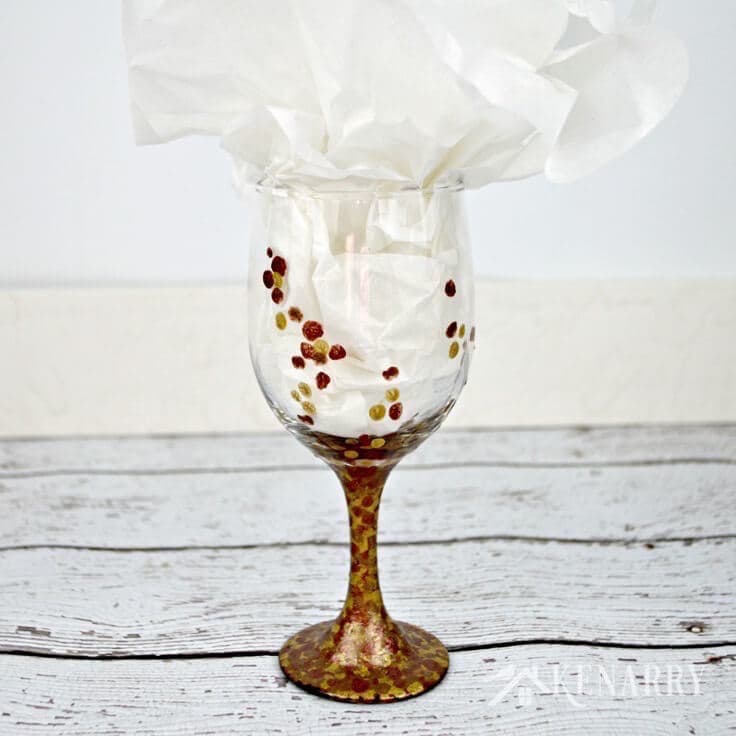
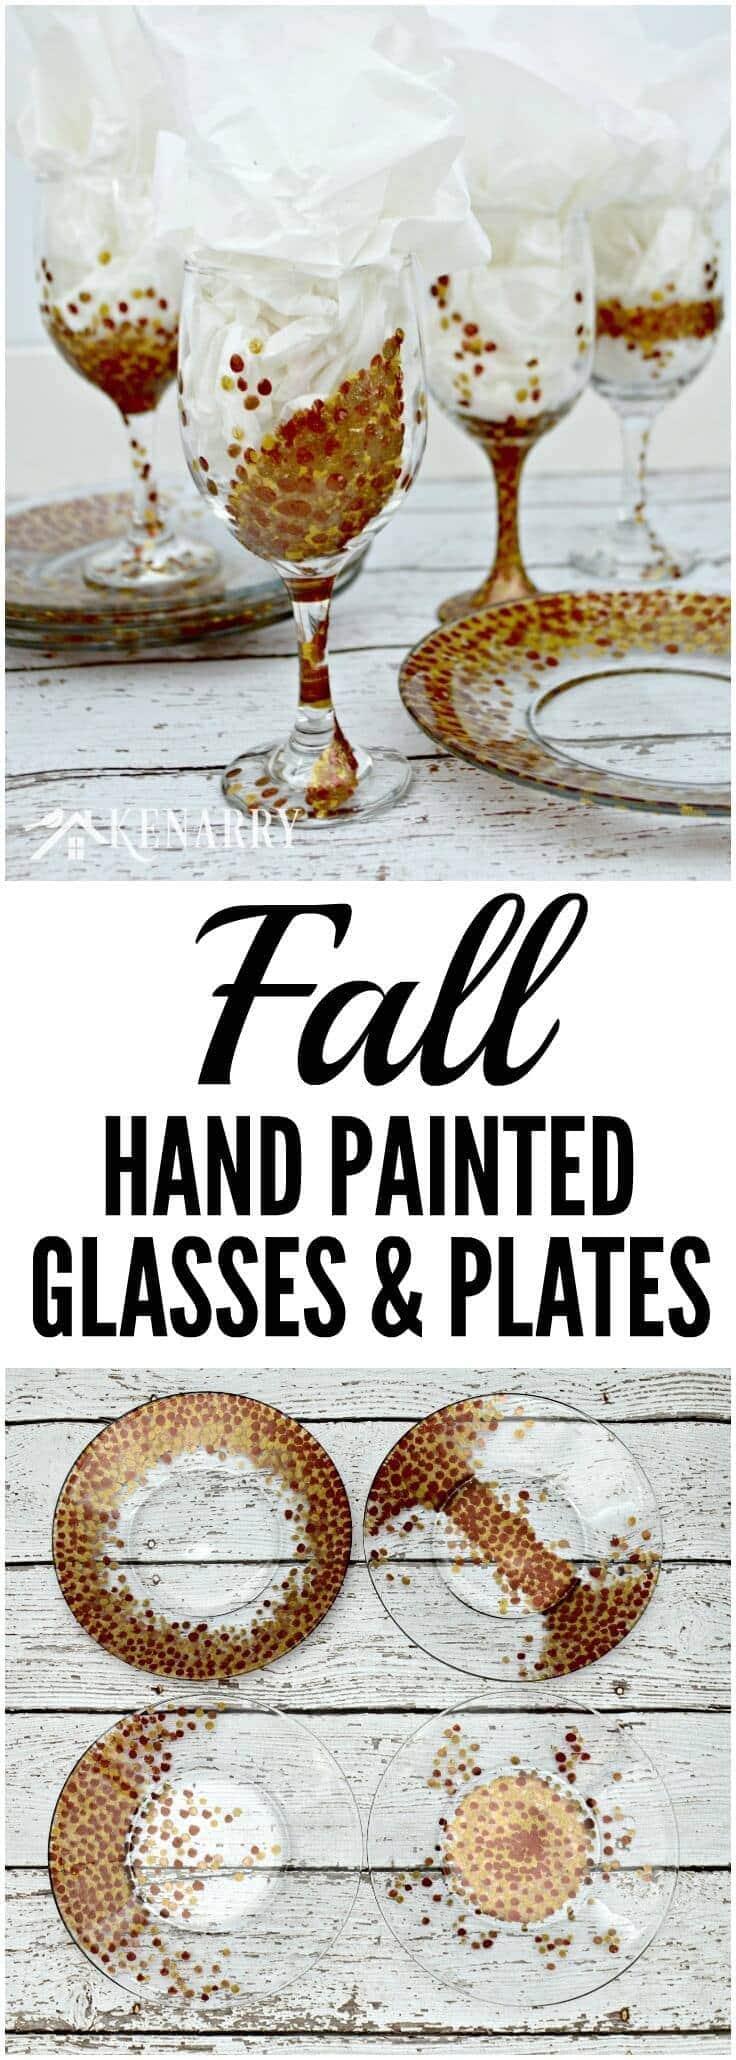
Create fall hand painted wine glasses and appetizer plates using metallic enamel craft paints. It’s an easy, inexpensive hostess gift idea for the holidays.
Learn how to make your own fall hand painted wine glasses and appetizer plates to wow your guests this holiday season.
As you may know, I’m one of the founders and organizers for an annual event in our community called Women’s Service Day. It’s a one day service project where volunteers have the opportunity to offer their time, skills, and talent to nonprofit organizations in West Michigan, and to network among women in the community. Last week we celebrated our 15th annual event on October 6 with over 180 people volunteering with tasks like cleaning, painting, staining, cooking, landscaping, construction, assembling, organizing and making a difference in our local community.
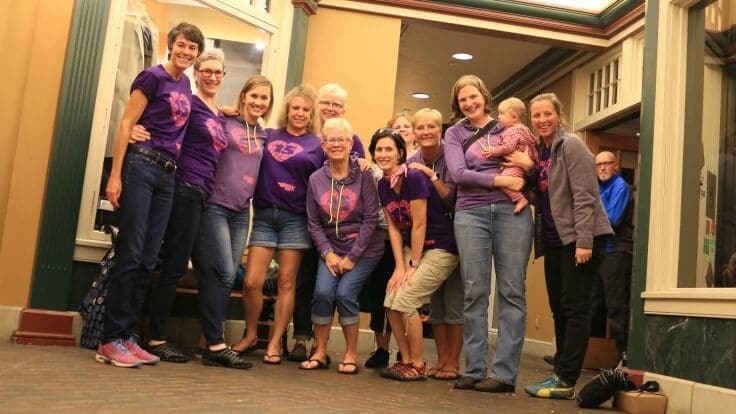
When we started this event fifteen years ago, we hoped to find a dozen colleagues to help with a women’s build at Lakeshore Habitat for Humanity. We were quickly blown away by the generous spirit of women who wanted to give their time and talent to help for a whole or half day in our community. We had 50 women sign-up to volunteer that year — what a wonderful problem to have! We scrambled at first, but there are so many organizations doing great work in our community that it didn’t take us long to find other places where volunteers could meaningfully serve women and children that day. The enthusiastic response that first year and in the years that have followed inspires us to organize the annual event and to keep that spirit of giving moving forward. We can hardly believe it’s been 15 years since this all started!
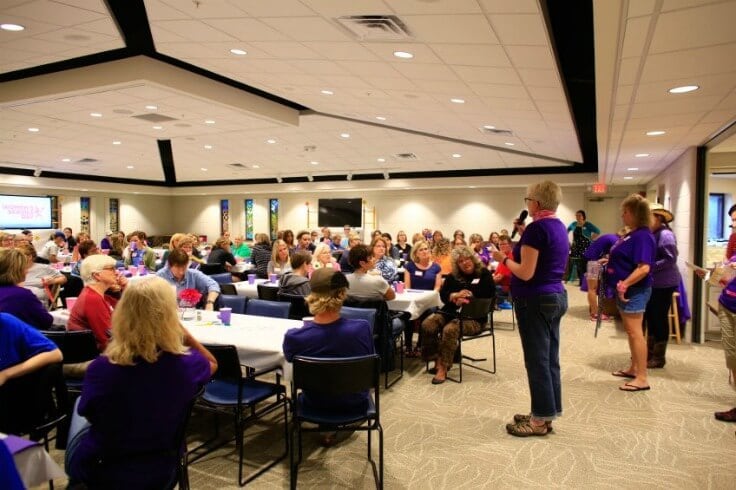
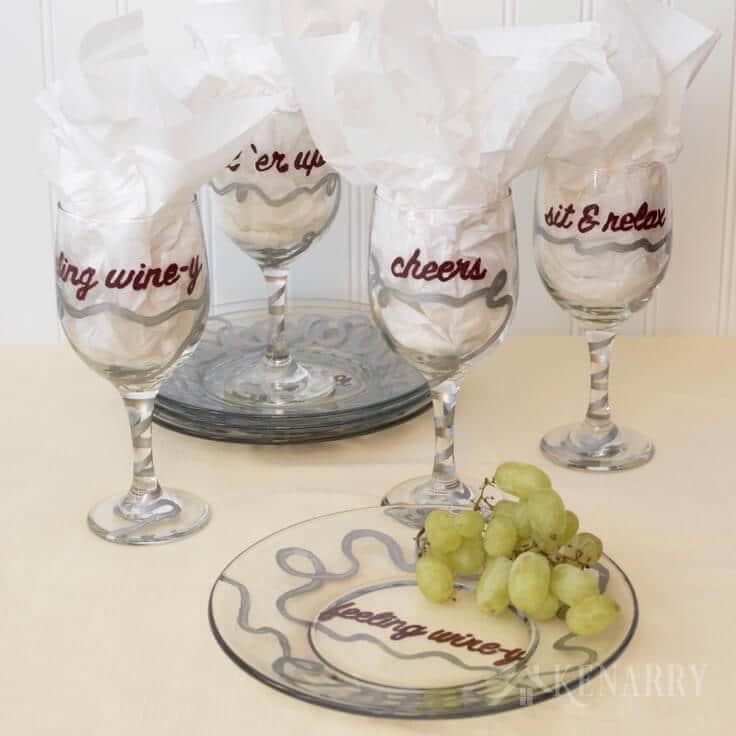
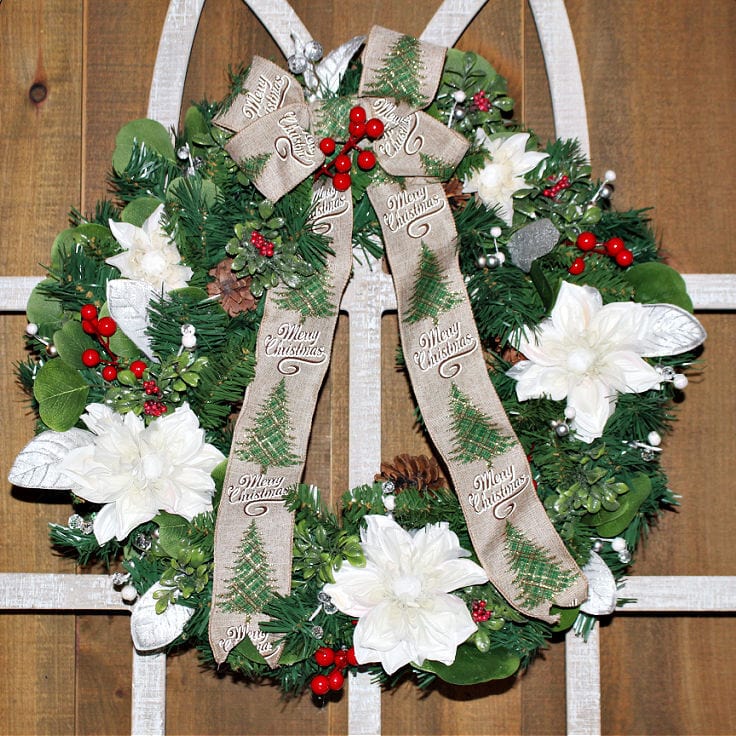
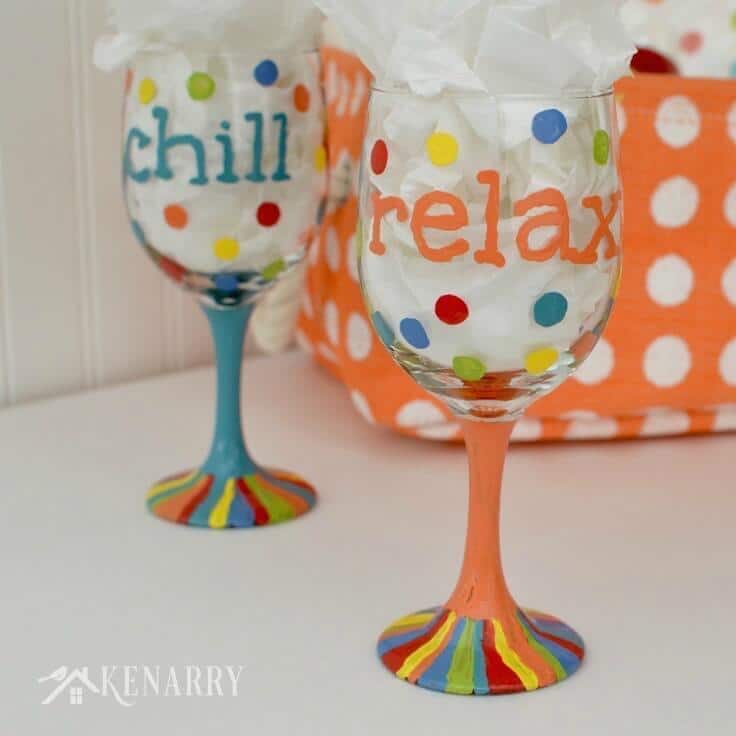
Half way through the day, volunteers gather together for lunch to share stories and celebrate the incredible work being done in our community. At the luncheon, we also have a raffle featuring handmade crafts, art and donations from area businesses to raise money for a specific project or organization. A few years ago, I made a red, white and blue burlap wreath for the raffle, but it didn’t raise as much money as we hoped. Then last year, I created hand painted wine glasses and appetizer plates with silly phrases like “fill ‘er up”, “cheers” and “feeling wine-y” after my Women’s Service Day friends threw me a surprise craft party for my 40th birthday. The hand painted wine glasses and appetizer plates were such a big hit at last year’s raffle that I decided to make another set for this year’s event.
Rather than putting words on the wine glasses and plates this year, I decided to keep it simple with whimsical dots in a variety of patterns or designs. Below you’ll find the tutorial sharing how I used metallic gloss enamel paints in rich fall colors of copper, gold and brown. I especially love that the paints are dishwasher safe. Clear glassware is really inexpensive to buy at any local department store or online so this can also be an inexpensive, fun Christmas gift for a friend or an easy handmade hostess gift for Thanksgiving or New Year’s Eve.
How to Make Fall Hand Painted Wine Glasses and Appetizer Plates
Disclosure: This blog post contains affiliate links for products or services we think you’ll like. This means if you make a purchase from one of these links, we’ll make a small commission at no additional cost to you so we can keep the great ideas for the home coming your way. All opinions expressed are our own, derived from our personal experience.
What You Need
- Wine glasses
- Clear glass salad or appetizer plates
- Enamel Metallic Paint, Rich Espresso
- Enamel Metallic Paint, Glorious Gold
- Enamel Metallic Paint, Antique Copper
- Paint palette or small containers (Tip: an old egg carton would work great as a paint palette.)
- Small paint brushes
- Oven, optional
Instructions
1. Prepare the glassware
Remove any stickers from the glassware. Wash and dry it thoroughly so you have a clean surface for painting. I used Goo Gone to remove any sticky residue and then ran the wine glasses and appetizer plates through my dish washer.
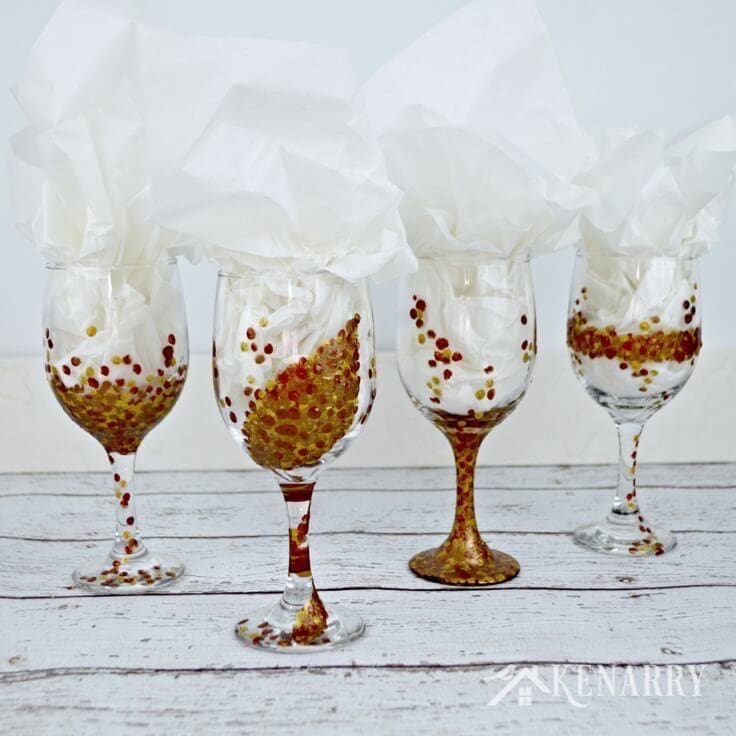
2. Decide what kind of design you want to paint on your glassware
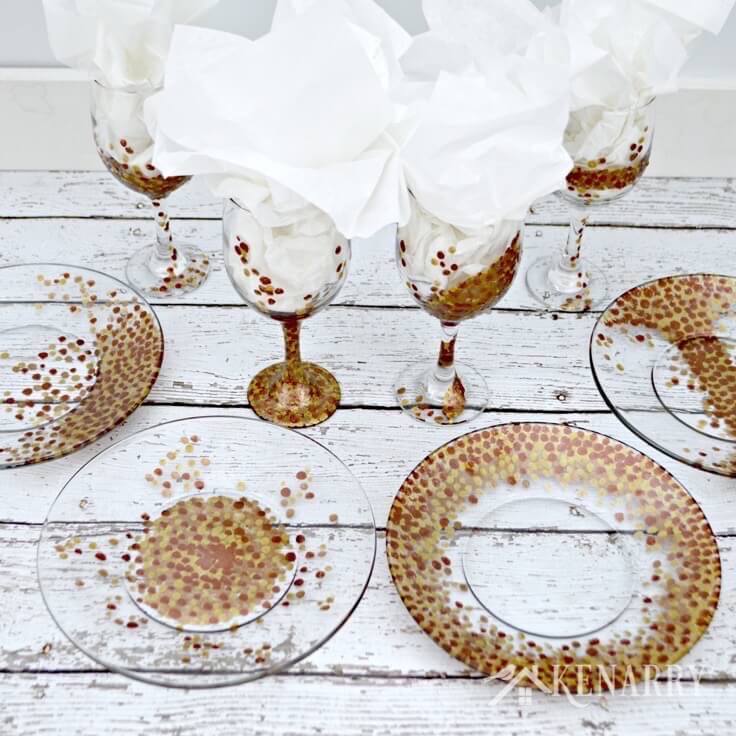
For mine, I created different patterns or designs on each of the wine glasses and plates. When people are at a party, they like to know at a glance which plate or wine glass is theirs. In addition, it would have been more challenging and time consuming to try to replicate the exact same design across all four plates and glasses.
With the wine glasses, it’s important to leave at least a half inch at the top of the glassware free of paint. While the gloss enamel paint is non-toxic, I don’t think you want your lips coming into contact with it regularly.
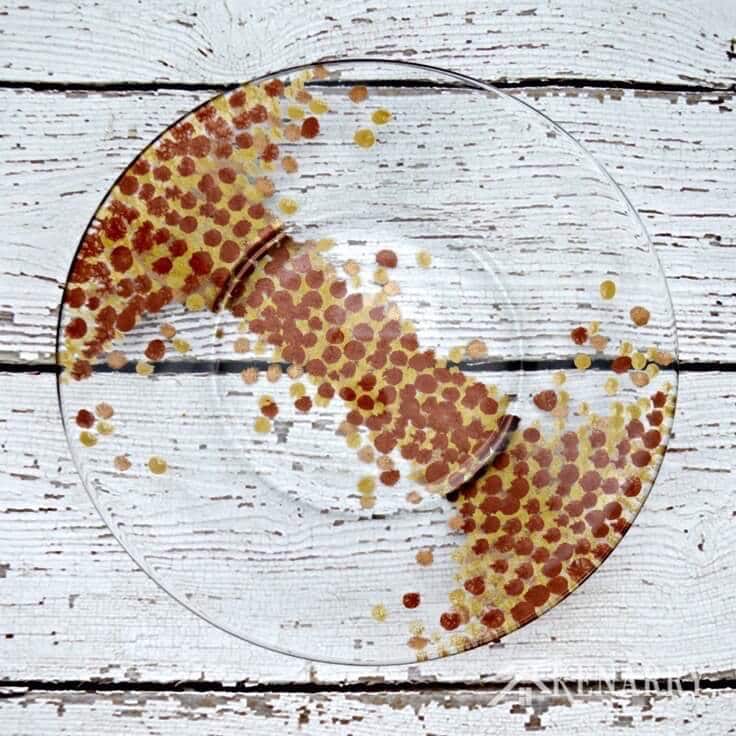
For that same reason, when you’re painting the appetizer plates, you’re actually painting the under side or the bottom of each plate. Do not paint the top of the appetizer plates.

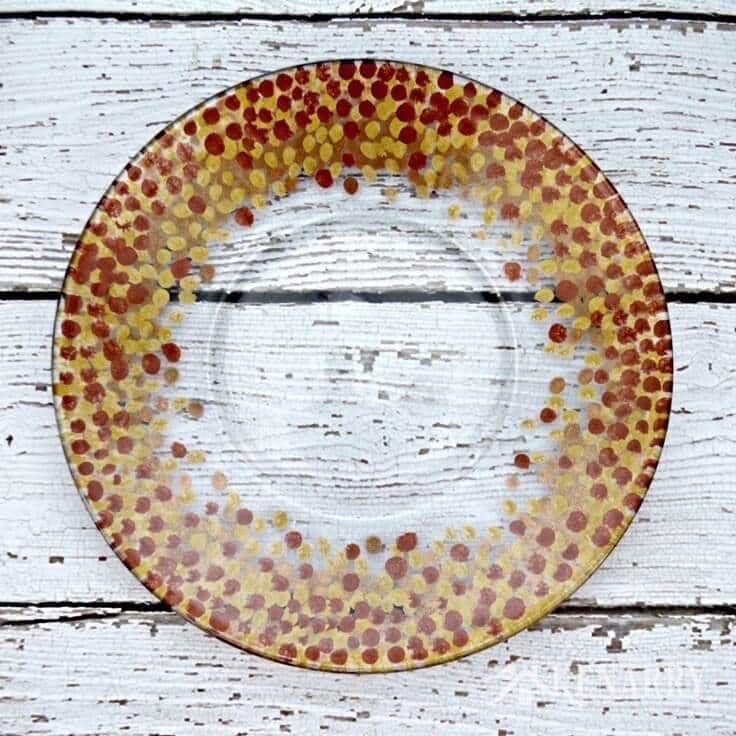
It was easier to create random designs of dots on the wine glasses. The appetizer plates were harder to come up with four different patterns. If I had to go back and do it all over again, I think I would just paint dots around the edge of all of the appetizer plates. I like how this one turned out the best:
3. Paint layers of dots on the glassware
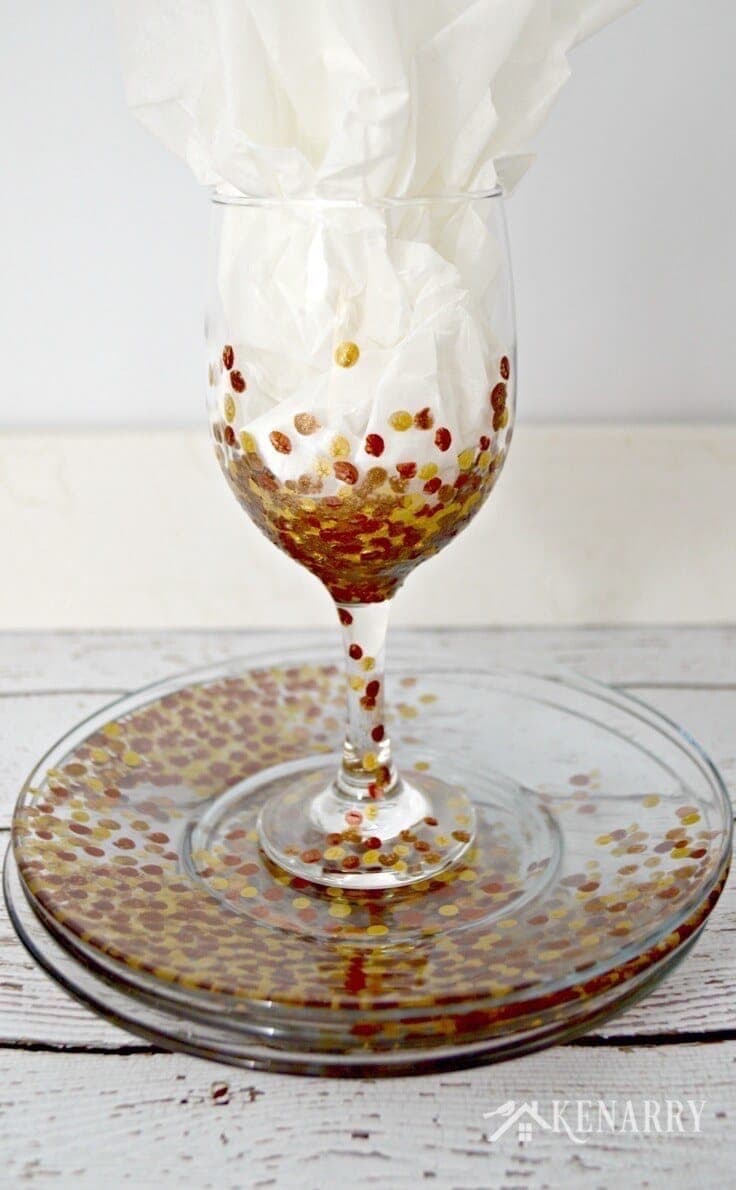
Pick one of the metallic enamel paints to start with and pour a small amount in your paint palette. Next, using a small paint brush create small dots over and over again on each of the appetizer plates and wine glasses. Be sure to leave some gaps between the dots so the layers of dots that you paint later can show through. Let that layer of paint dry for several hours. Then paint the next layer of dots using a different metallic enamel paint color. Once that dries you can paint the last layer using the third color of metallic enamel paint.
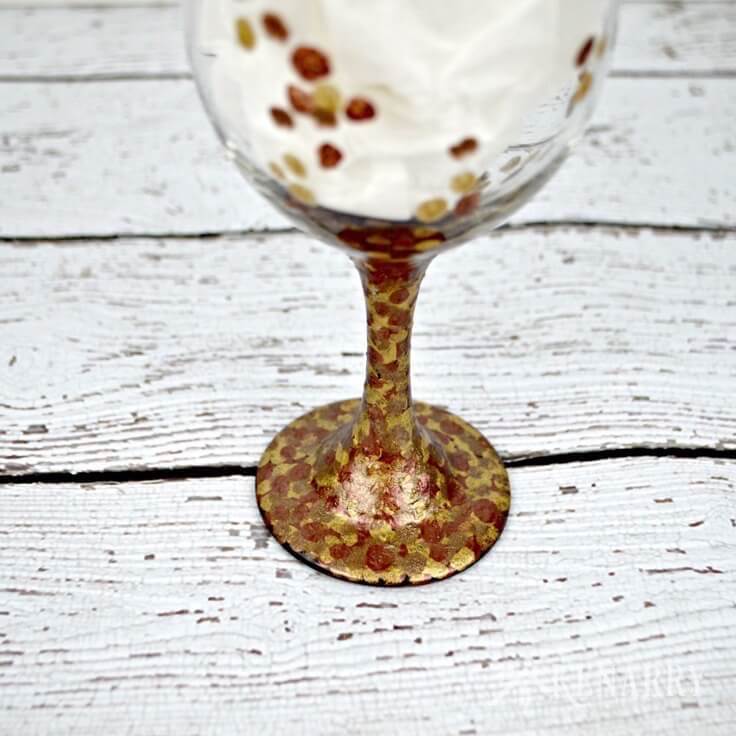
For mine, I started with the rich espresso paint, then a layer of glorious gold dots and finally the antique copper dots. Again, it’s important to note that you’re painting the BOTTOM of the appetizer plates, so the first layer you paint is actually what is going to show through the most.
On the wine glasses, it’s just the opposite. You’re painting the outside of the wine glasses so the layers of paint are actually building on top of one another. If you covered a lot of your first layer with the second and third paint colors, you may want to do one last layer with the first color you used so more of that shows.
4. Allow your hand painted wine glasses and appetizer plates to dry
You may need to use a few coats of paint to get the desired coverage you want on the wine glasses and plates. Be sure to allow enough time for your hand painted wine glasses and plates to dry between coats. You can also use a blow dryer to speed up the drying process.
5. Cure the paint on the hand painted wine glasses and appetizer plates
The final step in the process is to cure or harden the paint on the fall hand painted wine glasses and appetizer plates. There are two methods for doing this:
- Method 1: Air Dry. Let the fall hand painted wine glasses and appetizer plates air dry for 21 days.
- Method 2: Bake in the Oven. Put the fall hand painted wine glasses and appetizer plates on a metal baking sheet and place on a low rack in the oven. Heat the oven to 350 degrees. Bake the hand painted wine glasses and appetizer plates for 30 minutes. Turn the oven off and allow the hand painted wine glasses and plates to cool naturally with the oven before removing them. IMPORTANT: YOU MUST PUT THE HAND PAINTED WINE GLASSES AND PLATES IN THE OVEN BEFORE YOU TURN IT ON TO PREVENT THE GLASSES FROM BREAKING.
Once the paint has cured on the hand painted wine glasses, they are top-rack dishwasher safe.
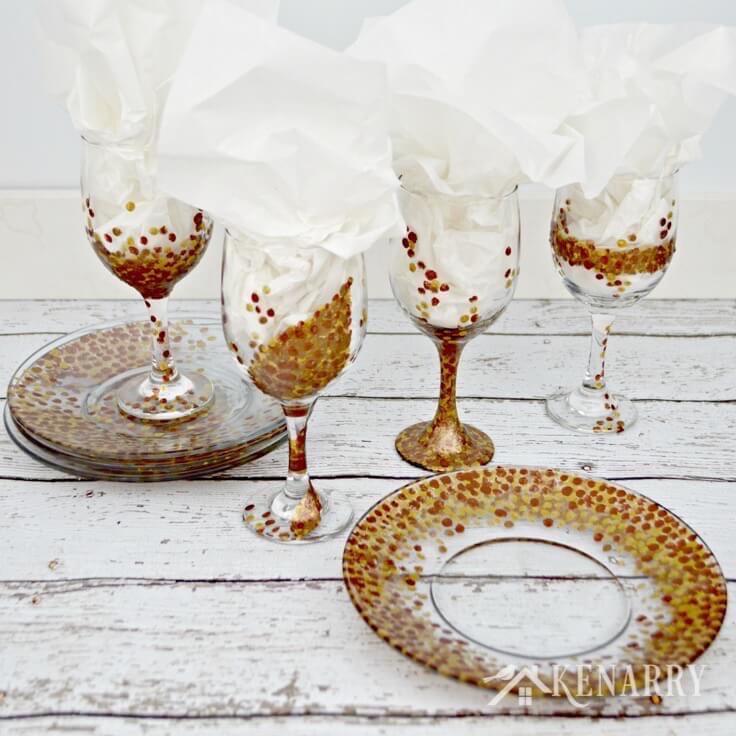
You can now enjoy your new fall hand painted wine glasses and appetizer plates! You can also turn them into a gift for a friend or raffle off at a fundraiser like I did. With the holidays just around the corner, I think they’d be a fun and inexpensive DIY hostess gift. You could give the glassware as is or turn it into a fun gift basket with gourmet chocolates, a bottle of wine, an assortment of cheese, sausage or crackers and other delicious goodies. You can also add colorful napkins, a scented candle or make a set of coasters to go with the glassware. Pam from The Birch Cottage on our Creative Team also has a fantastic tutorial for how to make a cheese cutting board from ceramic tile that I think would go great with these hand painted wine glasses and appetizer plates.
Love the ideas you see here on Ideas for the Home by Kenarry®? Subscribe today to get our weekly Ideas in Your Inbox newsletter plus other exclusive gifts and offers — all for FREE!
what’s next?
While you’re here be sure to check out other fall ideas on Ideas for the Home by Kenarry® –
If you enjoyed these fall hand painted wine glasses and appetizer plates, please share this post with your friends or pin it for later:
Hi, Carrie
What gorgeous wine glasses and plates you created. Wow, I love it and all the different patterns are beautiful. I would love it if you would share this awesome post at a link party I am co-hosting. I hope to see you there. Have a great week. http://diy180site.blogspot.com/2016/10/dishing-it-and-digging-it-link-party-119.html
Thanks for your sweet words of encouragement and the invite to your party, Vanessa! I just stopped by and linked up. Have a wonderful week!
Those dishes you did are so cute, what a great way to add personal flair! Thank you so much for joining us at the DI & DI Link party too, we hope you had fun and met some new bloggy friends!
Thank you for hosting the party, Christine! We’re glad you came by to check out our fall hand painted wine glasses and plates.
Really lovely! thanks for sharing on craft schooling Sunday!
Thank you!
They turned out cute. I love that you used different designs on the plates. Hope you’re having a great week!
Thanks! I figured that way whoever is using them can tell whose plate is whose at a party.
what a cute idea! they came out really nice 🙂
Thanks Tianna!