Catch-All Fat Quarter Fabric Tray: Simple Sewing Tutorial
THIS POST MAY CONTAIN AFFILIATE LINKS. PLEASE SEE OUR FULL DISCLOSURE POLICY FOR DETAILS.
Make good use of fabric scraps and organize the odd and ends that seem to collect on the nightstand by sewing this fat quarter fabric tray.
Hello, it’s Keri from One Mama’s Daily Drama again. If you saw my fabric garland tutorial or my DIY iPad Cover, you might remember that I’m trying to use up my fabric stash. I’ve got a ton of fat quarters and they’re really handy for small projects like this easy beginner sewing tutorial.

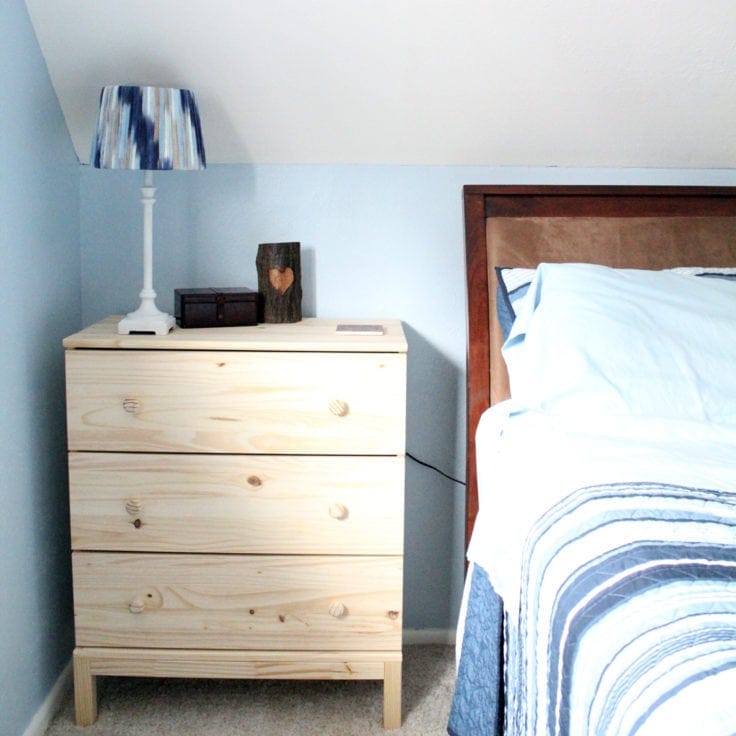
You can use this as a desk tidy or a catch-all on your nightstand. I think I need one in every room to collect all the stuff that just seems to hang around. Does it count as a “junk drawer” if it’s really cute?
How to Make a Fat Quarter Fabric Tray
I use two fat quarters to make this fabric tray, but you can cut any size fabric into a square and follow the same instructions.
What you need:
Want more ideas like this? Subscribe today to get our weekly Ideas in Your Inbox newsletter plus other exclusive gifts and offers — all for FREE!
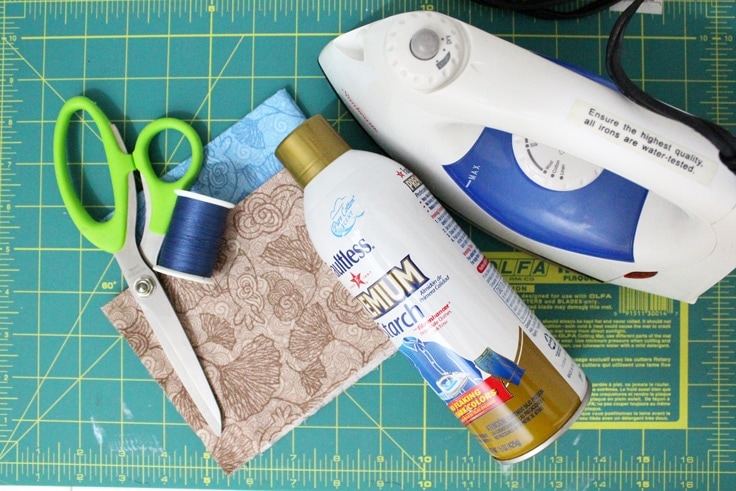
Craft/DIY Tools Needed:
- scissors
- iron
- sewing machine or needle and thread
Supplies Needed:
- 2 fabric fat quarters
- thread
- starch (optional)
Instructions:
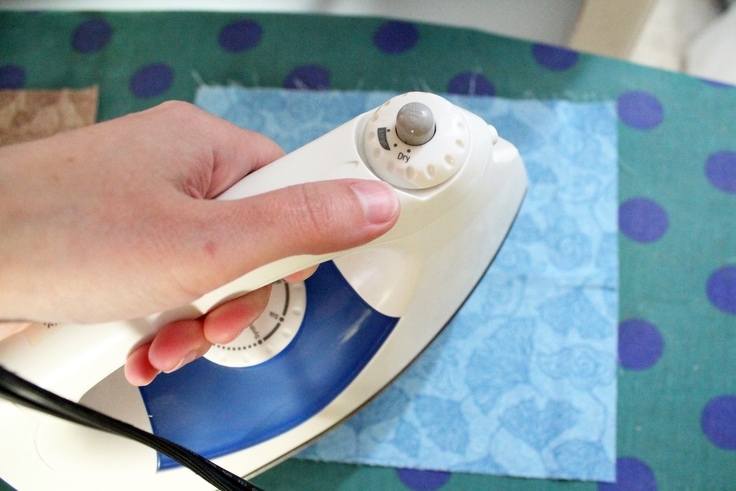
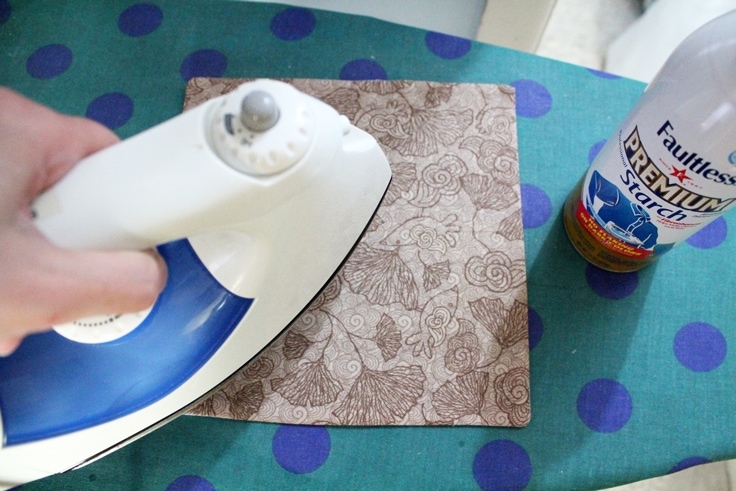
1. Prepare the fabric
Iron the fabric to get out any wrinkles or creases.
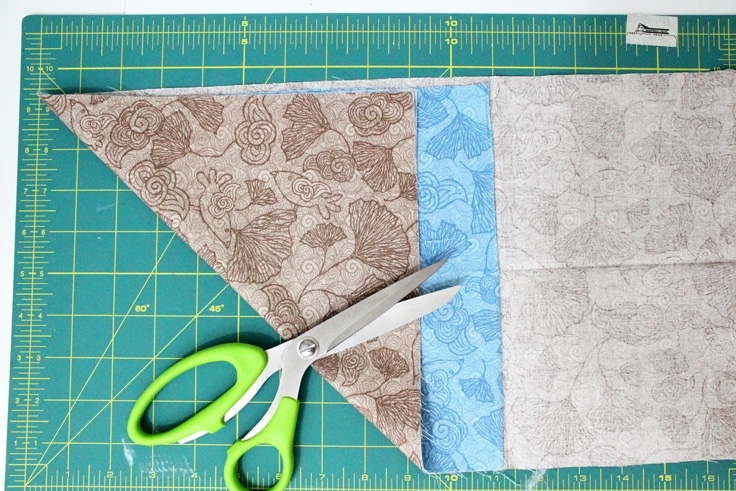
Cut both pieces into an equal sized square. Mine measures about 9×9-inches. I folded it on a diagonal to cut it.
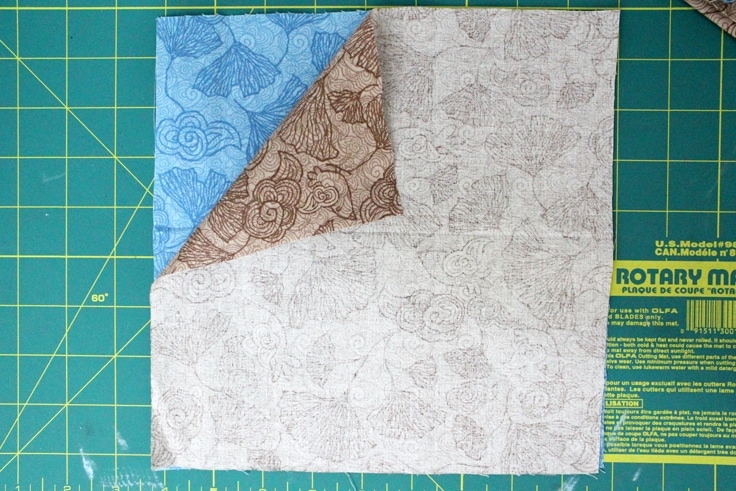
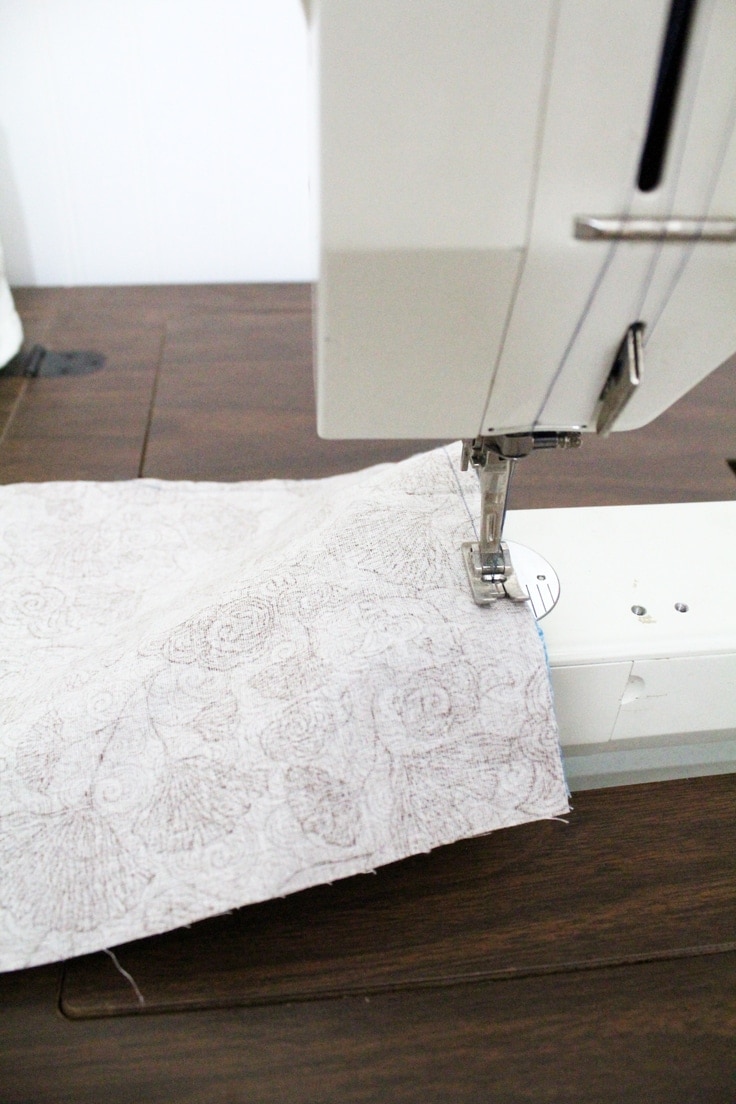
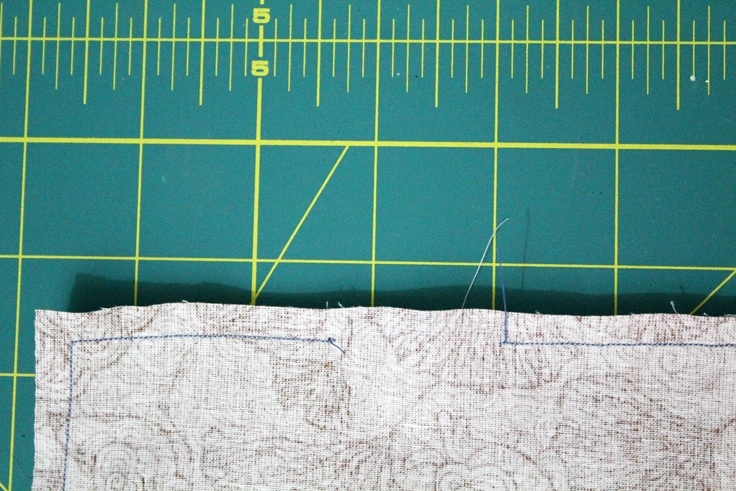
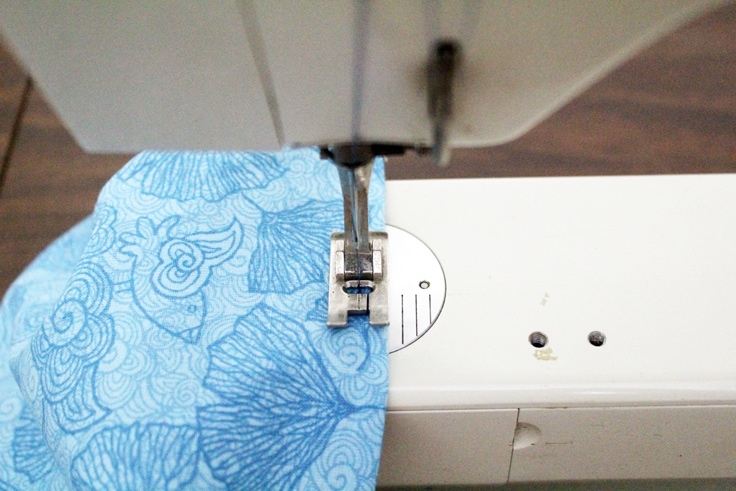
2. Sew fabric squares
Line up the fabric with right sides together. Starting on a side (not a corner) sew around all four sides, leaving about 2 inches open.
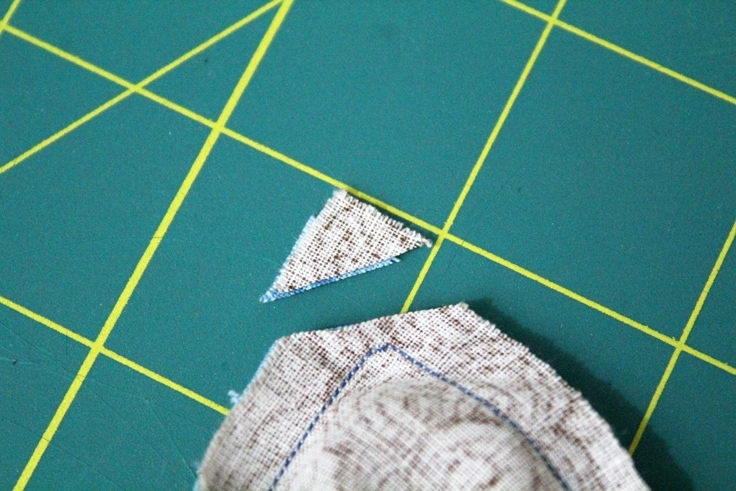
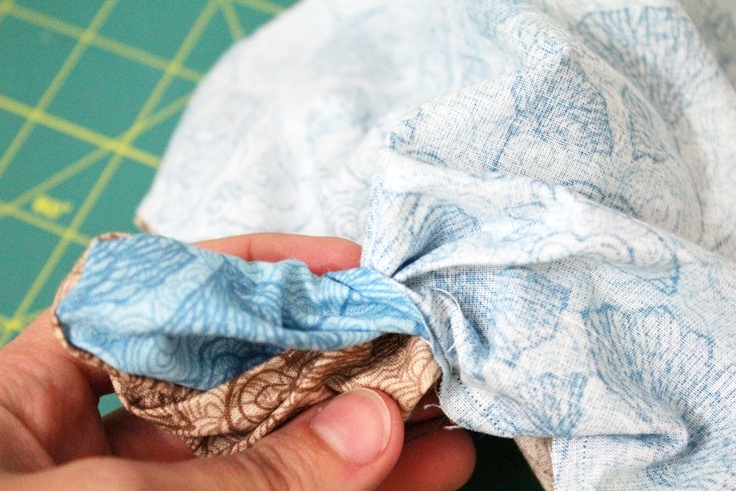
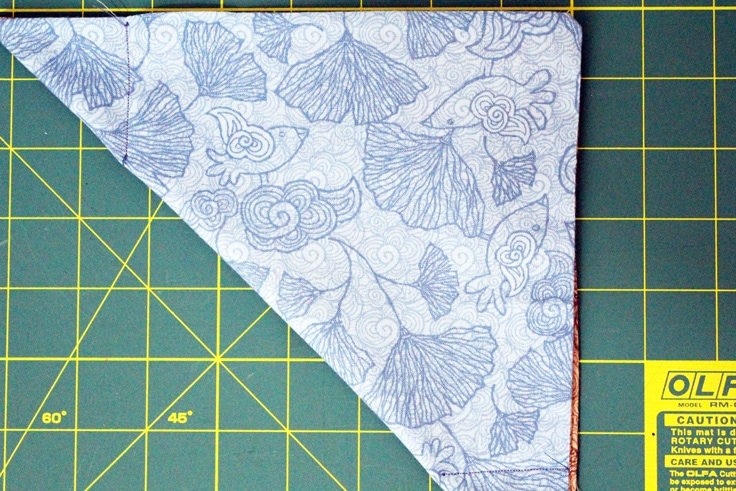
3. Turn the fabric right side out
Trim the points off of each corner, careful not to cut through the thread. This makes it easier to get the corners nice and neat.
Turn the fabric right side out through the hole and smooth the corners.
Iron the fabric square flat again and sew a hem around the whole thing. If you add some starch at this point, the finished tray will hold its shape more easily.
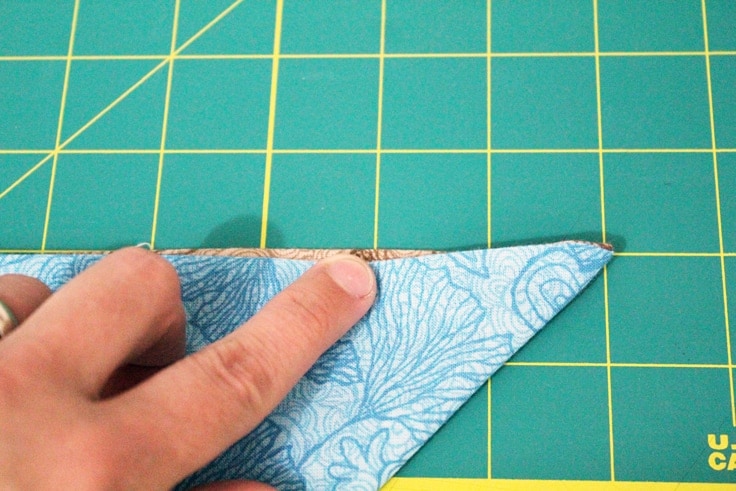
4. Sew the corners
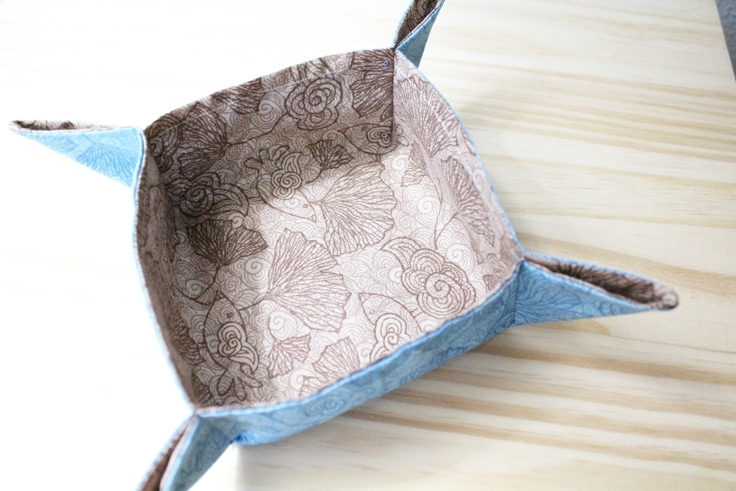
Fold the fabric square on the diagonal. Measure 2 inches in from each tip and sew a straight line from the “edge” of the bowl to the “center.” Fold the triangle the opposite direction and sew the opposite corners, again towards the “center.” This will make the bowl become square with a pinched triangle in each corner.
The finished bowl is square. This one is pretty deep, but if you want to make a more shallow one just sew the corner triangles 1 inch instead of 2 inches.
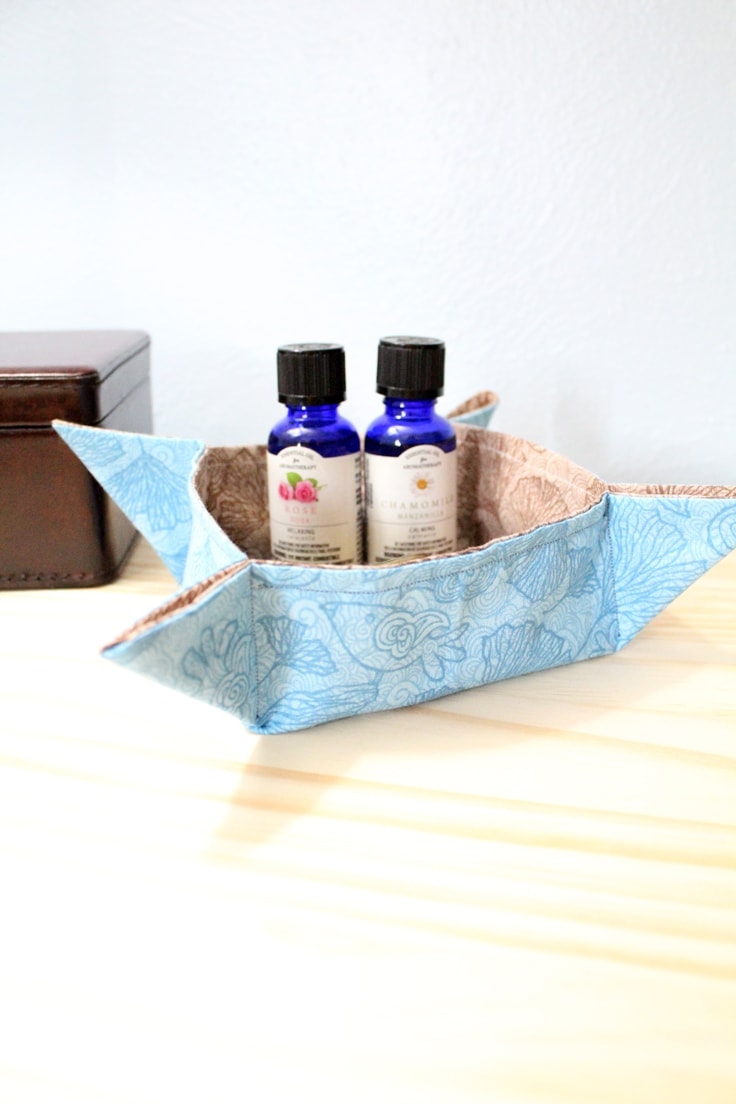
Fat Quarter Fabric Tray Catch-All

I’m using the finished bowl to hold jewelry, essential oils, etc. on my nightstand. It also works to hold paperclips, rubber bands, and other small items on your desk. You could make one to match any home decor to make a pretty, decorative storage bowl for any room in the house.

Love the ideas you see here on Ideas for the Home by Kenarry®? Subscribe today to get our FREE DIY & Craft Planning Calendar, plus our weekly Ideas in Your Inbox newsletter filled with creative tips and exclusive offers!
What’s Next?
If you enjoyed this fat quarter fabric tray tutorial then you’ll enjoy these other bedroom decor crafts too.
Quick thrift store lamp makeover
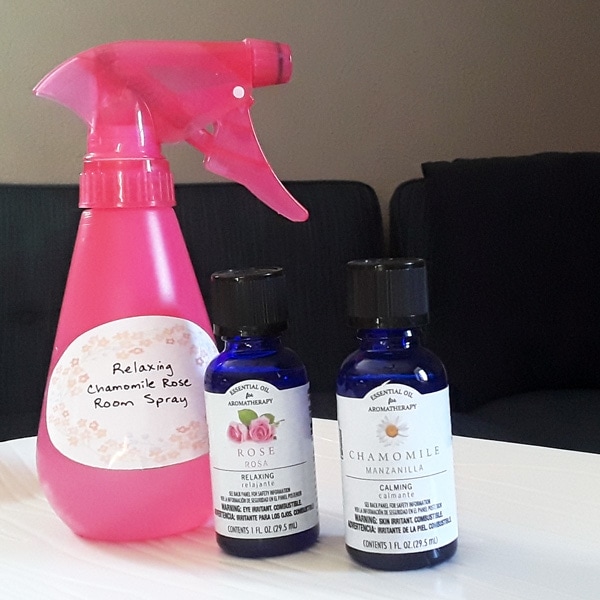
Relaxing essential oils room spray
You may also enjoy these bedroom decor ideas on Ideas for the Home by Kenarry® –