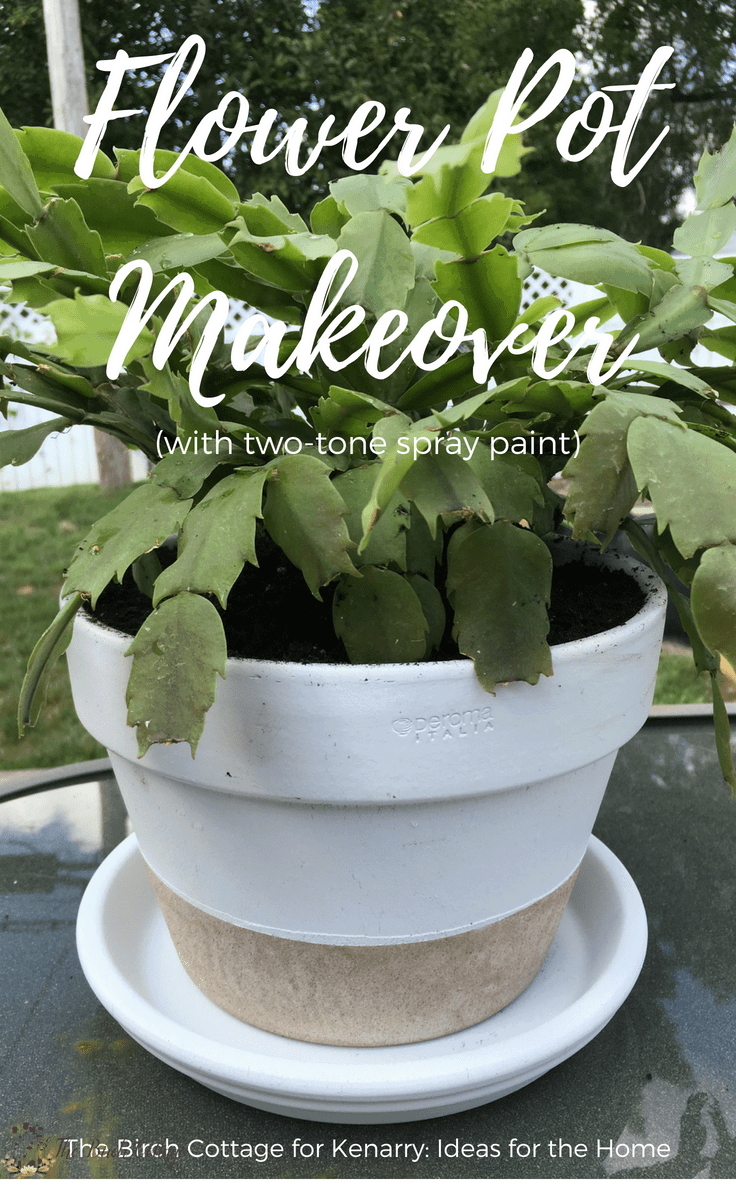
An Easy Flower Pot Makeover With Two-Tone Paint
THIS POST MAY CONTAIN AFFILIATE LINKS. PLEASE SEE OUR FULL DISCLOSURE POLICY FOR DETAILS.
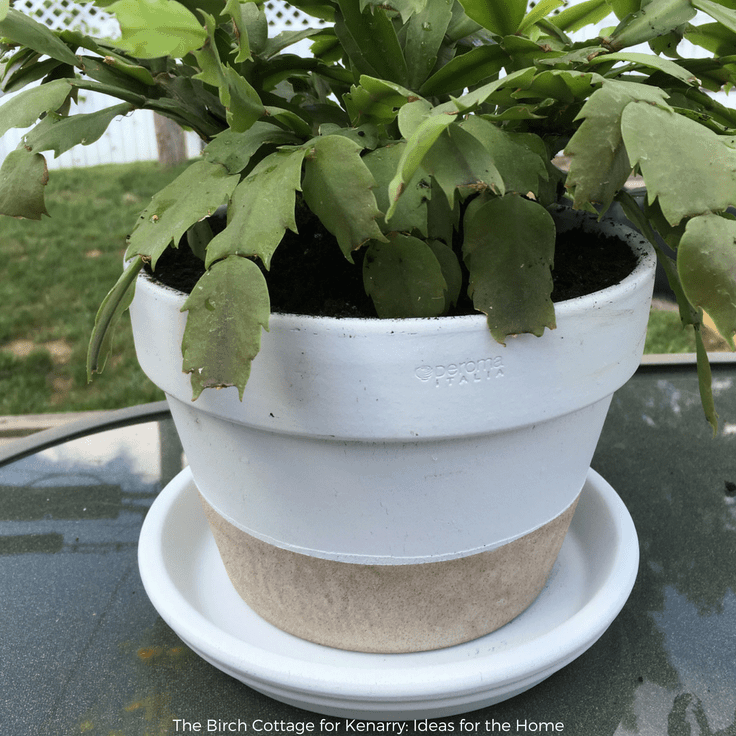
Do it yourself with this flower pot makeover using two-tone spray paint. Turn a drab terra cotta flower pot into a classy piece of home decor!
It’s no secret that I like to paint terra cotta pots or even turn them into luminaries or pumpkin themed candy dishes. But, did you know you can use that same technique for a flower pot makeover using two tones of paint?
Decorating clay flower pots
Hello, Ideas for the Home by Kenarry® friends! I’m Pam from The Birch Cottage and I’m back again this month to share with you my easy terra cotta flower pot makeover idea with you. Only this time, instead of simply spray painting a terra cotta pot white and calling it a day. I’ve added a second color, which makes it a two-tone flower pot! Clever, right?!
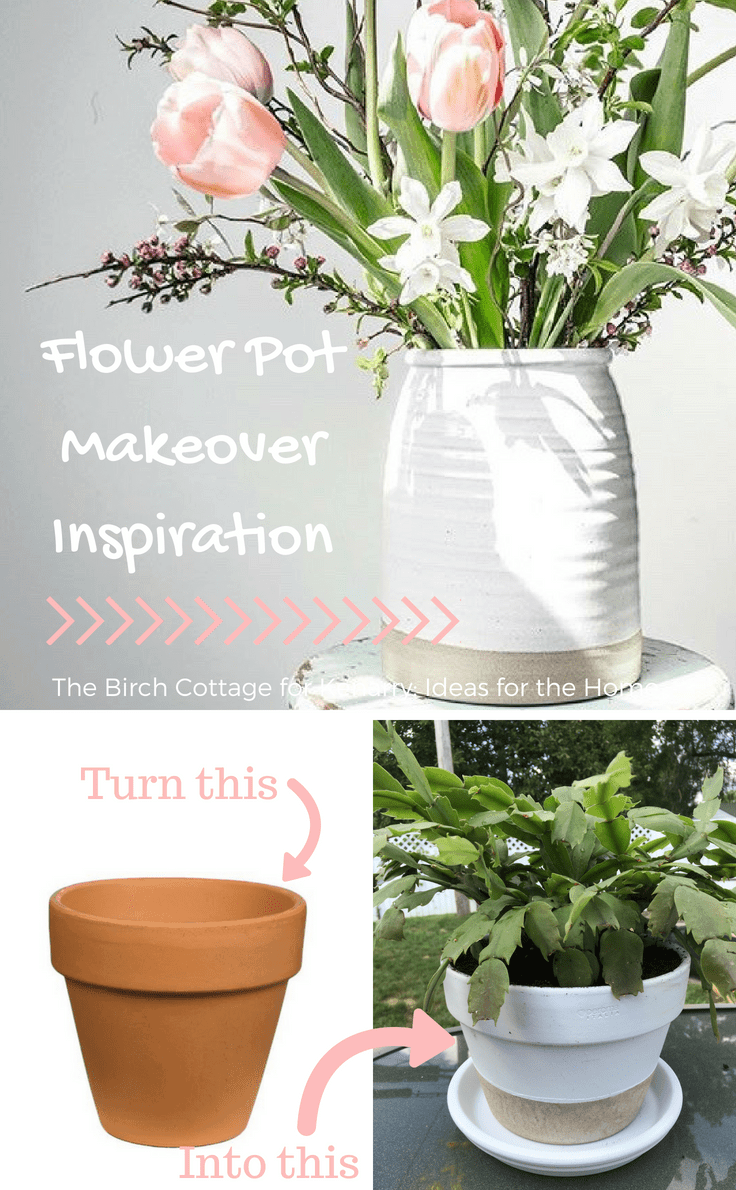
First, I’d like to share with you a little about my DIY inspiration. One of my favorite accounts to follow on Instagram is that of the very talented photographer named Jamie. You’ll find her on Instagram @alajamie or visit her blog at Ala Jamie .
Well, I’ve seen her use this particular flower vase (pictured above) in a few of her photographs and there was just something classic about the tan and white. I’ve had my eye out for a vase like this, but haven’t found them in stores yet.
Then it occurred to me, “Hey, Pam, you can make that!” So, you see, Jamie’s beautiful Instagram feed was my inspiration for this flower pot makeover.
If you need more inspiration, take a peek at our DIY fabric covered terra cotta pots too!
Flower Pot Makeover
There are just a few supplies you’ll need for your flower pot makeover. Although I used a terra cotta pot and saucer for my DIY project, you can definitely use any glass or plastic pot or vase as well. In fact, you’ll see in a minute that I also used this same technique on a milk bottle shaped vase I had in my craft stash.
Disclosure: This blog post contains affiliate links for products or services we think you’ll like. This means if you make a purchase from one of these links, Ideas for the Home by Kenarry® will make a small commission at no additional cost to you so we can keep the great ideas for the home coming your way. All opinions expressed are derived from personal experience.
Supplies for Flower Pot Makeover
- Terra Cotta Pot
- Rust-Oleum® Satin White Spray Paint
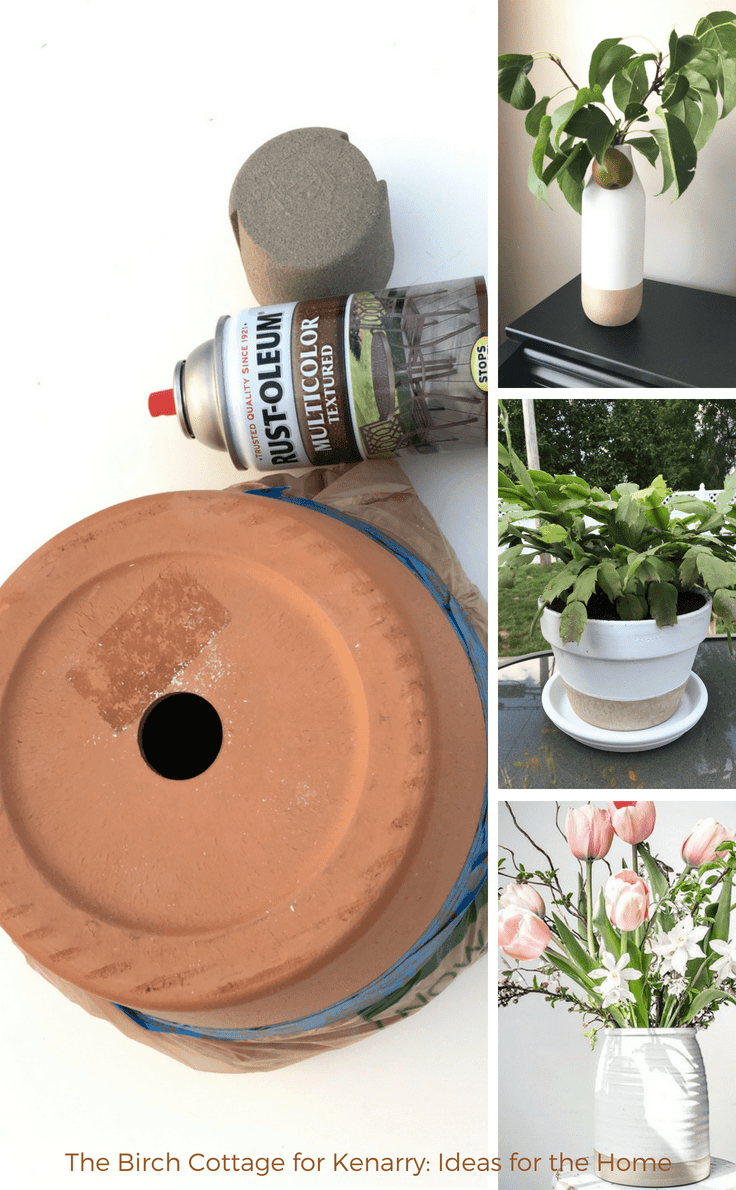
- Rust-Oleum® MultiColor Textured Spray Paint (I used Desert Bisque)
- Pencil
- Ruler
- Painters tape
- Plastic bags
- Gloves
- Protective cover for your work space
Like I said, you can use just about any pot, vase or even repurpose a glass jar or wooden box, just make sure you select the spray paint that works best with the material.
The particular paint I used states that it can be used on wood, plastic, metal and more. Also, you should note the Desert Bisque (tan colored) paint I used is a textured spray paint. If you don’t want a textured surface, then simply select a different type of paint.
Instructions for Flower Pot Makeover
Here’s how to decorate a clay flower pot and turn it from boring to beautiful!
1. Measure 3 inches from the bottom
Measure up from the bottom of the flower pot with a ruler and mark with a pencil where you want the edge of the darker colored paint to end. I measured up about 3″. Then, simply tear off small strips of painter’s tape, follow along with your markings and affix to the flower pot.
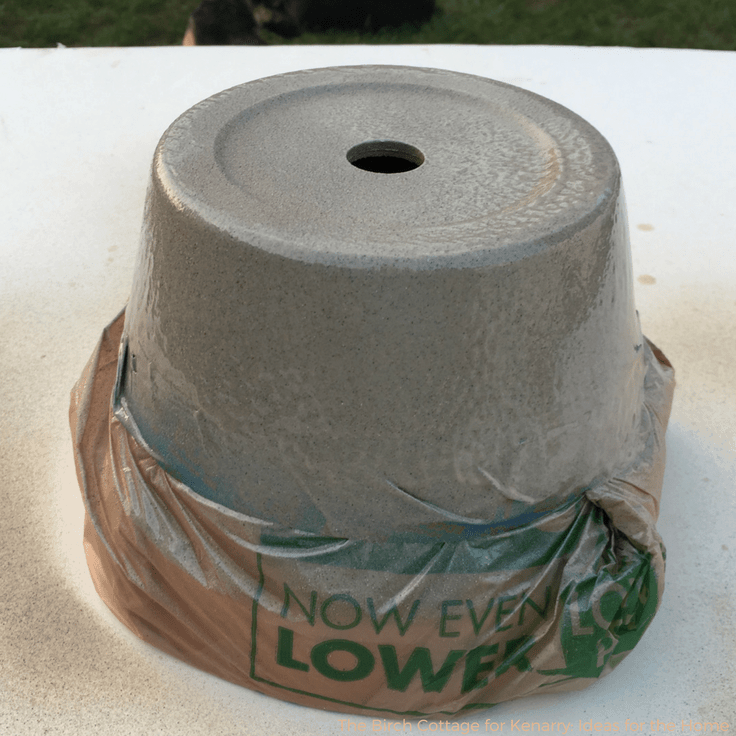
2. Tape plastic bags to the flower pot
Place a couple of plastic bags (I used my Home Depot shopping bags) around the flower pot and tape into place with painter’s tape. Be sure you don’t cross over the nice crisp line you just created with the painter’s tape. This should create a nice straight and crisp line around the entire perimeter of your flower pot and secure your plastic bag.
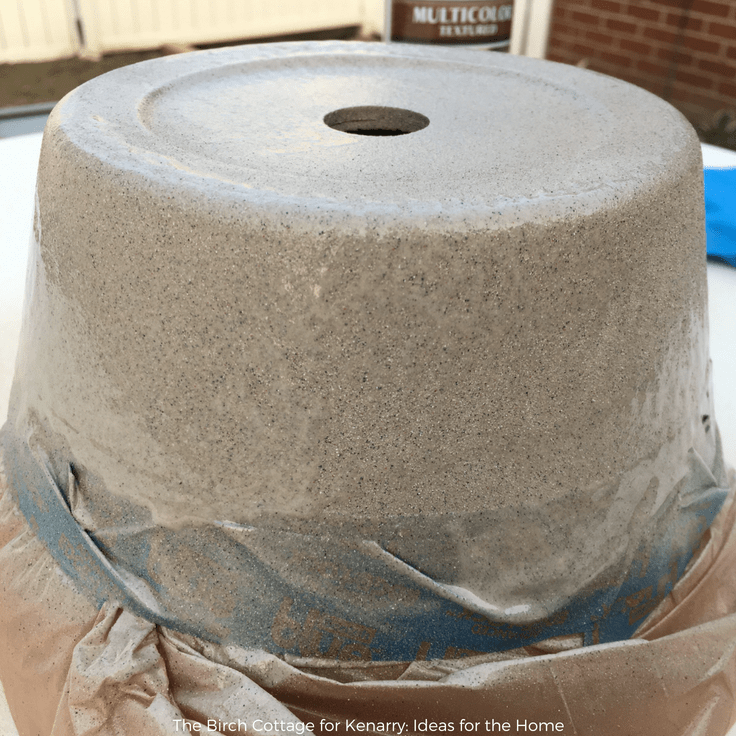
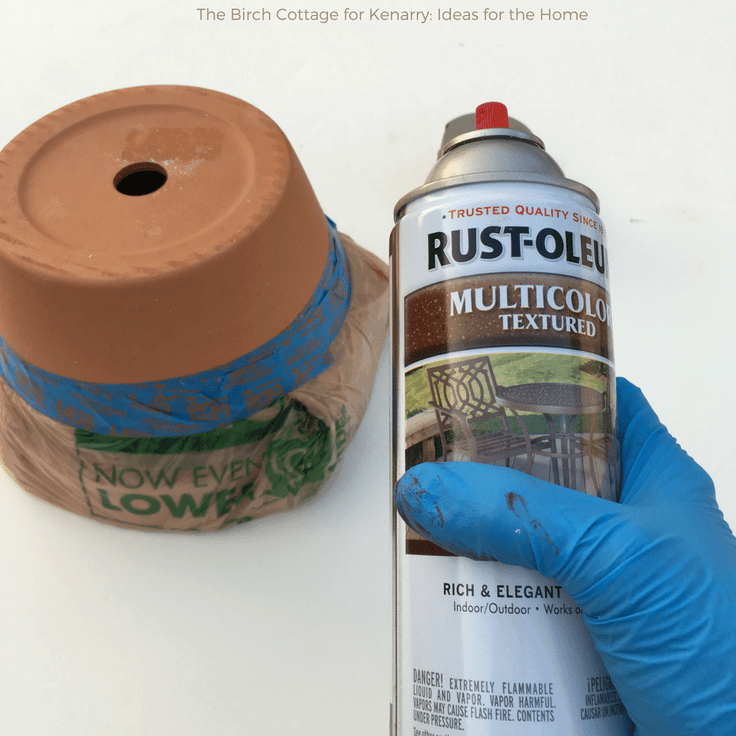
3. Spray Paint the Flower Pot
Be sure to shake your spray paint according to the manufacturer’s instructions. The Textured Spray Paint goes on a lot different than non-textured spray paint. You’ll want to hold the tip of the can at least 12 inches from your project during the paint application.
If you hold it too close, you’ll literally spray the paint right off the flower pot. You’ll understand what I mean when you start spraying the textured spray paint! Like I said, just be sure to read the instructions on the can before you begin.
4. Apply 2 more coats
Apply 2 or more light coats a few minutes apart. According to the directions on the can, you’ll either apply the second coat within a couple of minutes of applying the first coat or you have to wait for the first coat to completely dry.
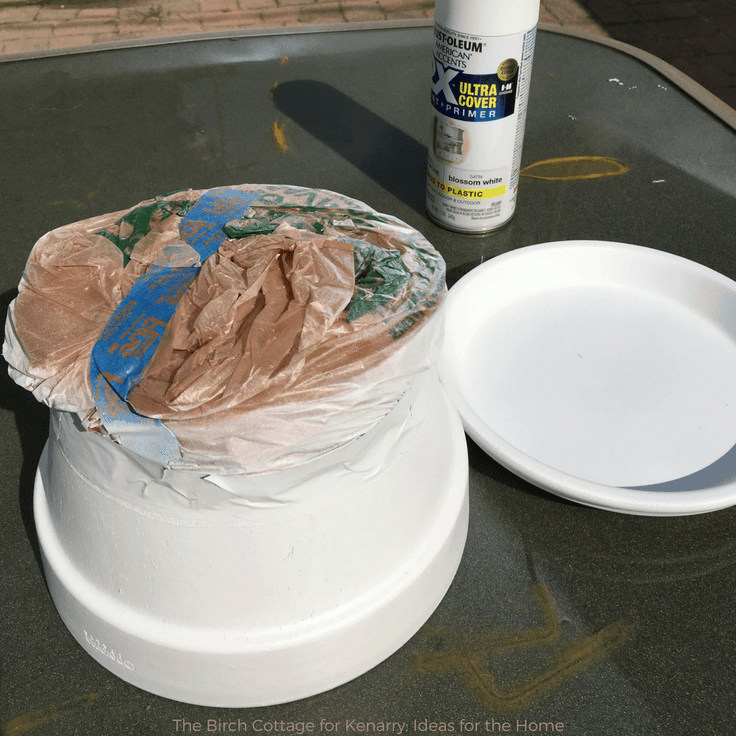
5. Retape the flower pot
Allow the paint to completely dry, then remove the plastic bag and painters tape. Reapply painter’s tape so that it lines up with the edge of the paint you just applied. Place a couple of plastic bags over the bottom of the flower pot (to protect your painted surface). With the satin white spray paint, spray the inside rim (1”-2” inside) and outside of the flower pot.
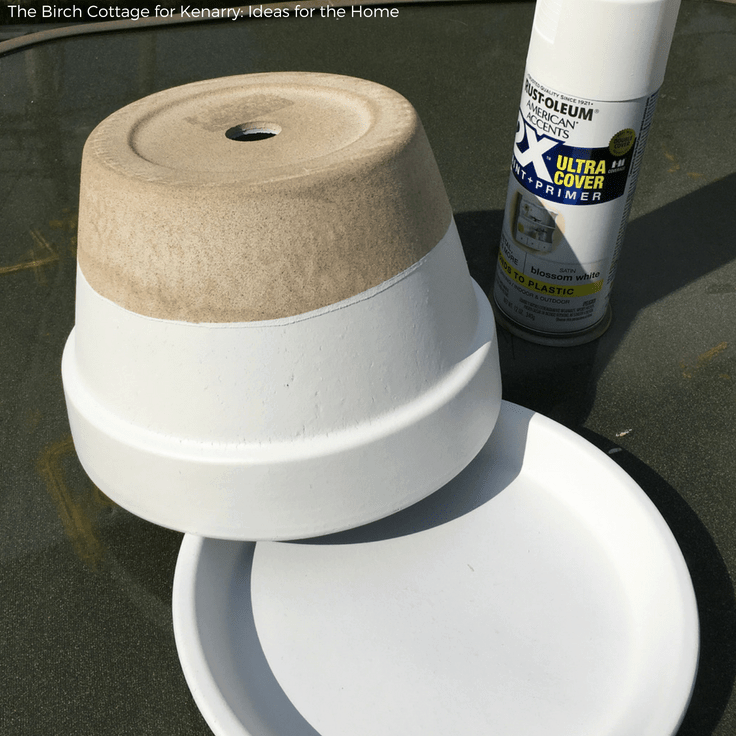
6. Paint the bottom of the flower pot
Be sure to use thin coats, allow the paint to dry between coats, and use multiple coats of paint. The paint will dry faster and you’ll be less likely to have running paint if you use thin coats or layers of paint. You’ll probably apply two or three coats of white paint, especially because you’re covering a dark orange surface.
Flower Pot Makeover Tips
TIP #1: In hindsight, I would probably do this project the complete opposite of what I did. I would simply spray paint the entire flower pot white, wait for it to dry, tape it off and then spray paint the bottom of the pot with the textured paint. It would save me from having to apply the tape twice. Otherwise, I was really pleased with how this flower pot makeover turned out!
TIP #2: Some terra cotta flower pots are pretty rough and, for the most part, that’s fine! But, when you paint the pot, the nicks and nooks and crannies are all the more obvious. I’ve discovered that terra cotta pots purchased from the craft store (JOANN) have a nicer and smoother finish than those found in your local garden store.
TIP #3: Follow the manufacturer’s directions for paint application and make sure you purchase spray paint that is applicable for your project!
Flower Pot Makeover – A Real-Life Application!
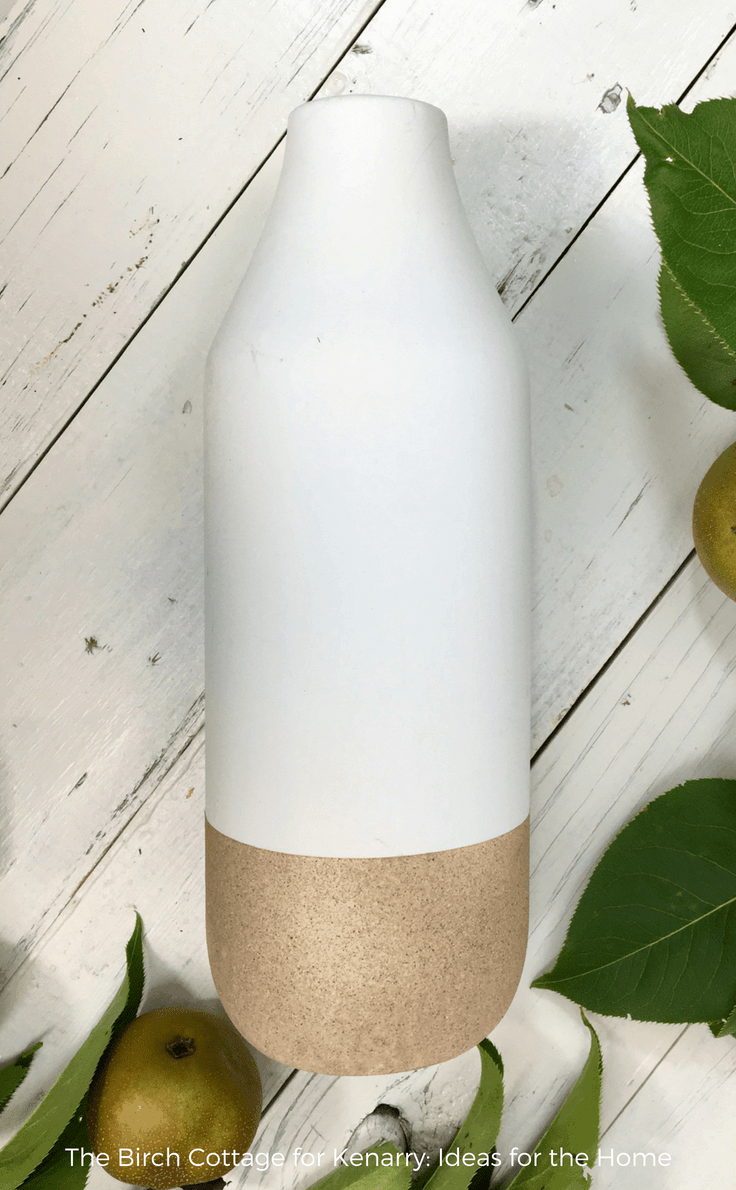
I have an entire box of these milk bottle-shaped “vases” that my husband bought for me from an auction. So, I decided to try this same flower pot makeover technique on these bottles. Guess what? I loved the results!
For these milk bottle vases, I spray painted the entire bottle white first, following Tip #1 above. It provided for a much smoother line between the white and the darker textured paint.

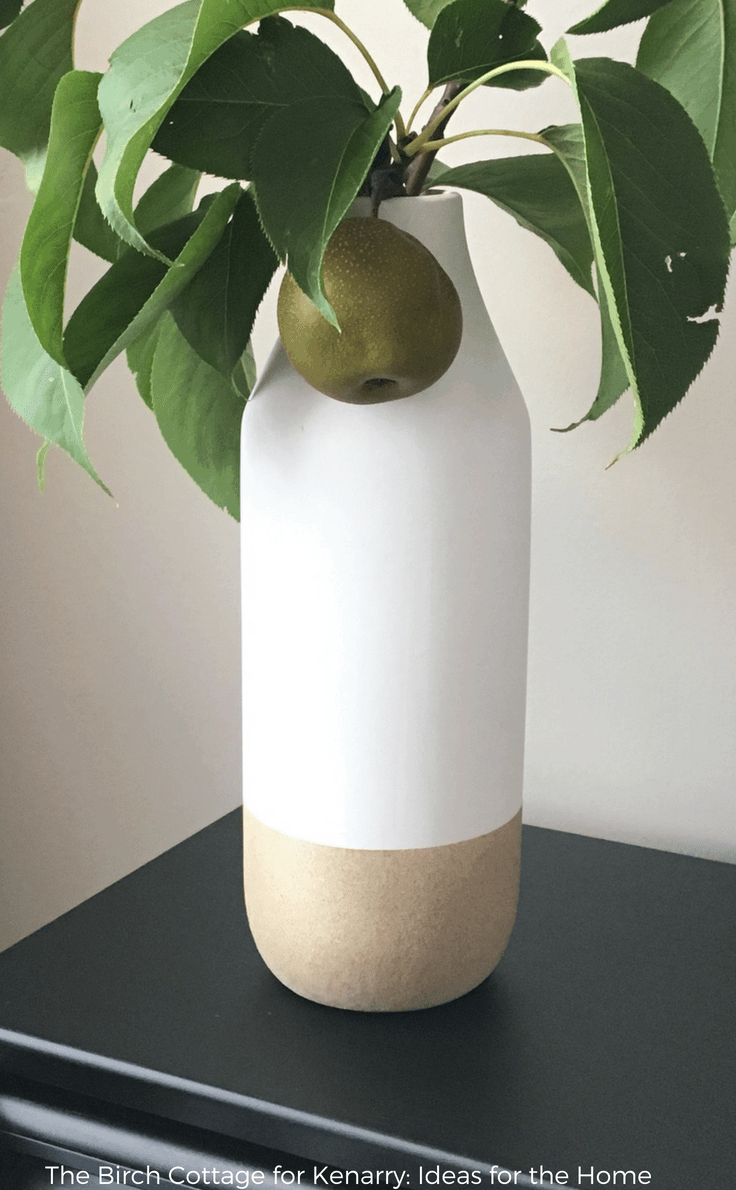
I didn’t have any pretty flowers to put in my newly painted milk bottle vase, but I do have a lovely Asian Pear Tree that’s full of pears, so I snipped a couple of branches off to add a little greenery to our son’s bedroom.

I hope you see just how easy it is to transform something drab into something beautiful. You know you could even use this flower pot makeover on empty Starbucks bottles! Boy, I have a stash of those, too! I wonder if the kids want new vases for Christmas?
I hope you have enjoyed this flower pot makeover tutorial and that it has inspired you to try this do it yourself project. In fact, if you like this project, you might also like:

Love the ideas you see here on Ideas for the Home by Kenarry®? Subscribe today to get our FREE DIY & Craft Planning Calendar, plus our weekly Ideas in Your Inbox newsletter filled with creative tips and exclusive offers!
What’s Next?
While you’re here, be sure to check out other DIY and decor projects on Ideas for the Home by Kenarry® –
- DIY Bathroom Storage Jars
- DIY Monogrammed Wooden Stovetop Cover and Tray
- Kintsugi Tile Coasters: How to Make This Trendy Craft
Originally published September 2018. Updated March 2019.
Pam, that tall vase is my absolute favorite! Thanks for sharing this, I really like how it turned out. That textured look is very interesting! Glad you told me to be on the lookout 🙂
Marissa, I loved the way the tall vase turned out as well. I’ve also tried this on a smaller and smoother terra cotta pot and even on an old china cup. The paint doesn’t seem to last as long or have as much coverage, but the results are pretty amazing! Thanks, Marissa!!
Such a great project! Love the textured effect!
Thanks, Michelle! I was really pleased with the textured effect!