How to Make an Easy Yarn Wall Hanging
THIS POST MAY CONTAIN AFFILIATE LINKS. PLEASE SEE OUR FULL DISCLOSURE POLICY FOR DETAILS.
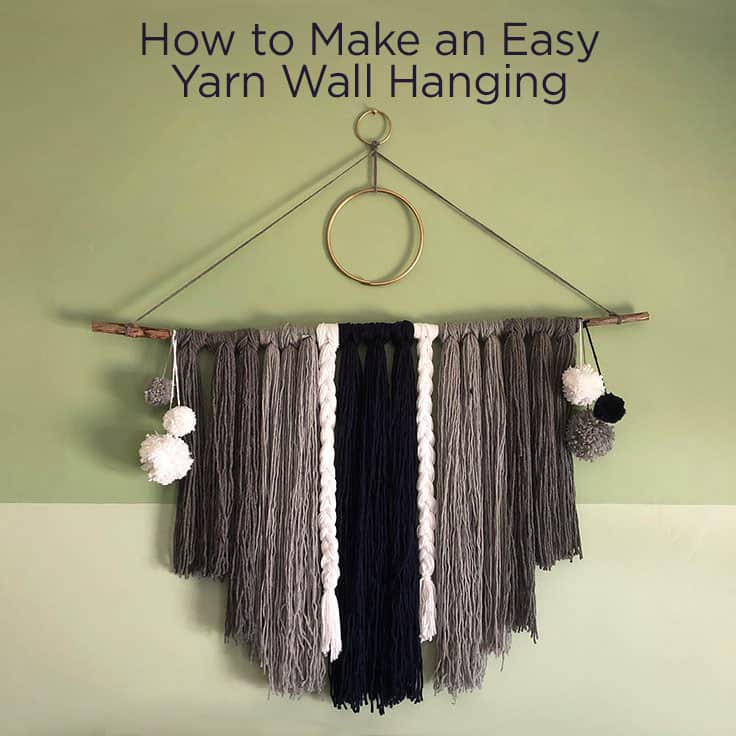
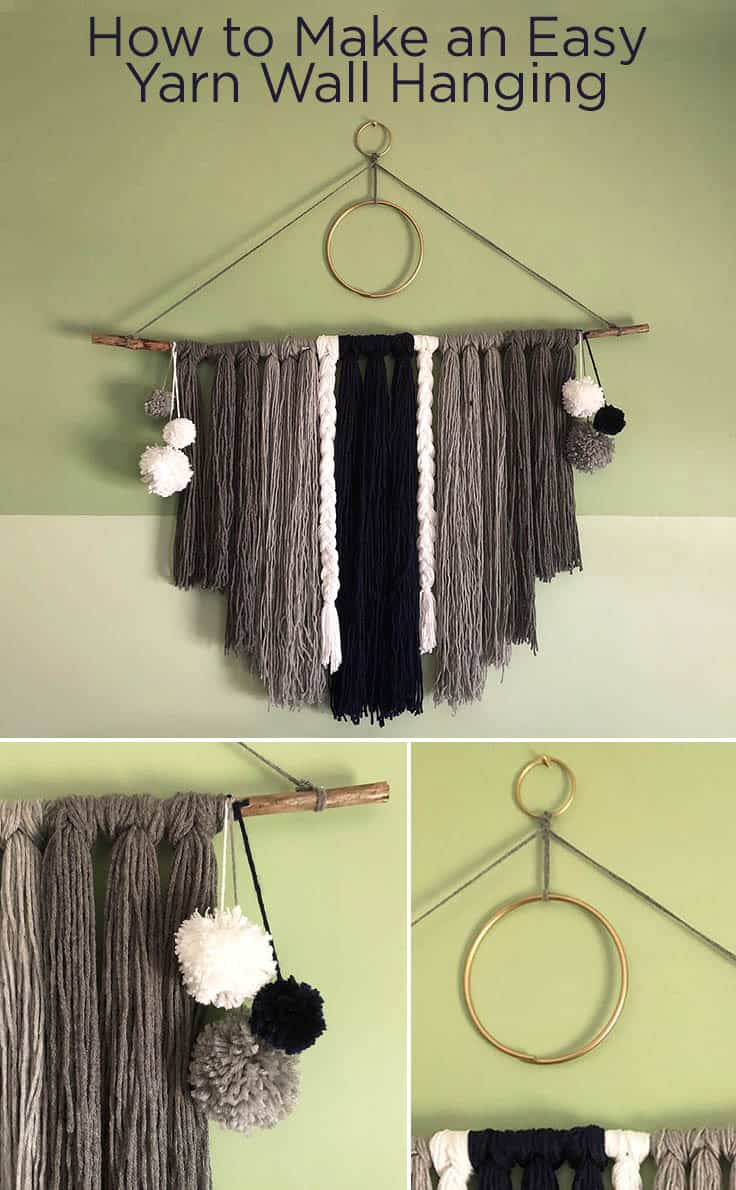
Don’t know how to macrame? Learn how to make a more simple, boho chic yarn wall hanging. It’s super easy, inexpensive, and adds texture and color to any room.
If you’re looking for an inexpensive way to add color and texture to a room, I’ll show you how to make an easy yarn wall hanging to accent any space.
Hi Kenarry readers, it’s Lori from Greco Design Company and I want to share with you how I make these super easy and stylish wall hangings.
I’m loving the macrame trend that’s been making a comeback and especially the boho chic wall hangings. Like this one and this one. So when my daughter asked for one for her room, I was thrilled. But most of the woven wall hangings I found online were pretty expensive or they just didn’t work in her space.
So I decided to try and make one. I wasn’t going to learn macrame so I stuck with a more simple yarn hanging. It was easy to make, super inexpensive and makes a real statement in her room. And she helped me make it!
How to make an easy yarn wall hanging
Disclosure: This blog post contains affiliate links for products or services we think you’ll like. This means if you make a purchase from one of these links, Ideas for the Home by Kenarry® will make a small commission at no additional cost to you so we can keep the great ideas for the home coming your way. All opinions expressed are derived from personal experience.
Materials You need:
You’ll need the following materials:
- balls of yarn in various colors
- a stick for hanging. I wanted a more rustic, natural look so I used a stick I found in our yard. You can also use a wooden dowel.
- macrame/craft rings – a 6″ ring and a 2″ ring. These are optional but add a little more glam.
- sharp scissors
- superglue
How to Make a DIY Yarn Wall Art
Now you are ready to create your own wall art out of yarn. Here’s how I did it.
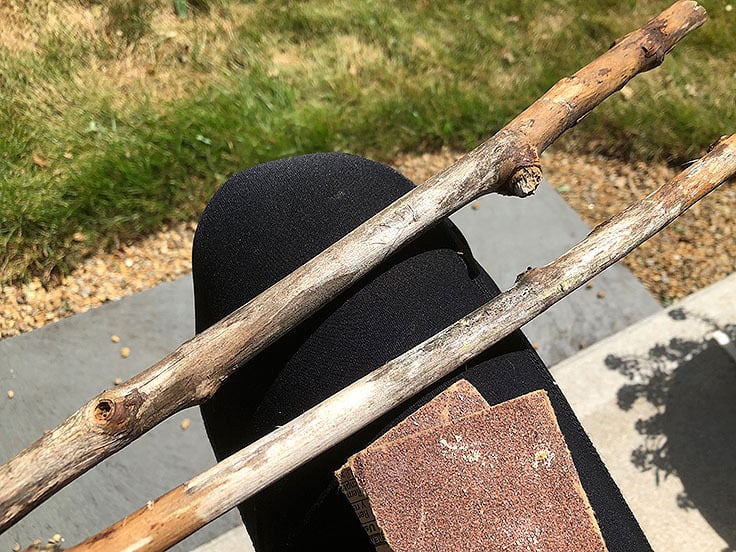
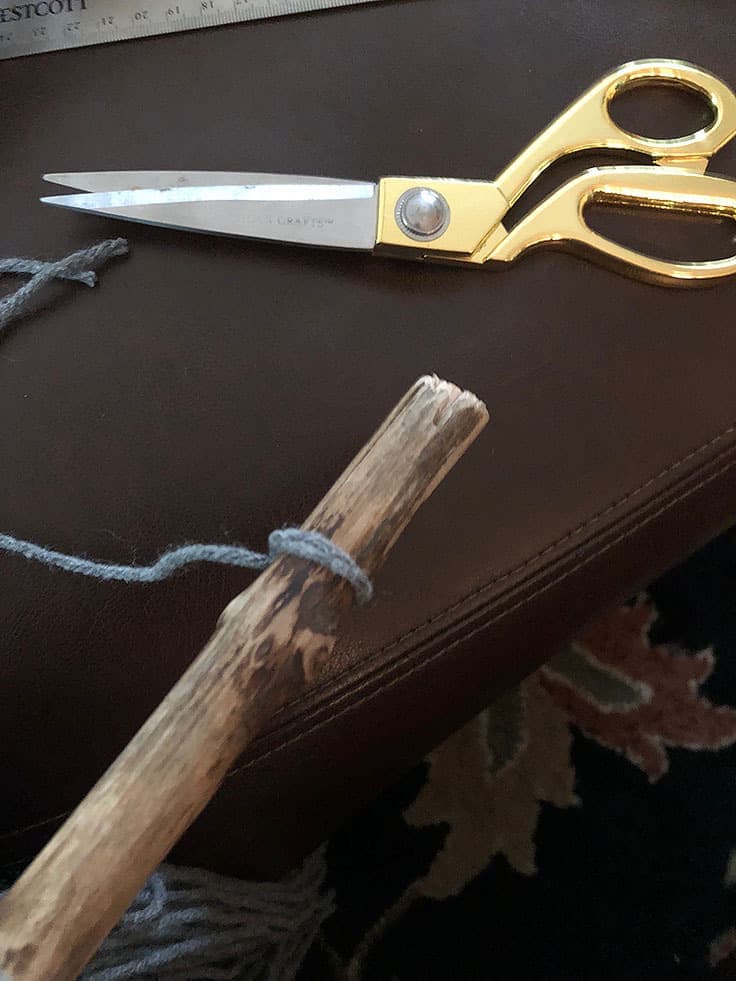
1. Find wood from the yard
Since I used a stick I found in our yard, I had to treat it a bit before it was ok to use. I did a post on how to treat wood branches for home decor.
Ideally, you want to find a stick that’s already on the ground so it has started to age and dry out. Cut it to the size you want, sand off any bark, and it should be ready to use. Of course, you can also use a wooden dowel.
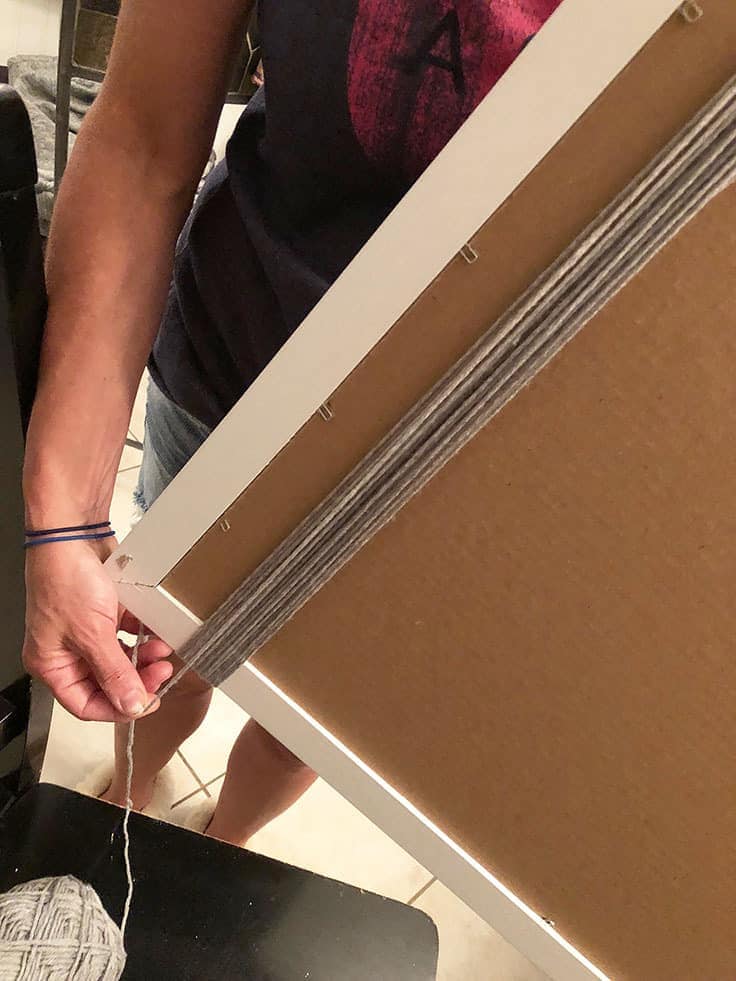
2. Create large loops with your yarn
Next, you need to create large loops with your yarn. I used 2 picture frames in different sizes as my wrapping tools. You can also cut pieces of cardboard to use for this same purpose. The length of the frames determines how long my yarn will hang down.
I wrapped my yarn around the frame about 20 times and then laid each loop along the stick until I had enough to fill the width, with a little extra stick extending on each side.

3. Loop the yarn around the branches
Decide if you want to create a certain pattern with your colors. I arranged mine in chunky groups but you can alternate colors or create a more random look. Once you like your pattern, begin securing each cluster of yarn to the stick individually by looping the strand through itself.
The bottom of the strands will also be connected but we’ll trim these later.
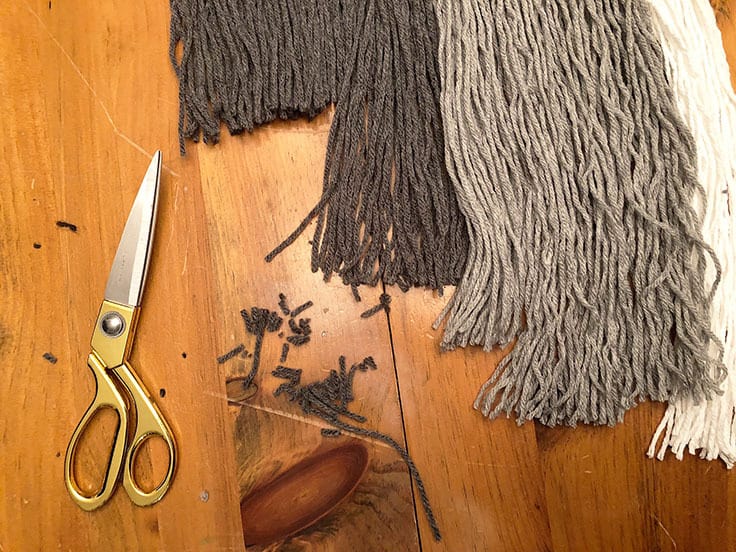
4. cut the strands of yarn
Once all of your loops of yarn are attached, pull them tight to make sure the loops are even at the top. Cut the bottom loops so the strands of yarn are all free. You can trim the ends as you’d like. Add an angle or a more random pattern, or just straight across. There’s no wrong way.
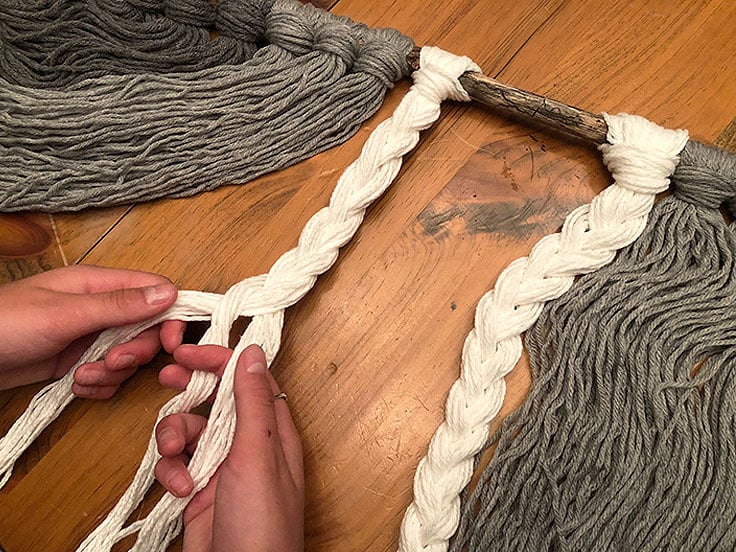
5. Braid the yarn
For added flair, you can braid a chunk of yarn.
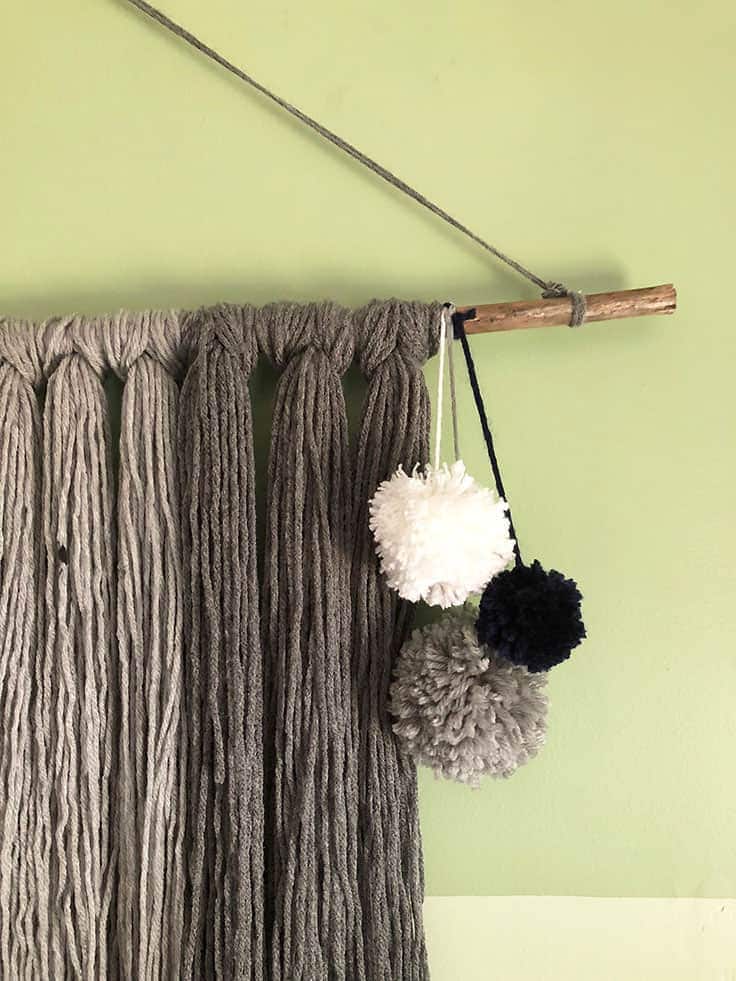
6. Add homemade pom poms
To create texture and interest, I added some homemade pom poms.
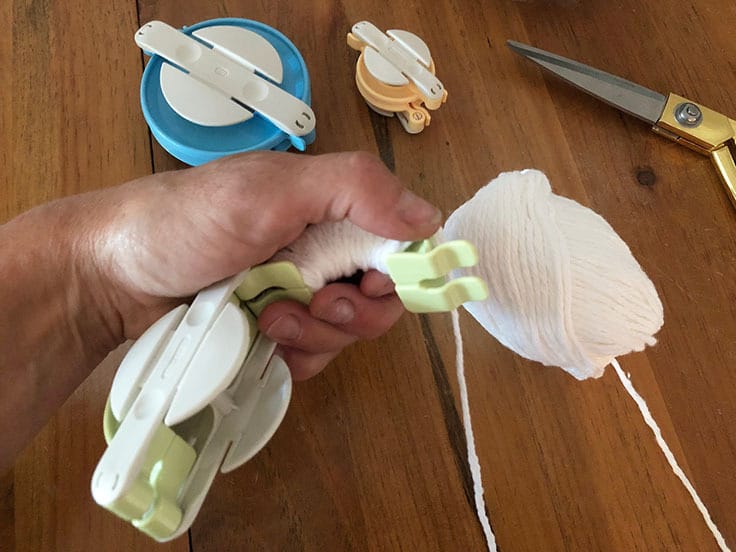
I used these pom pom makers and if you want the full tutorial, click here. It’s another super easy project!
7. add your hanging pieces
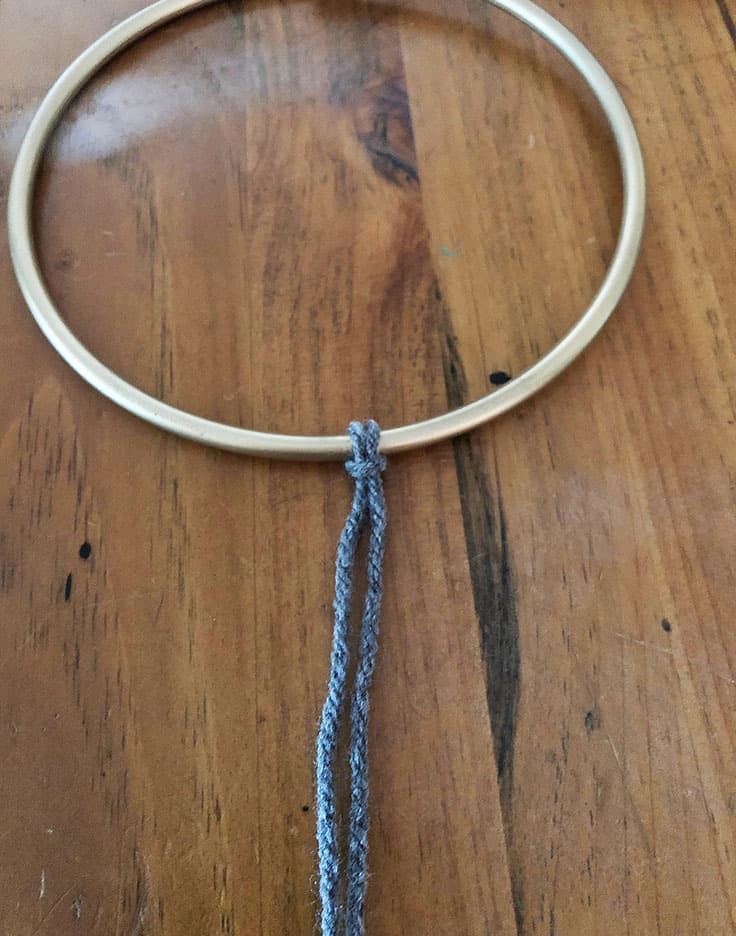
Now you can add your hanging pieces. For the top ring, I doubled up two pieces of yarn and folded them in half, then put it through the 2″ gold ring. Taking the loose ends of the string, I pulled them through the yarn loop and then pulled down. Same knot as the hanging yarn.
Then I tied the yarn to each end of the stick. I also added a little super glue to keep the knots in place.
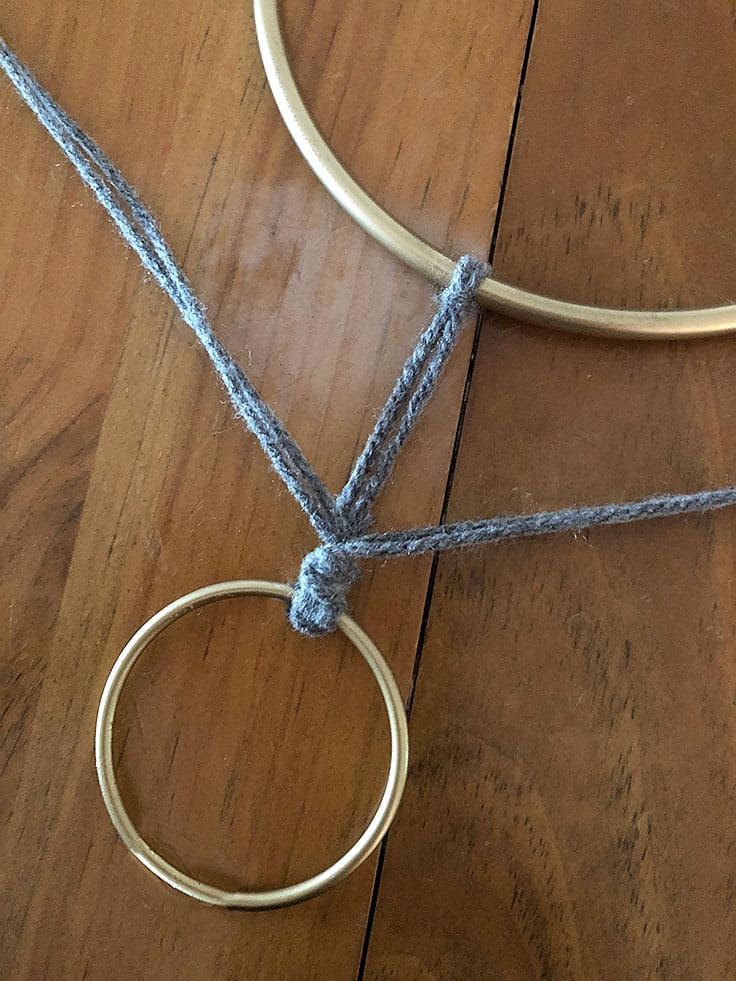
For the larger ring, I doubled up two pieces of yarn and did the same knot to attach it to the large ring. Then I tied the other end to the smaller ring, letting it hang down just above the stick.
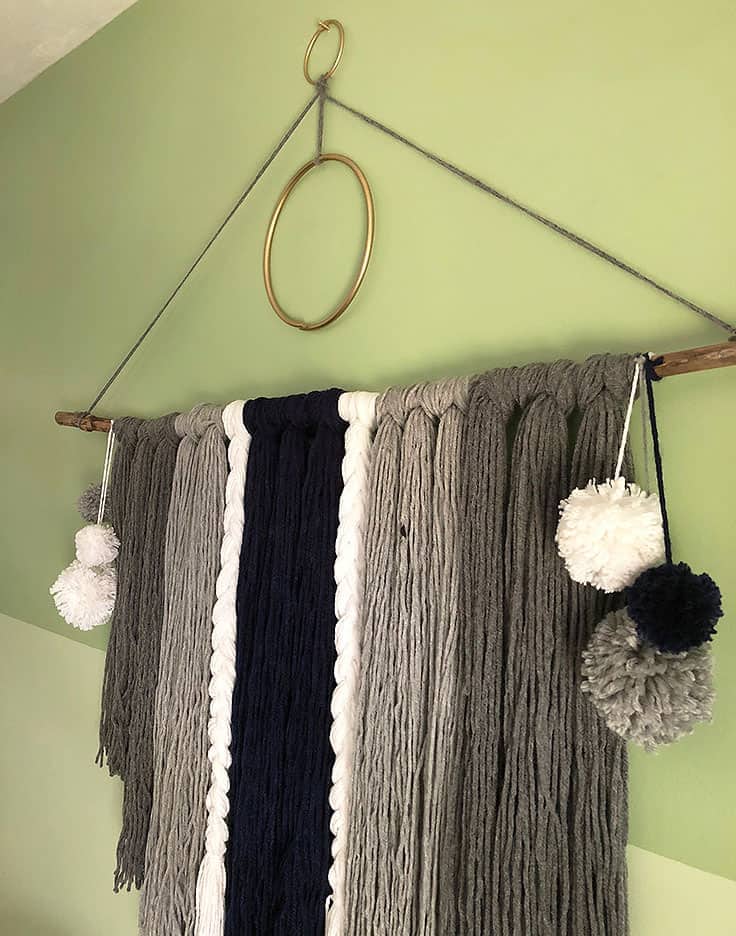
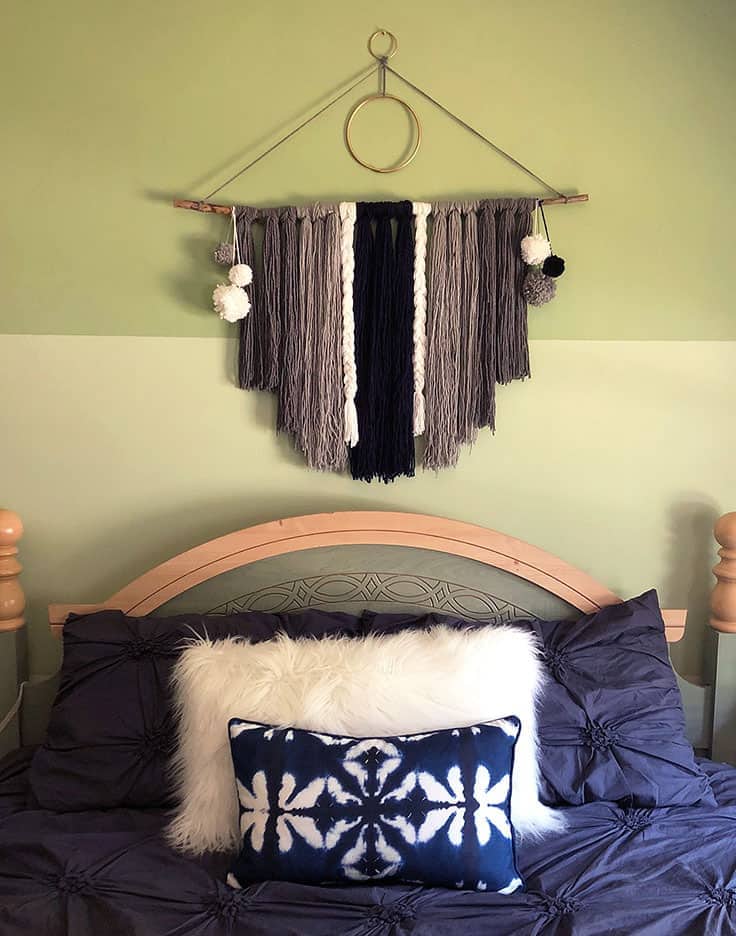
Now my daughter has a fun, chic, original piece of art in her new room. This yarn wall hanging adds texture and color in an inexpensive way.
Check out how an old mirror was turned into a beautiful rustic floor length mirror for the same bedroom!
DIY yarn tapestry questions
You can use any type of yarn you have on hand. But the most common types of yarn used in macrame wall hangings are cotton, jute, hemp, or twine.
You can dye yarn by doing the dip-dyeing process. It’s pretty simple, anyone can do it.
You can make any number of patterns. Pick out your favorite colors and alternate them on the sticks. Or thread some beads on the yarn for some fun and whimsical designs.
If you like this boho chic yarn wall hanging, be sure to check out these related posts:
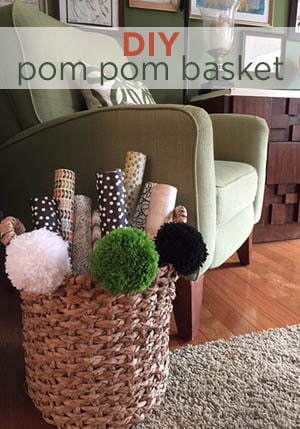
DIY pom pom basket
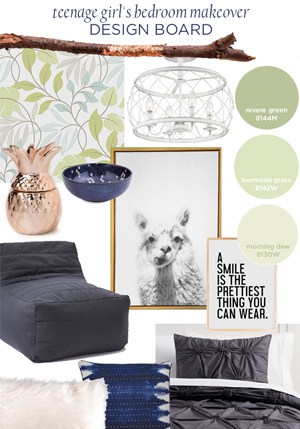
A teenage girl’s bedroom makeover
Love the ideas you see here on Ideas for the Home by Kenarry®? Subscribe today to get our FREE DIY & Craft Planning Calendar, plus our weekly Ideas in Your Inbox newsletter filled with creative tips and exclusive offers!
For more easy craft ideas check out these other posts on Ideas for the Home by Kenarry® –