Humpty Dumpty Costume For Kids
THIS POST MAY CONTAIN AFFILIATE LINKS. PLEASE SEE OUR FULL DISCLOSURE POLICY FOR DETAILS.
Today we’re sharing a cute idea for a Humpty Dumpty Costume! This would be an easy kid’s costume for Halloween or a nursery rhyme parade at school.
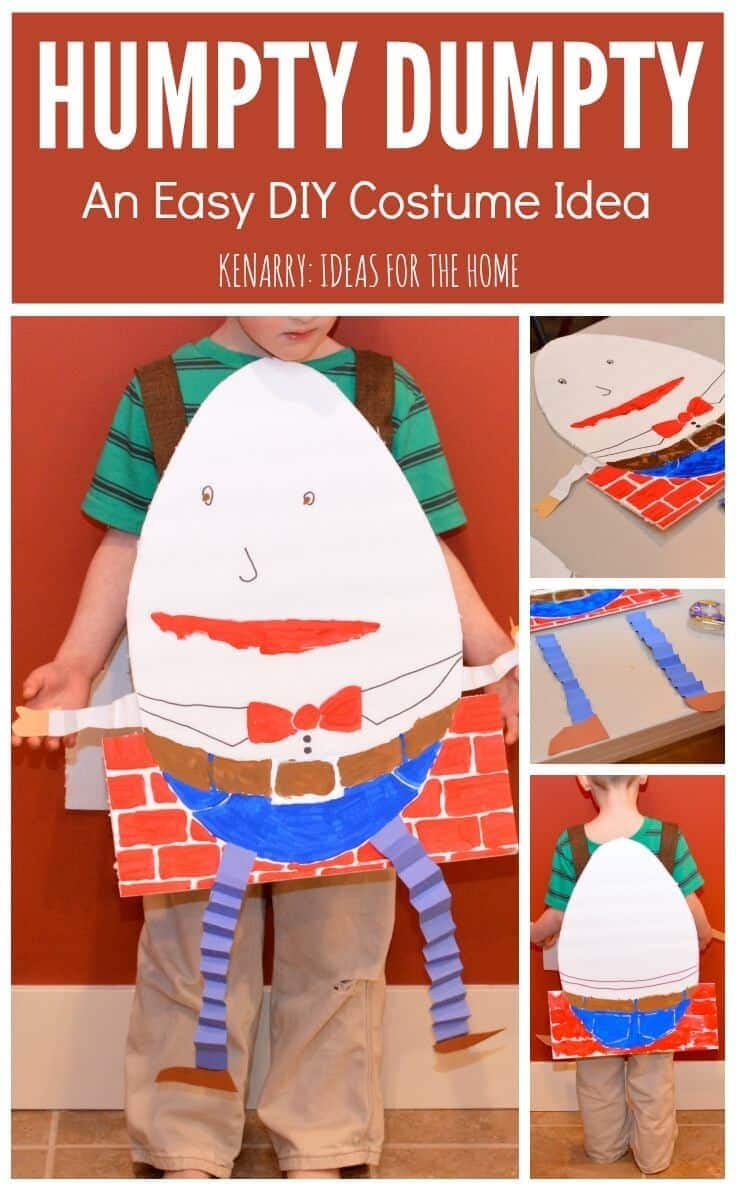
All the king’s horses and all the king’s men will be impressed when you make a Humpty Dumpty Costume for your child using this easy craft idea for Halloween.
Last spring, my son and I needed to create an easy costume for a nursery rhyme parade at his preschool. Each child could pick whatever nursery rhyme character they wanted. Thankfully my son chose an easy one. He wanted to make a Humpty Dumpty costume. We brainstormed ideas for how we could make it and came up with this easy idea using foam board, paints, construction paper and ribbon.
The Humpty Dumpty costume was so simple to make. It would work great for a Halloween costume since it’s sandwich board style could easily go over sweatshirts, warm clothes — or a winter coat, if you live in Michigan like we do. If you’re going to be trick or treating outside though, I’d use Con-Tact paper to cover the arms, legs and the body to help make the Humpty Dumpty costume more weather resistant.
How to Make an Easy Humpty Dumpty Costume
Disclosure: This blog post contains affiliate links for products or services we think you’ll like. This means if you make a purchase from one of these links, we’ll make a small commission at no additional cost to you so we can keep the great ideas for the home coming your way. All opinions expressed are our own, derived from our personal experience.
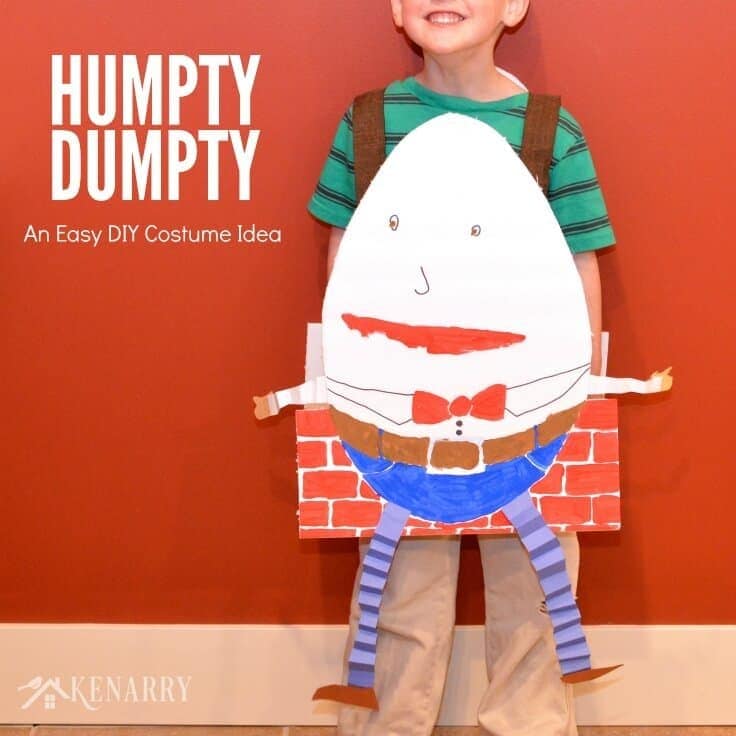
Your child will love going door-to-door this Halloween dressed in a Humpty Dumpty costume. It’s easy to wear and easily recognizable so no one will wonder who he or she is supposed to be. If you have other kids trick or treating with you, I think it would be fun to have them dress up as the king’s horses and the king’s men ready and waiting in case they need to put Humpty Dumpty together again.
What You Need:
- One large piece of foam board
- Pencil
- Measuring tape
- Ruler or straight edge
- Box cutter or heavy duty Xacto knife
- Red craft paint
- Blue craft paint
- Brown craft paint
- Silver craft paint
- Black sharpie marker
- Paint brush
- Assorted colored construction paper
- Safety scissors
- Clear packing tape
- 1-2″ wide wired ribbon
- Clear Con-Tact Paper (Optional)
Instructions:
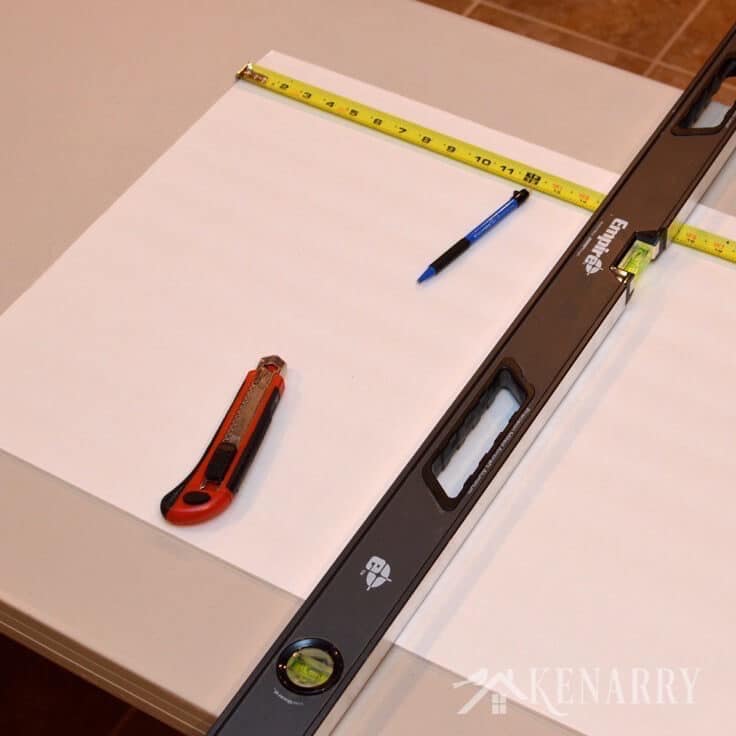
1. Cut the foam board in half
Use the measuring tape to determine where the half way point is down the long side of the foam board. You can use a level or something with a long straight edge to mark the half way line with pencil. Cut the foam board in half using the box cutter or heavy duty Xacto knife. If you’re making the costume for an adult, a teenager or a large child, you may want to use two pieces of foam board instead and skip this step.
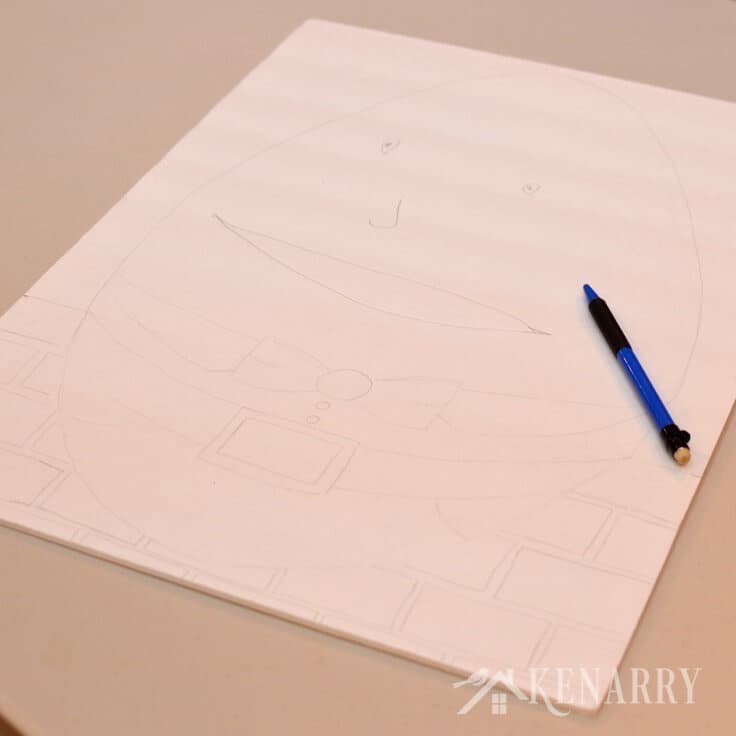
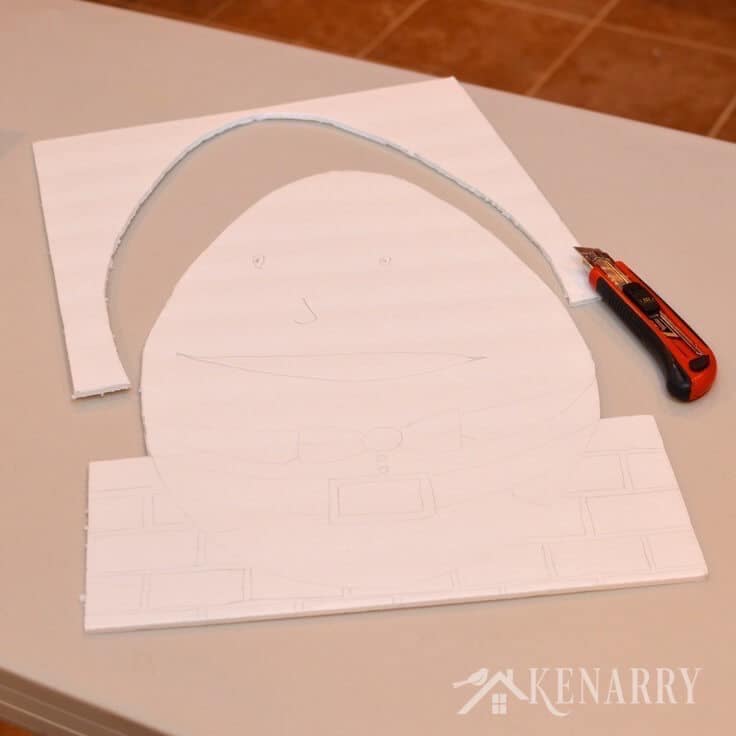
2. Draw the shape of Humpty Dumpty on the foam board
On one half of the foam board, use a pencil to lightly sketch the oval outline, face and body for the Humpty Dumpty costume. Use a ruler or straight edge to get a nice, neat line for the top of the wall that Humpty Dumpty is going to fall off of and draw large bricks. I sketched most of the body for our Humpty Dumpty costume, but my son really wanted to draw the face himself. I love the whimsical appearance his face gave the costume compared to what I would have likely drawn for the eyes, nose and mouth.
3. Cut around the outline of the Humpty Dumpty costume
Use the box cutter or heavy duty Xacto knife to carefully cut around the top of the wall and the oval edge of Humpty Dumpty’s head. While most of the steps can be done by a child, this one definitely requires parent involvement since those cutters are sharp.
4. Cut the back half of the Humpty Dumpty Costume
Lay the foam board you just cut on top of the second half of foam board. Trace around Humpty Dumpty’s head and the top of the wall in pencil to transfer the overall shape to the back side of the Humpty Dumpty costume. Use the box cutter or heavy duty Xacto knife to cut the second piece of foam board to match the first. Once you have the second piece cut you can sketch the back side of Humpty Dumpty and the wall.
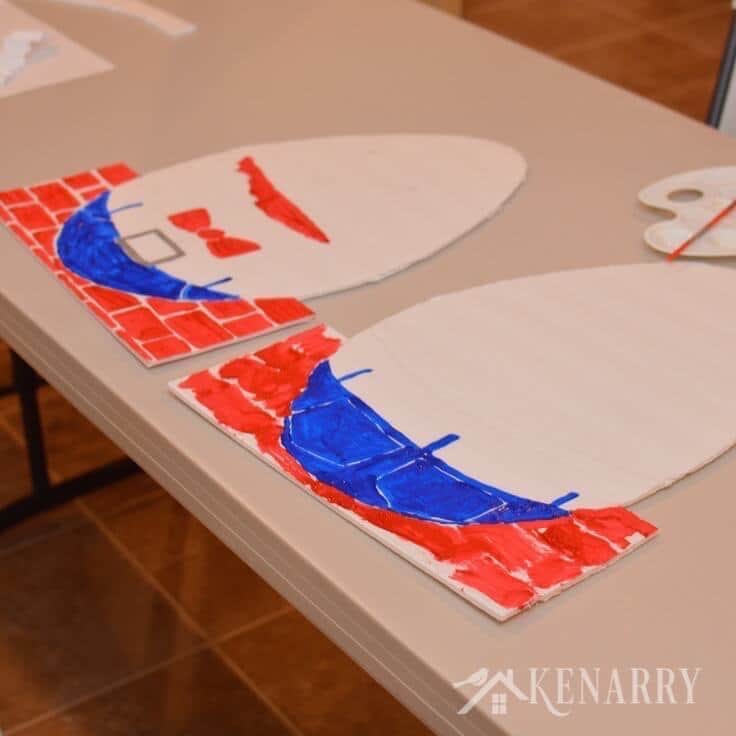
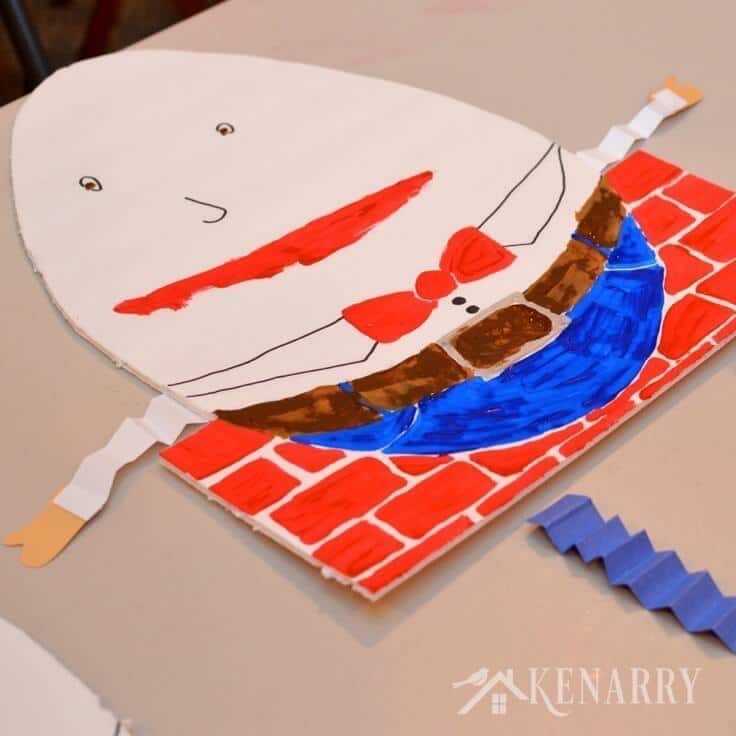
5. Paint the Humpty Dumpty Costume
Use craft paints to color in your Humpty Dumpty costume design. Red is for the walls, bowtie and mouth, blue is for the jeans, silver is for the belt buckle and brown is for the belt and eye balls. (My son was insistent that the eye balls HAD to be brown). Outline the face and shirt with black Sharpie marker. Painting was the fun part that my son and I got to work on together. He painted one side of Humpty Dumpty while I painted the other.
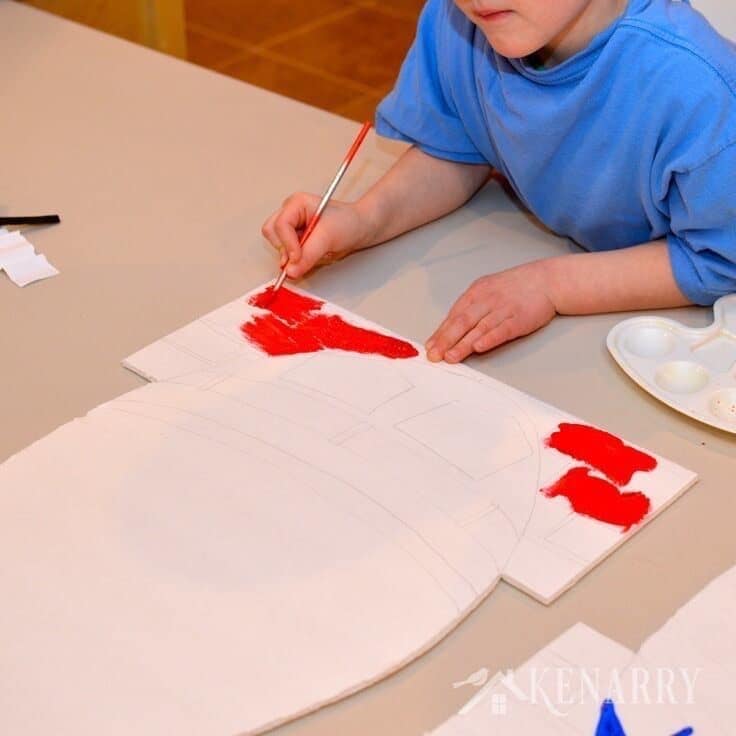
You may need to allow time for some of the paints to dry between colors so you don’t smear one of the colors into another with your hands. Once you’ve painted all of the Humpty Dumpty costume, allow a few hours for it to dry before taping in the following steps.
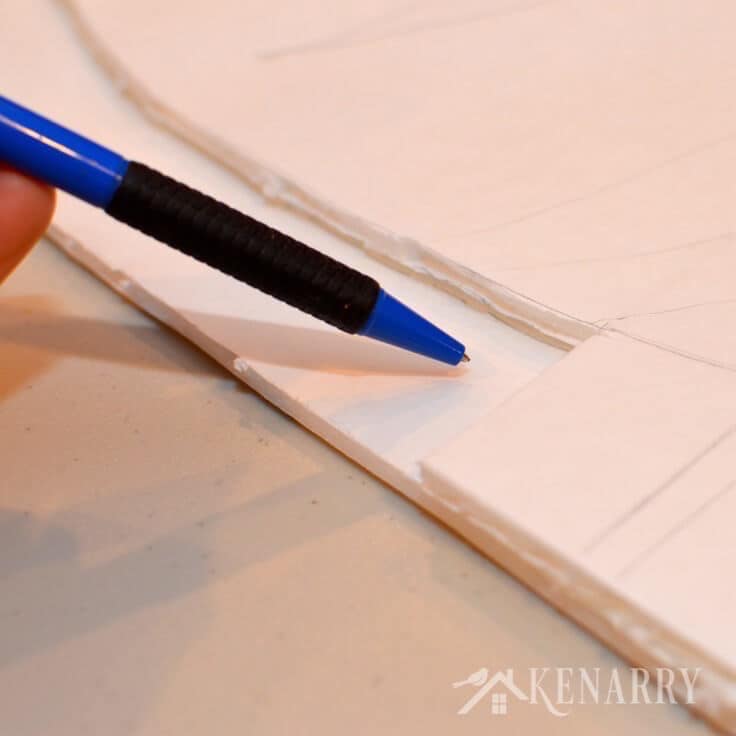
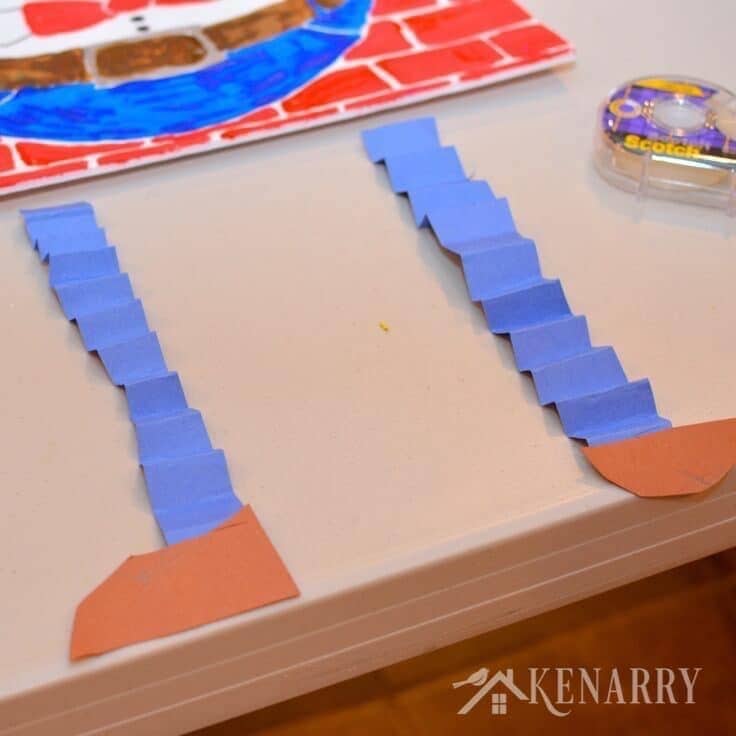
6. Create arms and legs for the Humpty Dumpty costume
Have your child draw long leg shapes on blue construction paper and slightly shorter white arm shapes on white construction paper. Your child can also draw shoes on brown construction paper and hands on tan construction paper. Next, have your child use safety scissors to cut out the arms, legs, shoes and hands. This is a great opportunity for them to practice using scissors since the lines don’t have to be perfect.
Next fold the arms and legs accordion style to give them a three dimensional appearance. Use clear packing tape to attach the shoes and hands to the arms and legs. If you wanted to make the Humpty Dumpty costume weather resistant, I would use the Con-Tact paper on the arm and legs before folding them.
Once the paint on the Humpty Dumpty costume is dry, you can also use the clear packing tape to affix the arms and legs to the costume.
7. Attach shoulder straps and enjoy!
Hold the costume to your child and make an estimate of how long the shoulder straps should be. I used 1 1/2″ wired ribbon for the straps to make them a little sturdier and attached them to the inside of the Humpty Dumpty costume using clear wide packing tape. Carefully lower the Humpty Dumpty costume over your child’s head when it’s time to wear it at a school party or on Halloween night.
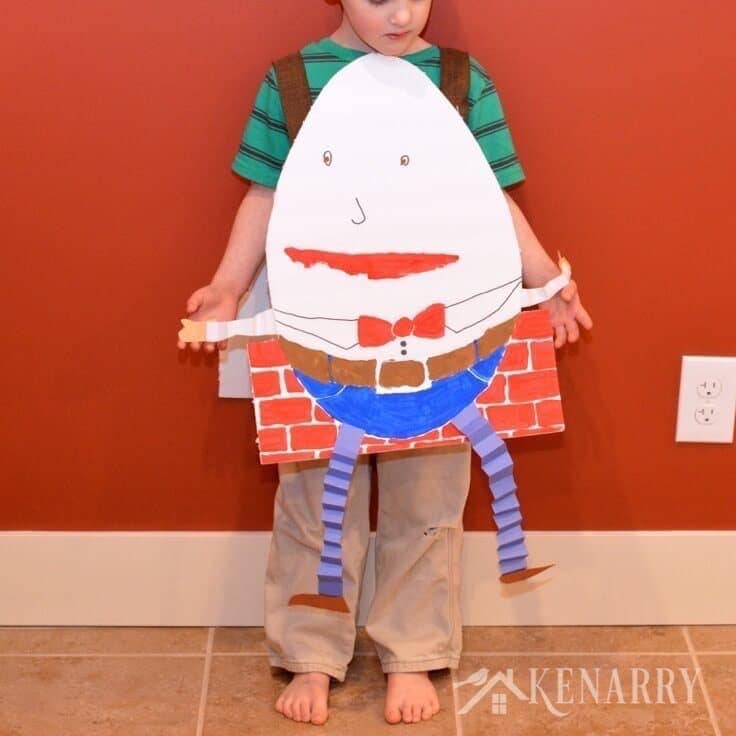
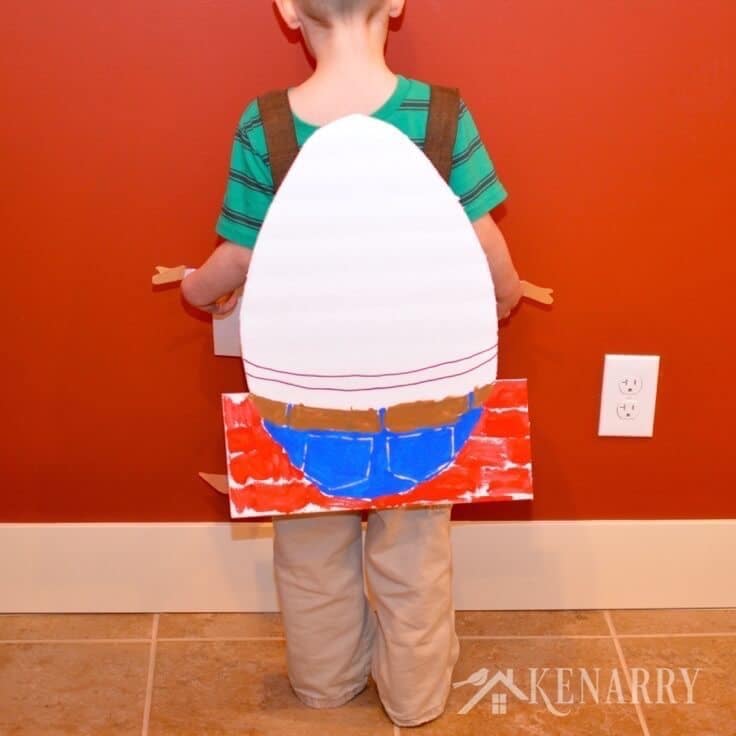
Your child will look adorable in this Humpty Dumpty costume from both the front and the back side!
What are your children planning to dress-up as for Halloween this year? Do you make their costumes yourself or plan to buy them? Please comment below and share. We love hearing about other family’s traditions and are always looking for new ideas.
Love the ideas you see here on Ideas for the Home by Kenarry®? Subscribe today to get our FREE DIY & Craft Planning Calendar, plus our weekly Ideas in Your Inbox newsletter filled with creative tips and exclusive offers!
While you’re here, you may also enjoy other Halloween ideas on Ideas for the Home by Kenarry® –
- Halloween Jack O’Lantern Craft for Kids
- Easy Kid’s Zebra Costume with Free Mask Template
- Halloween Trick or Treat Bags
If you liked this idea for a Humpty Dumpty Costume, please share it with your friends or pin it for later:
This is adorable! I love cute homemade costumes!
I stopped by from Frugal Crafty Blog Hop.
Awww, thanks Jessy! I’m thrilled you came by and so glad you liked the costume.
Thanks for sharing with us at #Throwback Thursday. Hope you join us again tonight.
Thanks, Quinn! So glad you stopped by.
I am going to try making this for my daughter nursery rhyme parade ! Thank you for posting this. wish me luck !
Oh great! I hope it turns out wonderfully for you. I bet she’ll be adorable. I’d love to see how it turns out, so if you post a pic on Instagram can you tag me @kenarryideas. Good luck!
Thanks alot for such a nice idea in low budget.I made this for my sons fancy dress competition.He is very reluctant to wear anything if its not his choice and i found your idea to be little easy to wear for my kid and in low budget.
You are so welcome, Sonal! Glad your son was willing to give this costume idea a try.