Key Holder Tutorial: A Quick, Easy Idea to Organize
THIS POST MAY CONTAIN AFFILIATE LINKS. PLEASE SEE OUR FULL DISCLOSURE POLICY FOR DETAILS.
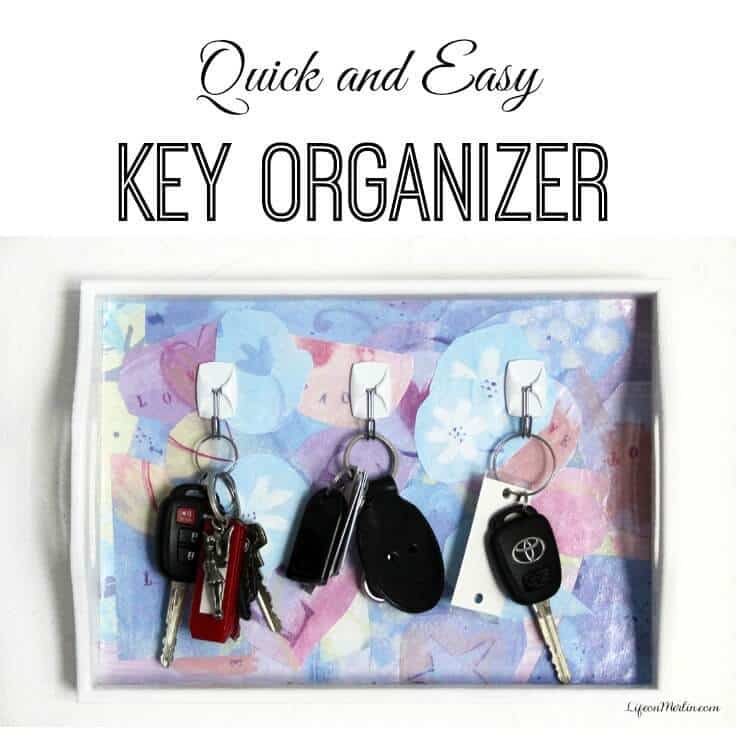
This is a really cute and easy craft idea that will help you to never lose your keys again! Just follow this key holder tutorial. It also makes a wonderful housewarming gift.
Hi – I’m Lisa from Life on Merlin, here with an easy idea to help you organize your keys. With a simple craft tray, a little paint, some Mod Podge and this key holder tutorial, you’ll always know where to find your keys!
How To Organize Everyone’s Keys
I don’t know about you, but I really try to organize my keys. I have a basket right by the garage door where everyone stores their keys. The problem is, they get tangled together and sometimes it is hard to find which ones are mine. If I don’t plop them in the basket, I leave them on the kitchen counter or throw them in my purse. As a result, this adds extra time and stress in the morning when I run frantically about the house, looking for my keys!
I decided to do something about it!
DIY Key Holder Tutorial
Here is my quick and easy way to organize your keys. All you need are a few supplies and this key holder tutorial to create something beautiful and functional for your home. Most of all, you’ll never forget where your left your keys!
Materials
- wooden tray
- acrylic paint
- 3 or 4 coordinating scrapbook papers
- Mod Podge
- Command Hooks
Instructions
Here are the super easy instructions, with step-by-step pictures to help you along the way.
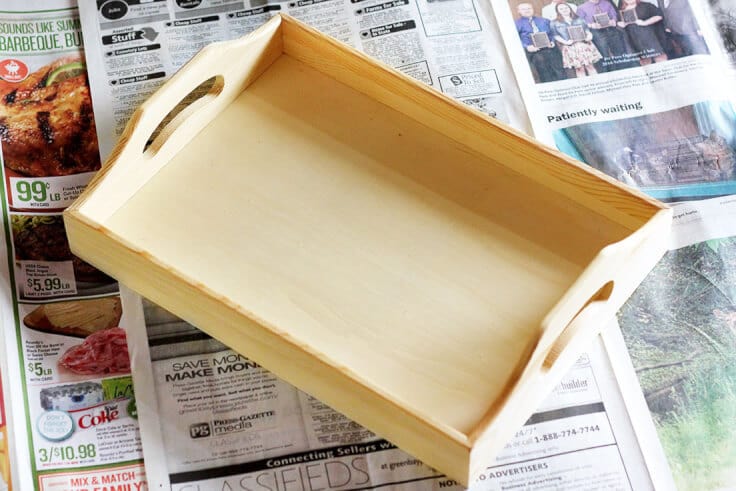
I found this inexpensive wooden tray at the local craft store.
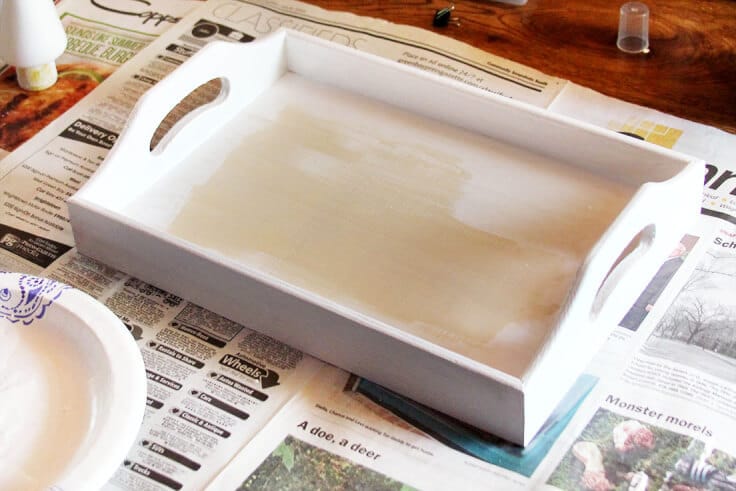
1. Paint the tray
My first step was to use white acrylic paint and apply two coats. You can paint it any color you like or even stain it. There is no need to paint the bottom of the tray since it will be covered. Make sure it dries thoroughly.
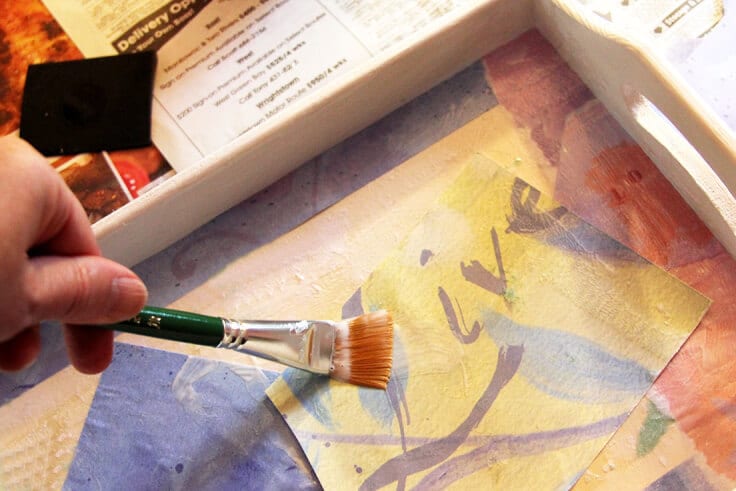
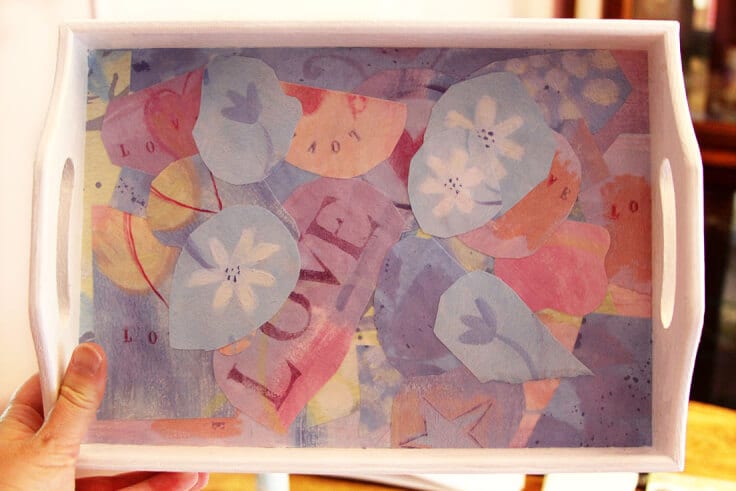
2. Tear scrapbook papers into strips or shapes
Tear or cut the scrapbook papers into strips and/or shapes. Use the Mod Podge to glue them onto the tray – covering the entire bottom. Let dry for at least 1/2 hour.
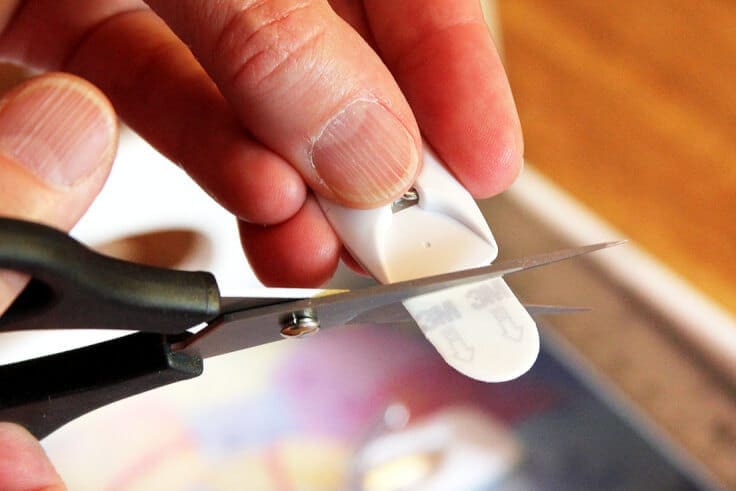
3. Attach command hooks
Once it is completely dry, stick the command hooks to the tray. The command hooks come with a tab for removal purposes. Since you aren’t going to remove them, cut off that tab so you can’t see them behind the hook.
I used three hooks and spaced them out evenly on the tray.
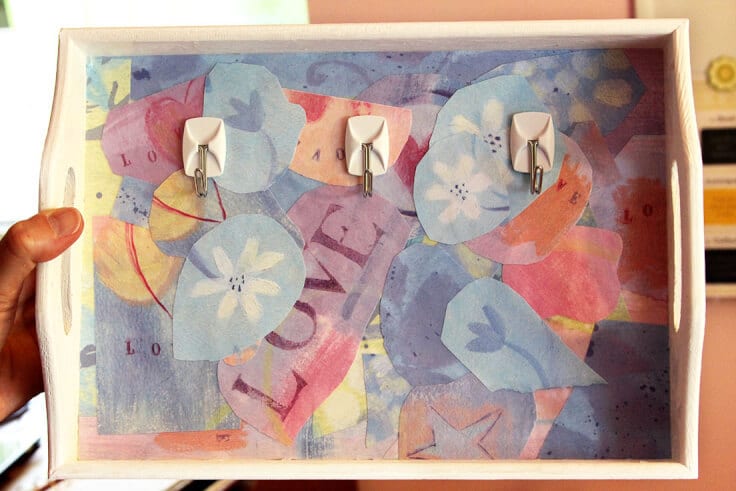
I put a picture hanger on the back, hung the new key holder by the door and added all of our keys!
How to Personalize It For A DIY Gift Idea
The best thing about this tray is how easy it is to personalize it and give it as a DIY gift. Homemade gifts like this are super thoughtful. It tells the person that you care enough to spend time creating something for them.
Here are some ways you can personalize it:
- Use Photos – Mod Podge some pictures to the tray
- Glue Wood Letters to the Top – Attach wooden letters to the top of the tray that either spell out their last name or are their initials.
- Choose their favorite colors – As you create the collage, use papers that are their favorite colors or the colors that go best with their current color scheme in their home.
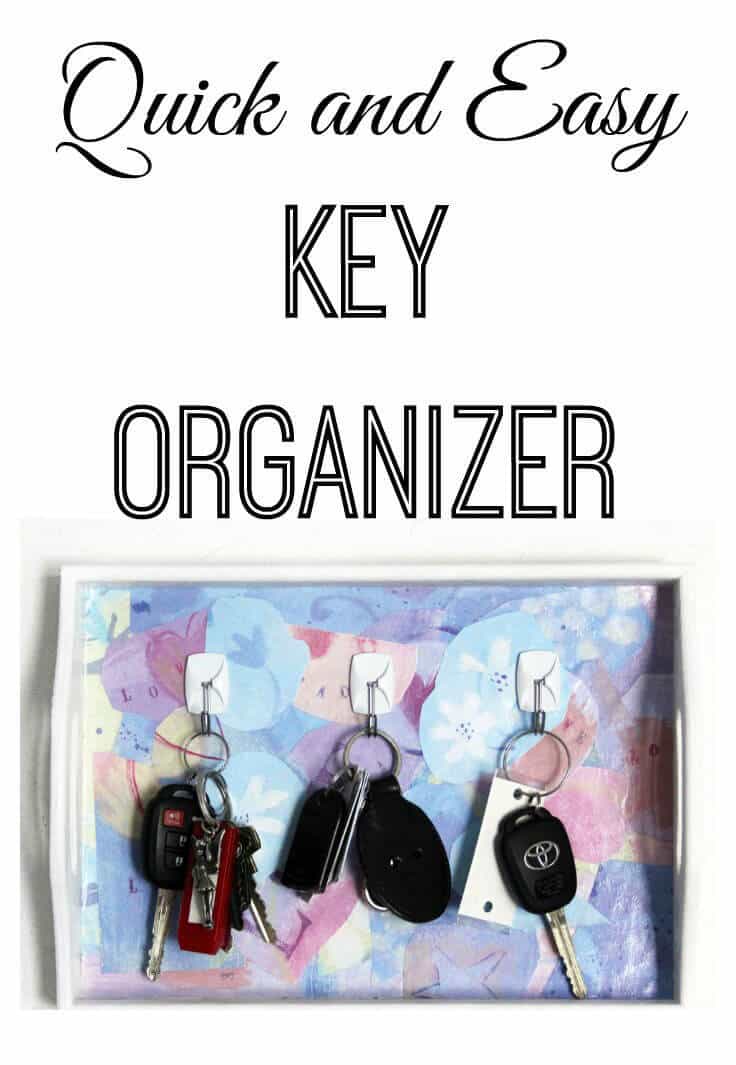
Now my keys are organized in a beautiful and functional way.
More Functional Home Decor Ideas
After you make this really simple key organizer, here are some more home decor crafts you can do that will help your home be a bit more organized.
- DIY Drawstring Bags
- Painted Wood Crate Storage Idea
- DIY Laundry Care Reminders for Washing Machine
- How to Make a Hand Stamped Washer Key Chain
Originally published July 2016. Updated July 2018.