Make Loopy Burlap Flowers From Burlap Ribbon
THIS POST MAY CONTAIN AFFILIATE LINKS. PLEASE SEE OUR FULL DISCLOSURE POLICY FOR DETAILS.
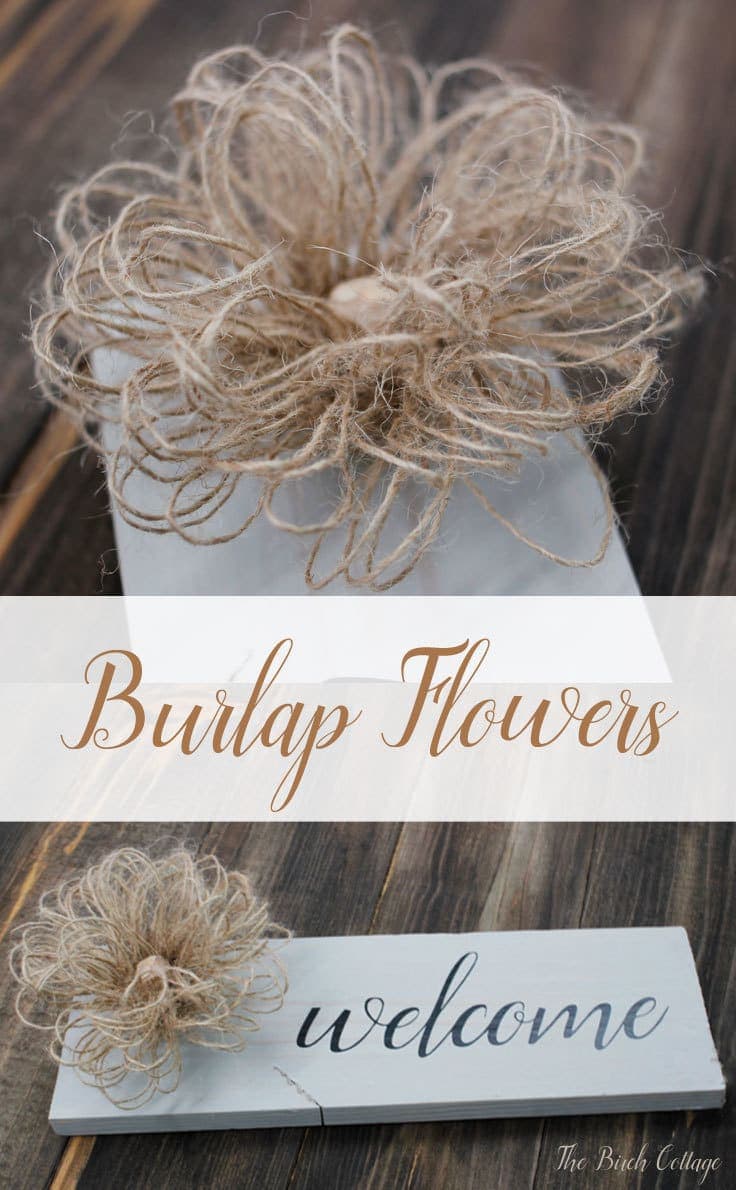
Learn to make loopy burlap flowers from burlap ribbon. These loopy burlap flowers are the perfect rustic accent and are easy to create!
I’m not sure there’s an official name for these burlap flowers, but I call them Loopy Burlap Flowers. Hello, Ideas for the Home by Kenarry® friends! I’m Pam from The Birch Cottage and I’m back again this month to share a DIY burlap ribbon project with you.
Want more ideas like this? Subscribe today to get our weekly Ideas in Your Inbox newsletter plus other exclusive gifts and offers — all for FREE!
If you like burlap or are looking for burlap inspiration, then you’ve certainly come to the right place. You’ll find all sorts of burlap projects right here on Ideas for the Home by Kenarry®. In fact, I think we could probably even credit Kenarry for the beautiful burlap wreath craze.
Get our e-book The Ultimate Guide to Making a Burlap Wreath when you subscribe to be an Idea Insider. It’s totally FREE!
Your privacy is important to us. We promise not to spam you or share your information. You can opt-out at any time. See our privacy policy for more information.
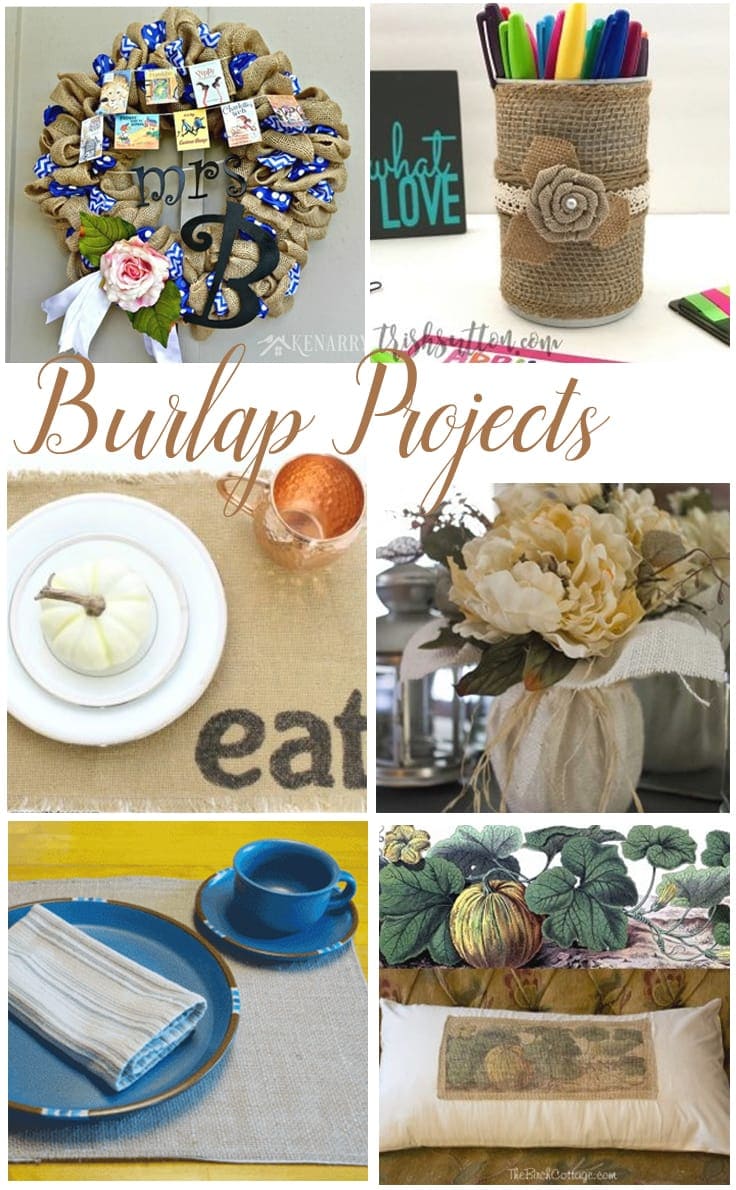
Burlap Projects on Kenarry
Before I share today’s Loopy Burlap Flowers tutorial with you, I wanted to take a moment to share with you some of my favorite burlap projects right here on Kenarry. You can start by checking out their easy tutorial for how to make a burlap wreath. There are a lot of different burlap wreath projects here, but this Teacher Appreciation Burlap Wreath is one of my favorites! There are even two easy burlap placemat tutorials. The first is an easy to sew tutorial and the second gets a little more fun with permanent markers.
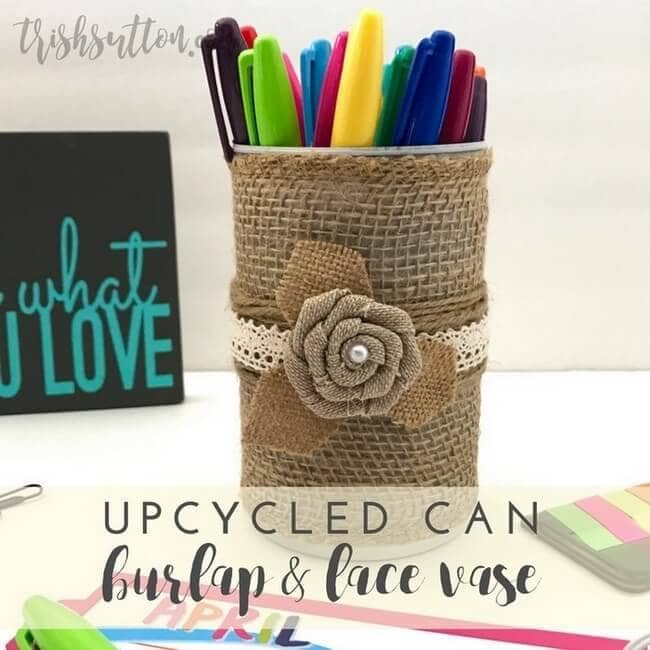
Or how about making your own burlap floral centerpiece or this simple upcycled can burlap and lace vase? Both of these ideas can certainly spark your imagination and you could create all kinds of centerpieces and vases with this little bit of inspiration.
There’s a little something burlap for everyone, whether you’re looking to add a little bit of rustic charm to your home décor or maybe you are planning a rustic wedding. These burlap projects simply add so much texture, warmth and that perfect touch of rustic charm. Burlap is one of those timeless fabrics and I don’t think it’s going away anytime soon.
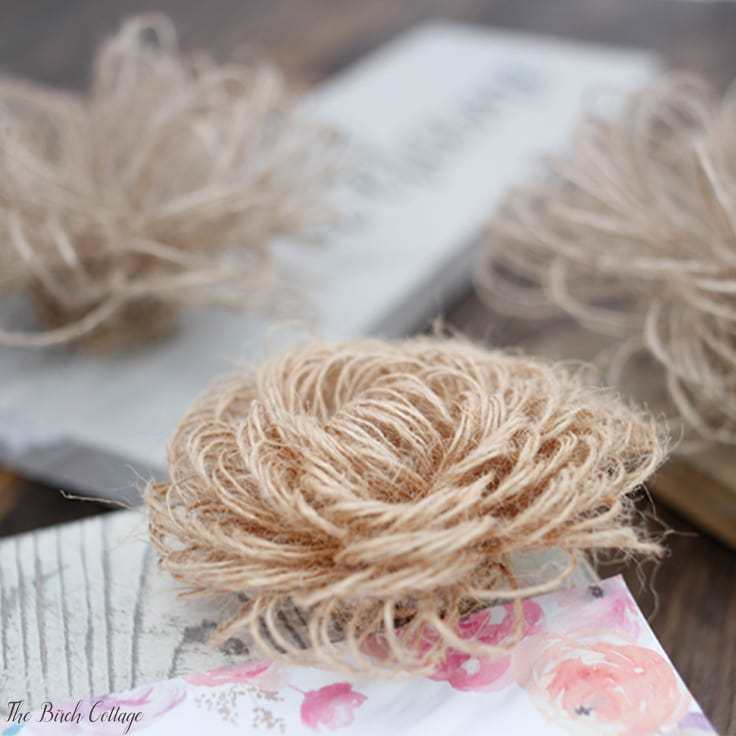
Which brings me to today’s tutorial. I’d like to show you just how easy it is to make these Loopy Burlap Flowers. They are so easy, that my grandson and I even made a bouquet of flowers for his mom a couple of years ago out of burlap and wooden skewers. They are super easy and have the perfect touch of rustic charm. Plus the flowers don’t wilt and the petals don’t fall off!
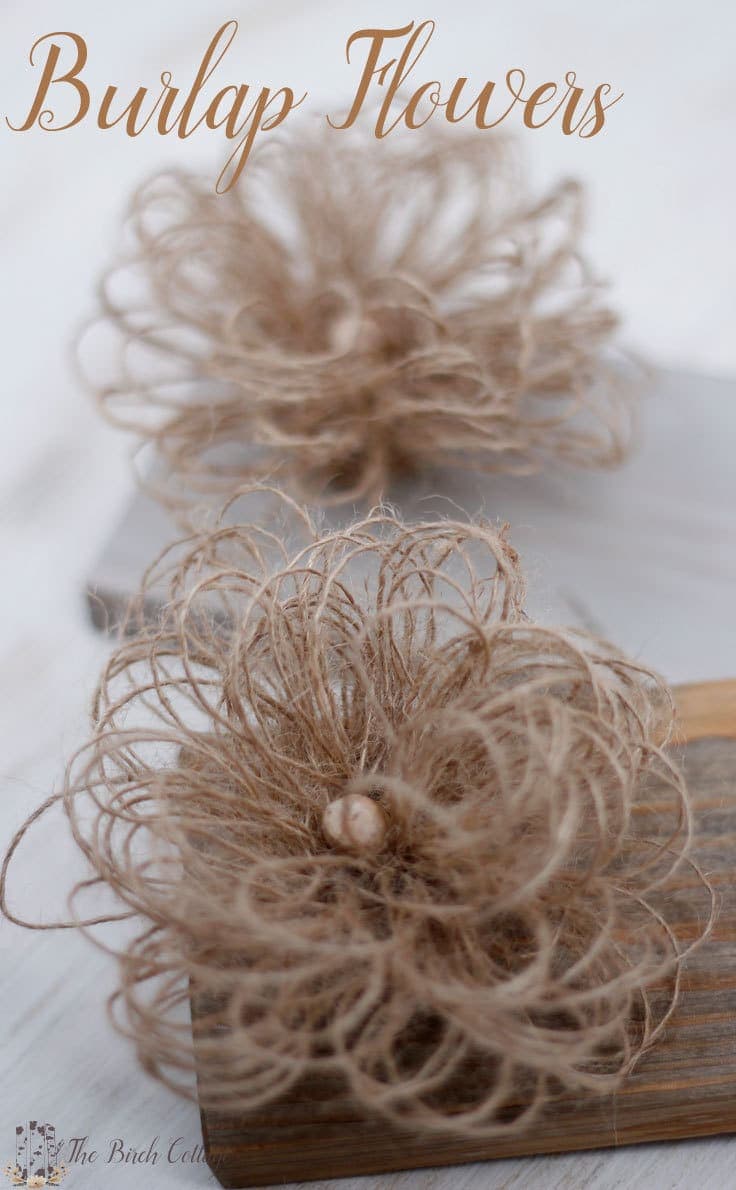
How to Make Loopy Burlap Flowers
Today’s burlap ribbon project is the first in at least four burlap ribbon projects that I have planned to share with you this summer. Kenarry, because they’re such amazing people, provided me with the burlap ribbon, but the projects and opinions are 100% my own.
Supplies for Loopy Burlap Flowers:
- Burlap Ribbon – 5” x 30”
- Tacky Glue
- Hot Glue
- Glue Gun
- Wooden Bead or Button (optional)
Instructions for Loopy Burlap Flowers:
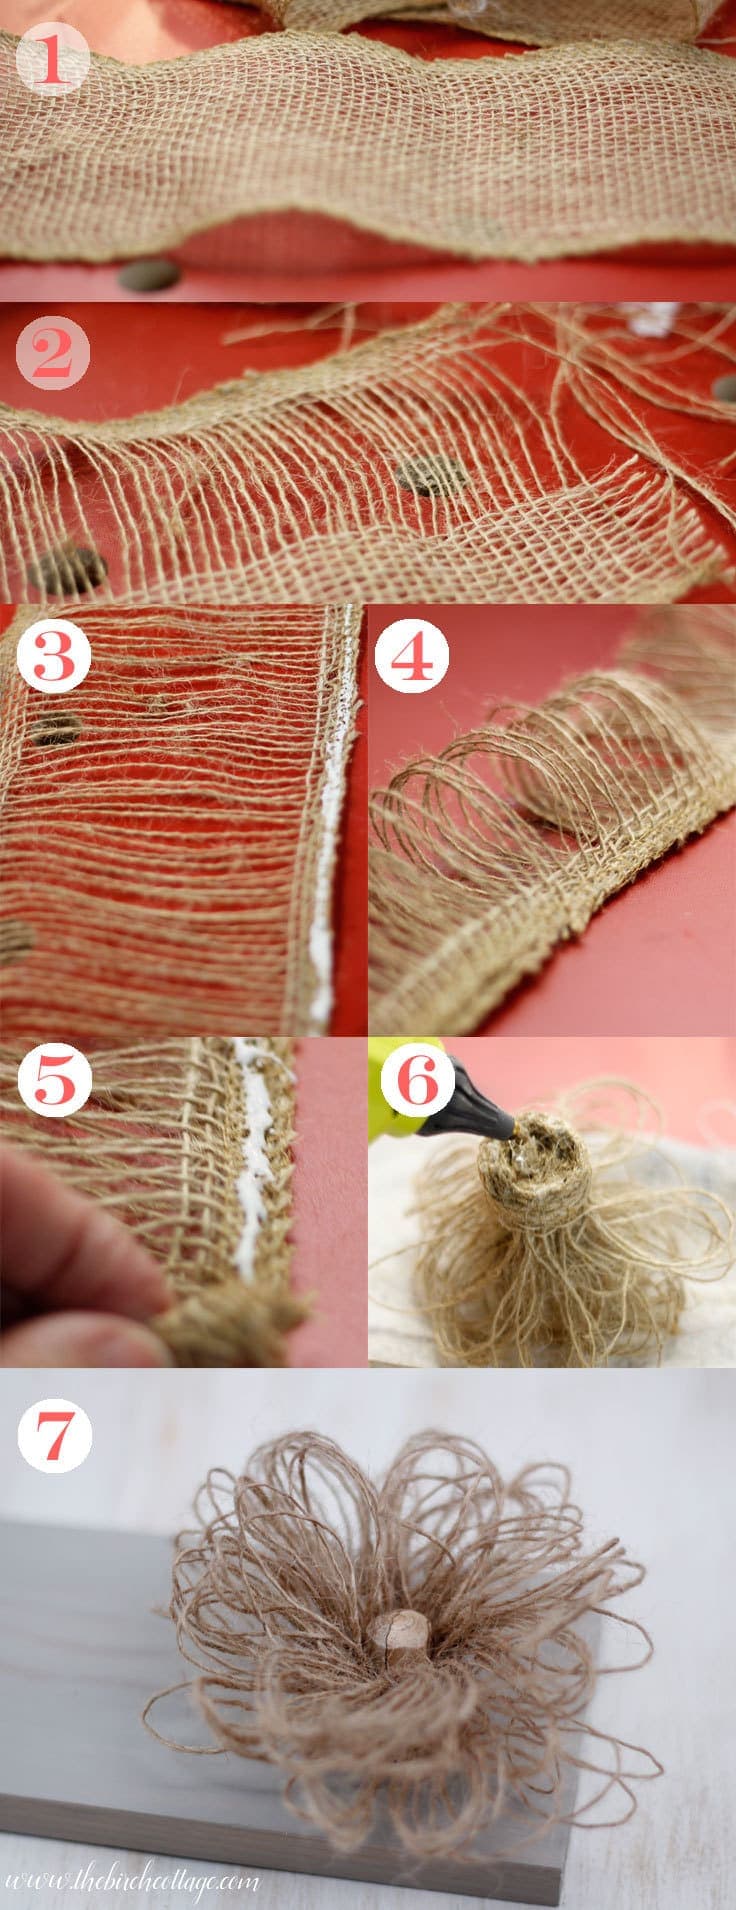
- Cut a 5” wide piece of burlap ribbon 30” long. If you want your flower to be fuller, simply cut the burlap ribbon longer. You can adjust the thickness as you see fit.
- Starting at the cut short end of the ribbon, begin pulling out the long strands of burlap. You’ll want to be sure to leave 2 or 3 rows along both long edges. (TIP: Save the strands of burlap for another twine or jute craft project!)
- Apply Tacky Glue to one long edge of the burlap ribbon.
- Fold the opposite long edge over onto the glued long edge, making sure to align the long edges and apply slight pressure.
- Apply Tacky Glue to the long edge of the burlap ribbon and starting at the short end, roll the burlap along the glued edge. (TIP: If inserting a wooden dowel, you would do so at this point.) Again, be sure to keep the long edges aligned. You may need to apply a little extra glue at the end of the rolled ribbon to make sure it is affixed in place.
- Apply hot glue to the bottom of the flower and affix to your project.
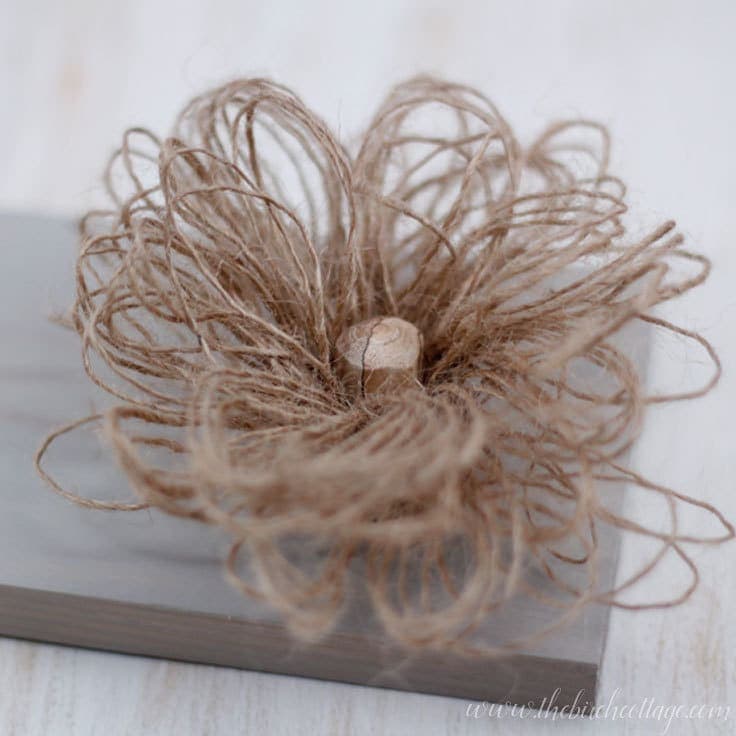
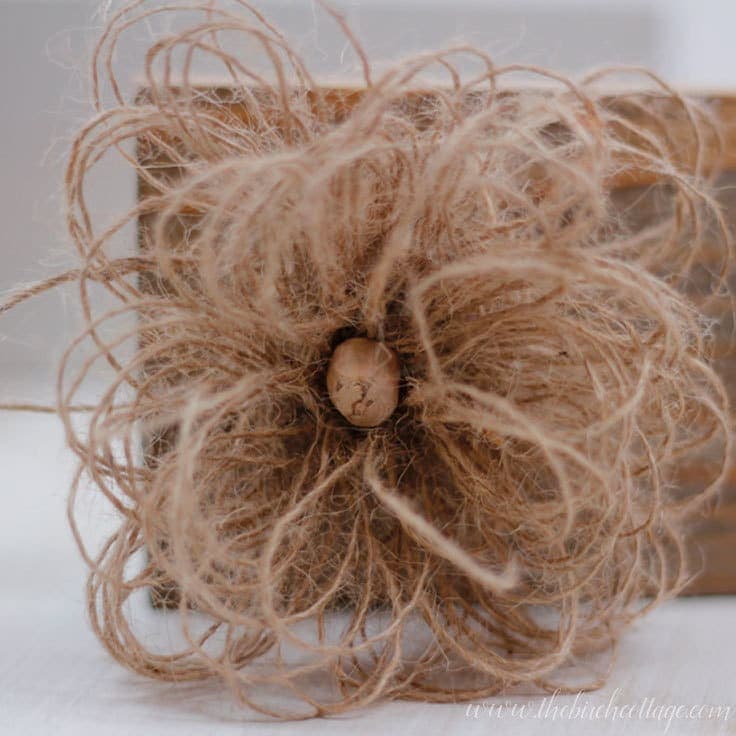
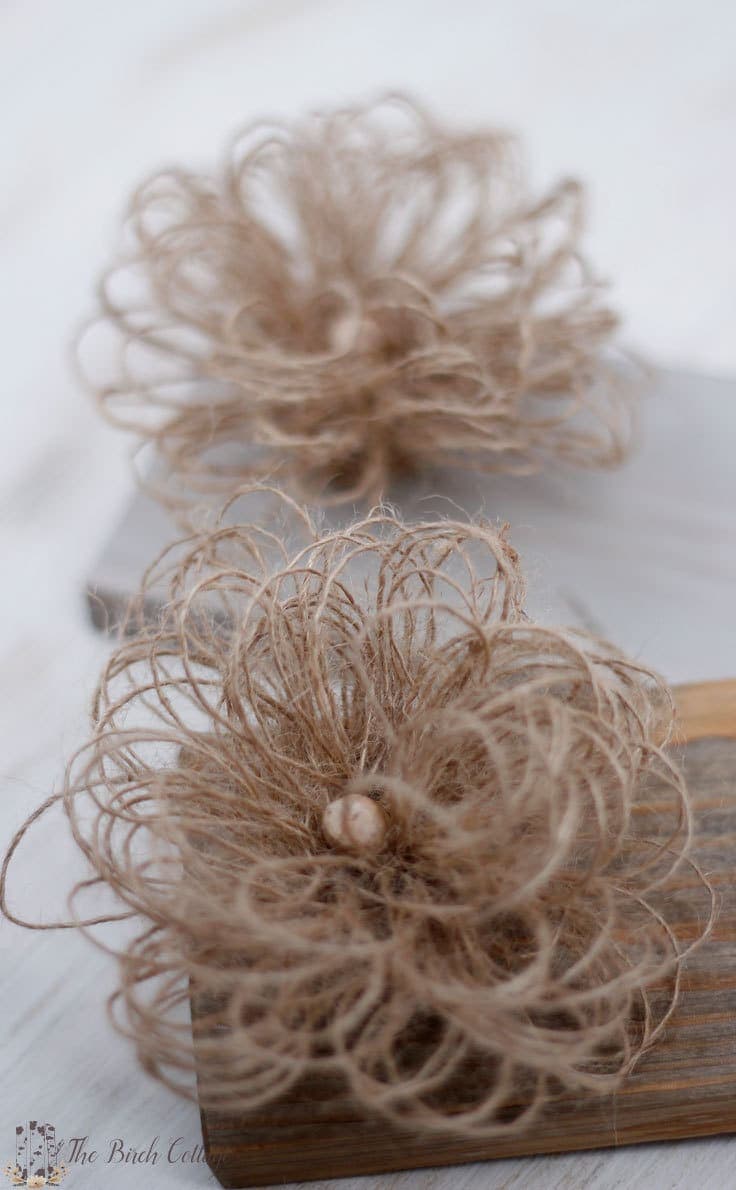
- Apply hot glue to a wooden bead or button and press into the center of the flower. Spread out the loops of the flower to your liking.
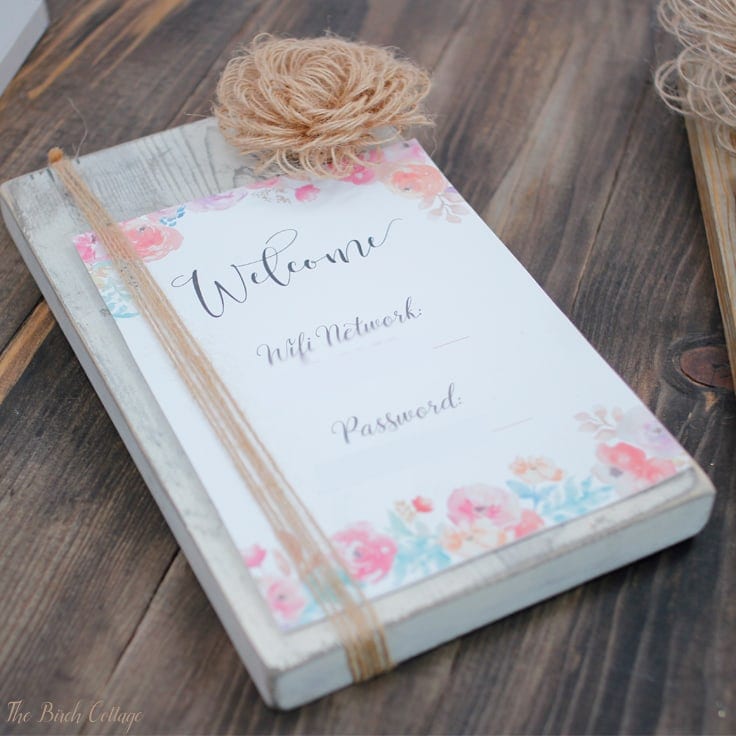
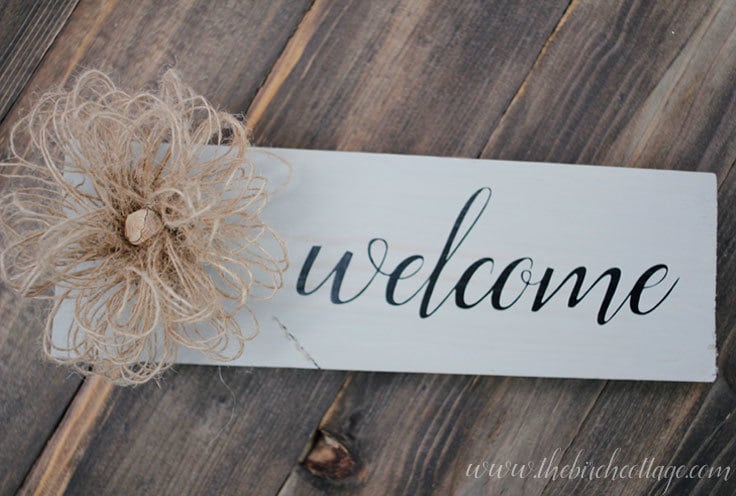
I have made these Loopy Burlap Flowers and attached them to a WiFi sign that I made and have hanging in our hallway. I’ve also made numerous signs out of some old fence pickets that I’ve repurposed and glued on my Loopy Burlap Flowers, like the below Welcome sign.
I actually made the wooden beads that I used with these Loopy Burlap Flowers. My family vacations in Northern Ontario every year and I’ve picked up a few birch twigs that I’ve carved into beads. I thought they’d add a nice little touch to these burlap flowers. I’ve even used old buttons and seeds in the center of the burlap flowers. I have some buttons made out of coconut shells that I’m going to use on another project and I might incorporate them into some of these Loopy Burlap Flowers as well.
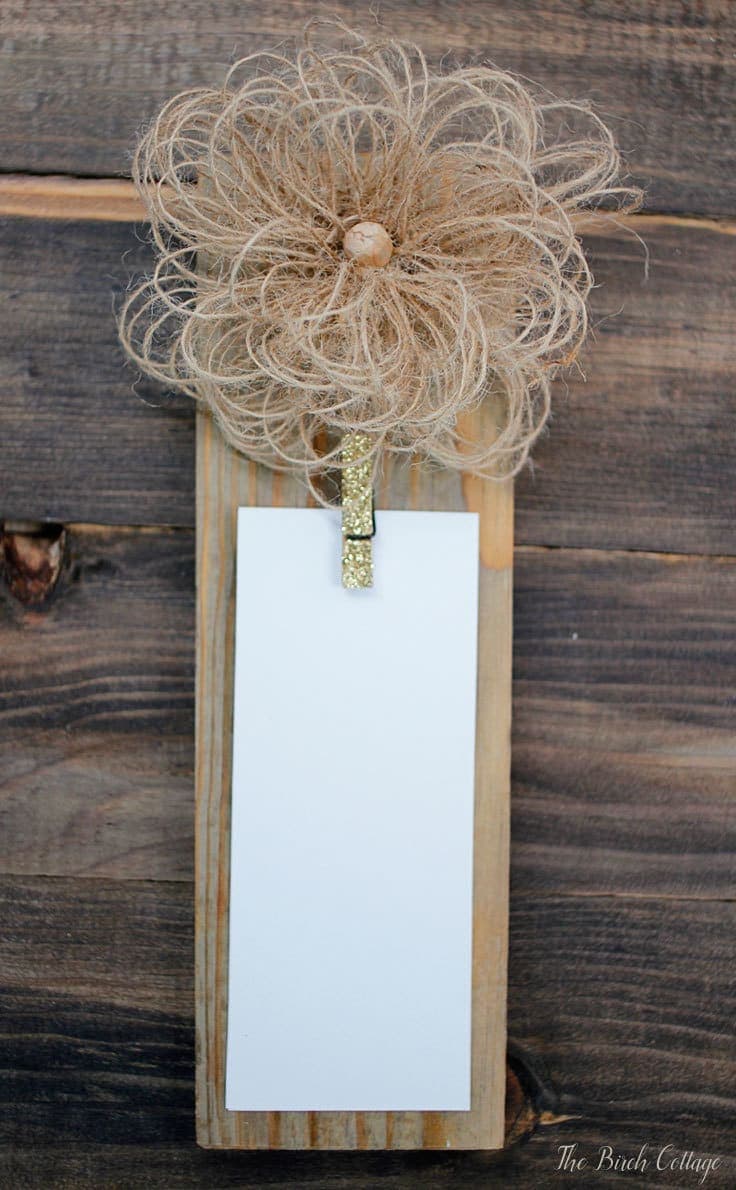
See, that’s how inspiration works! One idea kind of sparks another idea and before you know it, you’ve created something extra special that has meaning to you! That’s exactly what I hope my ideas and projects do for you! In fact, when I showed one of my “blank” signs to my husband, he told me he thought it’d be perfect for holding those shopping lists I like to use. So, I got out my hot glue gun and glued a small clothes pin onto the board, cut some slips of blank paper to fit and put a hook on the back for easy hanging. See what I mean, one idea inspires another.
If you have any questions about this burlap ribbon or this Loopy Burlap Flower project or, better yet, if you happen to make any of these burlap projects, please let me know as I’d absolutely love to hear about it! If you’ve enjoyed this burlap tutorial, you might like to browse some of these other DIY projects that I’ve shared here on Kenarry, like this Easy Sew Burlap Placemat! And, be sure to also check out some of my DIY projects on The Birch Cottage blog, like:
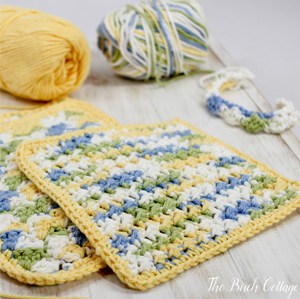
Crunchy Stitch Crochet Dishcloth
Love the ideas you see here on Ideas for the Home by Kenarry®? Subscribe today to get our FREE DIY & Craft Planning Calendar, plus our weekly Ideas in Your Inbox newsletter filled with creative tips and exclusive offers!
What’s Next?
While you’re here, be sure to check out other burlap craft projects on Ideas for the Home by Kenarry® –
You said to keep the burlap strands for another project. Can you direct me to ideas for these strands? Love the flower tutorial! Thanks.
Hey Kimberly, we’re thrilled you liked the loopy burlap flowers tutorial. Great question! You can use the spare strands for all kinds of things. One fun idea is to make DIY Burlap Tassels like Bre Purposed. Burlap tassels could then be used on projects like these Bead and Tassel Napkin Rings or to make DIY Tassel Keychains. You could also hot glue strands around a styrofoam wreath frame like this DIY spring wreath.
You could also try googling “projects with twine” or “crafts with jute twine”. I just did it and all kinds of super cool craft ideas came up! Perhaps I ought to collect a bunch of the ideas for a future Kenarry post? Thanks for inspiring us with your question!
Happy crafting!
Carrie from Ideas for the Home by Kenarry®
Thank you so much!! I will definitely check these out!
Hi Kimberly,
Somehow the holidays consumed me! But I did finally publish the round-up of twine craft ideas for you today on the blog — https://kenarry.com/jute-craft-ideas-twine-projects/ Hope you find some great ones to try with leftover strands from making burlap flowers.
Happy New Year!
Best wishes,
Carrie
Carrie shared some great ideas!
I also save the strands of burlap for use with some wood block picture frames that I make out of 1×6 boards. I cut the boards down to 6” tall x 8”wide. Then sand the edges smooth, stain and dry brush paint to give them that shabby chic finish. Once I have the finish the way I like it, I hot glue on one of my burlap flowers in the top left corner. I then take about 4 of my saved strands of burlap (jute) from the flowers I made, then wrap around the bottom of the block, knot off and trim off the loose ends. I then slide a 4×6 picture under the burlap strands. Sometimes I add a furniture tack (because I love the rustic look they add) to help hold the picture in place. Maybe I’ll share that tutorial next month!
There are two other ways I use the strands. One is to simply wrap around the top of empty Starbucks bottles, tie off and I have a rustic and adorable flower vase. The other way I use them is for wrapping presents. I love to wrap gifts in brown kraft paper that I purchase by the roll from my local hardware store (buy it in the paint or flooring section) then tie on a jute ribbon. Sometimes I mix in a little lace or satin ribbon for contrast.
Hope this helps!
Thank you!! I love those ideas!
You are so very welcome, Kimberly! I’m working on a round-up of more twine craft ideas that I’ll publish in the next few weeks. I’ll let you know when I do so you can check it out for more inspiration.
Best wishes,
Carrie from Ideas for the Home by Kenarry®
What can you make with quite a few of these loopy flowers?
Like 2 dozen or so? Particularly for a wedding!
Great question, Renee! You can use loopy flowers like this in place of any faux flowers you might use for a wedding. Here are a few ideas:
— Decorate picture frames to use as table numbers or for photos of the bride and groom.
— Decorate a basket for a flower girl
— Decorate a pillow for a ring bearer
— Use them as boutonnieres for the groom and groomsmen
— Attach to ribbons and hang on the ends of chairs or pews lining a church or venue for the ceremony
— Tie to the bottom of champagne flutes for the bride and groom to toast
— Attach to wide ribbon and wrap around vases for centerpieces at the reception
— Make dozens and dozens of them and attach them to card stock to make place cards so people know where they’ll be sitting at the reception
The possibilities are endless! Hope that sparks your creative juices. Pam Baker and I would LOVE to see photos from the wedding and how you end up using these beautiful loopy flowers.
Best wishes,
Carrie
Ideas for the Home by Kenarry
I’m sure I’ll understand the directions once I start it would be nice to see pics of the steps. I’m using to decorate for 50th anniversary party. How could I dress up? Maybe gold button?
Hi Sara,
What a fun idea for the 50th anniversary party! A gold button or a crystal would give it some bling. You could also loop a really thin gold ribbon or thread in with the burlap threads to give the followers themselves a little sparkle too.
We’d love to see photos of what you create! Happy crafting!
Best wishes,
Carrie
Ideas for the Home by Kenarry