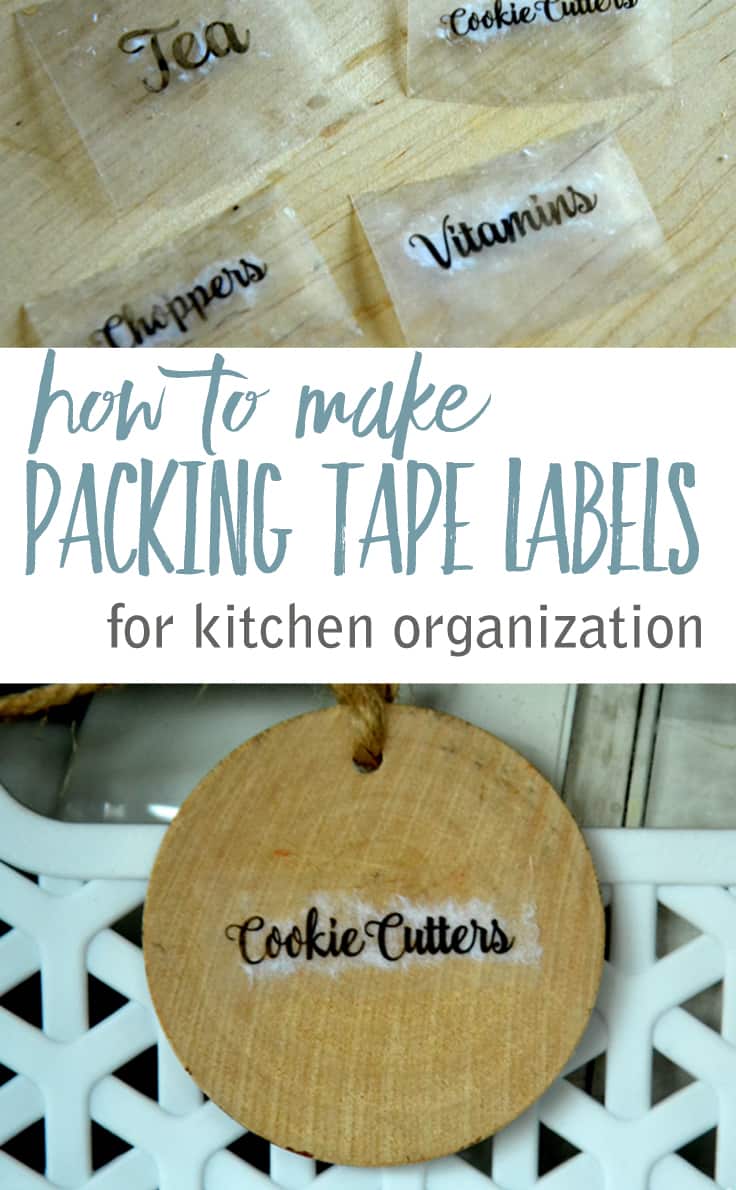
How To Make Packing Tape Labels To Organize Kitchen
THIS POST MAY CONTAIN AFFILIATE LINKS. PLEASE SEE OUR FULL DISCLOSURE POLICY FOR DETAILS.
Learning how to make packing tape labels for kitchen organization is a practical and pretty solution. Read on and I’ll show you how!
Hi Friends! I’m Rita Joy, and right now I’m in my small kitchen at Harbour Breeze Home on an organization mission. I’m right in the middle of an 8-week challenge to get my whole house organized!
The pantry cupboard was the first area I started with. (Here it was before I started:)
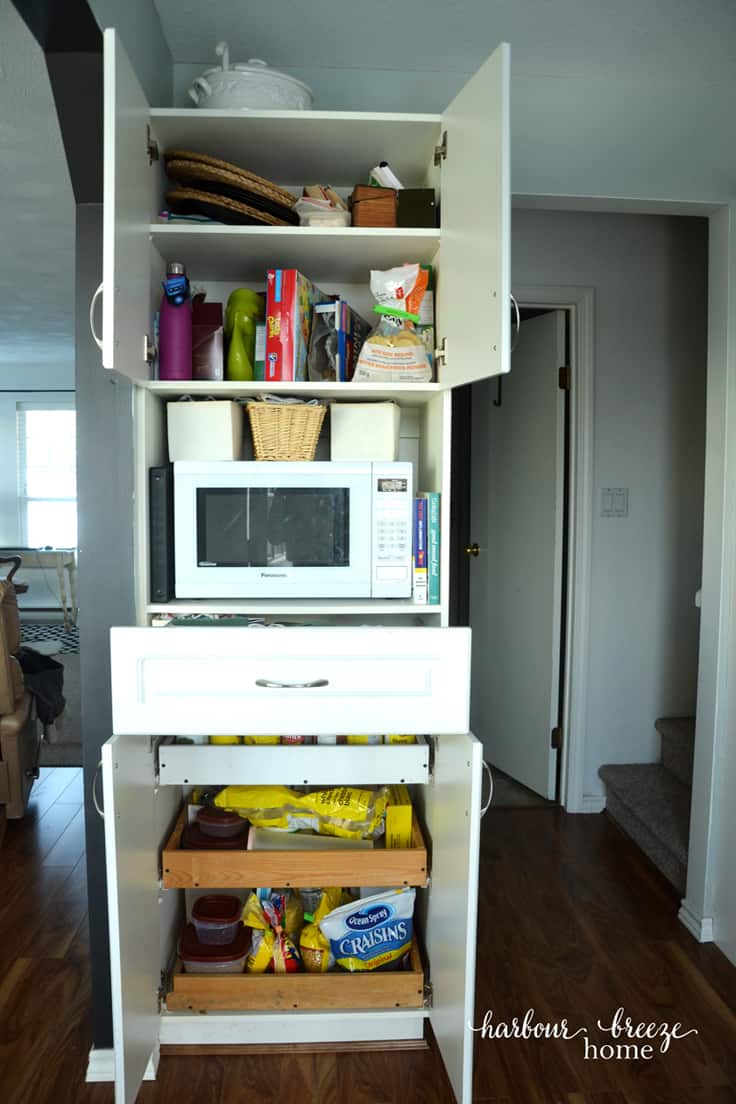
How I organized my kitchen pantry cabinets
The very first step was to take everything out and clean it. This was probably the part that made the biggest difference. It also took the most time.
After everything was cleaned and in place, it was time for my favorite part, making the labels!
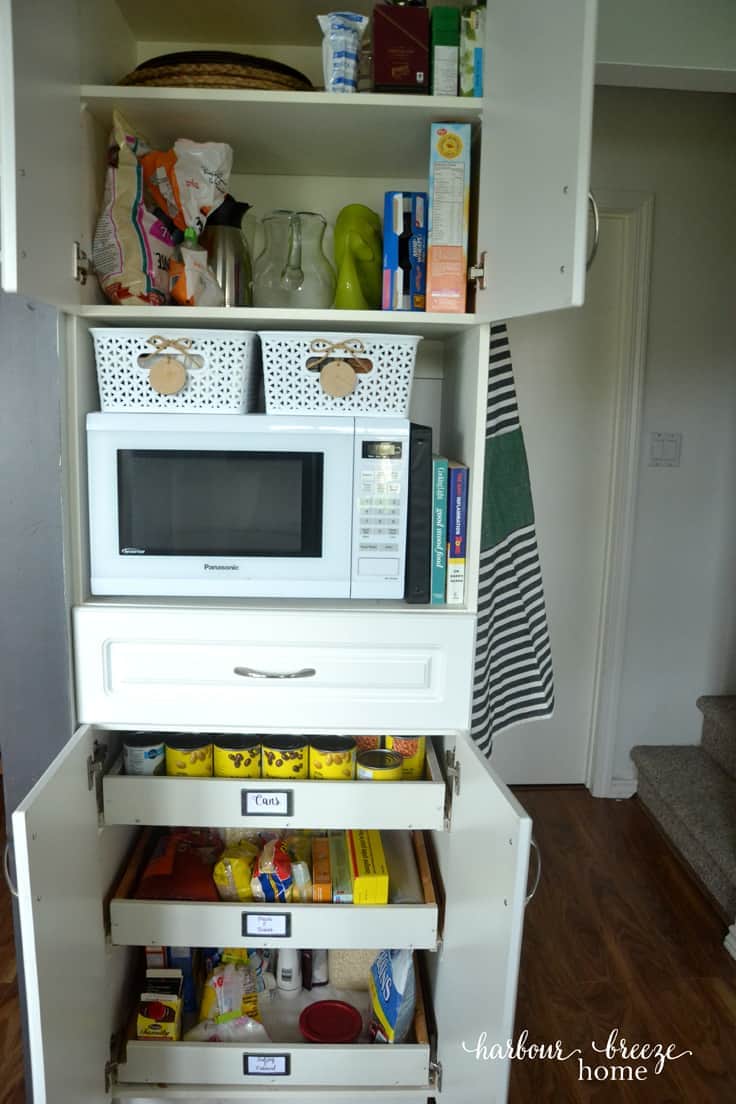
Labeling helps me stay organized and adds a fun design element, too.
Disclosure: This blog post contains affiliate links for products or services we think you’ll like. This means if you make a purchase from one of these links, Ideas for the Home by Kenarry® will make a small commission at no additional cost to you so we can keep the great ideas for the home coming your way. All opinions expressed are derived from personal experience.
How to Make labels without a vinyl cutting machine
You don’t need something like a Cricut to make really cute labels. I found a really easy way to make them with just my printer and some packing tape.
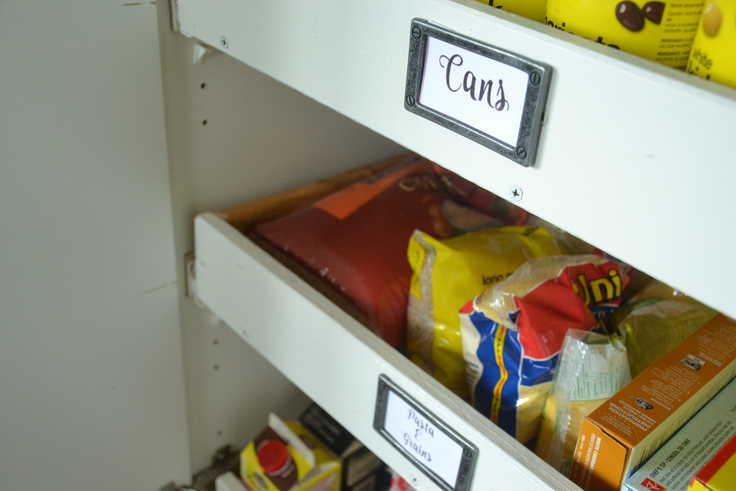
I printed off labels from my home computer (in the font “Antero”) and placed them in metal label holders (from Lee Valley Tools) for the pantry drawers. (These antique library label holders on Amazon are similar.)
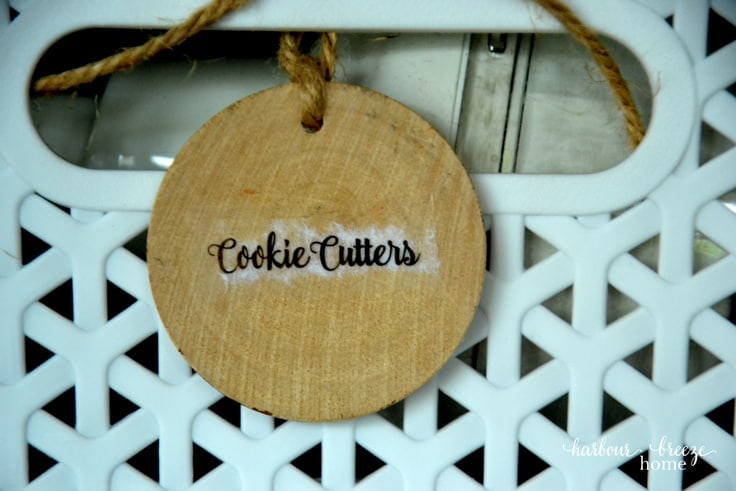
But, then I needed a fun way to add labels to the wood slice label holders on the baskets above the microwave.
DIY Packing Tape labels were the solution ~ and so quick and fun to make.
How to Make Packing Tape Labels for Kitchen Organization:
Learning how to make packing tape labels is a simple solution to add practical and pretty style in your kitchen organization. This tutorial will show the steps.
What you need:
- Packing tape
- Laser printer
- Printer paper
- Popsicle/craft stick or table knife
- Bowl
- Warm water
Instructions:
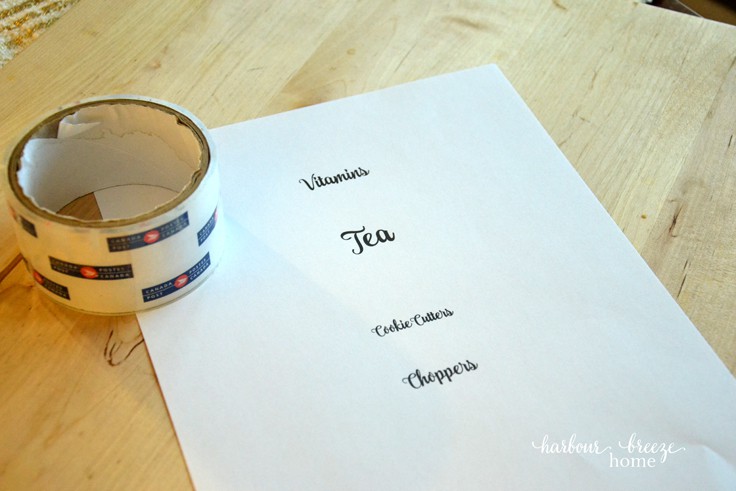
1. Print labels off with a laser or toner-based printer
Print off labels in the size you prefer on regular printer paper from your home computer.
You really do need a laser or toner-based printer. I have an ink-jet and you’ll see how it affected the labels. The labels will look a lot better if you use a laser or toner-based printer instead.
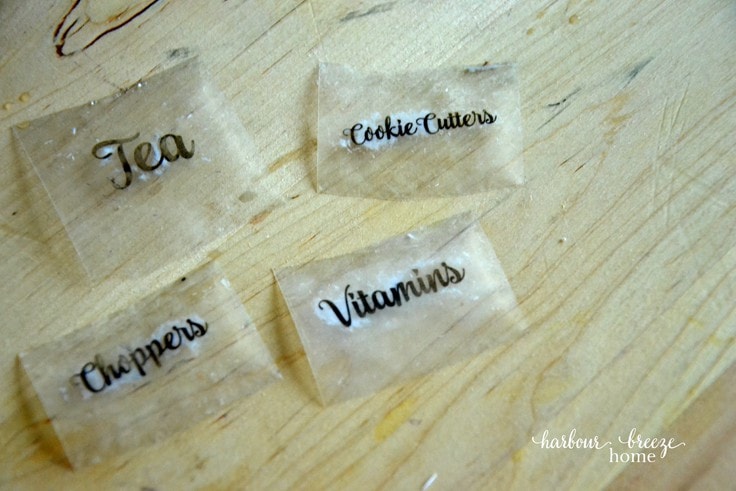
2. Cut the labels and put them on the tape
Cut the labels apart and stick packing tape to the back of each.
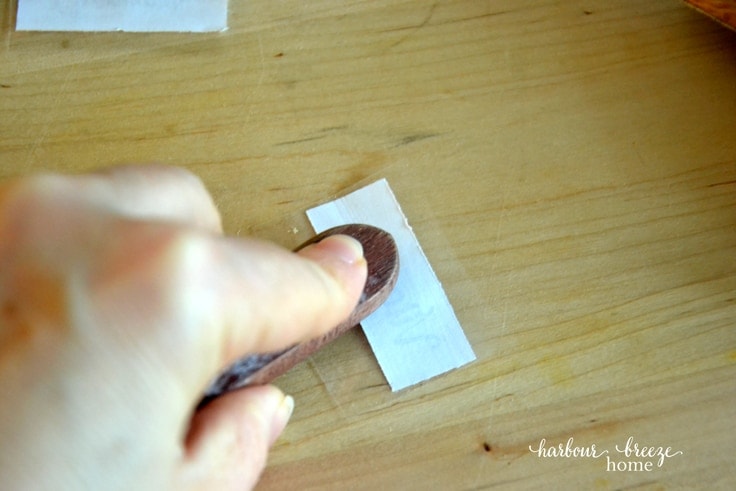
3. Rub the ink onto the tape
Using a Popsicle stick or the handle of a knife, burnish the paper onto the tape by pressing down firmly and rubbing in all directions.
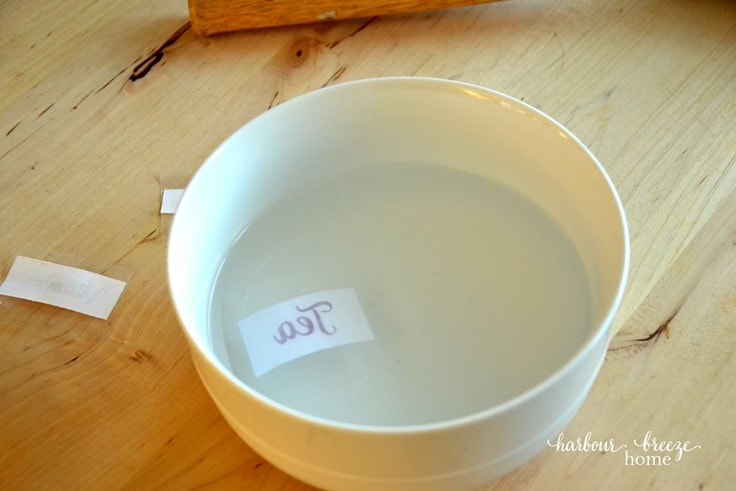
4. Soak the labels
Place the label in a bowl of very warm water for 2 minutes.
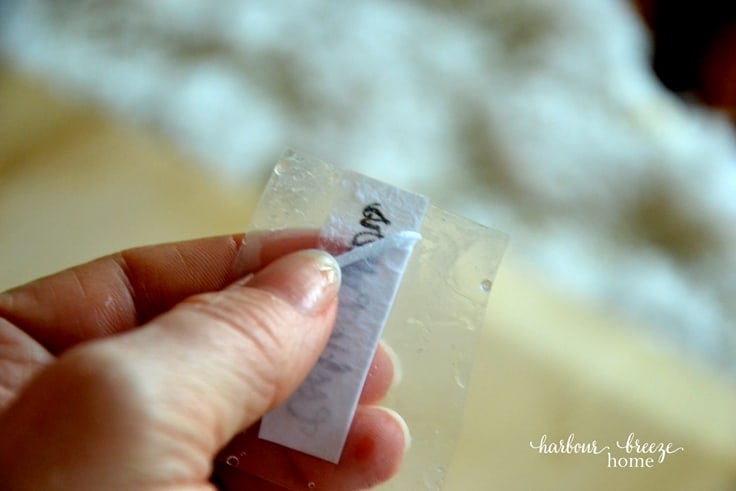
5. Rub the paper off the tape
Remove from the water and gently rub the paper off the back.
This is where it was more difficult because I didn’t use a laser printer. I had to leave a bit of the paper on where the writing was, or the writing would rub off!
6. Let the labels dry
Let the labels air dry, and as they do, the “sticky” of the tape will magically re-appear!
7. Stick the labels to the wood slice
Stick the label onto whatever surface you’re labeling. In my case, they went directly on the wood slices.
This could work well on plastic, ceramic, or glass. It’s such a fun way to add some spice into your organized life! Wouldn’t these labels look cute on some of these organized baking supply containers?
If you want to check out other ideas for organization, or join the challenge for your home, too, check out these posts:

Let’s Do it Together ~ Join the Organization Challenge!

How to Organize a Small Entryway Closet

How to Make a Laptop Stand End Table
Love the ideas you see here on Ideas for the Home by Kenarry®? Subscribe today to get our FREE DIY & Craft Planning Calendar, plus our weekly Ideas in Your Inbox newsletter filled with creative tips and exclusive offers!
While you’re here be sure to check out other cleaning and organizing ideas on Ideas for the Home by Kenarry®. You may especially enjoy:
These labels are the best! I saw a video of them once and I thought it was so awesome, love using them!
Thanks Kelly! We’re so glad you liked this tutorial and find these kind of labels easy to make and helpful to you. We’re so glad you stopped by!