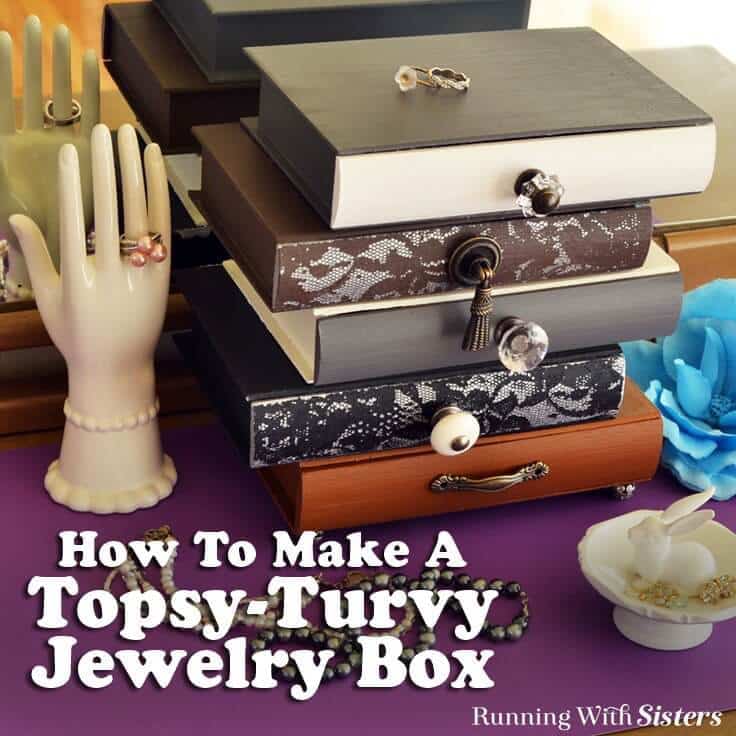
How To Make A Topsy-Turvy Jewelry Box
THIS POST MAY CONTAIN AFFILIATE LINKS. PLEASE SEE OUR FULL DISCLOSURE POLICY FOR DETAILS.
Make an Anthrolopogie inspired topsy-turvy jewelry box with vintage knobs. We’ll show you how to stencil through lace to add a feminine touch!
Hello Kenarry readers! We’re Jennifer and Kitty from Running With Sisters, and we’ve got a fun little “hack” for you! We saw a cool jewelry box at Anthropologie with playfully stacked drawers and mismatched knobs. (If you want to see it, we pinned it here.) We loved the whimsical look, but we didn’t love the price. So we made our own version, and we think we made it even cooler!
We started out copying their topsy-turvy jewelry box pretty closely, but then we decided the look was a little too masculine for us. We’re girly! So we decided to add a pretty pattern to some of the drawer fronts by stenciling through lace. We even made a little video to show you how we did that. If you want to make your own Topsy-Turvy Jewelry Box, just follow the steps below.
How to make a topsy-turvy jewelry box
Here’s how to make a jewelry box that looks like something you would buy on Anthropologie.
Materials:
- 5 Wooden drawer boxes, 7.5″x4.5″x1.5″
- Gesso primer
- Acrylic craft paint: black, white, dark brown, chestnut brown, gray, silver
- Mod Podge Gloss
- 5 Vintage-style knobs
- 4 Large silver round beads
- Lace ribbon, 1.25″ wide
- Scrapbook paper
supplies
- Paintbrush
- Scissors
- All-purpose adhesive
- Glue dots
- Ruler
- Drill (optional)
- Screwdriver (optional)
topsy-turvy jewelry box directions
Just follow these steps and you will have your own jewelry box.
1. paint the base coat
Start by painting a base coat of gesso on all the drawer box sets (drawer plus surrounding box). Then paint one drawer box set gray, one white, one black, one chestnut, and one brown.
2. Dab silver paint through the lace
To add a little girly lace pattern to the fronts of a few drawers, dab silver paint through lace. Start by cutting a piece of lace to fit the drawer front. Paint a layer of Mod Podge onto the drawer front, lay the lace across the drawer front, then paint a layer of Mod Podge over the top of the lace.
This helps keep the lace in place and helps prevent the paint from seeping under the lace edges. Let dry completely.
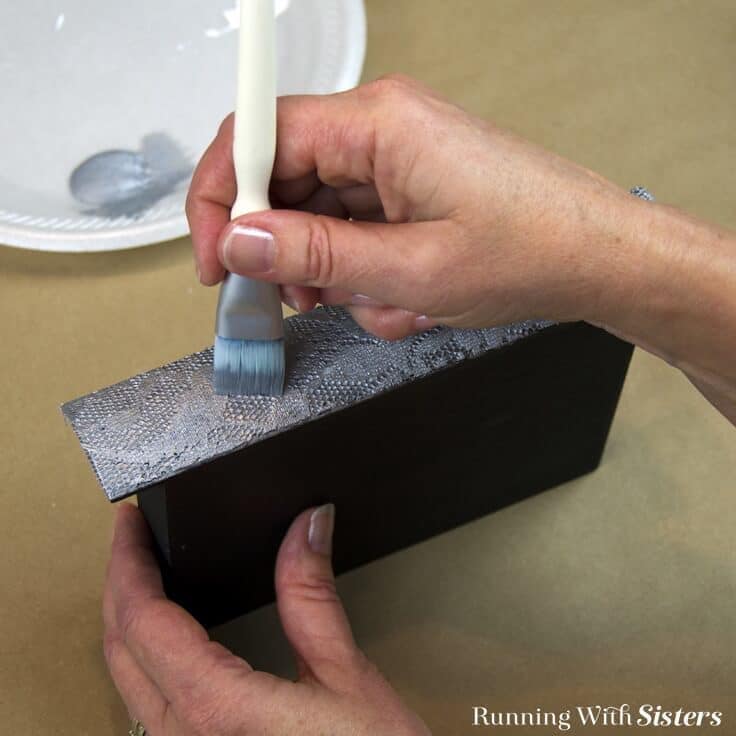
Dab silver paint through the lace being careful not to use to too much paint. Let dry completely. Peel off the lace. Some of the Mod Podge that was under the lace might still be wet, but don’t worry! Just let it air dry––it will dry clear.
Here’s a video showing how we like to stencil through lace for the best results.
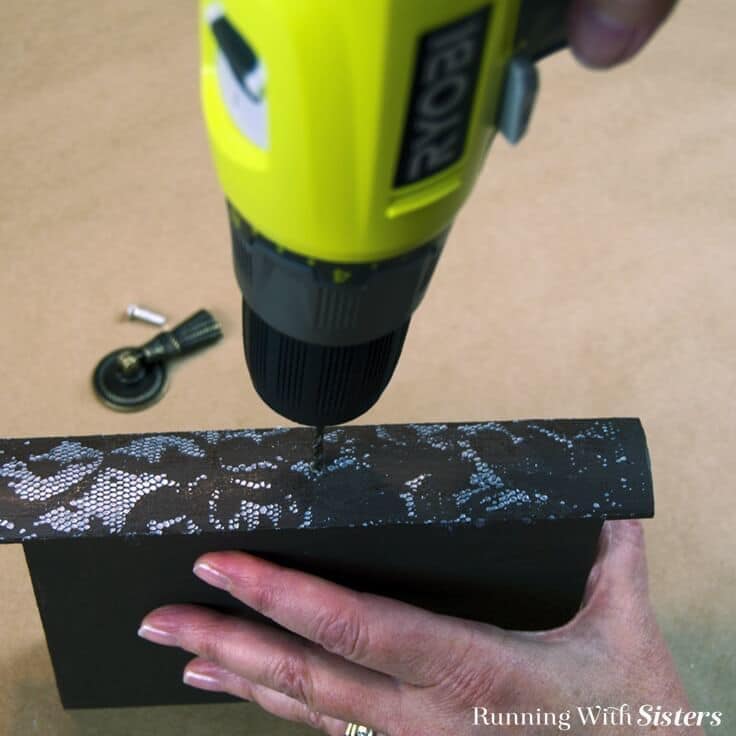
3. attach the knobs
Attach the knobs. We found cute vintage-style knobs in the scrapbooking section at the craft store. They didn’t require screws, so we just glued them on. We also had a few knobs that needed to be screwed into place.
To attach knobs that have screw backs, measure the front of the drawer and find the center. Drill a hole, then screw on the knob.
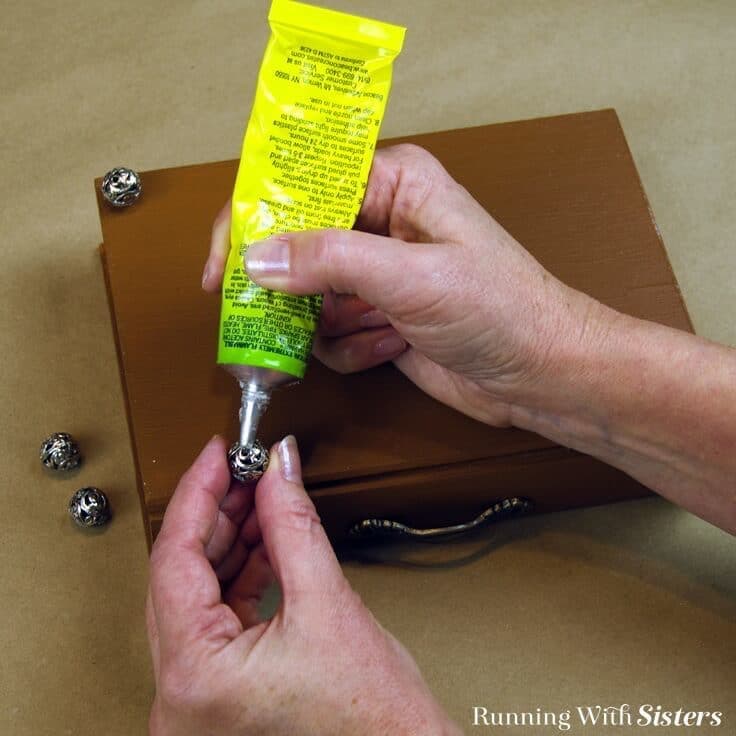
4. glue beads to the corners
Next, glue the four beads to the four corners of the bottom box. We think they look like fancy bun feet!
5. Stack the Drawer boxes
Stack the drawer boxes, off-setting each one from the one below it. We swapped two of the drawers––placing the white drawer in the gray box and the gray drawer in the white box. (Just to add more fun!) Glue the drawers together.
6. Line the drawers with Scrapbook paper
Then, line each drawer with a piece of scrapbook paper held in place with glue dots.
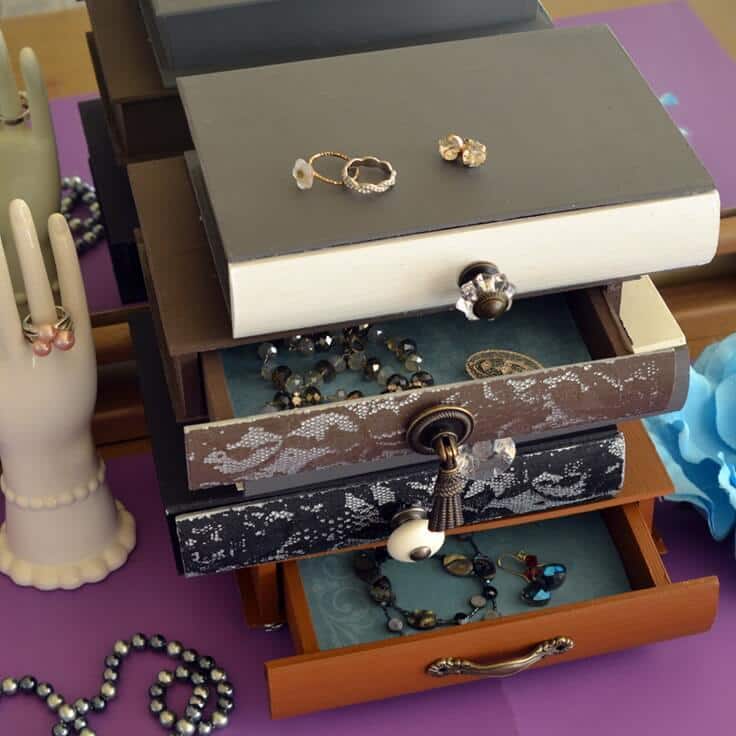
We think our little jewelry box turned out cuter than theirs! What other whimsical touches would you like to add to a jewelry box like this? Leave us a comment. And remember if you have any questions while you’re working on yours, you can post a comment, and we’ll respond. We’re here to help!
Happy Crafting,
Jennifer & Kitty
Need a DIY jewelry idea to help fill up this fun new jewelry box? Check out this incredibly easy DIY birthstone necklace that’s perfect for moms!

Want to see more crafts from the O’Neil Sisters? You might like…
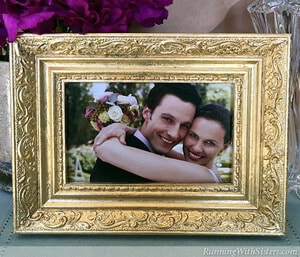
How To Gold Leaf A Picture Frame
Love the ideas you see here on Ideas for the Home by Kenarry®? Subscribe today to get our FREE DIY & Craft Planning Calendar, plus our weekly Ideas in Your Inbox newsletter filled with creative tips and exclusive offers!
What’s Next?
While you’re here, be sure to check out these other craft projects on Ideas for the Home by Kenarry® –
- DIY Polymer Clay Ring Holder
- How To Make An Easy Jewelry Box With A Cute Label
- Decorative Letter Gift: How To Decoupage A Letter
Updated November 2019.
This is such a great way to make a cute, unique-looking jewelry box that has your own flair added to it. Customizing it with your own choice of fabric or details for the front can really make it your own. Thanks for sharing!
John, thanks for your kind words – we’re thrilled you like the jewelry box created by The O’Neil Sisters!
Is there a site you recommend to get the drawer boxes from?
Hi Tiffany, We got the drawer boxes from Hobby Lobby and it looks like they sell them online too!
Cheers,
Jennifer & Kitty
How fun! And staged well next to the jewelry hand and funky jewelry.
Thanks, Audra! We totally agree. The O’Neil Sisters did a fantastic job with this project.
Nice idea! If you not only want to renew the jewelry box but also the jewelry. You can buy new designer jewelry at a specialty store.
Hi Beatriz!
That’s a great idea! I also love the idea of thrifting jewelry – I have a lot of friends who do it and there are some great finds out there!
Take care,
Lisa, Ideas for the Home by Kenarry Customer Care