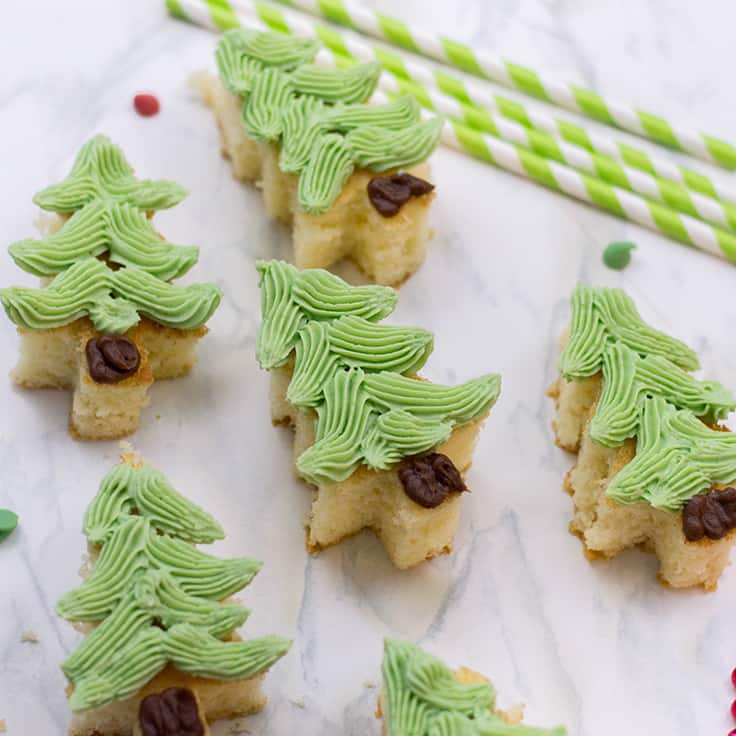
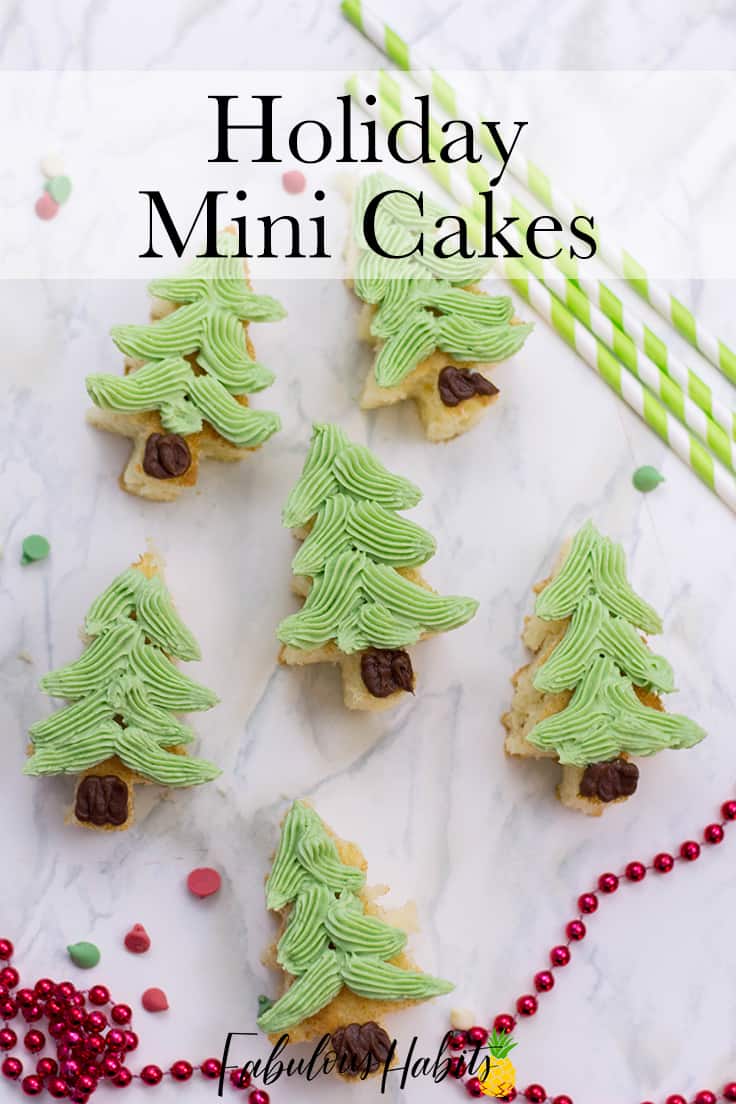
Mini Christmas Cakes Make For The Most Festive Treats
THIS POST MAY CONTAIN AFFILIATE LINKS. PLEASE SEE OUR FULL DISCLOSURE POLICY FOR DETAILS.
Our mini C
Hey, everyone! Lisa here and I’m back to share a fun dessert that I think will make the perfect addition to any holiday sweet table. My mini cakes are simple in design but so festive, it’ll get anyone in the spirit!
I have always been a fan of the cupcake. I mean, how can you resist? It’s a smaller-format cake so they’re easier to munch on, easier to decorate, and even easier to transport! (Um, hello hostess gift!) Cupcakes have grown in popularity over the last few years. I wanted to put a twist on the idea of “individual cakes.” This is why I decided to
How to Make Tree-Shaped Mini Christmas Cakes
No need to be intimidated! Putting together these mini cakes is tons of fun – your kids will love baking these with you!
These Christmas Tree Brownies are another festive and easy holiday dessert.
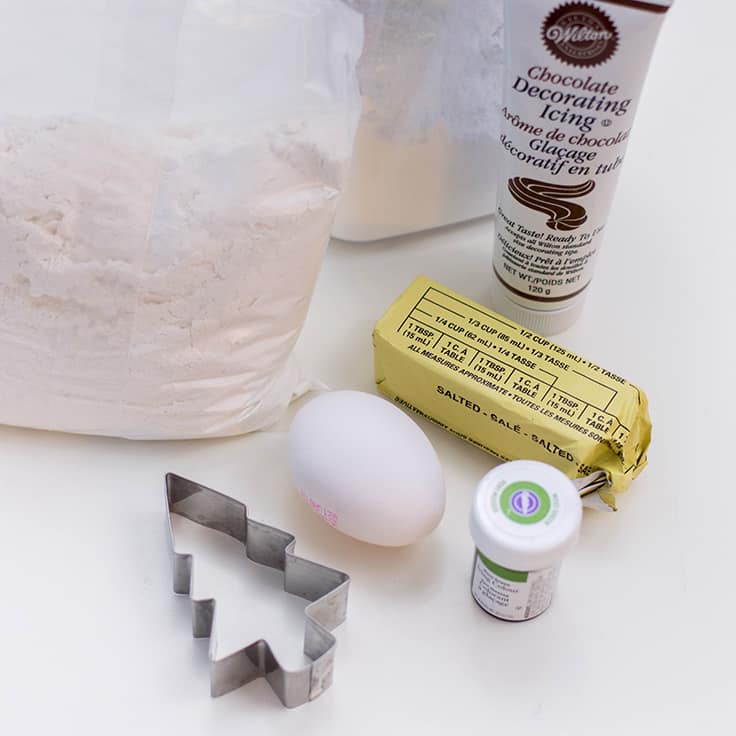
What you need:
Want more ideas like this? Subscribe today to get our weekly Ideas in Your Inbox newsletter plus other exclusive gifts and offers — all for FREE!
Kitchen Tools Needed:
Ingredients Needed:
- 1 tbsp butter, softened
- 1-2 tbsp all-purpose flour
- Vanilla cake mix (+ all the ingredients to make it)
- 1 stick butter, softened
- 2 cups confectioners’ sugar
- 2-3 tbsp milk
- 1/4 tsp green gel food coloring
- Brown decorating frosting
Instructions:
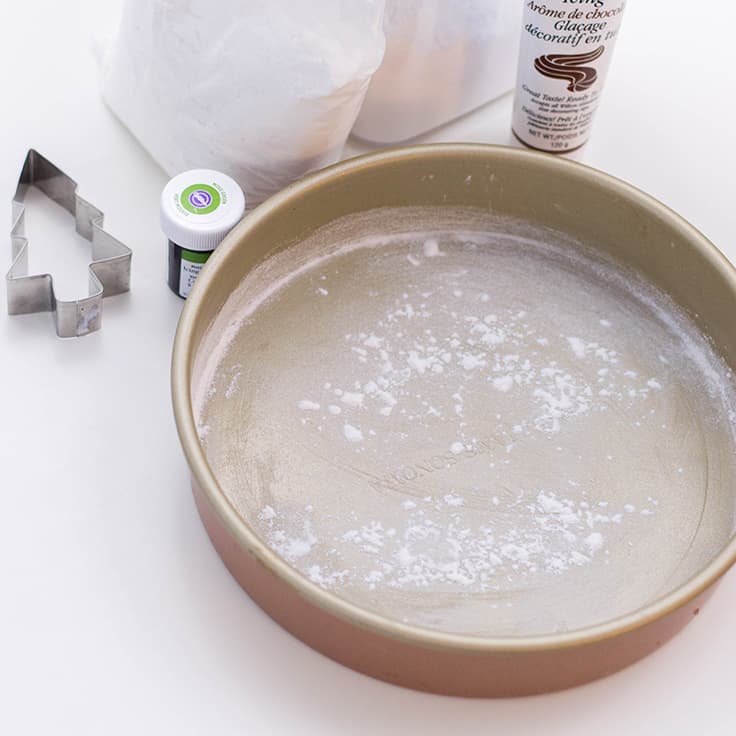
1. Coat the pans
Preheat your oven according to the cake mix’s directions (normally, it is 350 degrees F). Coat both pans with your tablespoon of butter and sprinkle with flour, ensuring that you’re coating each pan evenly and thoroughly.
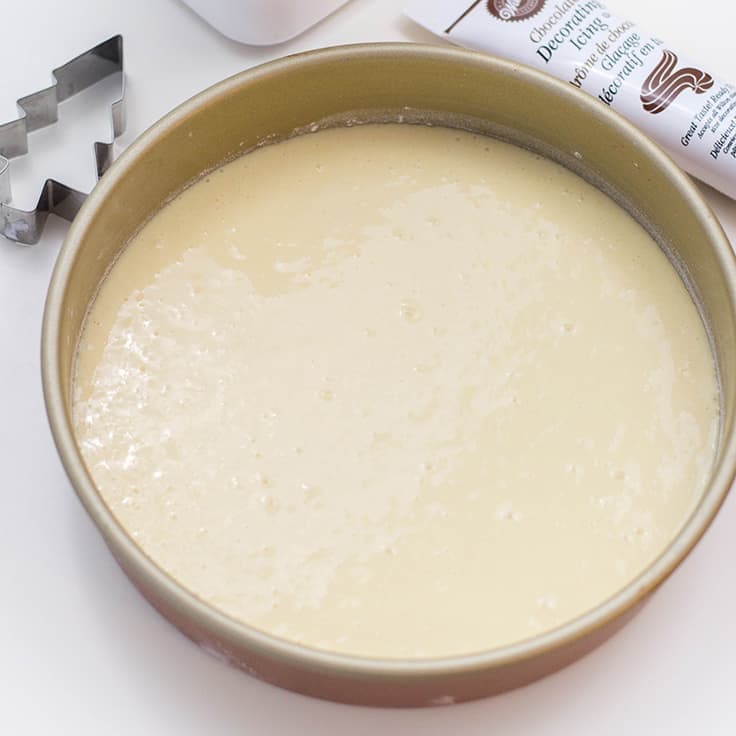
2. Start mixing!
In a medium-sized bowl, add all the necessary ingredients for your cake and mix! Once your batter is formed, pour into each pan. Bake according to the cake’s directions.
3. Cool Off
Once the cake has baked, remove from pan and let it cool completely on a wire rack.
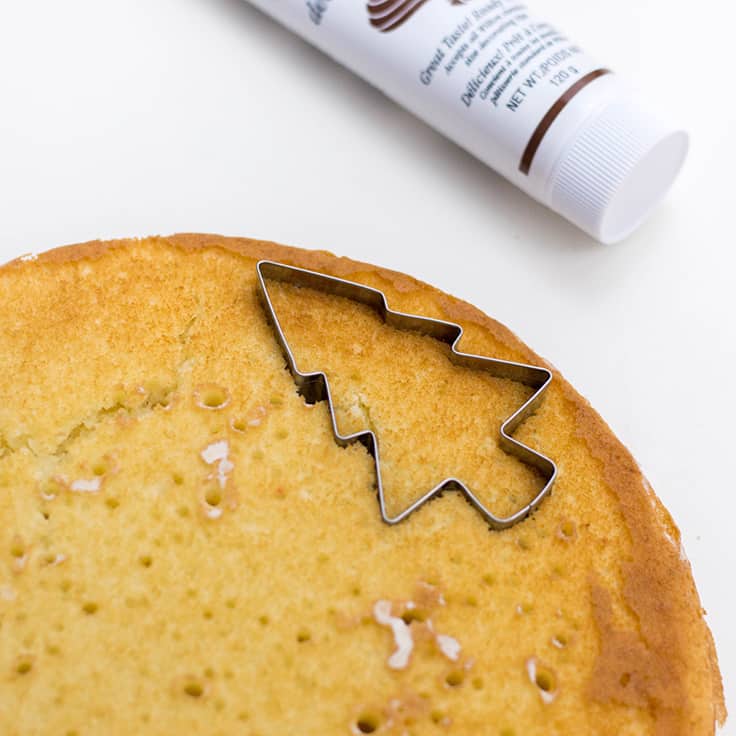
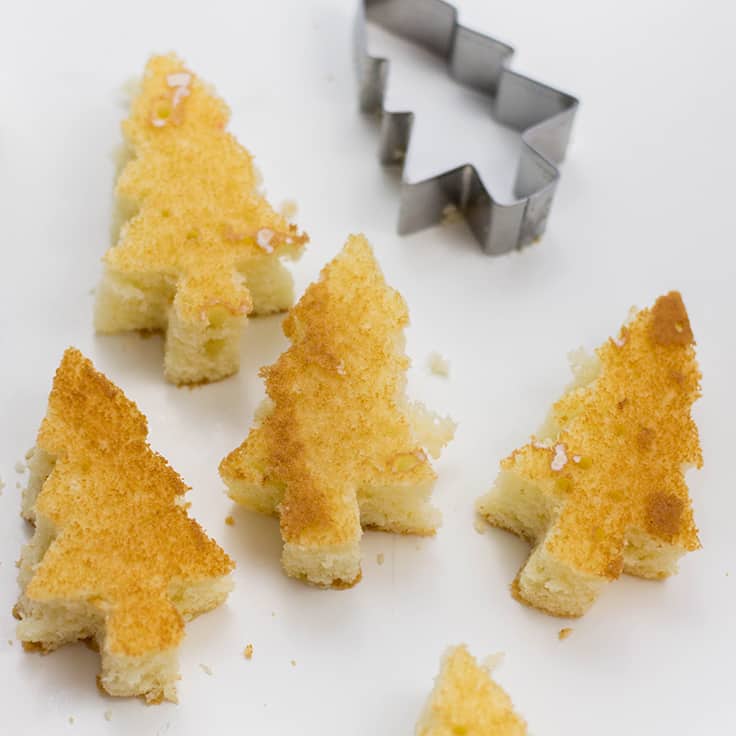
4. Cut it Out!
Place both cooled cakes on a clean working surface. Using your Christmas tree cookie cutter, cut out tree shapes and set aside.
5. Sweet, Sweet Buttercream
Now’s the time for some buttercream. To make it, use an electric mixer and beat your stick of butter, confectioners’ sugar, milk on slow speed. Gradually increase it to high. Once the buttercream forms (it’ll be smooth and form semi-stiff peaks), add green gel food coloring. Mix until completely tinted.
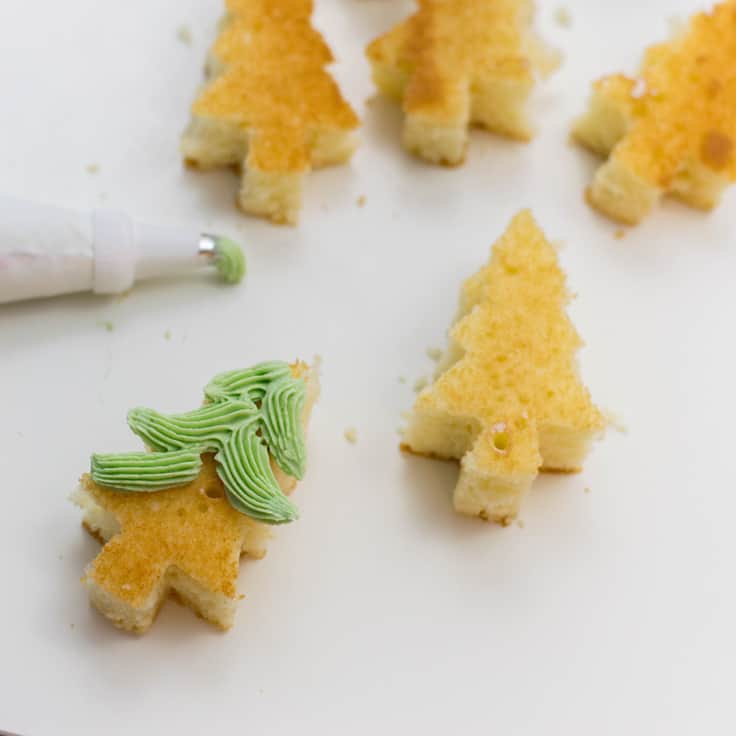
6. Frosting Time
Attach your #32 frosting tip to a frosting bag. Scoop buttercream in the bag and frost each mini cake.
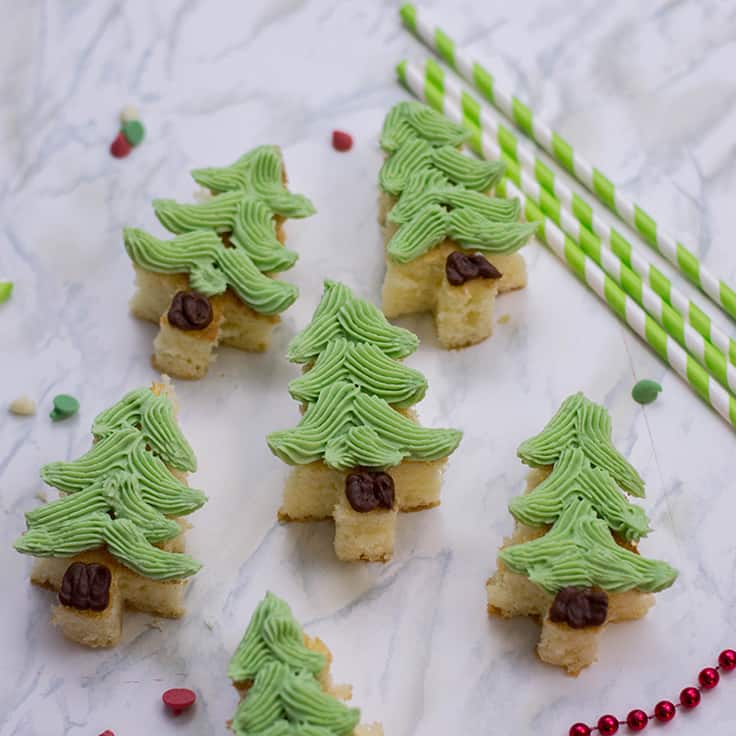
7. Add the Tree Trunk
Add a dab of brown decorating frosting to the bottom of the tree to create its “trunk.”

Holiday Mini Cakes
Ingredients
- 1 tbsp butter softened
- 1-2 tbsp all-purpose flour
- 1 package cake mix (+ all ingredients to make it)
- 1 stick butter softened
- 2 cups confectioners’ sugar
- 2-3 tbsp milk
- 1/4 tsp green gel food coloring
- brown decorating frosting
Instructions
- Preheat your oven according to the cake mix’s directions (normally, it is 350 degrees F). Coat both pans with your tablespoon of butter and sprinkle with flour, ensuring that you’re coating each pan evenly and thoroughly.
- In a medium-sized bowl, add all the necessary ingredients for your cake and mix! Once your batter is formed, pour into each pan. Bake according to the cake’s directions.
- Once the cake has baked, remove from pan and let it cool completely on a wire rack.
- Place both cooled cakes on a clean working surface. Using your Christmas tree cookie cutter, cut out tree shapes and set aside.
- Now’s the time for some buttercream. To make it, use an electric mixer and beat your stick of butter, confectioners’ sugar, milk on slow speed. Gradually increase it to high. Once the buttercream forms (it’ll be smooth and form semi-stiff peaks), add green gel food coloring. Mix until completely tinted.
- Attach your #32 frosting tip to a frosting bag. Scoop buttercream in the bag and frost each mini cake.
- Add a dab of brown decorating frosting to the bottom of the tree to create its “trunk.”
Love the ideas you see here on Ideas for the Home by Kenarry®? Subscribe today to get our FREE DIY & Craft Planning Calendar, plus our weekly Ideas in Your Inbox newsletter filled with creative tips and exclusive offers!
What’s Next?
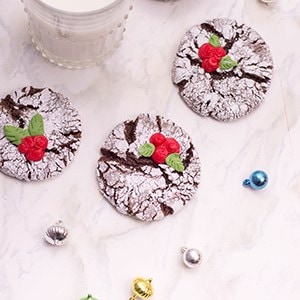
Holly Crinkle Cookies: The Cutest Cookies You’ll Make This Season
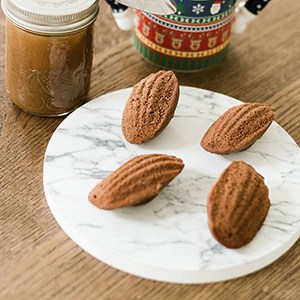
Your Holiday Menu: Chocolate Madeleines with Caramel Dip
You may also enjoy these festive holiday ideas on Kenarry:
Thanks for sharing the great free printable – will be running out to print shop today will make a last minute gift for me to give to my BFF- the little tree cakes are a great fast & easy
Last minute dessert to take somewhere – Happy Holidays
To you & your family
Hi Donna,
We’re so thrilled you loved the printable in today’s Ideas In Your Inbox newsletter — and hope your BFF loves it too!
Happy holidays!
Best wishes,
Carrie