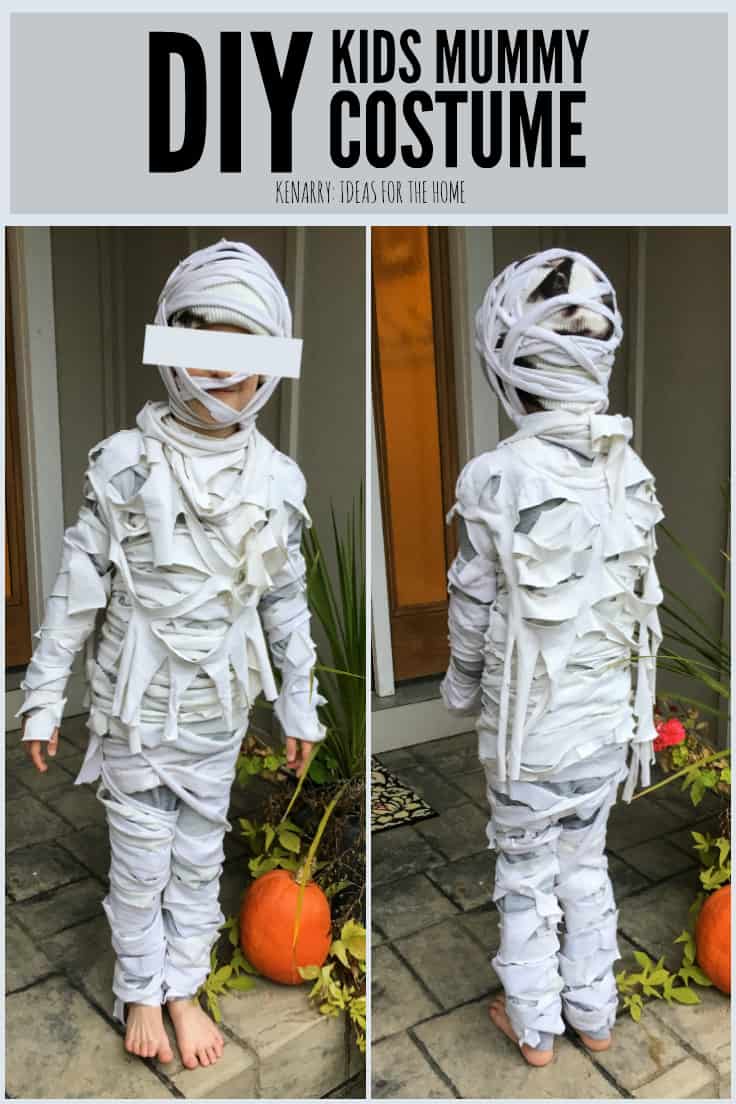
Mummy Costume for Kids: Easy DIY Halloween Costume
THIS POST MAY CONTAIN AFFILIATE LINKS. PLEASE SEE OUR FULL DISCLOSURE POLICY FOR DETAILS.
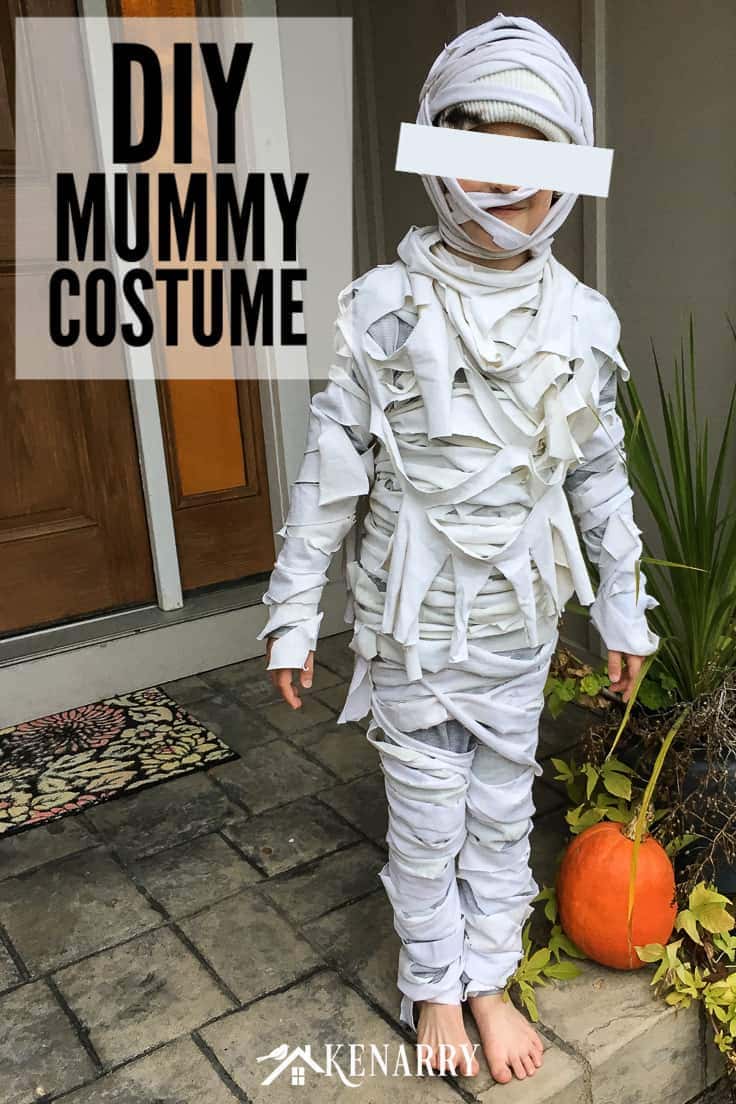
Need an easy Halloween costume idea for kids? In this DIY tutorial, you’ll learn how to make a mummy costume for kids with bandages and old t-shirts.
If your child wants to dress up as something spooky this year for Halloween, then this DIY costume idea is just what you need. Today, we’ll show you how to upcycle old white t-shirts and gauze bandages from your first aid supplies to make a quick and easy mummy costume for your kid.
I will be the first to admit, Halloween is not my favorite holiday of the year. The spooky, scary, bloody guts of it all is something I would rather do without. I can’t even tell you the last time I watched any kind of a horror movie as I just don’t want those images rattling around in my head.
When it comes to Halloween, I much prefer to see little kids going door-to-door to trick or treat as adorable animals like the zebra costume or firefly costume I’ve made in the past. But as a mother I aim to please, so when my oldest son wanted to be a mummy for Halloween, I got on board with his plan.
Once I wrapped my head around the idea (pun intended), it wasn’t long before I came up with a creative and easy mummy costume that anyone can make with gauze bandages and old white t-shirts.
How to Make a Mummy Costume for Kids with Bandages and Old T-shirts
With a just a few hours and a few simple supplies, you can whip up an easy mummy costume for kids or adults.
What you need:
Want more ideas like this? Subscribe today to get our weekly Ideas in Your Inbox newsletter plus other exclusive gifts and offers — all for FREE!
Craft/DIY Tools Needed:
Supplies Needed:
- 4 large white t-shirts – used or old is best!
- 4 rolls of gauze (I used 3 rolls that were two inches wide and 1 roll that was four inches wide.)
- Gray long underwear (or a white sweatsuit would work too)
- White, black or gray knit hat (I got the one we used at Target, but I don’t see it on their website any more. To get a similar look, use a solid black or gray knit hat and then carefully splash it with bleach to make it splotchy).
Instructions:
1. Create mummy costume accessories
My goal when creating this mummy costume
The last thing I wanted was for him to trip on the bandages and end up as a bloody mummy! (Although at least he’d be covered in bandages IF that did happen!)
To achieve this look, I created several different costume pieces that could be layered together. In Michigan where we live, it’s also important that a Halloween costume can go over thick sweatshirts or even jackets. It’s been known to be rainy, windy — or even snowy — here on Halloween night!
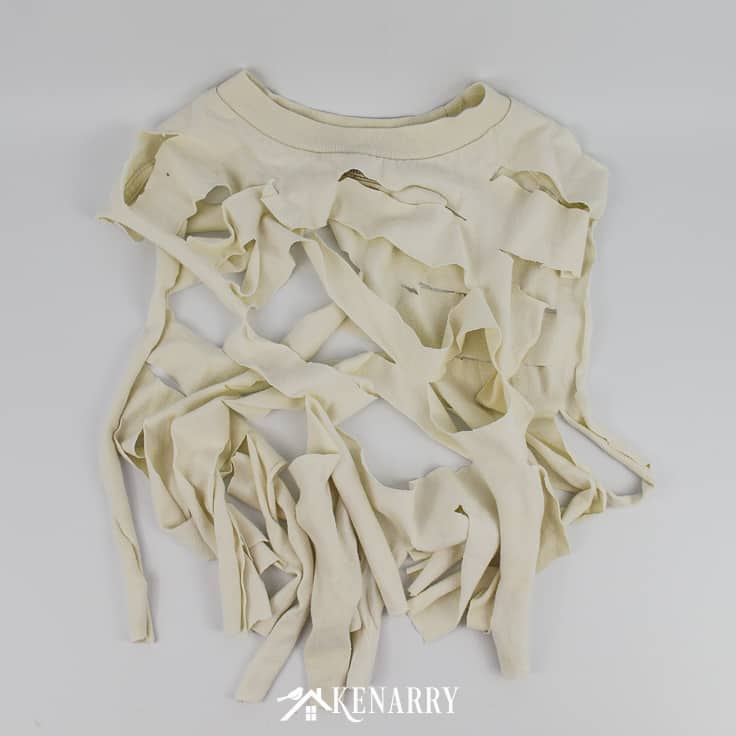
The shawl
For this mummy costume, I worked from the outside in. First I cut the sleeves and about 8-10 inches off the bottom of one of my husband’s old white t-shirts. This left only the crew neck and a long flap on the front and back of the shirt. I cut the bottom of each flap into long, wide strips, like fringe. Then I cut big slashing holes across the rest of the flaps.
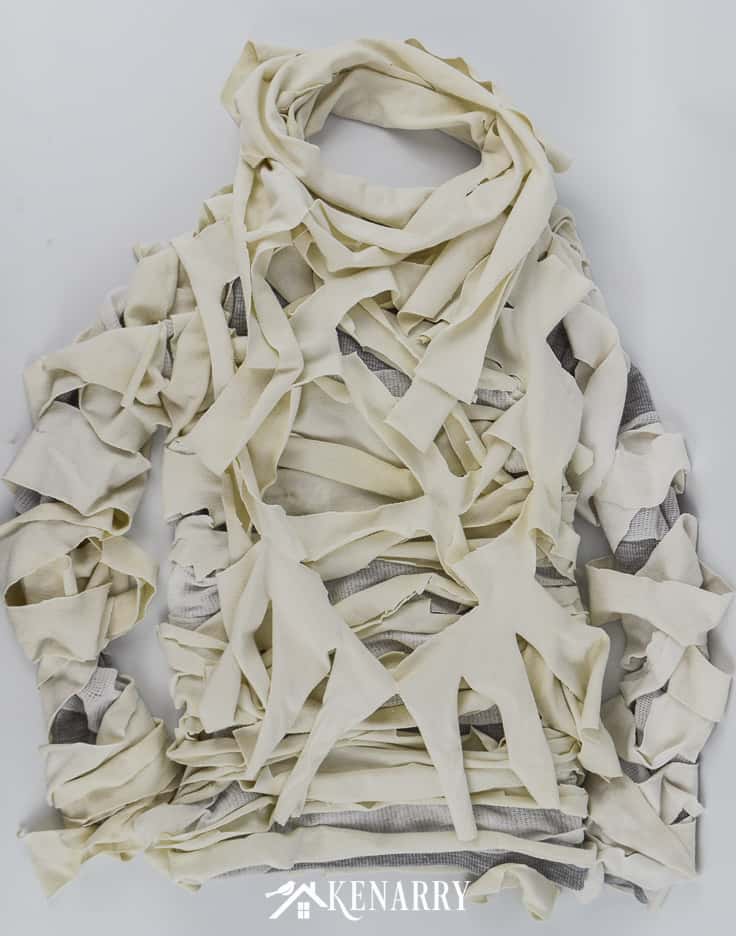
The infinity scarf
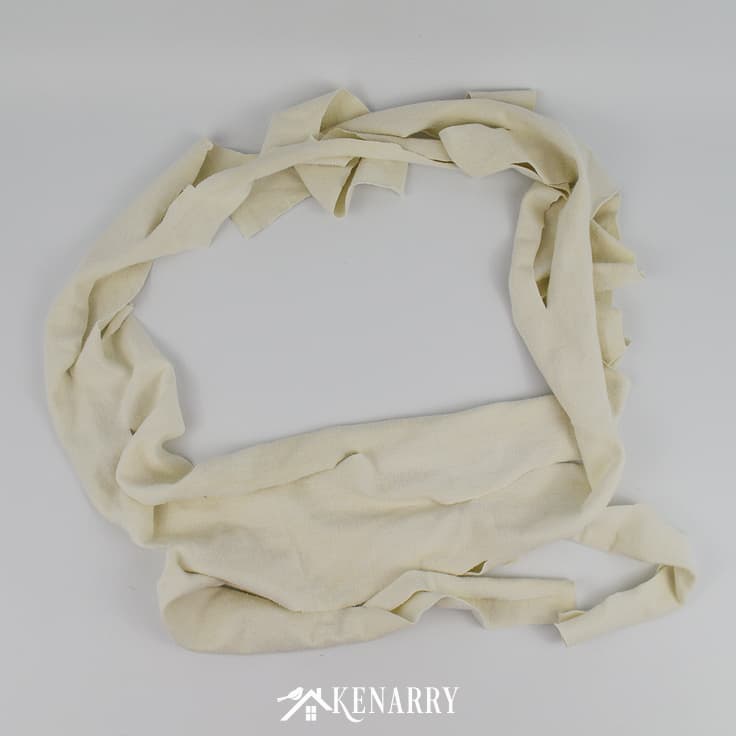
Next, I took that 8-10 inches that I had cut off the bottom of my husband’s white t-shirt. Since it was a continuous loop, I thought it would work great as a scarf to hide my son’s neck. As an added bonus, if Halloween night was cold, it would also add a little warmth to the mummy costume.
To make the scarf, I just cut the 3/4 inch manufactured hem off the edge of the cotton shirt. Then I cut large slashes into the fabric like I did with the shawl.
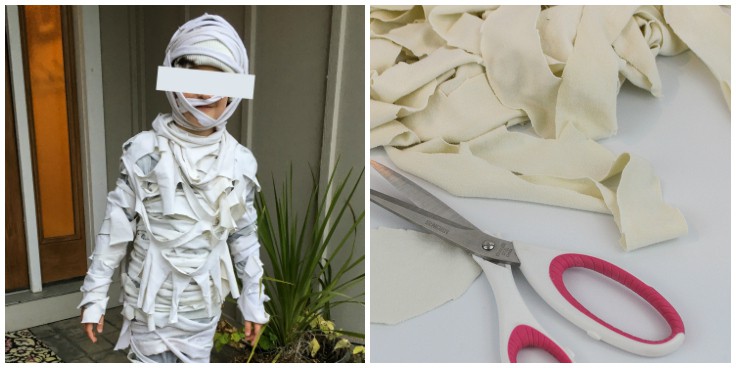
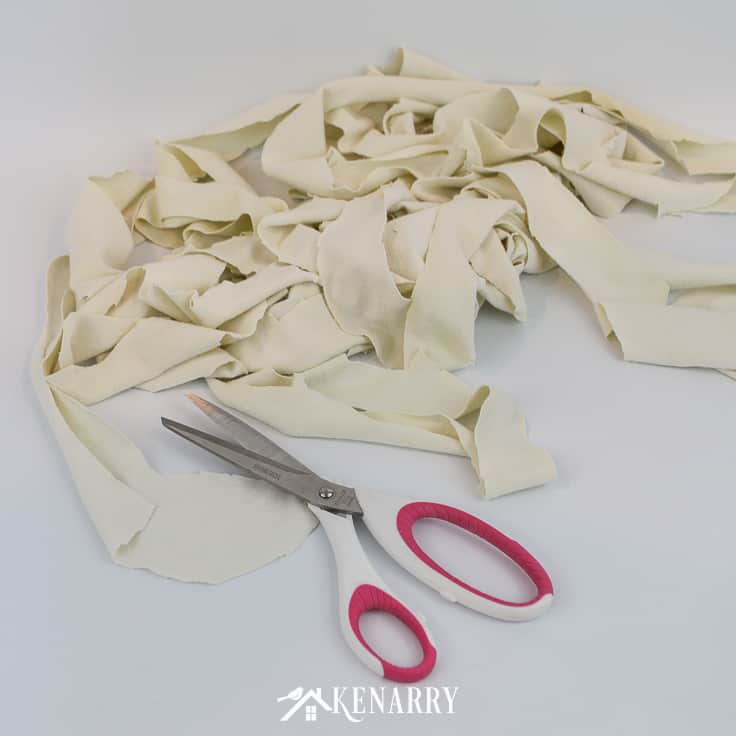
2. Cut the t-shirts in long strips
Once I had the mummy costume accessories done, I took the remaining three t-shirts and cut them into strips. Each strip was 2-3 inches wide. I didn’t worry about them being precise or even since I was going for an old decrepit falling apart mummy look here.
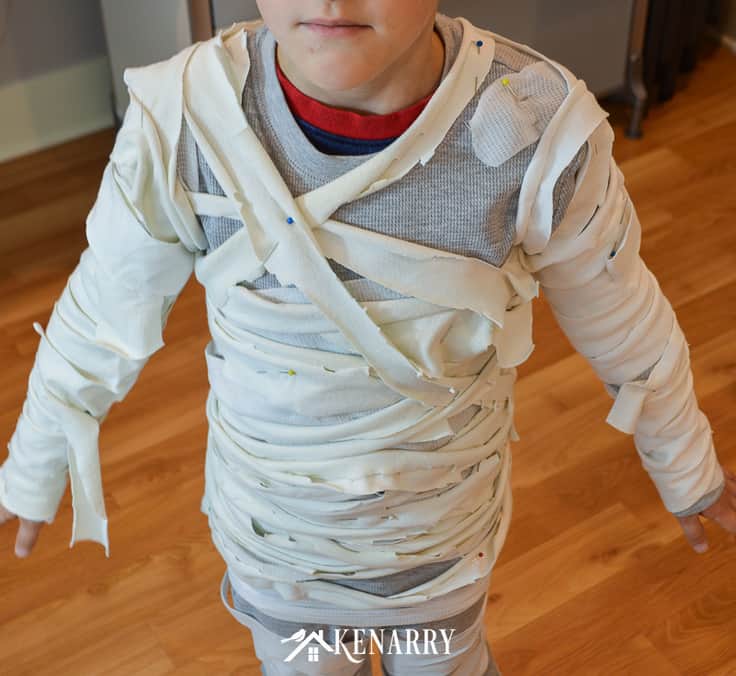
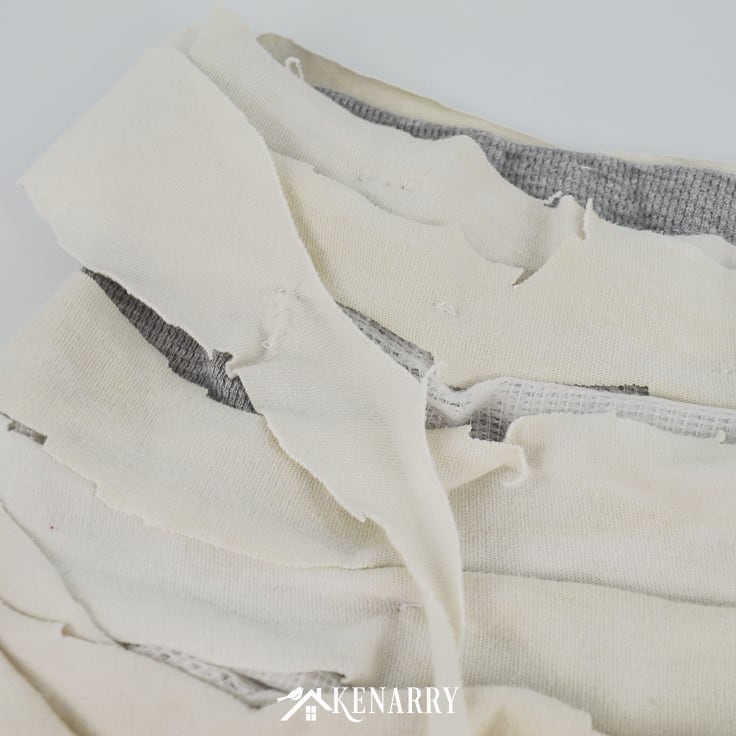
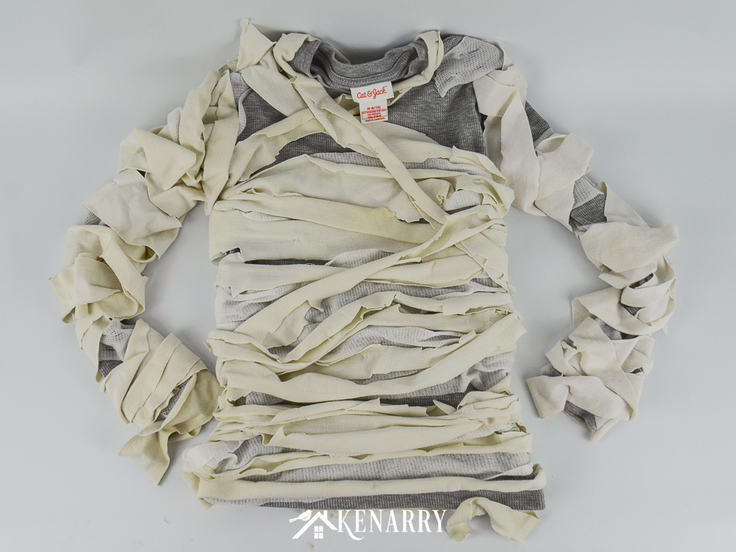
3. Prepare the mummy shirt
On Halloween night, I wanted the mummy costume to be something my son could quickly slip over his head. I knew he’d be anxious to get out the door to start collecting candy. Neither of us would have the patience that night to painstakingly wrap him with gauze and cotton rags!
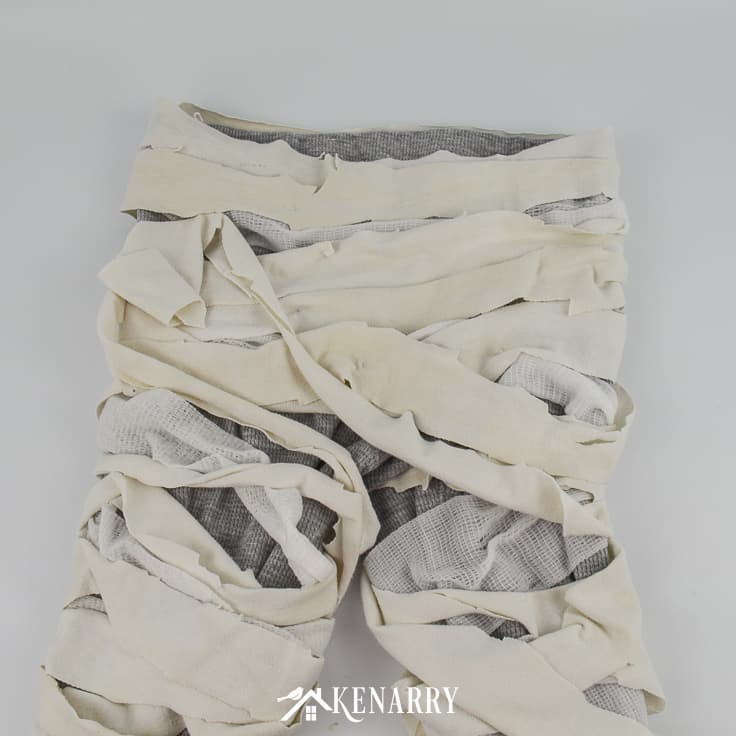
So a few weeks before Halloween, I had him try on the top of the gray long underwear set. First I wrapped him with wide gauze. Then I wrapped him with the wide rag strips from the t-shirt. I used straight pins to carefully attach the gauze and rags to the long sleeved shirt at key points to hold them in place.
Afterwards, I helped him to take the shirt off very, very slowly so that we didn’t poke him with any of the straight pins. In hindsight, perhaps it would have been better to use safety pins. If you have small enough safety pins, you could even hide them among the rags and skip the next step altogether.
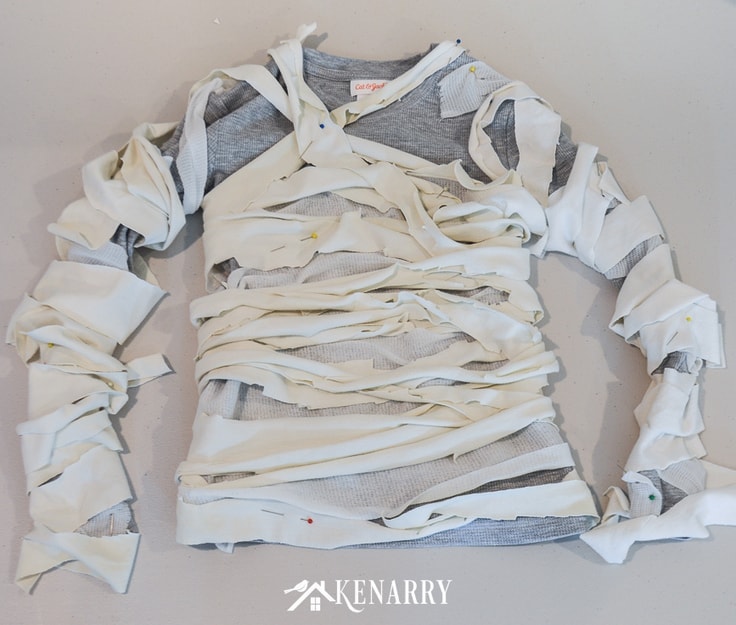
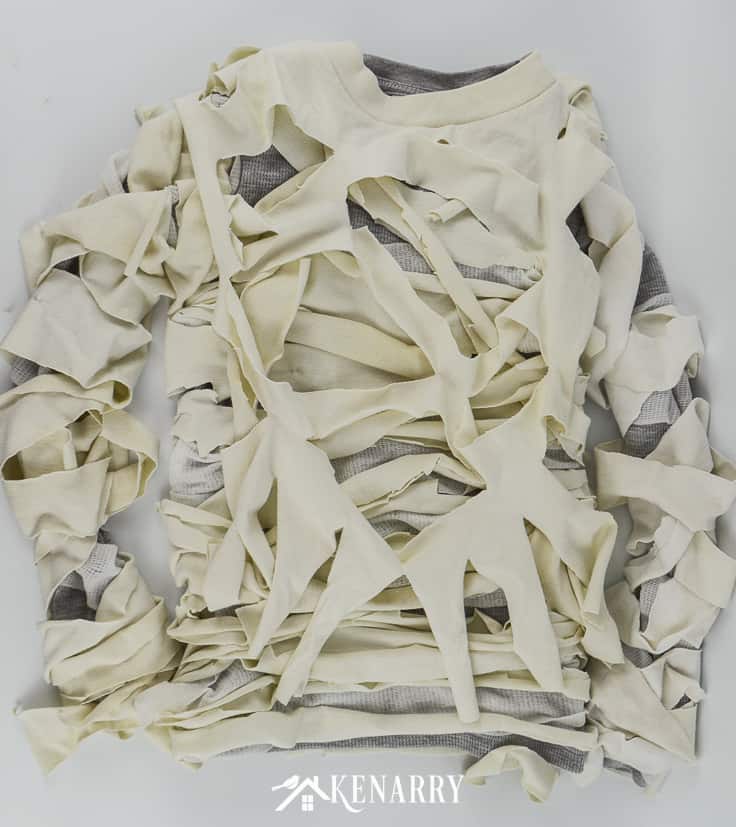
4. Sew the rags and gauze to the mummy shirt
Using a sewing needle and white thread, tack the rags and gauze at each of the key points. You don’t need to do a fancy sewing job here. This does not require a sewing machine or anything. Just do a quick stitch and then reinforce it by going around and around several times so it holds the rags in place.
Do this all over the shirt until you feel like the rags and bandages will stay where you want them. Be sure to take out all the straight pins when you’re done.
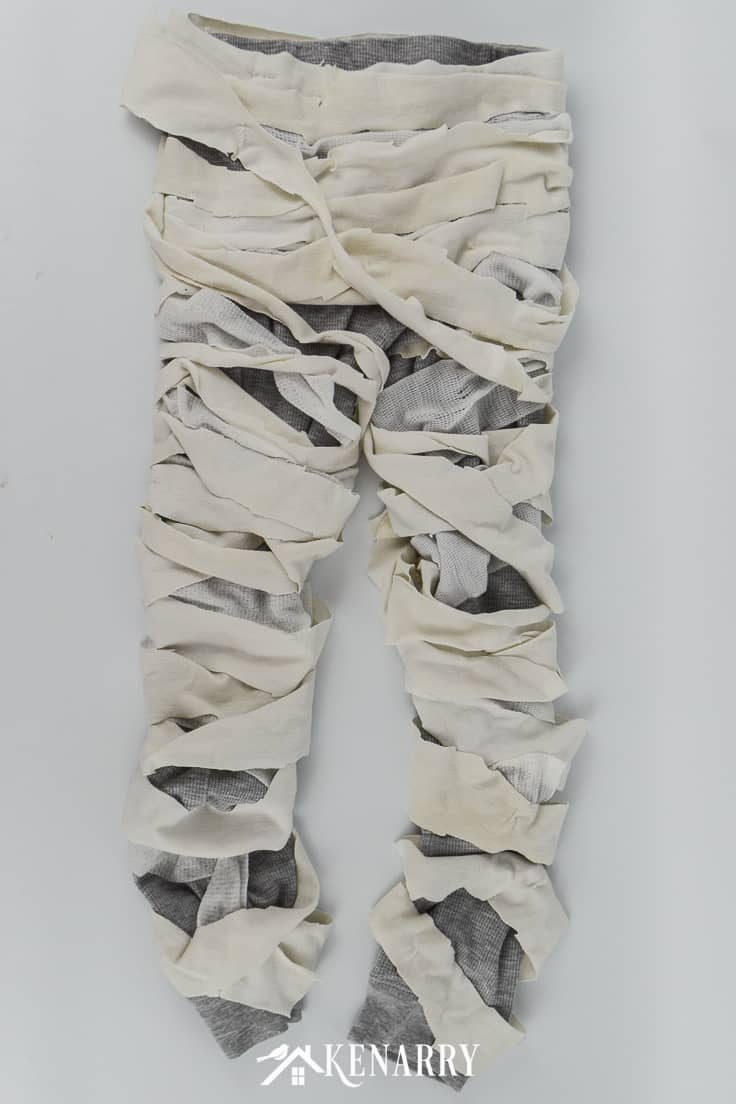
5. Repeat the same process with the mummy pants
Once the shirt was done, I did the same exact thing with the mummy pants. I had my son try them on, I wrapped him in gauze bandages and rags, and pinned them in place. Then once he took the pants off, I used a needle and thread to tack all the fabric in place and removed the straight pins.
Don’t use all of the rags on the shirt and pants. Be sure to save several long strips to wrap and tie around your child’s head as a final touch.
That’s all there is to it! It’s a super quick mummy costume, you can create in just a few hours. Now let’s take a look at how to put it all together on Halloween night.
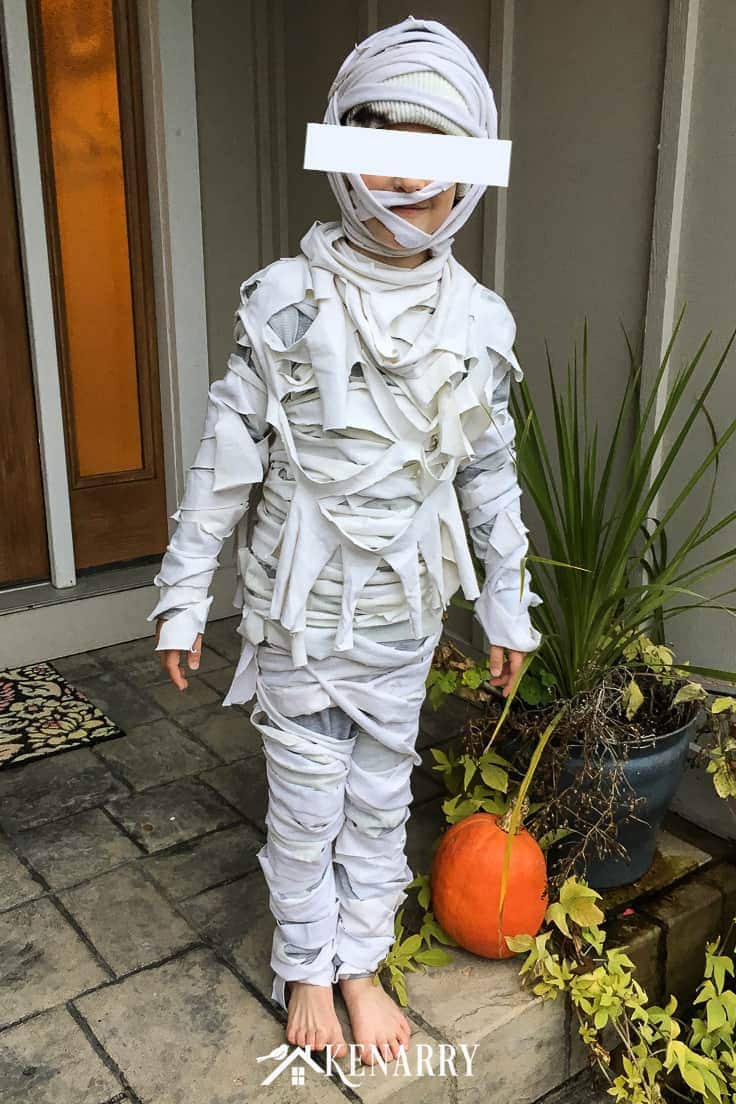
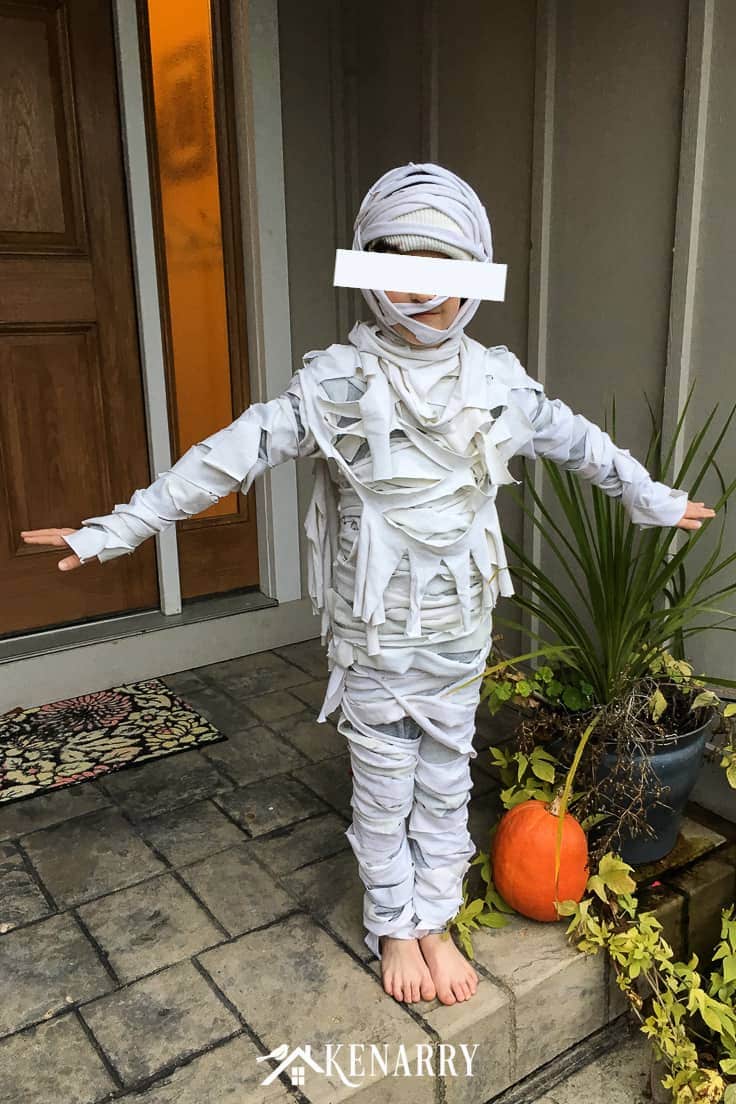
How to Wear the Kids Mummy Costume
First, have your child put on the pants, one leg at a time!
Then put on the mummy costume shirt.
Now slide the crew neck of the shawl over your child’s head so the front and back flaps drape over the mummy top.
Next carefully wrap the infinity scarf around your child’s neck. I cut a few of the strips in the scarf so they were loose and free to add to the ragged look of the mummy costume.
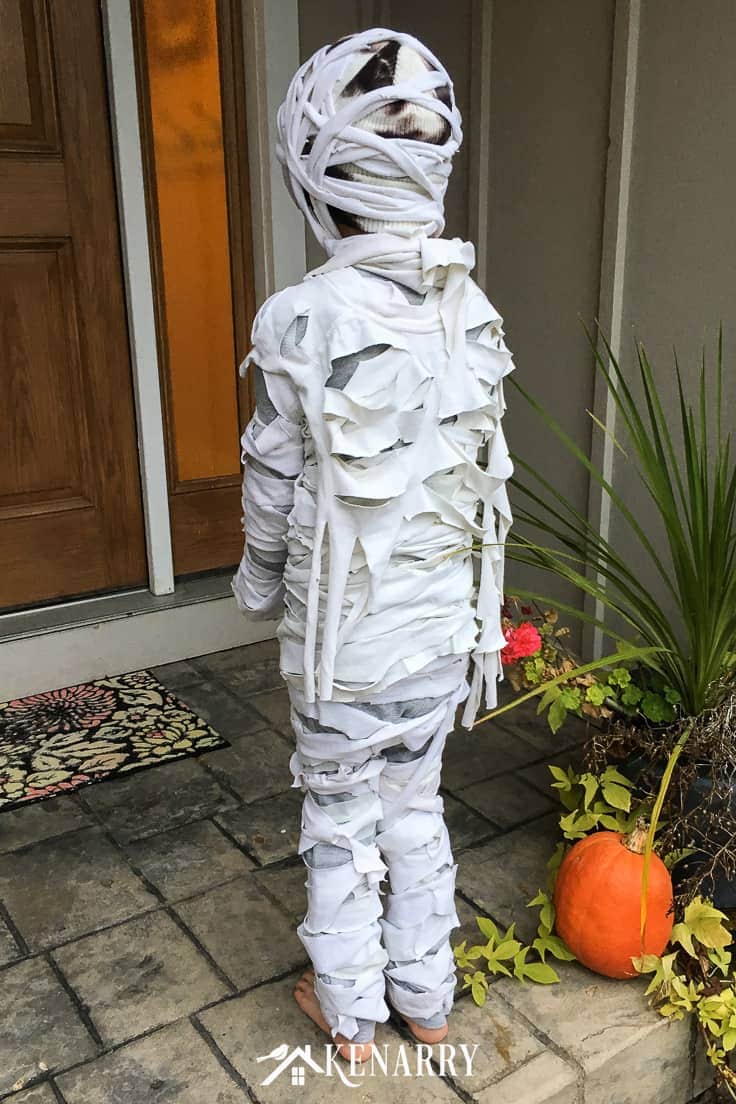
Have your child put a knit stocking cap on top of his or her head. The one we used was already dyed to look stained and old.
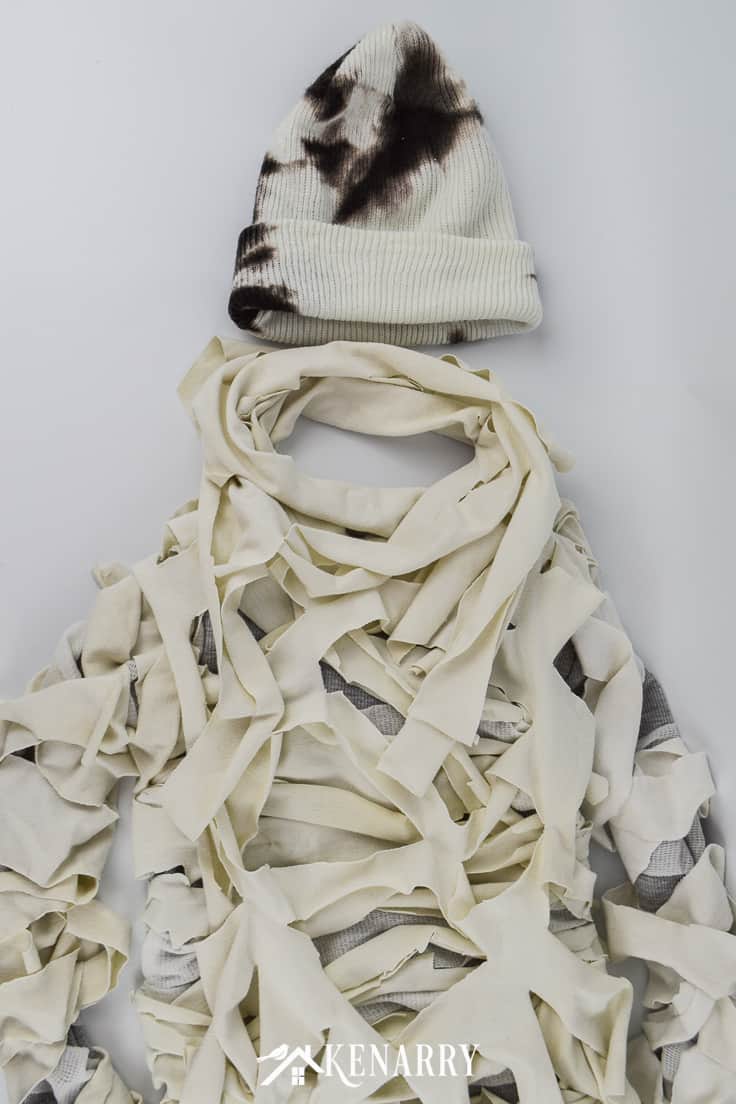
Last, take those remaining long t-shirt strips that you saved and wrap them around your child’s head and face. I just used safety pins and a few knots to hold the rags in place.
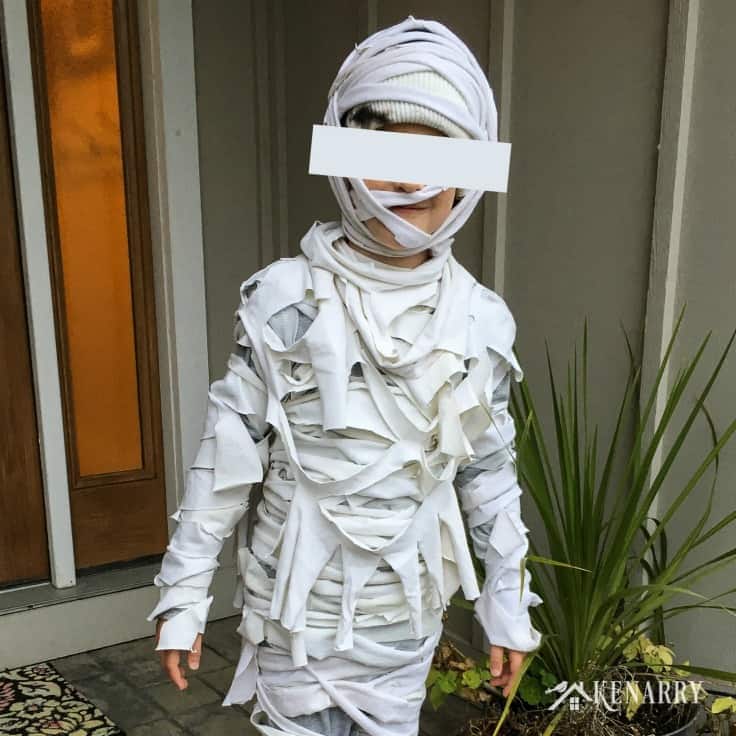
My son was so pleased with his scary mummy costume. The white color also made it really easy for him to be safe and easily seen in the dark on Halloween night.
Now if you really wanted to step up the fear factor a notch or two, you could turn this into a scary zombie costume. Just use Halloween make up to create dark black circles around your child’s eyes or to add scars. You could even use additional make up and red dye or ketchup to make it a night of the living dead costume.
I guess this is the kind of Halloween I have to look forward to now that my son is getting older. I sure miss those days when he let me dress him up as a superhero or a cute little firefly. Sigh…
If you enjoyed this kids mummy costume, please share this with your friends or pin it for later:
Love the ideas you see here on Ideas for the Home by Kenarry®? Subscribe today to get our FREE DIY & Craft Planning Calendar, plus our weekly Ideas in Your Inbox newsletter filled with creative tips and exclusive offers!
What’s Next?
You may also enjoy these Halloween ideas on Ideas for the Home by Kenarry® –
This is a great idea for a DIY Halloween costume!