Personalized Flour Sack Towel: HTV Project
THIS POST MAY CONTAIN AFFILIATE LINKS. PLEASE SEE OUR FULL DISCLOSURE POLICY FOR DETAILS.
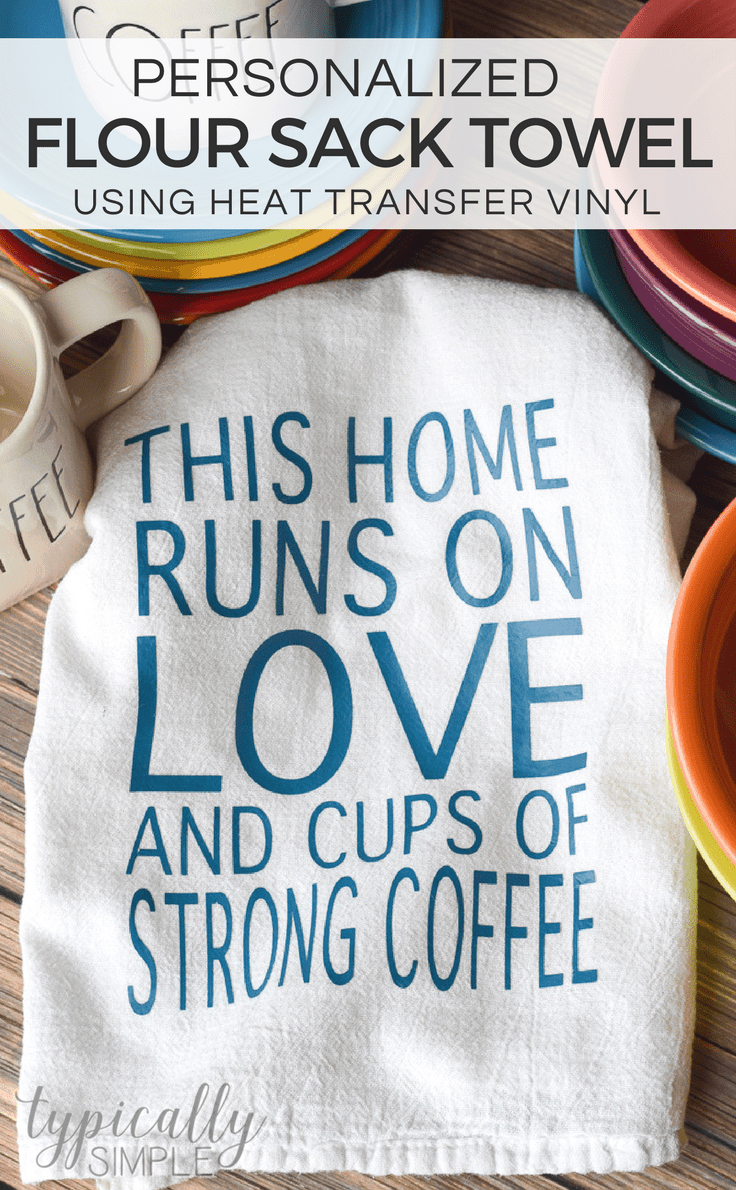
This personalized flour sack towel project is a fun way to try out heat transfer vinyl with your Silhouette Cameo or Cricut Explore machines. Cut out a favorite image or saying to add a bit of fun to your kitchen decor!
Hi there, Kenarry readers! It’s Kelly from Typically Simple and I’m back this month with a fun project you can make using your Cricut or Silhouette!
I love being able to use my Cricut Explore to create custom items for the home. And plain flour sack towels are always my go-to item for personalizing and giving as a gift.
This is also a perfect project for a beginner just getting familiar with their cutting machine. Heat Transfer Vinyl was a bit intimidating the first time I used it, but once I learned a few basic tips and tricks, it definitely became a favorite material to use for projects!

Personalized Flour Sack Towel Tutorial
Disclosure: This blog post contains affiliate links for products or services we think you’ll like. This means if you make a purchase from one of these links, Ideas for the Home by Kenarry® will make a small commission at no additional cost to you so we can keep the great ideas for the home coming your way. All opinions expressed are derived from personal experience.
Supplies
- Cricut Explore or Silhouette Cameo
- Cutting mat
- Heat Transfer Vinyl
- Flour sack towels
- Weeding tool
- Iron or Cricut EasyPress

Instructions
1. Create your project using the design software for your cutting machine.
2. Before cutting the project, make sure to mirror the text so it is backwards.
3. Place the Heat Transfer Vinyl shiny side down on the cutting mat.
4. After the project has been cut, weed out all the excess vinyl from around and inside the letters or image.

5. The backing will be a bit sticky. Place it sticky side down onto the flour sack towel.
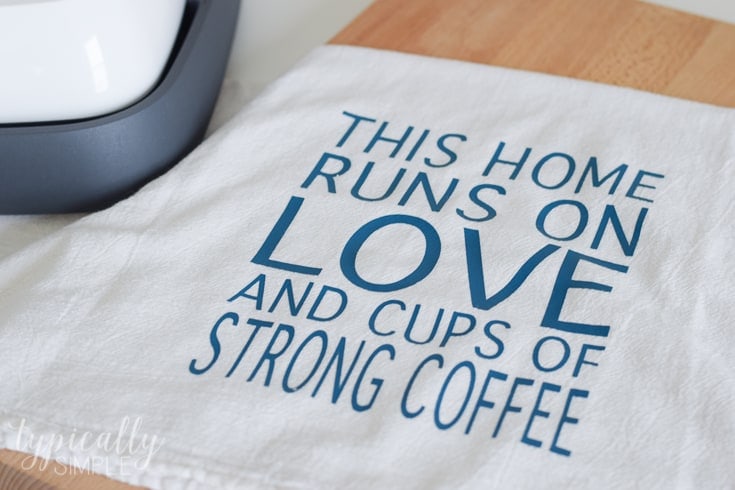
6. Press using an iron or the Cricut EasyPress for the amount of time listed on the HTV directions. Usually about 25-30 seconds using some light pressure.
7. Peel up the backing to reveal your design on the towel.
A few tips to remember before using HTV:
- Prewash your item and do not use fabric softener.
- Iron out any wrinkles before placing HTV on the fabric.
- Always remember to mirror text in the design program.
- If the backing doesn’t peel off of the HTV after pressing, use the iron to press it again for a few more seconds.
- There are lots of different types of HTV, so check packaging for specific temps and times for pressing.
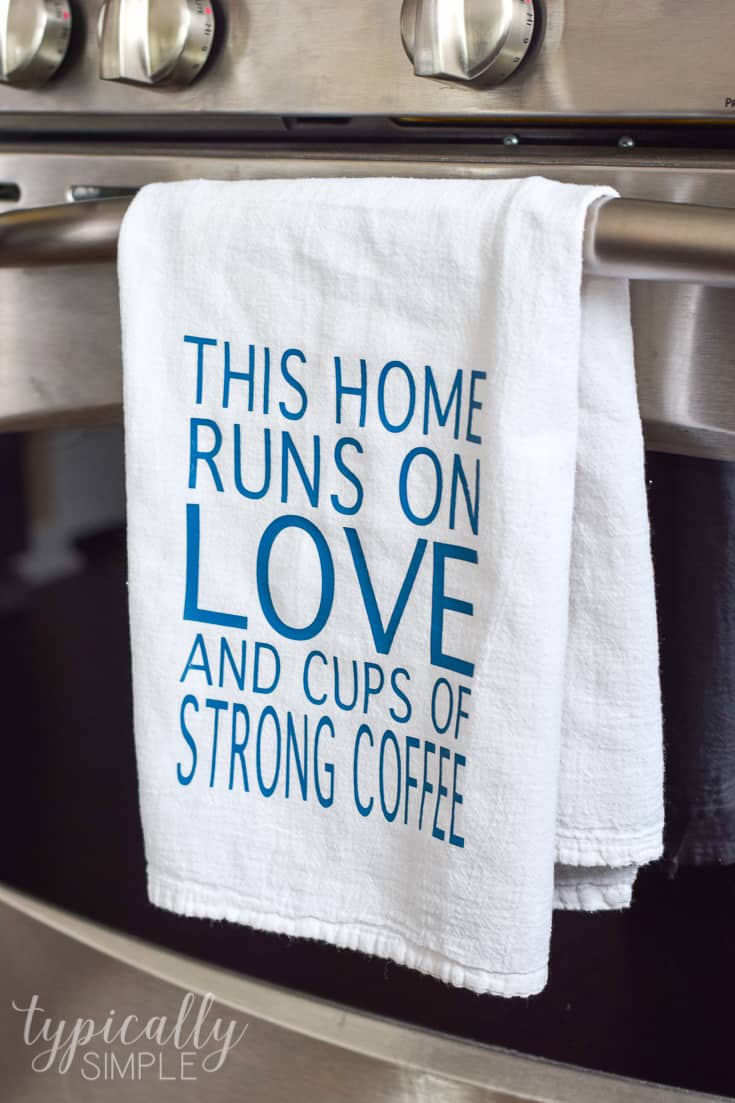
These personalized flour sack towels would be super cute wrapped up in some ribbon with a few wooden spoons to give as a thoughtful housewarming gift! Plus it’s a great way to get creative with your cutting machine designing projects with different fonts and images.

Here are a few more Cricut & Silhouette projects you might enjoy!

Dino-mite Library Book Bag

Glitter Dipped Coffee Mug
Love the ideas you see here on Ideas for the Home by Kenarry®? Subscribe today to get our FREE DIY & Craft Planning Calendar, plus our weekly Ideas in Your Inbox newsletter filled with creative tips and exclusive offers!
What’s Next?
While you’re here, be sure to check out other craft projects on Ideas for the Home by Kenarry® –
This is great information. Thank you. I have a dumb question, when you use an iron, so you put water in it and use any steam? Or just iron without water?
Hi Shannen,
This is a great question. Do not put water in your iron! For Heat Transfer Vinyl, you just need heat and pressure to transfer the vinyl design on to your fabric. You do not want steam involved in that process. Thank for asking.
Best wishes,
Carrie
Ideas for the Home by Kenarry