Pumpkin Pie Jar Candle: How To Make DIY Jar Candles
THIS POST MAY CONTAIN AFFILIATE LINKS. PLEASE SEE OUR FULL DISCLOSURE POLICY FOR DETAILS.
Learn how to make DIY jar candles scented like Pumpkin Pie. We’ll show you how to wick your container, melt the wax, and how to pour your own DIY candle.
Greetings Kenarry readers! We are Jennifer and Kitty from Running With Sisters, and we have a great fall craft to share: DIY Jar Candles! We love making candles for gifts and home accents, especially container candles. They are automatically gifty in a cute jar, plus you can add a professional-looking label as a finishing touch.
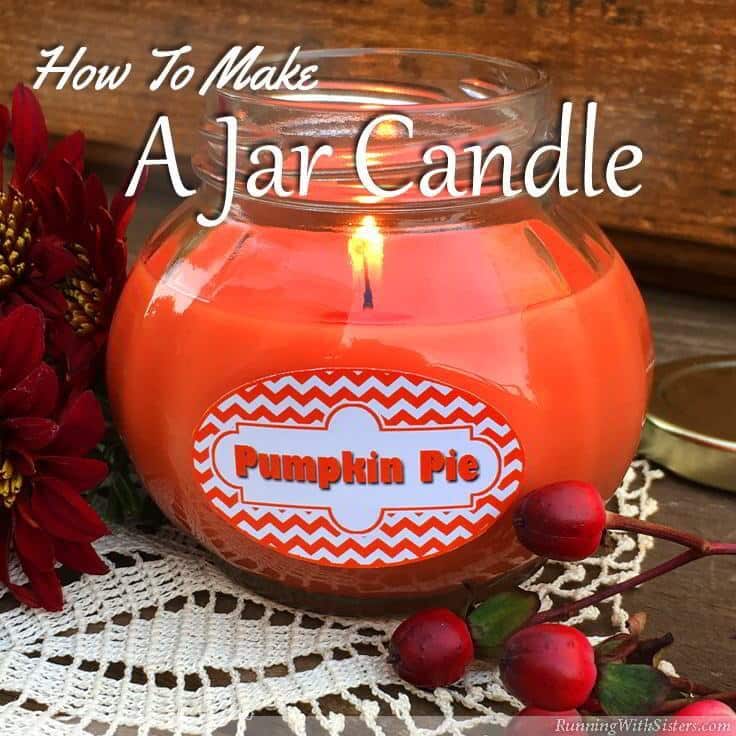
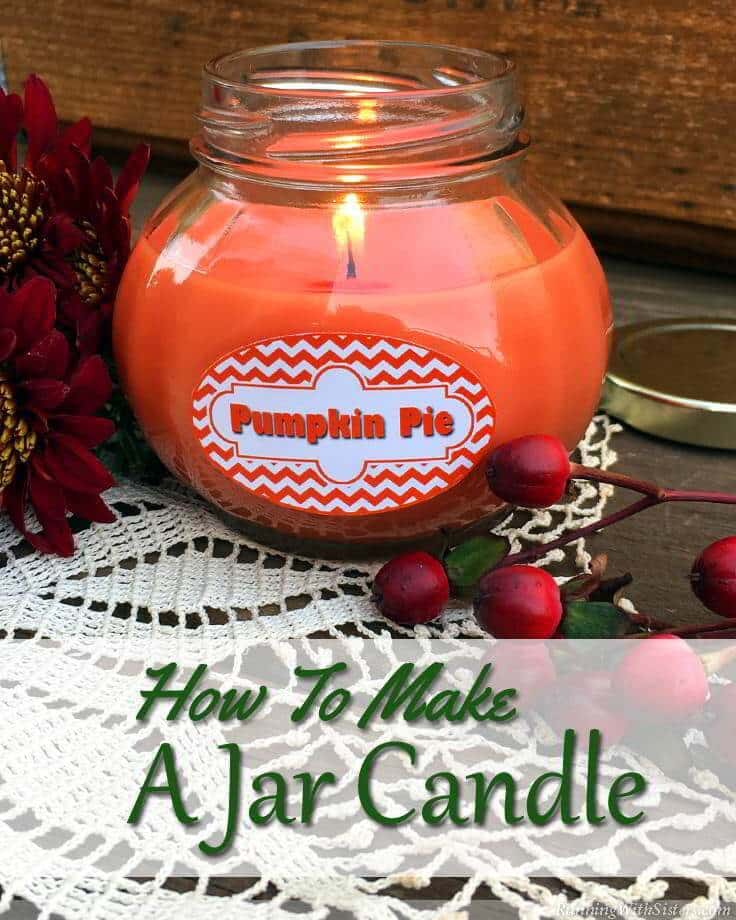
To celebrate the season, we made a cute Pumpkin Pie Candle in a jar that looks like a pumpkin! And if you like the label we made, you can download it and use it yourself. (The link is at the end.) Even if you’ve never made candles before, you can make this candle. Just follow the step-by-step instructions below. And have fun!
You can purchase new jars for this craft or use our trick to clean out candle jars you already own to reuse them!
How To Make Pumpkin Pie DIY Jar Candles
Here’s the tutorial. After you make your first DIY jar candles you’ll want to make many more.
Candle Supplies
- 4 oz. Glass jar, 1.75” diameter (This pumpkin-shaped jar is called an onion jar.)
- Crème wax for containers
- Pre-waxed small wick with clip
- Pumpkin pie candle scent
- Red and yellow dye blocks for candles
- Candle making thermometer
Other supplies
- Cutting board & putty knife
- Saucepan (with pouring spout, preferred)
- Kitchen scale
- Chopstick
- Potato peeler
- Skewer
- Pencil
- Scissors
- White index card
- Tablespoon
- Paper towels
DIY Jar Candles Directions
To make it easier, we included pictures in this tutorial too. Get your wax and supplies and make a fun fall candle.
1. Weigh the wax
For this jar candle, we are using Crème Wax For Containers. We prefer this kind of wax for glass containers because it adheres to the glass inside so you don’t get air bubbles or gaps between the candle and the jar.
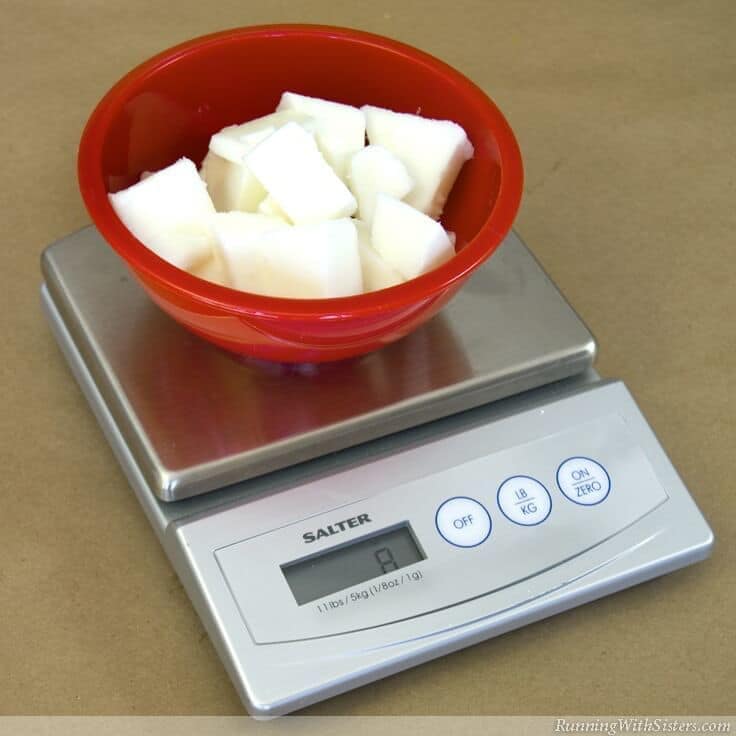
Cut the wax into smallish pieces with the putty knife. Weigh out eight ounces of wax on the scale. If you use a different jar than the one we used, weigh your jar (before you wick it!) filled with water, then add four ounces to that amount. Easy!
2. wick the jar
We are using a pre-waxed small wick with clip. Small, in wick sizing, refers to the diameter of the wick and how wide it will burn.
Our jar has a 1.75” diameter so we need a small wick. If you use a different jar, just measure the diameter of the jar opening and match it to your wick.
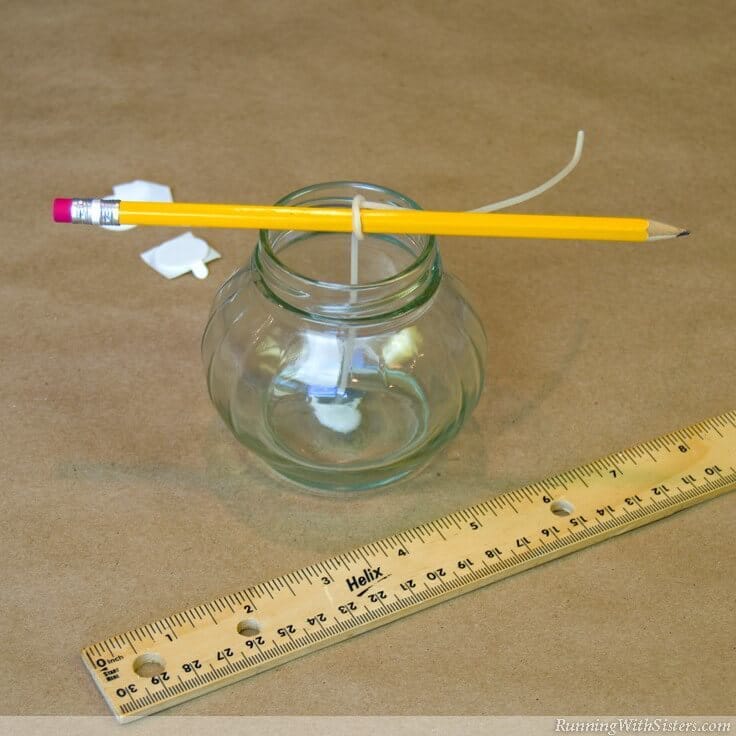
To attach the wick clip on the bottom of the wick to the bottom of the jar, we are using a wick keeper. It is a kind of a double-stick foam dot. Make sure the wick is centered in the jar. Tie the other end of the wick around a pencil and rest it across the top of the container. That will keep the wick from slipping down into the candle when you pour in the melted wax.
Here’s a little video we made showing how to wick the jar:
3. melt the wax
We recommend melting the wax in a container with a pouring spout. (It’s hard to pour hot wax from a regular pan without spilling it. We’ve tried!)
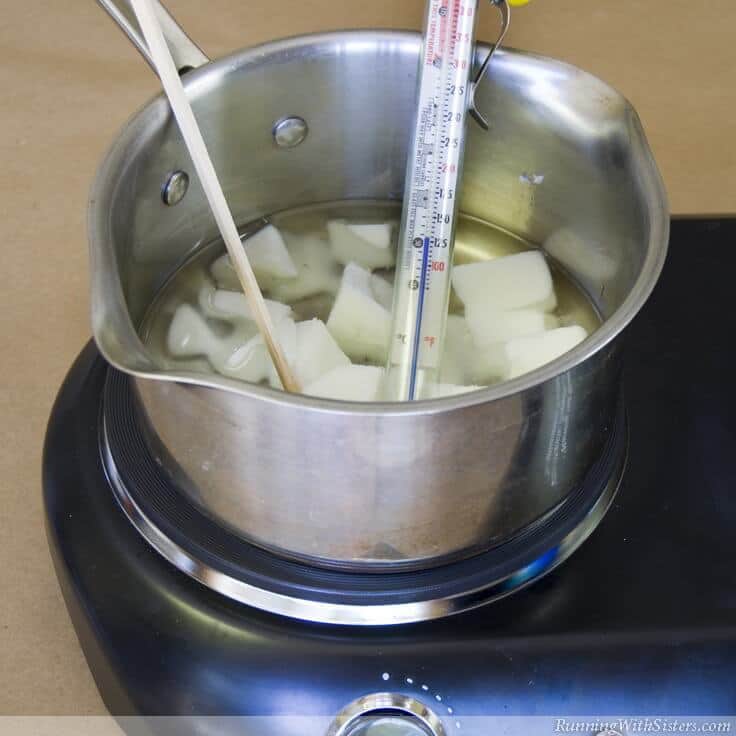
Melt the wax in the saucepan keeping a close eye on the temperature. The target temperature is 180 degrees F. (Hot wax is dangerous, so never leave it unattended. And never let the temperature go into the “red zone” above 300 degrees F. Safety first!)
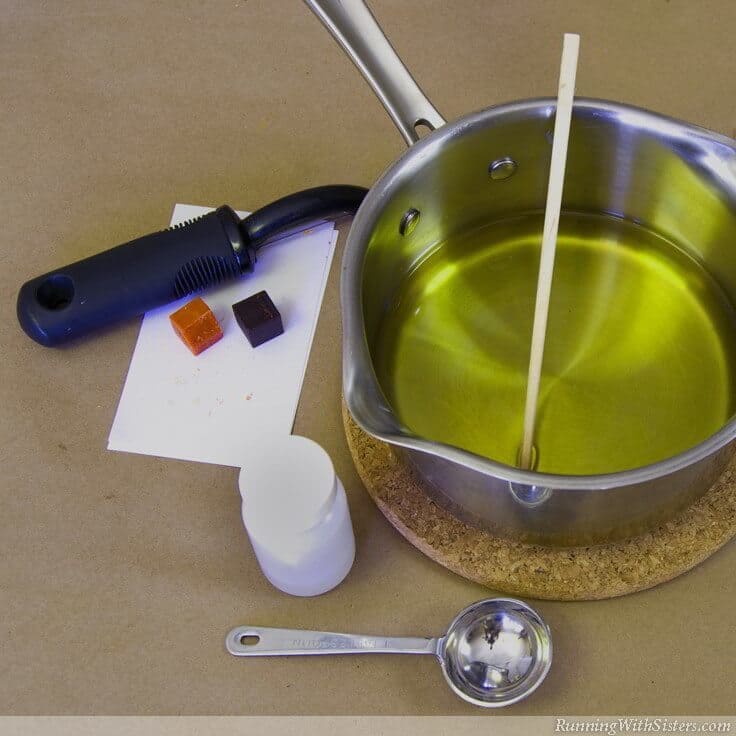
Once the wax is at the target temperature, shave a few curls of yellow from the dye block using the potato peeler. Stir it into the melted wax with the chopstick. Then add a few curls of red dye.
Drip the wax onto a white index card to test the color. (Once it cools, you can see what color you have.) Add more candle dye if desired. Let the wax cool to 175 degrees F, then add one tablespoon of Pumpkin Pie candle scent to the wax. Stir with the chopstick. (It will smell yummy!)
4. pour the wax
Before you pour the hot wax into the wicked jar (funny how the past tense of “to wick” is “wicked”), we recommend covering a cookie sheet with foil. That way if you do spill, it will be easy to clean up.
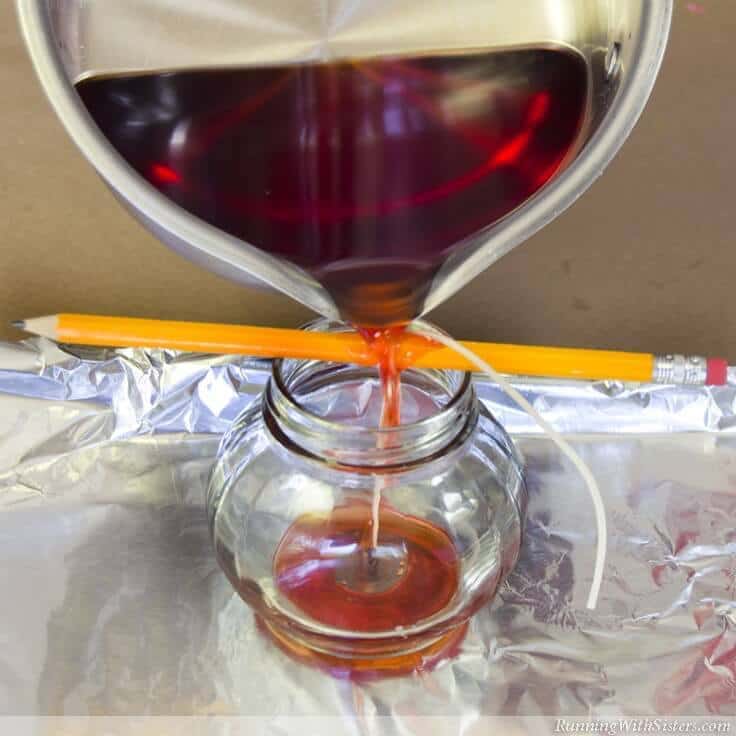
Pour the wax into the jar. It is fine to get wax on the pencil and the wick. Re-center the wick.
Wait one hour and see if a divot has formed in the candle from the wax shrinking. If it has, re-melt the remaining wax in the saucepan and pour into the candle divot.
Do not pour wax higher than the original fill line. Let the candle cool for 24 hours. Remove the pencil and trim the wick to 1/4 inch. Now light your sweet pumpkin pie candle and admire your handiwork!
If you want to label your candle, we have a download for you. Right-click to download label.
5. Print and attach a label for your diy jar candles
If you’d like to share this idea, you can pin this photo:
We love candle making and hope you’ll love it too! Have you made candles before? Share your tips and tricks with us! Just leave us a note in the comments below.
Happy Crafting,
Jennifer & Kitty
Want to see more of our projects? Here are a few candle tutorials from our blog:
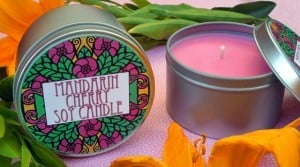
Mandarin Cherry Soy Candle In A Tin
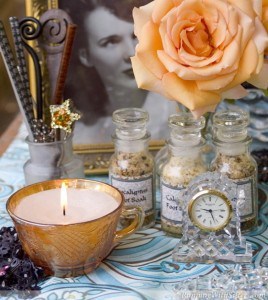
Teacup Candle in Carnival Glass
What’s Next?
While you’re here, be sure to check out other holiday projects on Ideas for the Home by Kenarry® –
- How To Make A DIY Pumpkin Candle Holder
- Vanilla Pumpkin Pie Spice Sugar Scrub Gift Idea
- Festive Frosted Candles
Originally published October 2015. Updated October 2018.
One Comment