Quick And Easy DIY Spring Wreath Idea
THIS POST MAY CONTAIN AFFILIATE LINKS. PLEASE SEE OUR FULL DISCLOSURE POLICY FOR DETAILS.
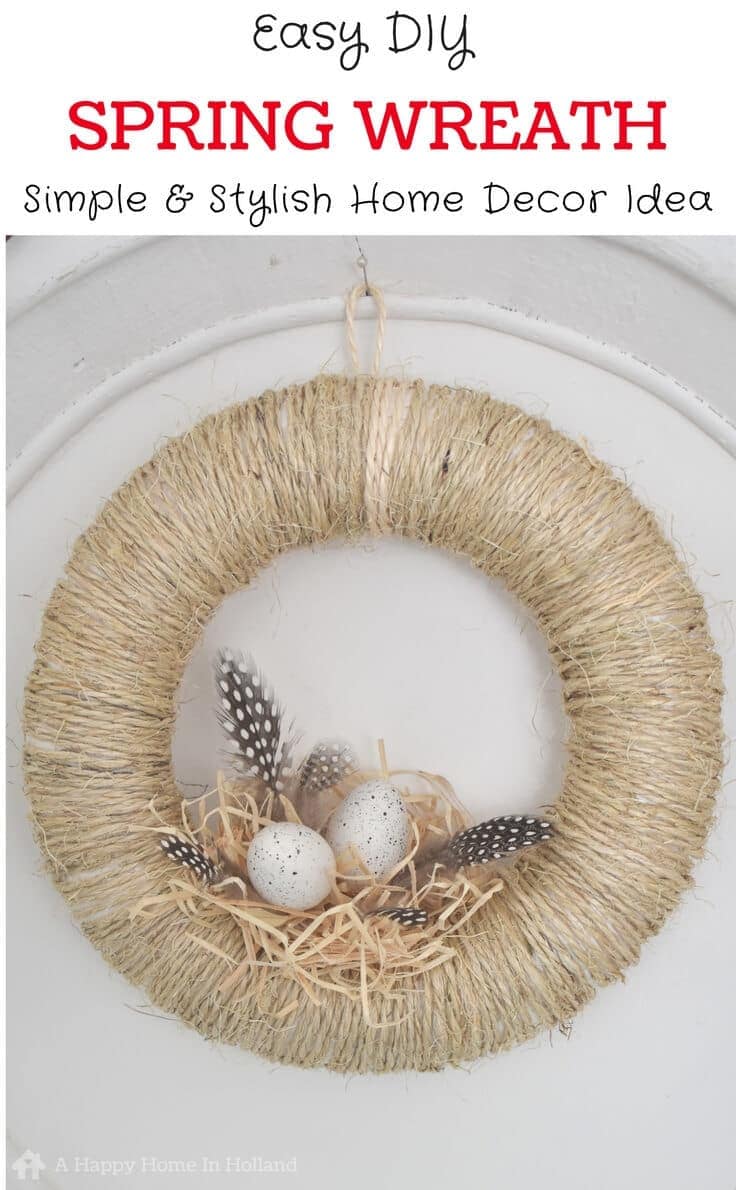
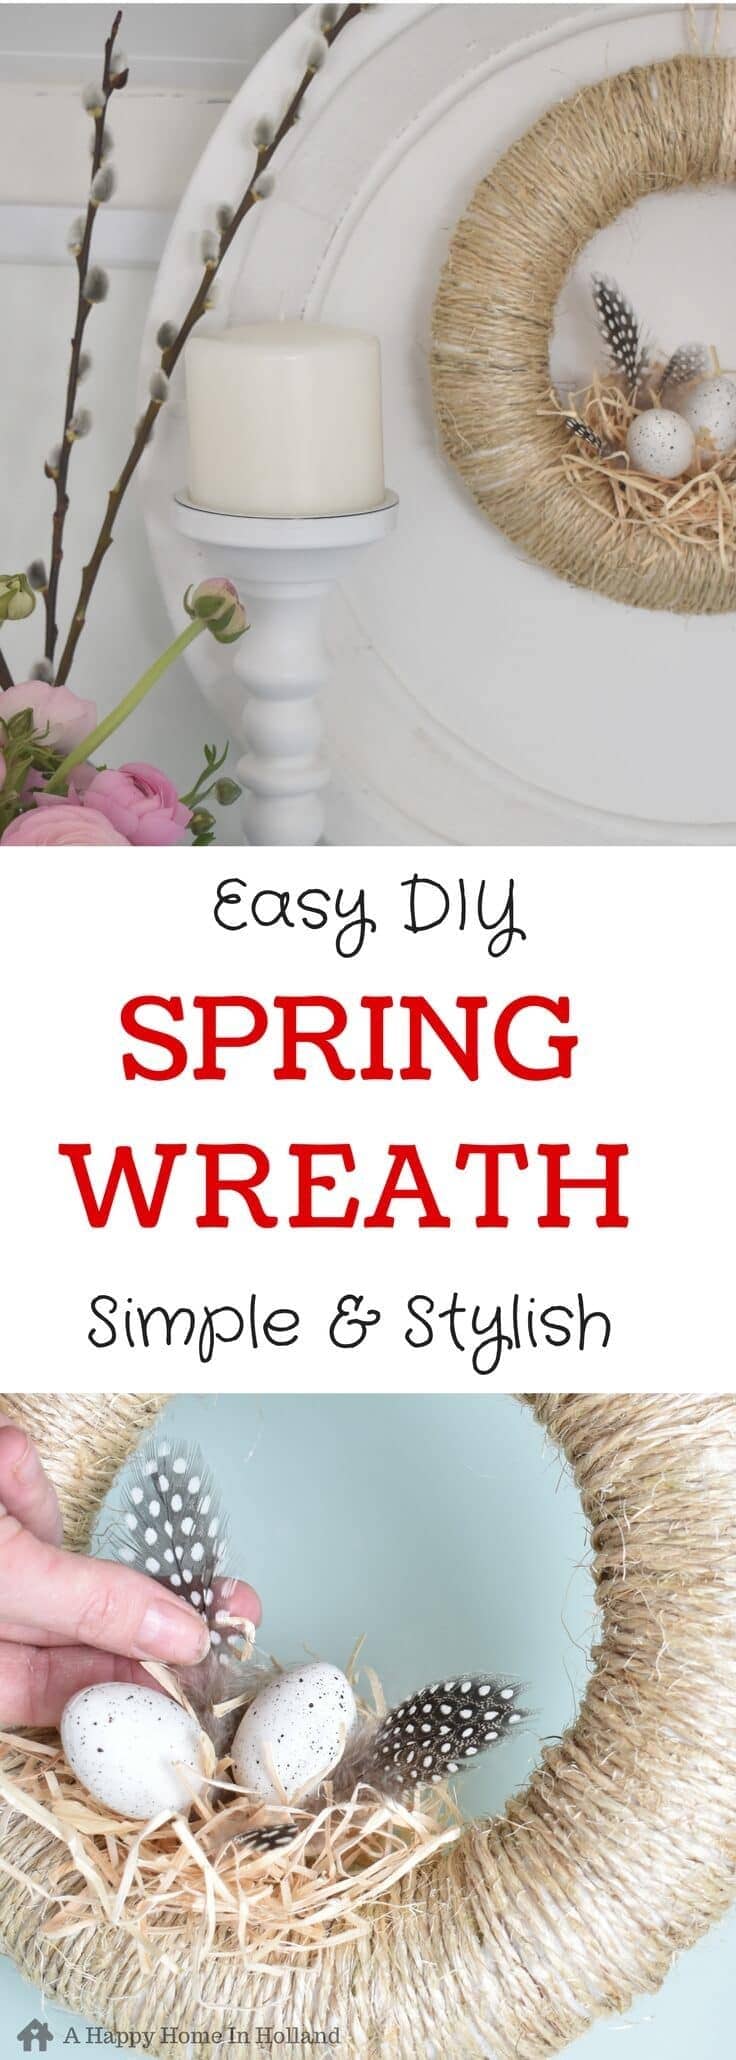
Learn how to make an easy and stylish DIY spring wreath. In just a few simple steps, you can make this modern and natural-looking bird’s nest wreath.
Have you ever had a go at making your own DIY Spring Wreath? Well, whether you are a seasoned wreath maker or a complete newbie this super stylish (and more importantly super simple) DIY wreath idea is a great project to try.
Hi, Kenarry readers it’s Sam here from A Happy Home In Holland, back again to share another quick and easy DIY craft idea.
Every year I like to have a go at making my own DIY spring wreath and this year was no exception. I decided to make a simple design where I could incorporate some lovely speckled feathers that I had just bought.

Get our e-book The Ultimate Guide to Making a Burlap Wreath plus a special limited time offer for 25% off Kenarry burlap ribbon when you subscribe to be an Idea Insider. It’s totally FREE!
Your privacy is important to us. We promise not to spam you or share your information. You can opt-out at any time. See our privacy policy for more information.
How To Make A DIY Spring Wreath
Disclosure: This blog post contains affiliate links for products or services we think you’ll like. This means if you make a purchase from one of these links, Ideas for the Home by Kenarry® will make a small commission at no additional cost to you so we can keep the great ideas for the home coming your way. All opinions expressed are derived from personal experience.
What You Need:
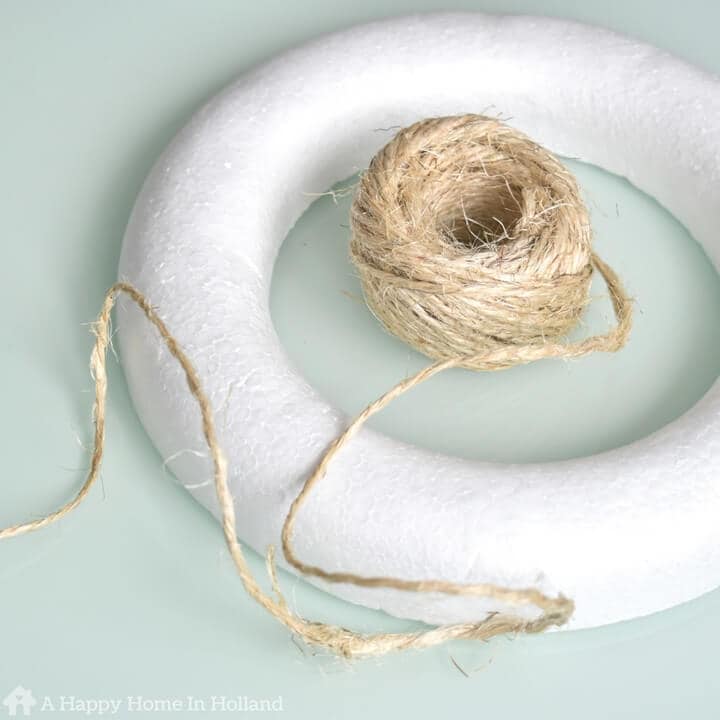
- 24″ polystyrene wreath (These are similar, but smaller.)
- Natural jute twine
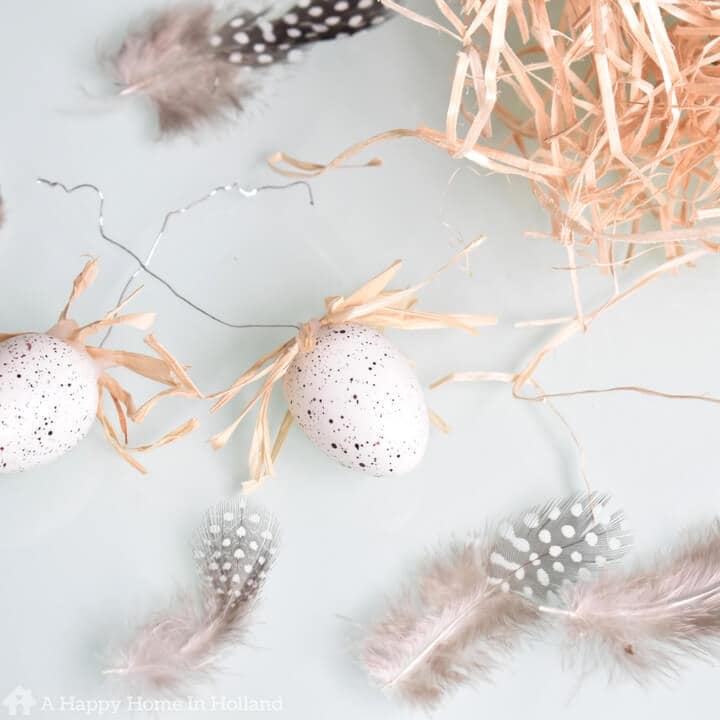
- A few small plastic eggs (real hollow eggs will work too)
- Some straw or raffia
- Decorative feathers
- Florists pins or a glue gun
Instructions:
Step 1: Secure The Twine
Tie the end of the twine around the polystyrene wreath, securing it at the back with a double knot.

Step 2: Wrap The Twine Around The Wreath
Neatly begin wrapping the twine around the wreath making sure that it is tight enough and that there are no gaps.
Because the wreath is smaller on the inside, the twine can start to slant. You can correct this by overlapping every 6th wrap just at the bottom and keeping it normal at the top.
When the whole wreath is completely covered, secure it at the back. It is also a good idea also to make a loop with the excess twine and secure it again so that you have something to hang it up with.
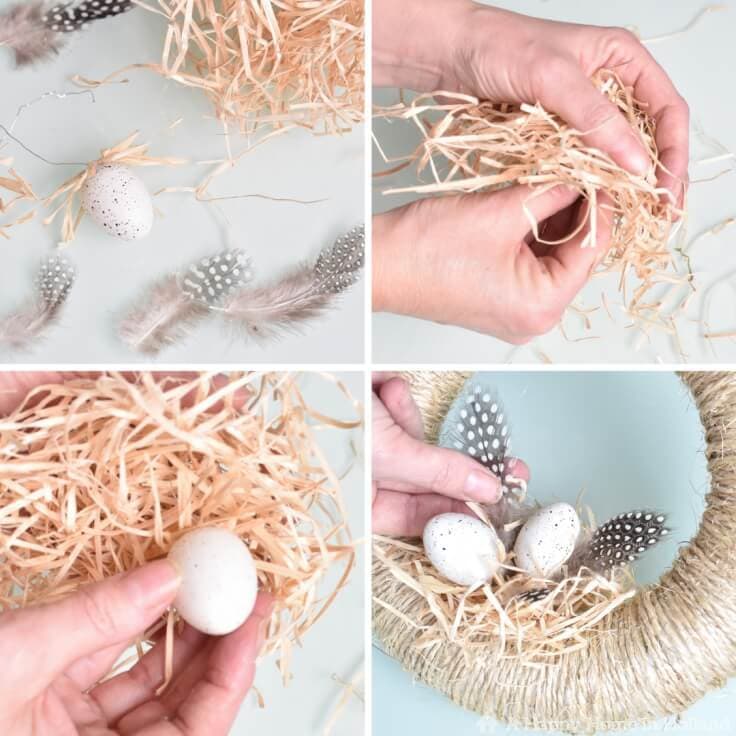
Step 3: Make a Straw Birds Nest
This step is really easy, you just grab a handful of your straw or raffia and squeeze it into a ball. Then with it sitting in your cupped hand, use your fingers to make an indentation.
Step 4: Secure Your Nest And Add Eggs
The plastic eggs that I used had little wires attached to them, which I used to secure them to the bottom of the nest. I then used double florist pins to secure the nest onto the polystyrene wreath.
Alternatively, you can do these steps with a glue gun.
Step 5: Add Feathers
Choose a few different sized feathers and tuck into a nest around the eggs. You can glue these if you want but I chose to just leave them tucked in as they were quite secure.
I chose to do mine using neutral colors but you could totally jazz this idea up and use brighter colors.
I also think it would look great using different shades of the lovely pastel colors that you always see around at this time of year.
Another idea, which I may add later, is to add some mini triangular bunting flags to the top. These would look really cute stamped with individual letters that spell ‘spring’.
Hopefully, this little tutorial has given you a bit of inspiration to go off and make your own creation.
If you enjoy pretty and simple DIY crafts then you may also like these ideas which you can find over on A Happy Home In Holland. I’d really love it if you popped by for a visit 🙂


Easy DIY Clay Cones (with air drying clay)
Love the ideas you see here on Ideas for the Home by Kenarry®? Subscribe today to get our FREE DIY & Craft Planning Calendar, plus our weekly Ideas in Your Inbox newsletter filled with creative tips and exclusive offers!
What’s Next?
While you’re here, be sure to check out other spring projects on Ideas for the Home by Kenarry® –
3 Comments