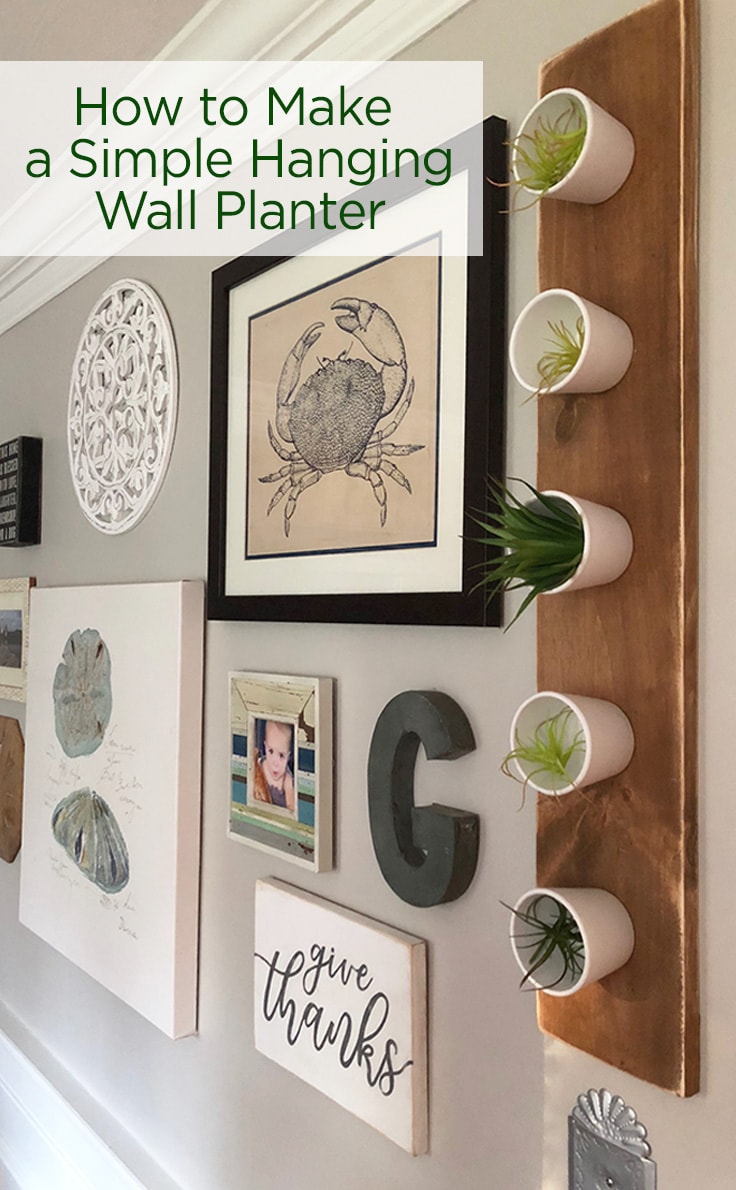
How To Make A Simple Hanging Wall Planter
THIS POST MAY CONTAIN AFFILIATE LINKS. PLEASE SEE OUR FULL DISCLOSURE POLICY FOR DETAILS.
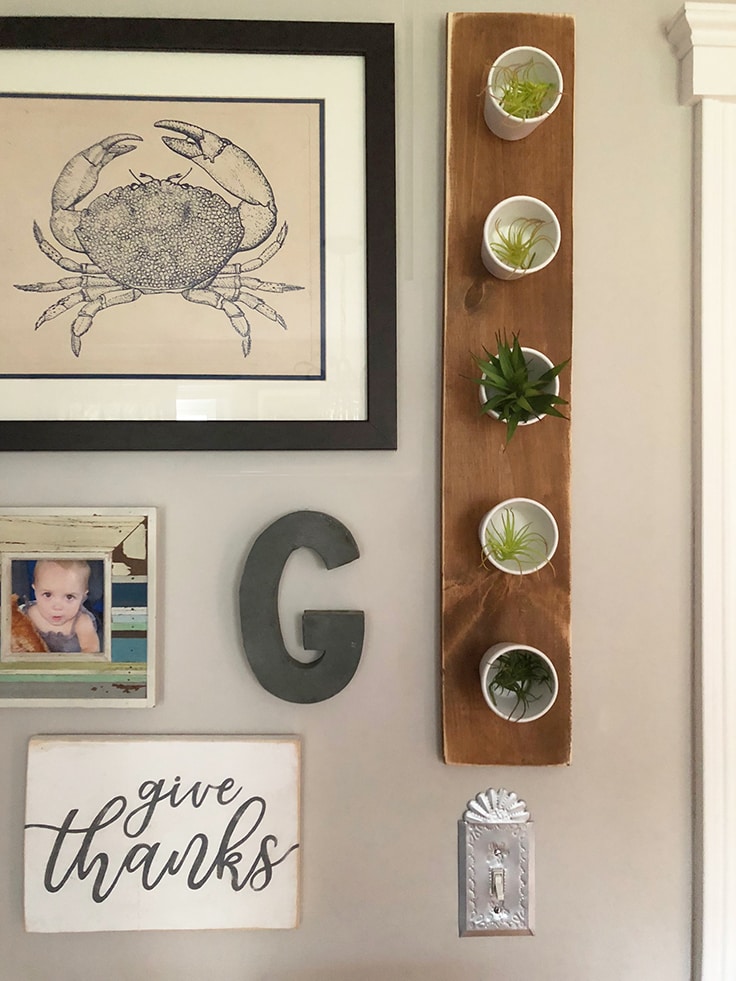
Indoor plants are so on trend right now, especially succulents and air plants. This simple hanging wall planter is a unique and pretty way to display the beautiful, resilient greenery.
Hi there, it’s Lori from Greco Design Company and today I’m showing you how to make a simple hanging wall planter to add some life to your walls.

How to Make a Simple Hanging Wall Planter
This project is a simple way to add greenery to any room and it makes a great gift idea for Mother’s Day.
This is a really creative way to add texture to your walls when you don’t have very much space. It’s so small but also makes a huge statement.
What you need:
Want more ideas like this? Subscribe today to get our weekly Ideas in Your Inbox newsletter plus other exclusive gifts and offers — all for FREE!
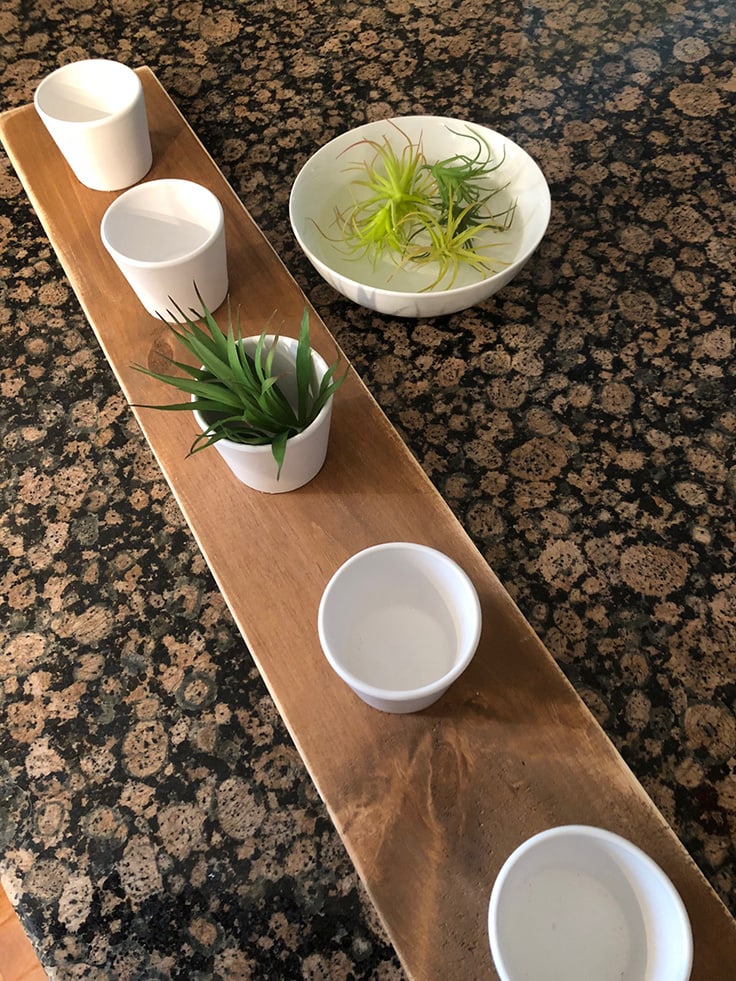
Supplies Needed:
- A piece of wood cut to your desired size. I used common board, it’s less expensive than pine or a premium wood, and it has a lot more knots and a more rustic look to it.
- Stain – I recommend this stain, with a pecan tint. It’s durable and water-based so it dries quickly.
- Hanging hardware
- Miniature planters. I got mine at Home Depot but these are great options too.
- Gorilla Glue
- Pencil, saw, sander or sandpaper
- Succulents and/or air plants
Instructions:
1. Cut your piece of wood to your desired size
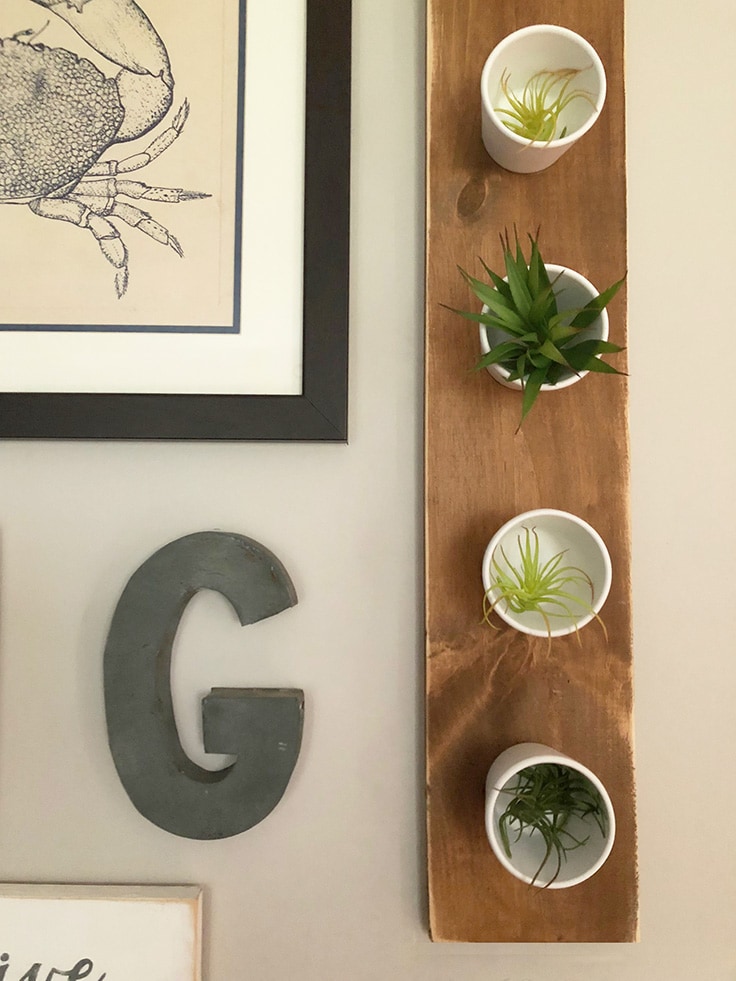
I used a hand saw and cut my piece of wood to be 32 inches long. It’s 5.5 inches wide – which worked well for the size of the space I needed it for and the size of the mini planters.
In order to find out the size of your wood backing, figure the location of the top planter and then leave an adequate, but equal space, between each planter. I placed my top planter 4 inches down, then the rest 6 inches apart. Then left an additional 4 inches at the bottom.
2. stain & sand the wood backing
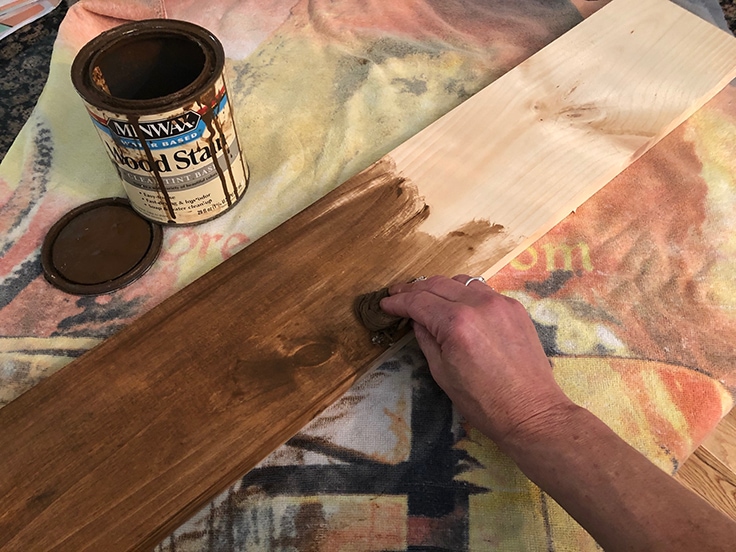
I use a piece of paper towel for easy cleanup, and rub the stain into the wood, making sure to get the side edges and that it covers completely.
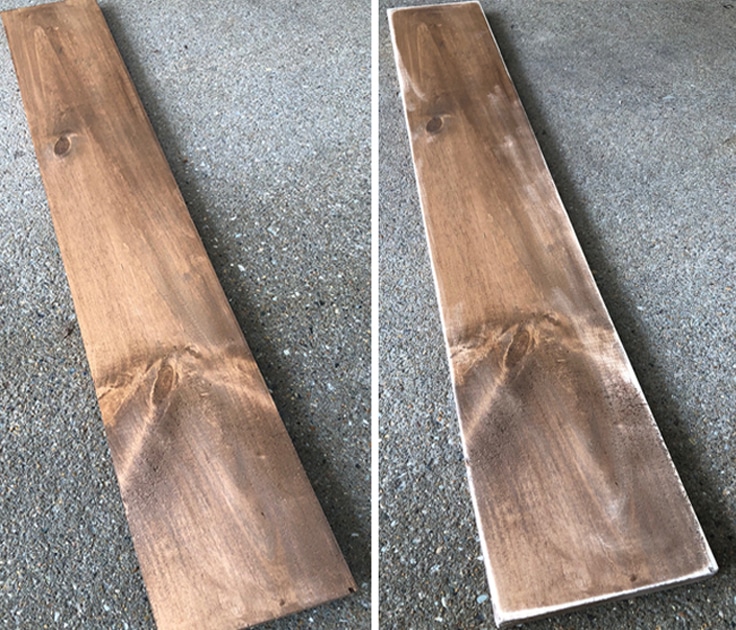
When the stain is completely dry, use an electric sander or sandpaper to smooth and distress the edges of your board. This adds a vintage, worn look to your piece and also gives it a finishing touch. You can sand and distress as much or as little as you’d like.
3. Attach the hanging hardware

It’s best to attach the hanging hardware before you attach the planters so you have a flat surface to work on. I used a simple sawtooth hanger.
4. measure and attach your planters
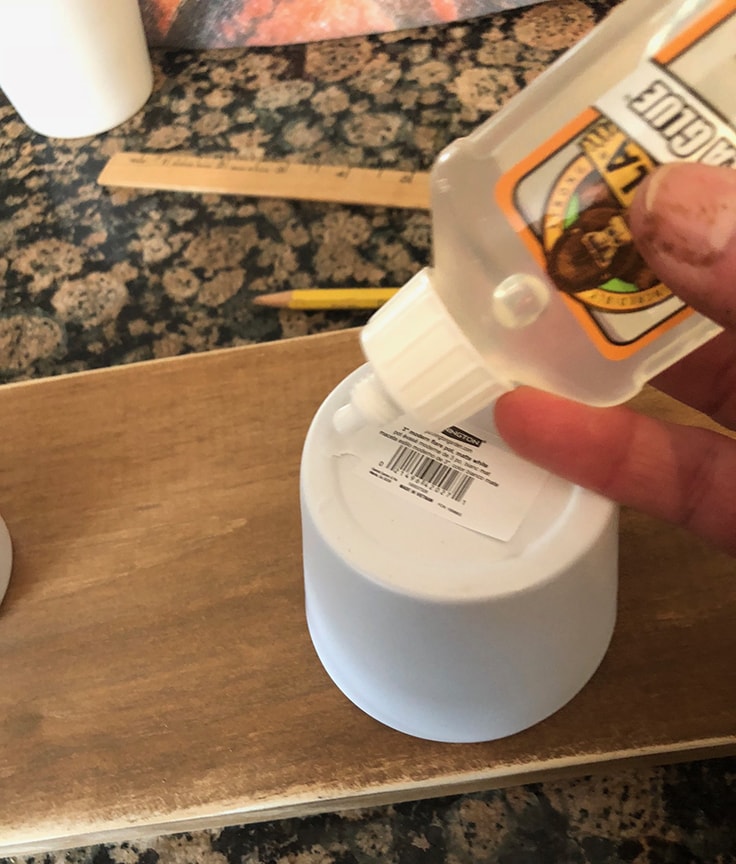
As I described above, I placed my top planter 4 inches down, then the rest 6 inches apart. Then left an additional 4 inches at the bottom. I used the Gorilla Glue to attach the planters and let them dry fully.
5. Now your planter is ready to be hung
When hanging your planter, consider areas with good, indirect sunlight. I added air plants but succulents are another good option. Just be sure to place the succulents at the bottom of the planter – at an angle – so they don’t fall out.
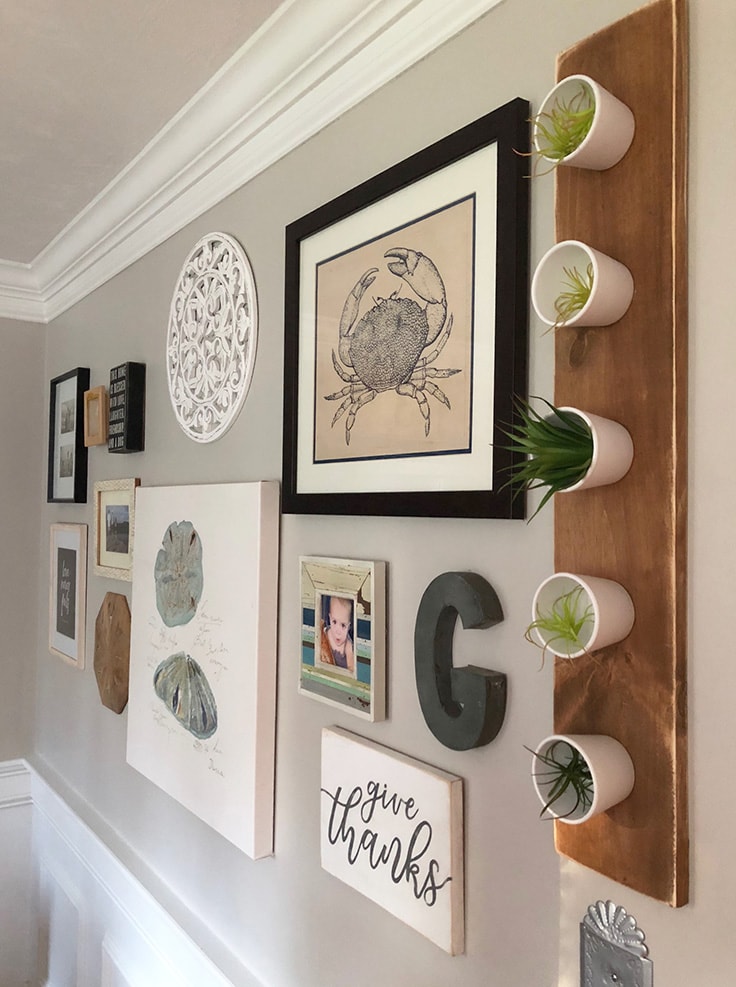
Air plants should be placed in bright but filtered sunlight too. Do not place them in direct sunlight because they will dry out very quickly. In addition, they only need to be watered once a week – I can handle that!
I hope you enjoyed this post and will try your hand at making your own hanging wall planter. It really adds life and interest to your space. It also makes a great Mother’s Day or graduation gift.
If you liked this post, check out the following related posts from Greco Design Company:
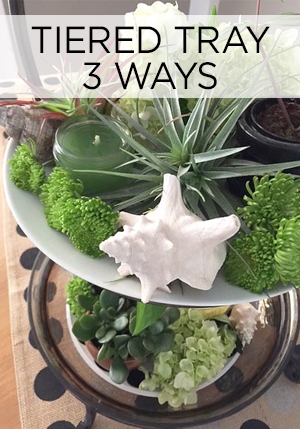
Tiered Tray – 3 Ways
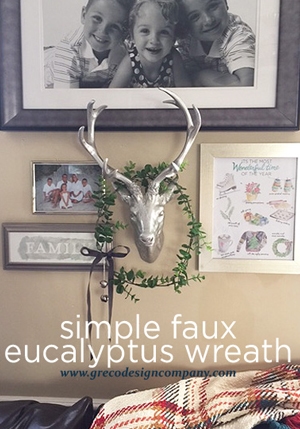
Simple Faux Eucalyptus Wreath
Love the ideas you see here on Ideas for the Home by Kenarry®? Subscribe today to get our FREE DIY & Craft Planning Calendar, plus our weekly Ideas in Your Inbox newsletter filled with creative tips and exclusive offers!
You may also enjoy these plant related ideas on Ideas for the Home by Kenarry® –